“Combat HQ World War Two Wargames Rules” by Jim Bambra

I was very excited to start playing with this new set of rules i found by Jim Bambra. After using Battlegroup Overlord for a while, i felt ready for a change, and to try something i hoped would be a bit more original and exciting.

The game revolves around six sided dice rolls, and sticks to this formula throughout the games processes. For a start this keeps things really simple and fast moving. For every action, reaction and result you throw a few dice and the game moves on. However, what i found most original and extremely playable was the way in which command and control of your units is handled. Traditionally a game would take the form of alternate moves ie each player would move and fire all his available units, then the other player would follow suit. You would probably get some kind of ambush fire order thrown in so moves could be interrupted. In Combat HQ each player rolls a number of command dice, determined by the size and type of force you are commanding, which are then formed into Dice Chains. So a chain can be made up of multiples of the same number, or if you throw 6’s they can be added to existing dice to make bigger chains or used as wild dice to affect orders in different ways. If you throw any 1’s in your command dice these may result in a command failure and end up being donated to your opponent who then can use them to expand his dice chains.

The significance of the dice chains is that players alternate orders or Command Pulses, each using a dice chain to move, rally, attack, disengage or other action, until each player has used up all their dice. The longer the dice chain the more you can do. So if you have a dice chain of say two dice you can make a double move, or you could rally units and then move, or any other combination of orders. So dice chains can be very powerful.

You form up to four units into Command groups and then activate them using a dice chain. So there is great flexibility for each commander to plan and execute his strategy while still affected by some good, or bad, luck. I feel the rules make game play very balanced between good strategy and good luck, rather than being random and annoying. If you roll a command failure and donate some dice to your opponent this can really tip the battle in their favour quickly.

Another excellent, and very simple idea that Jim has come up with, is that every unit may use opportunity fire during a turn. If an enemy unit fires or moves within your Line Of Sight then your unit may interrupt the move and fire, or fire simultaneously, if they have not already fired this turn. This negates the need for “overwatch” or “ambush” orders and is far more realistic i think. If you see the enemy then shoot.

Combat was quick and sometimes brutal, with tanks rolling attack dice against reaction dice, and results being suppression, dispersion and ultimately destruction. Each unit has different stats which are complex enough without being cumbersome. Again Jim reaches an excellent balance between realism, playability and fun!

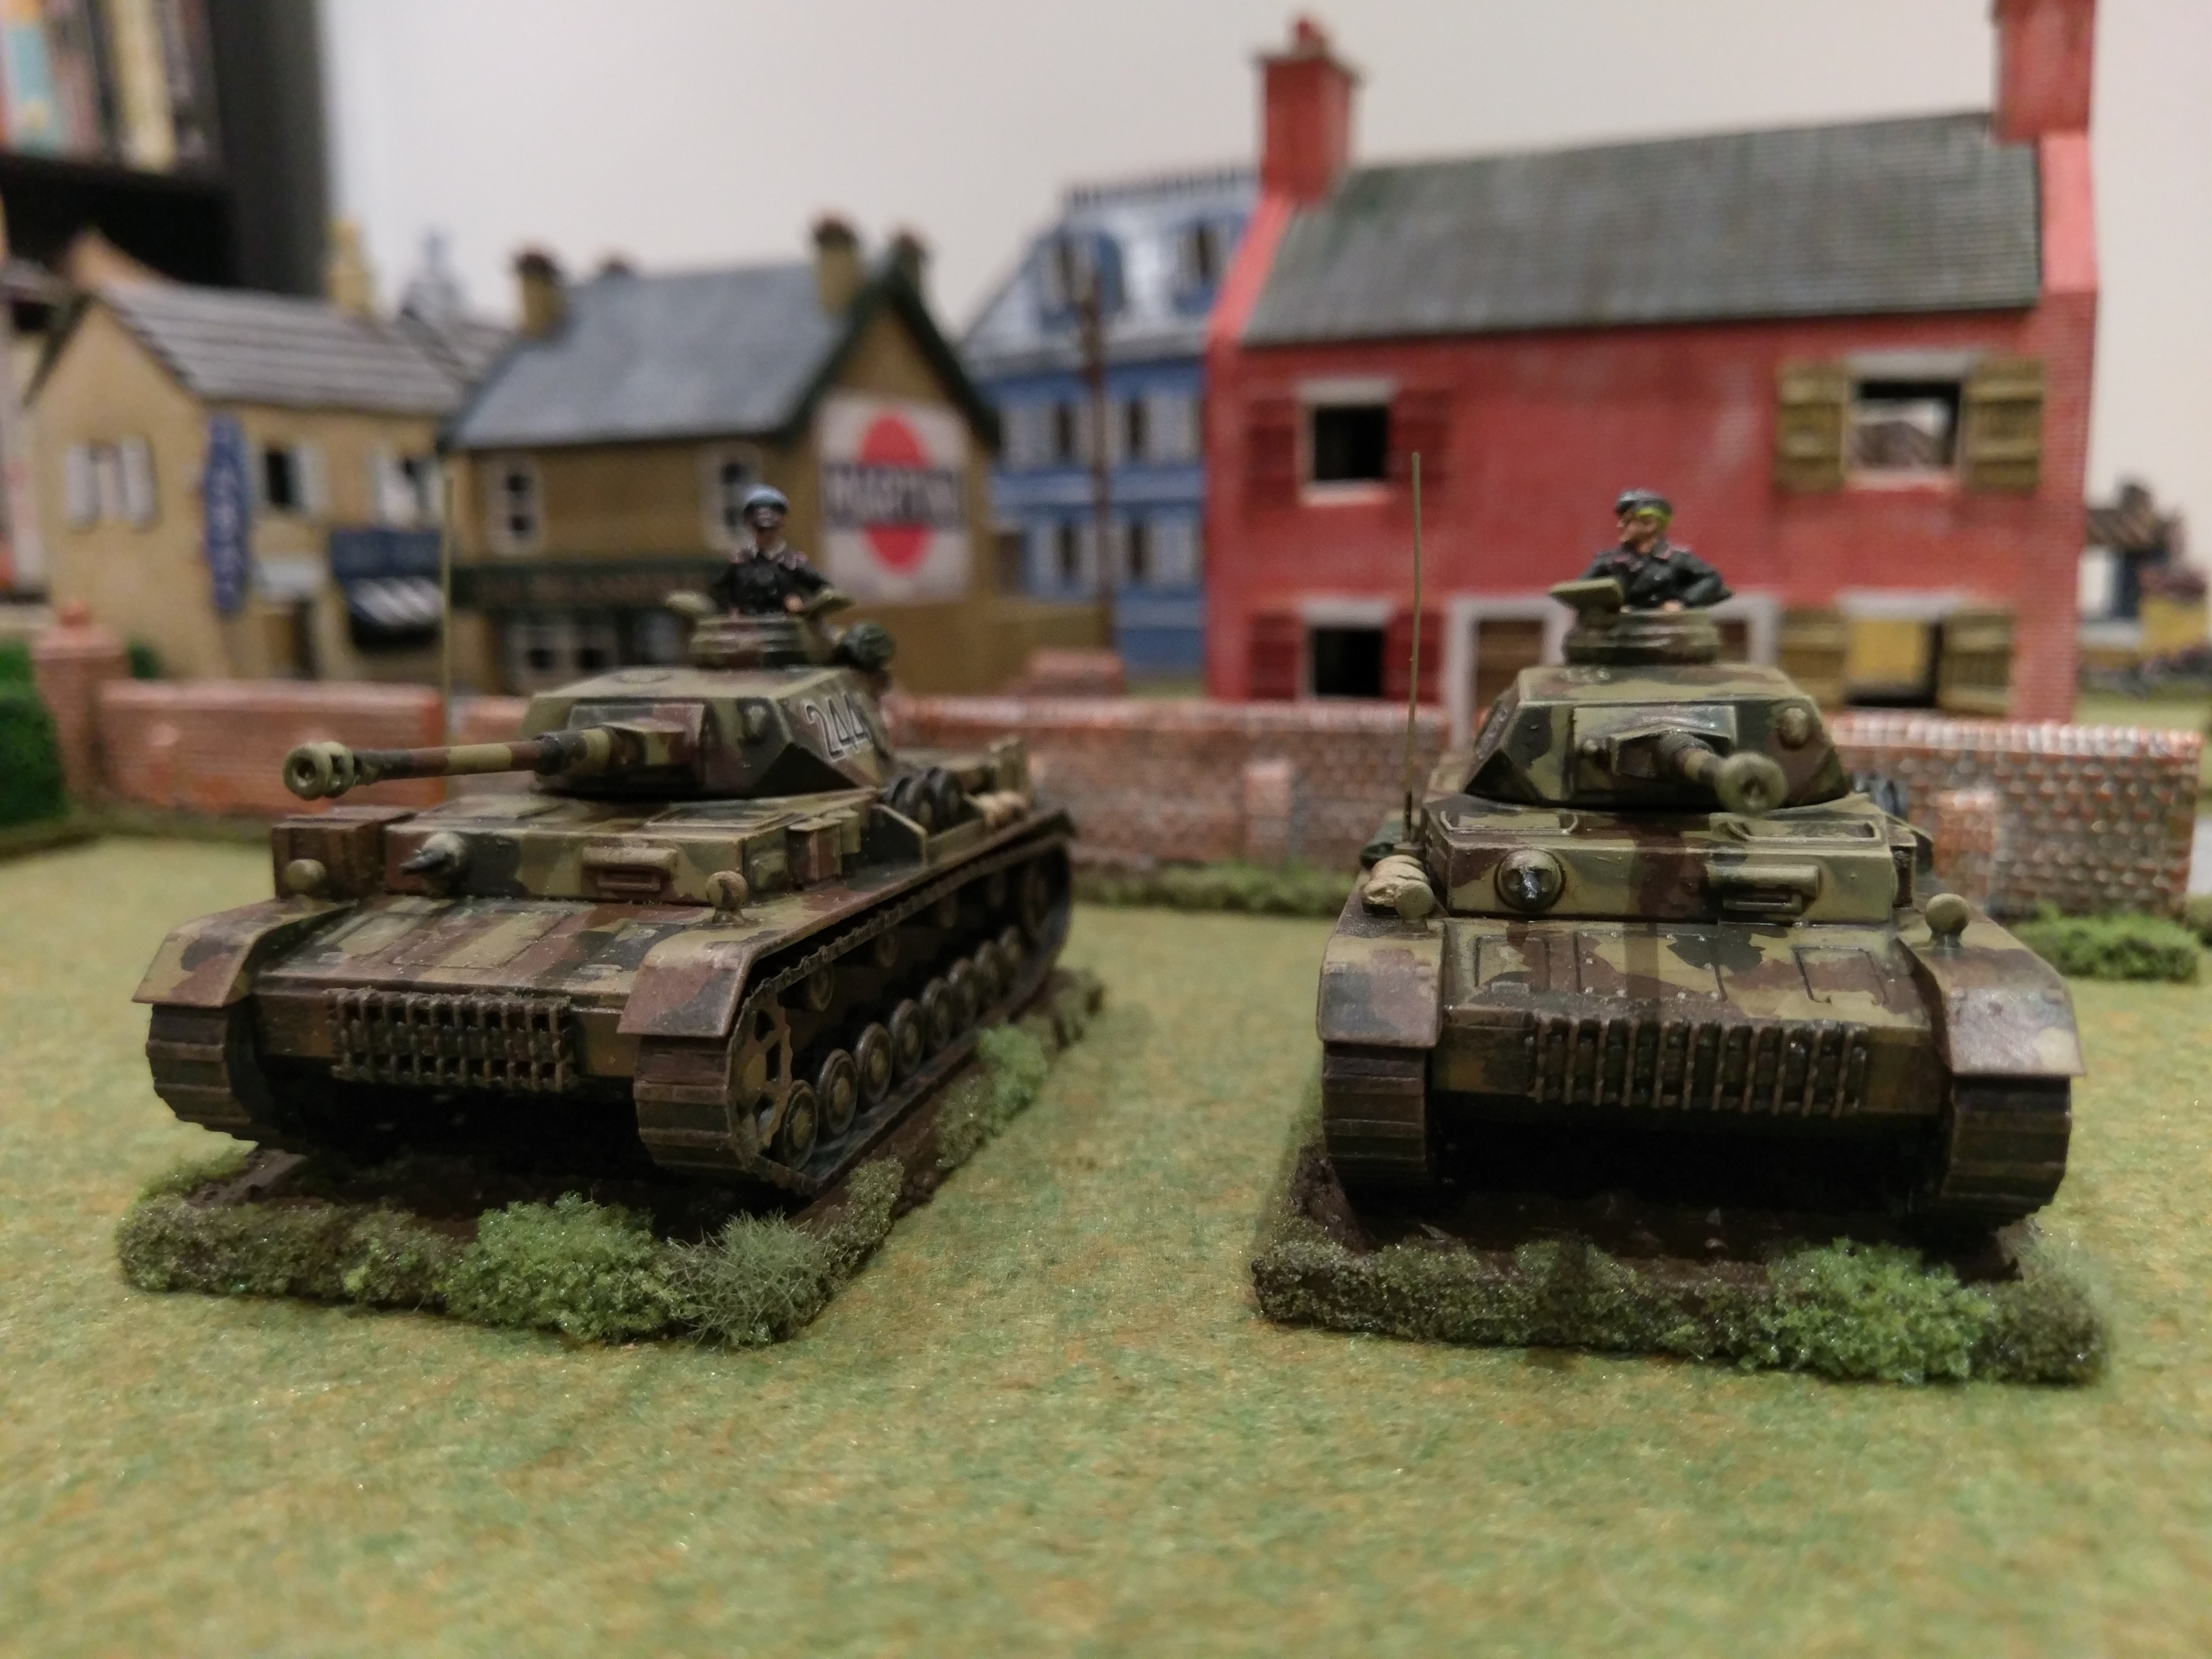
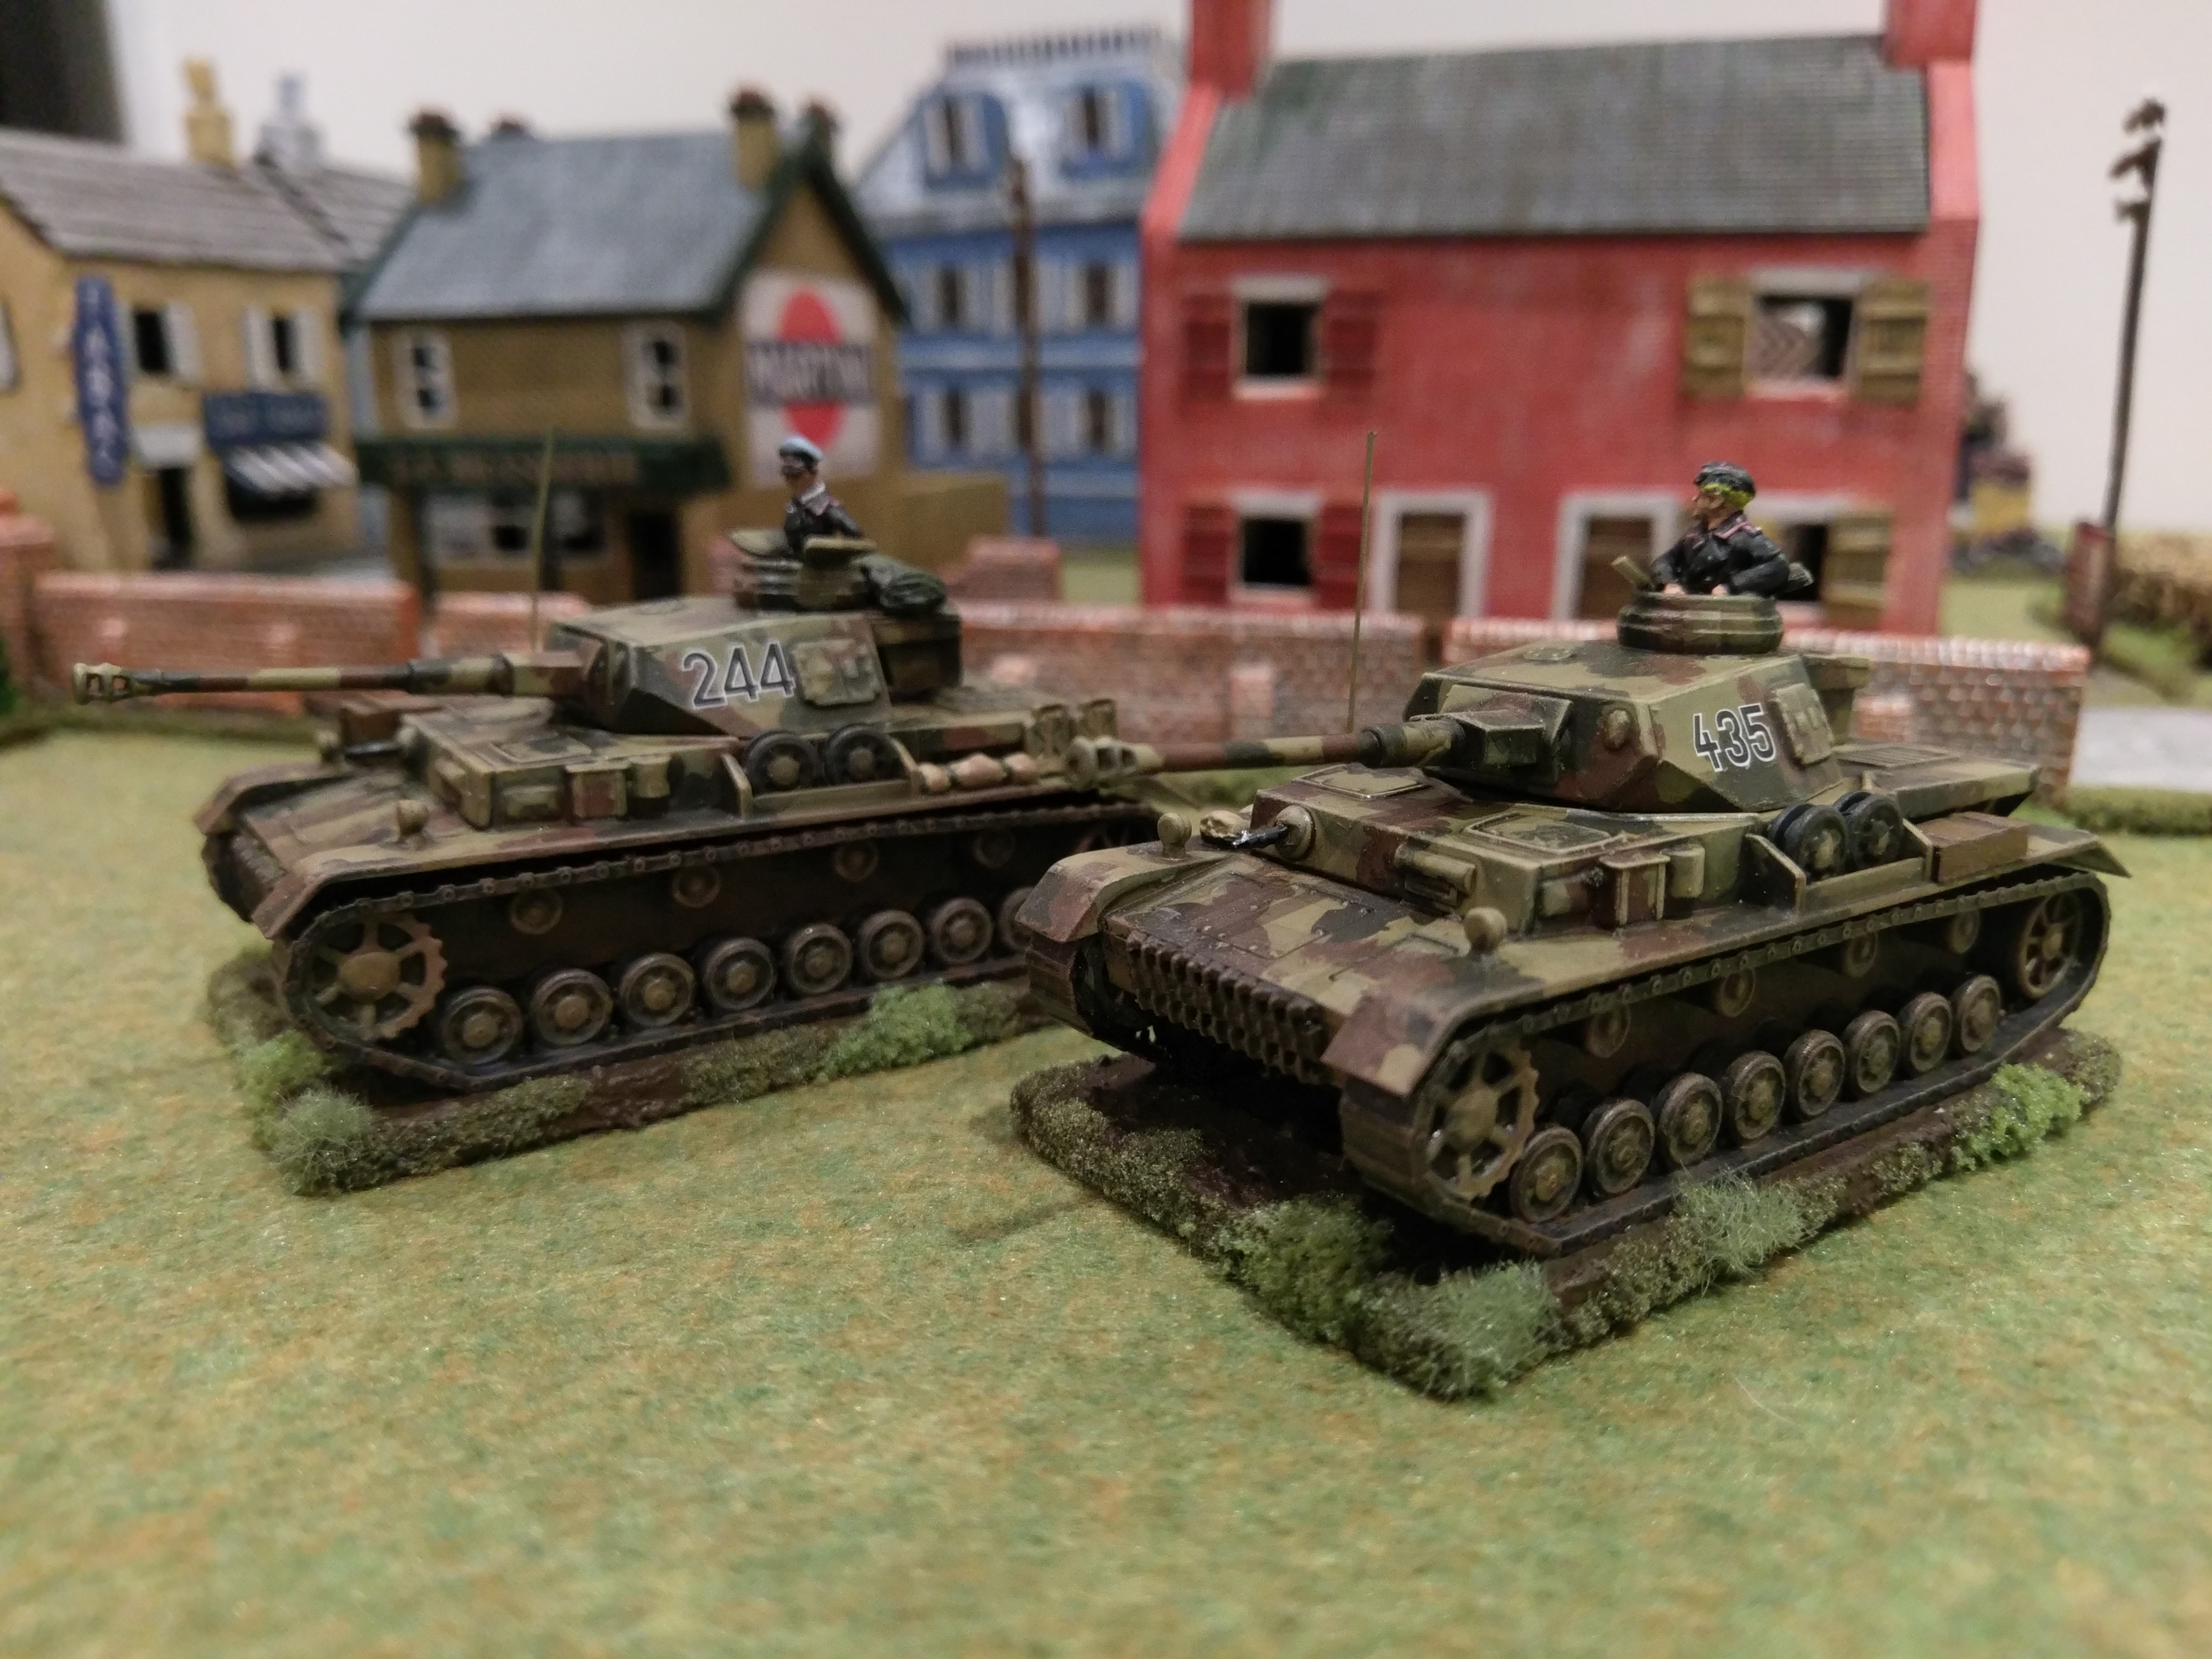
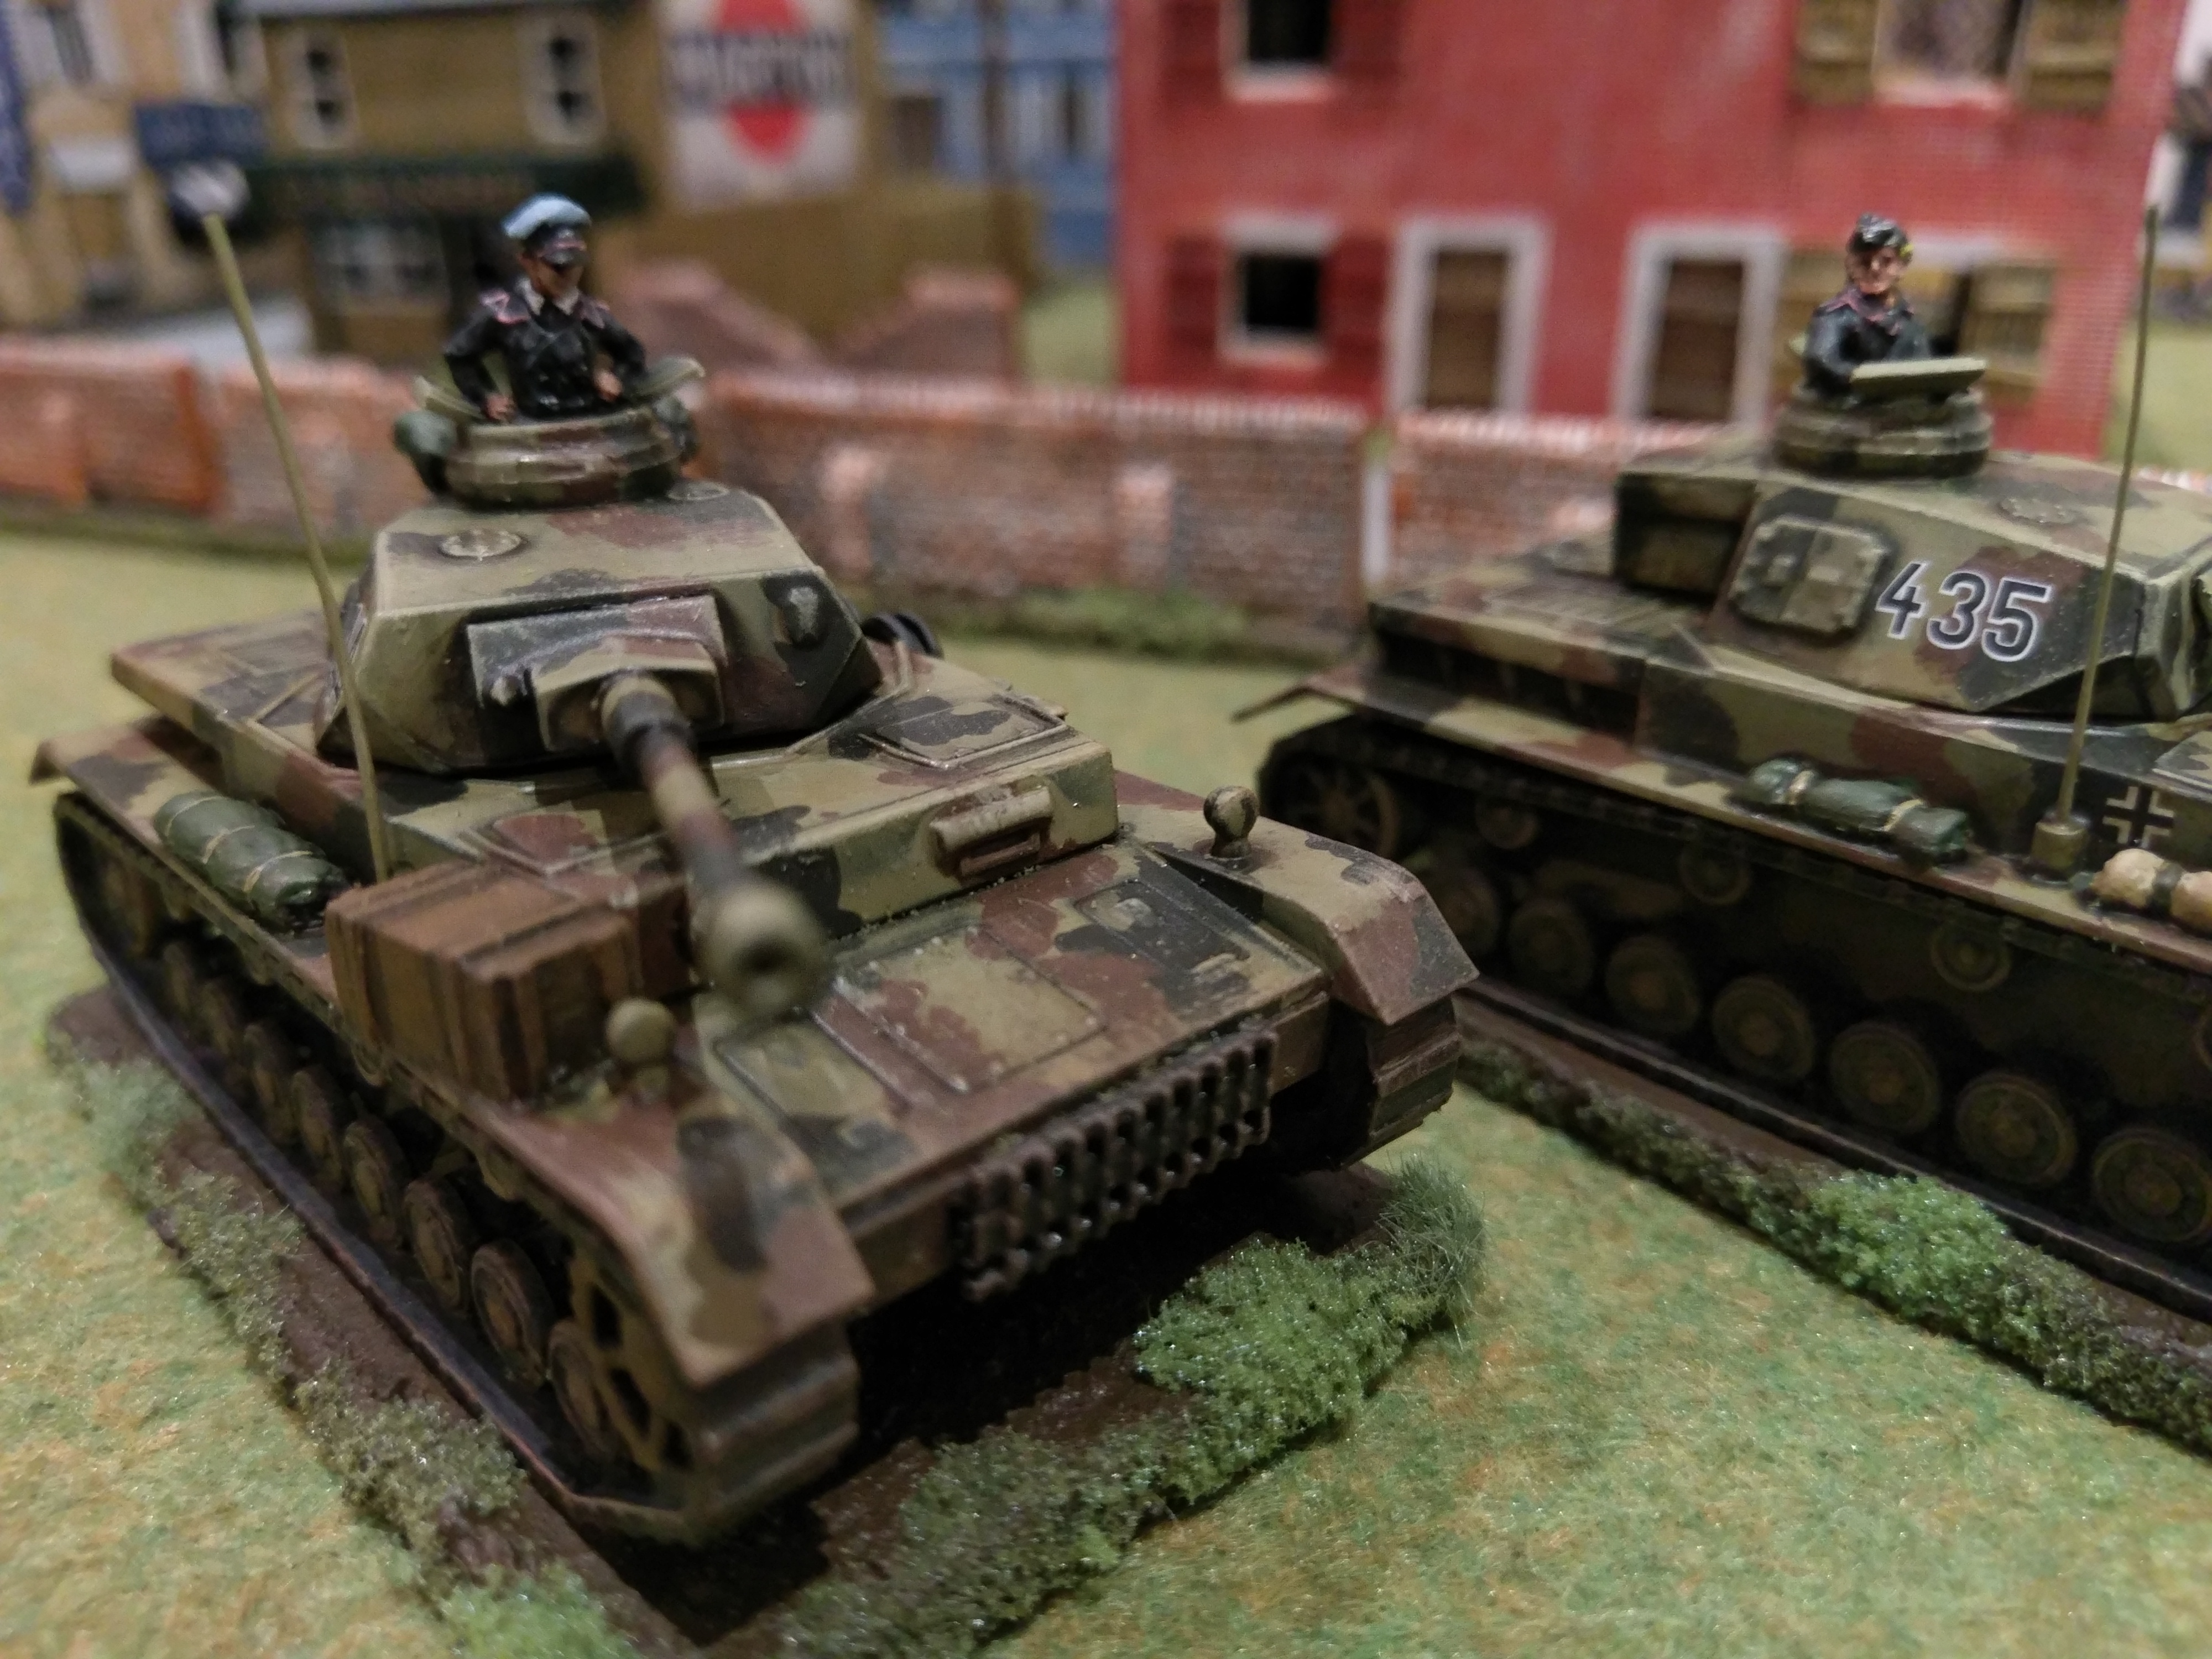
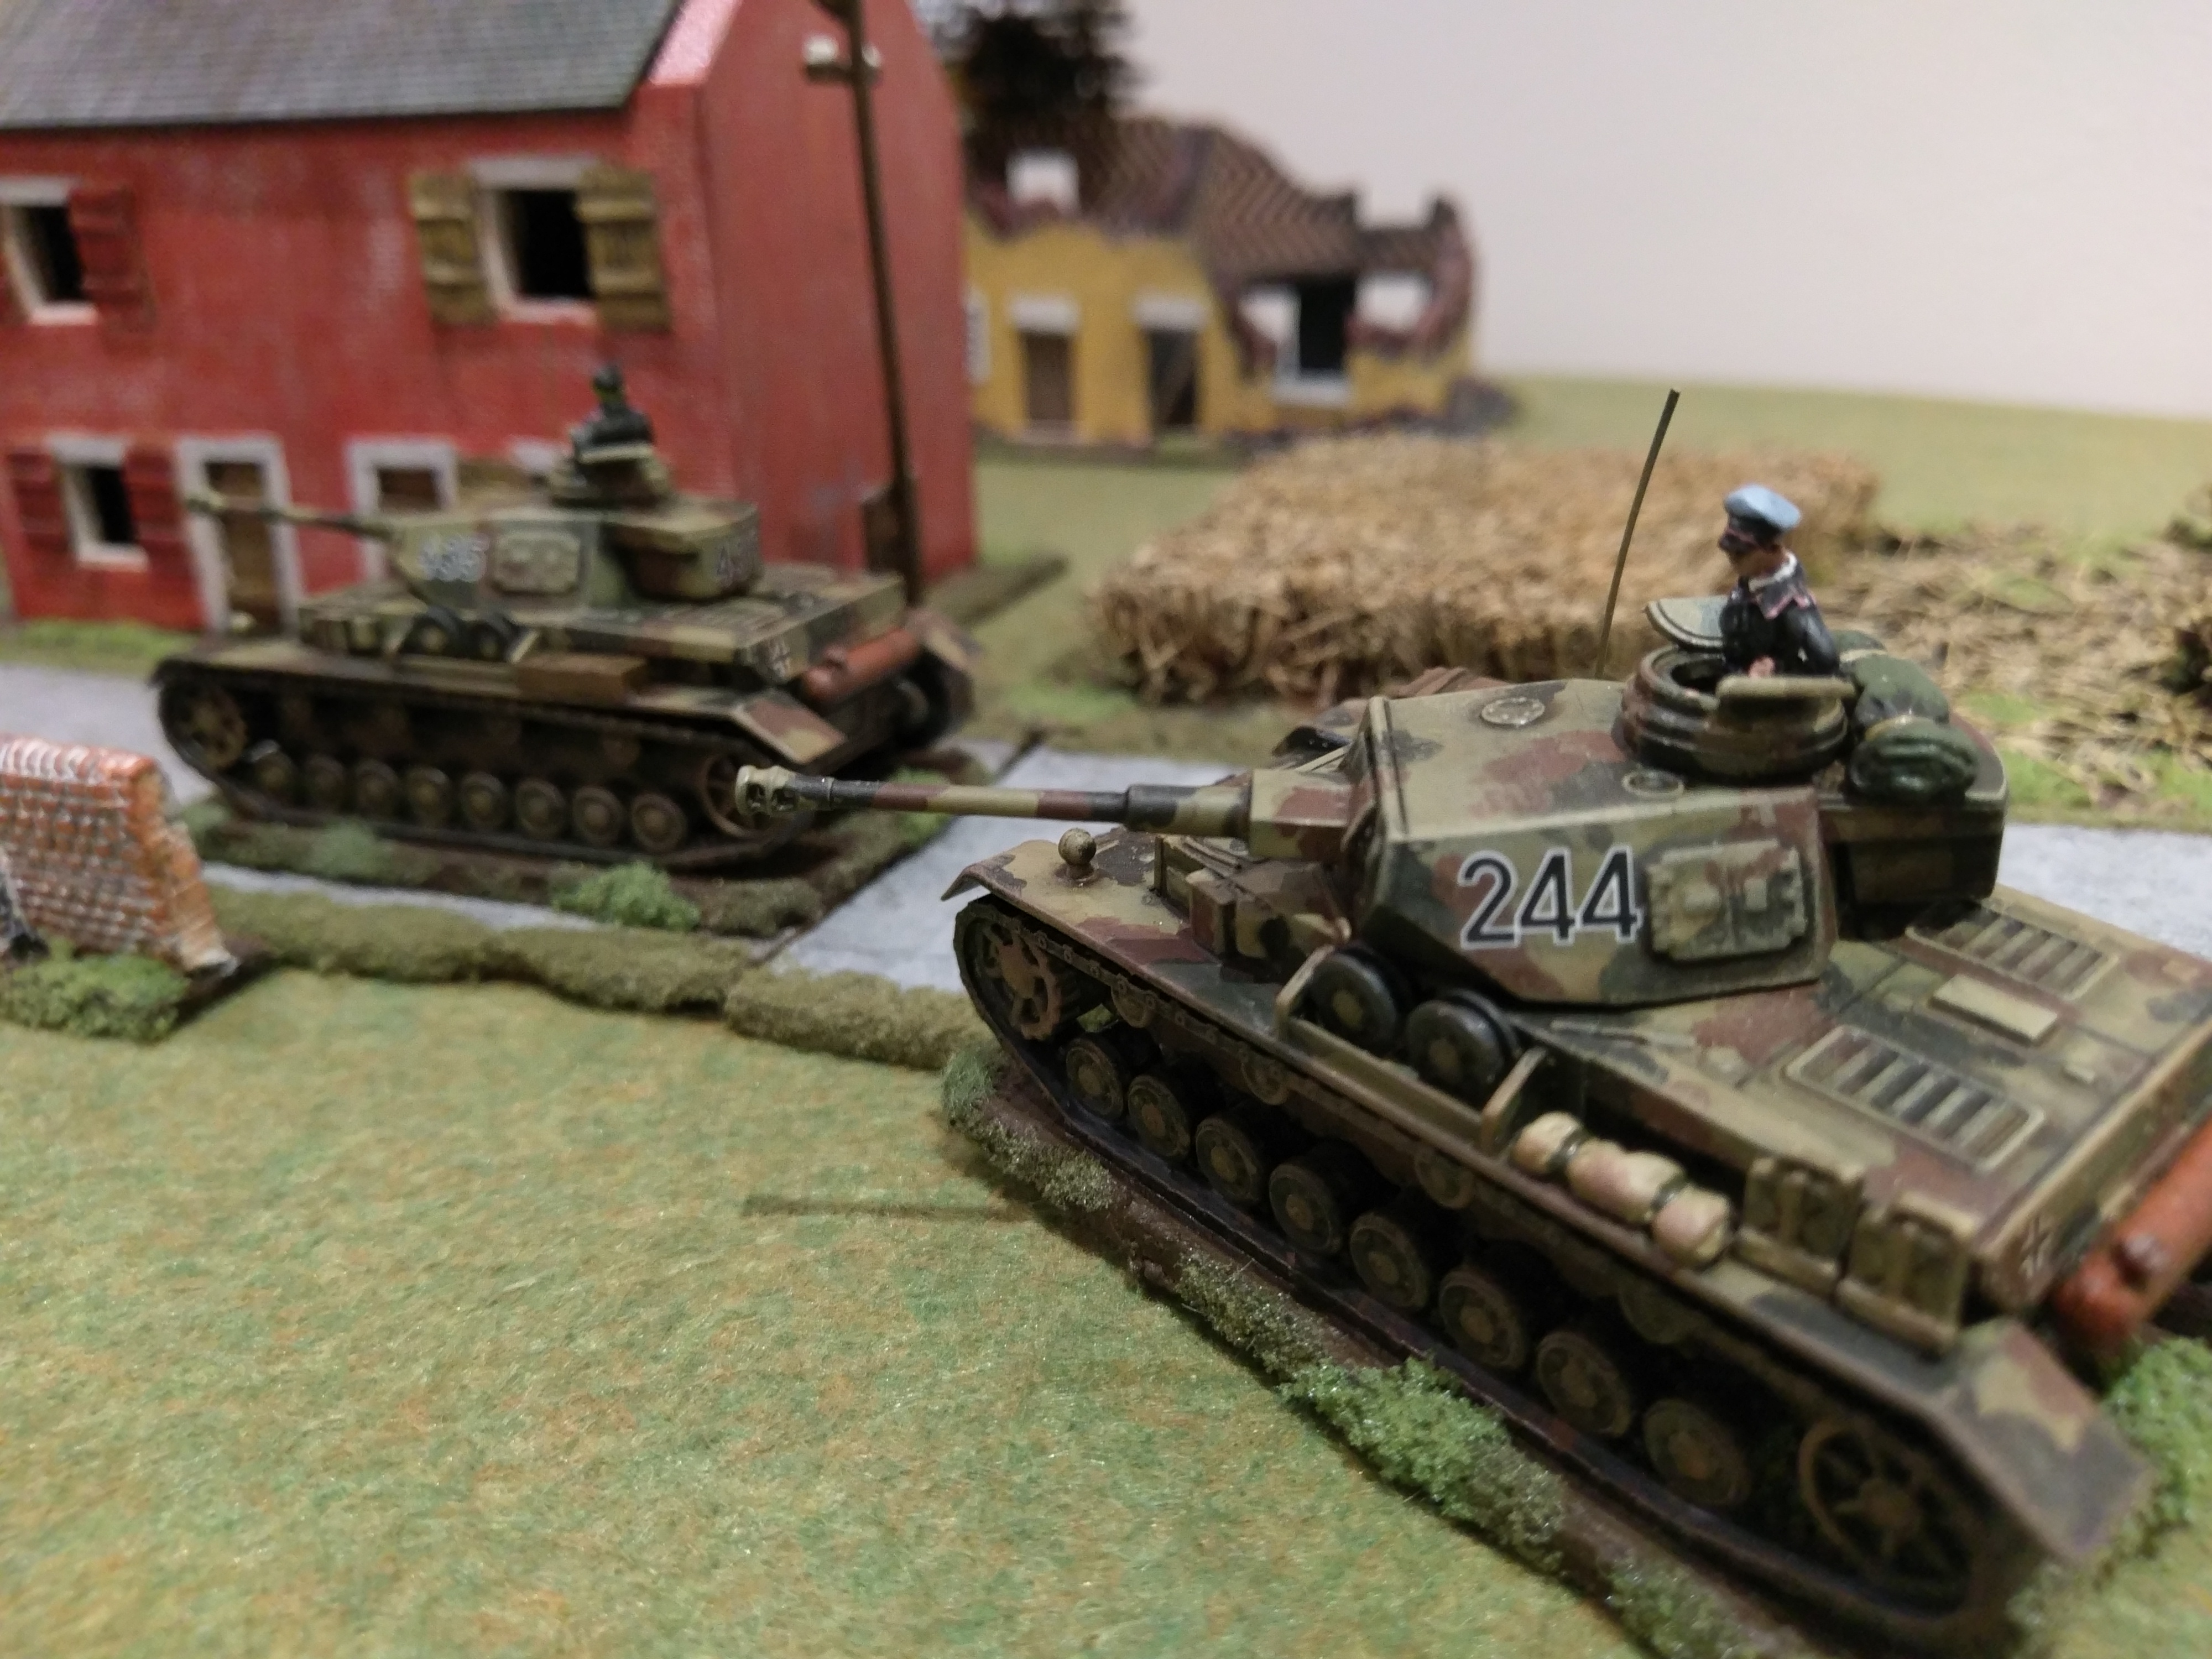
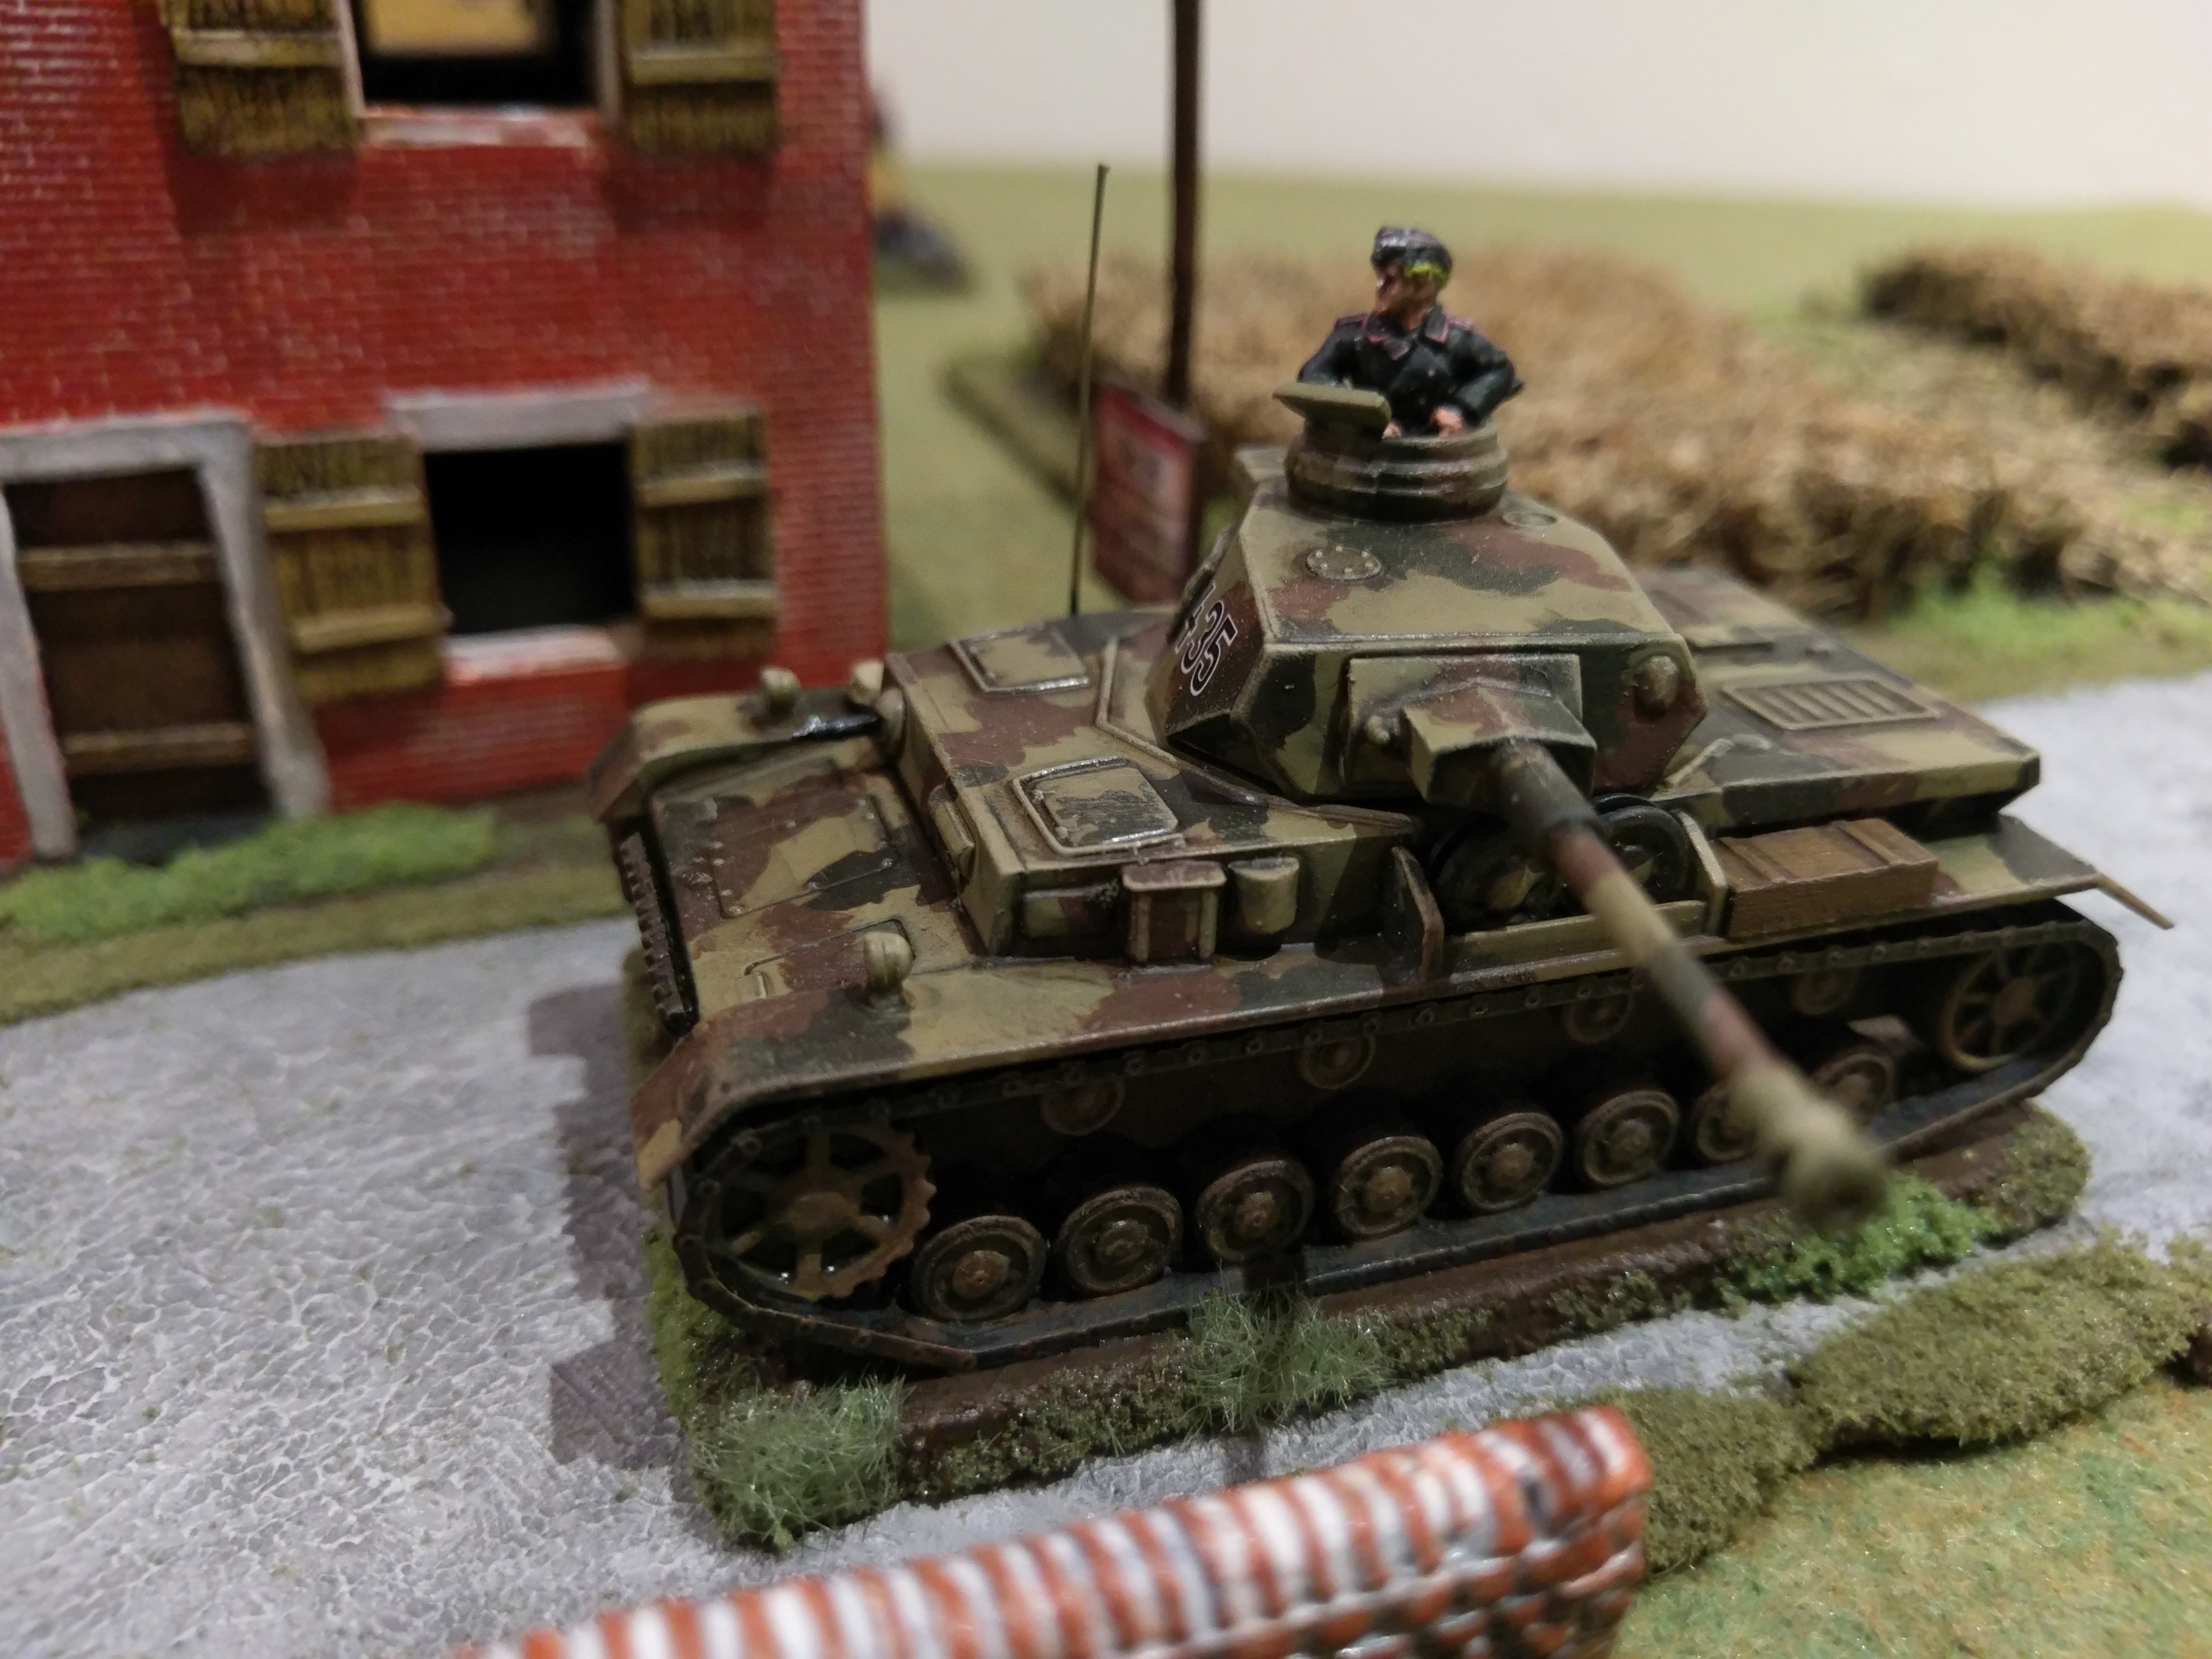
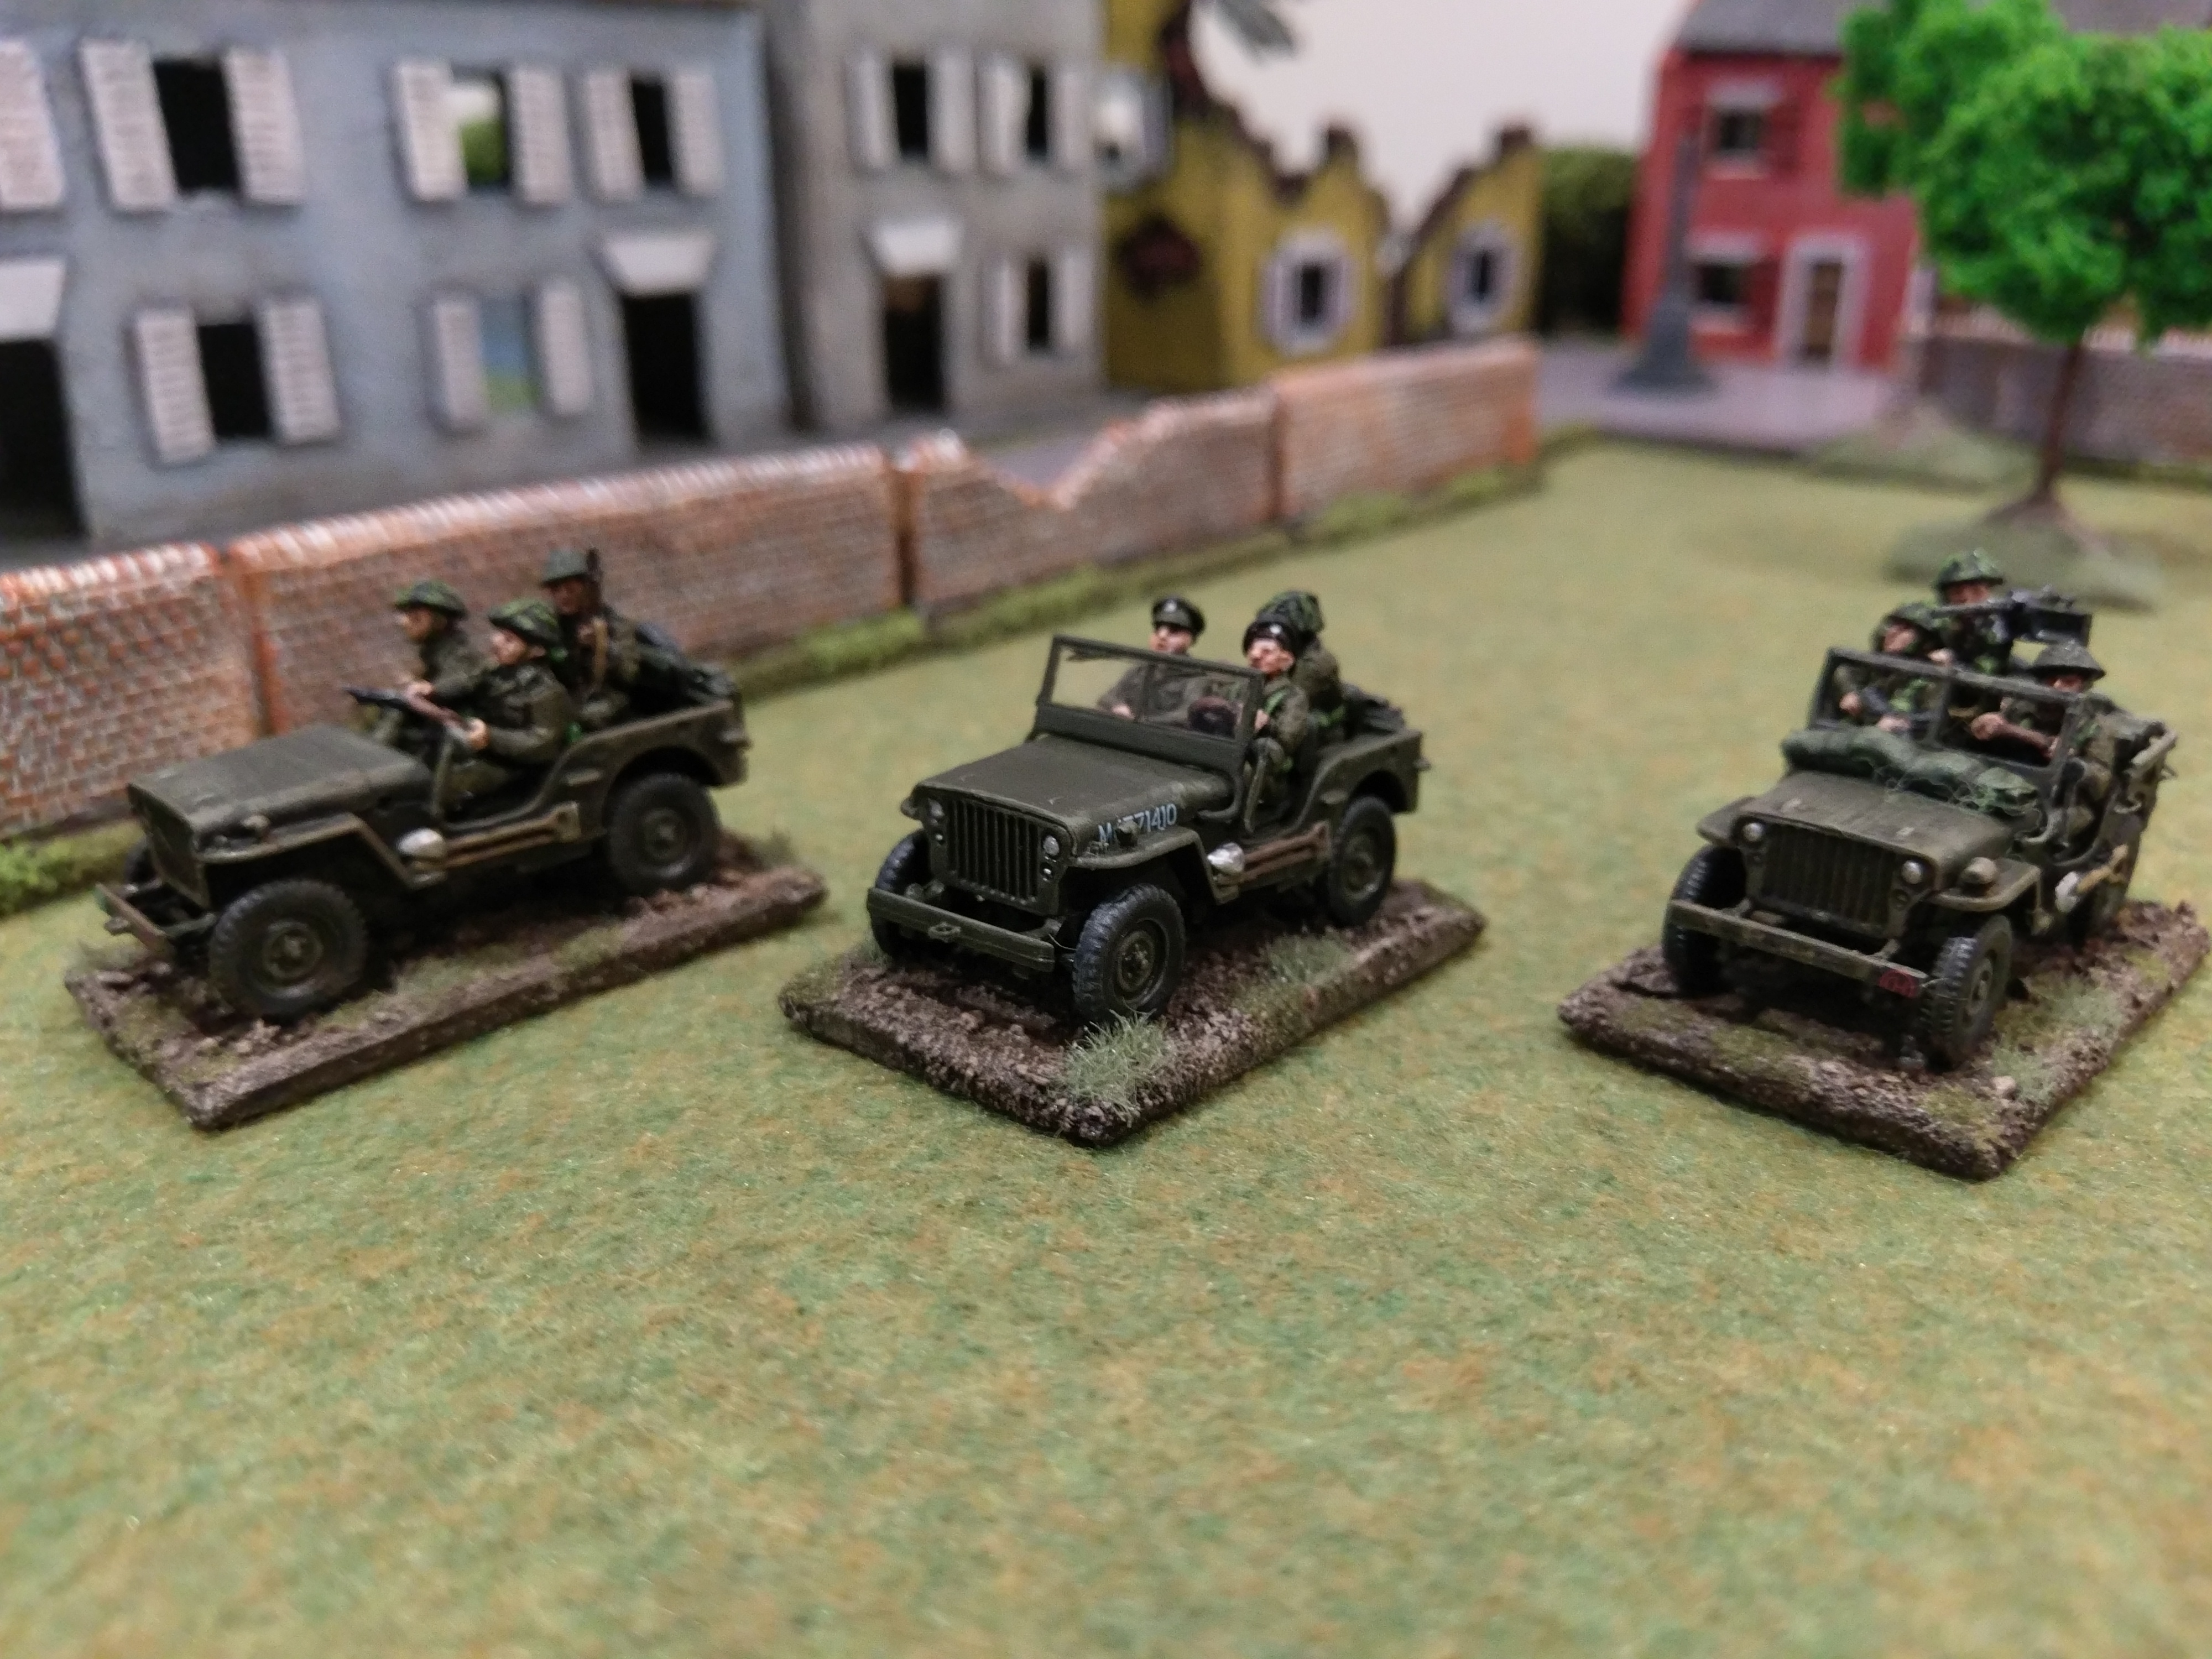
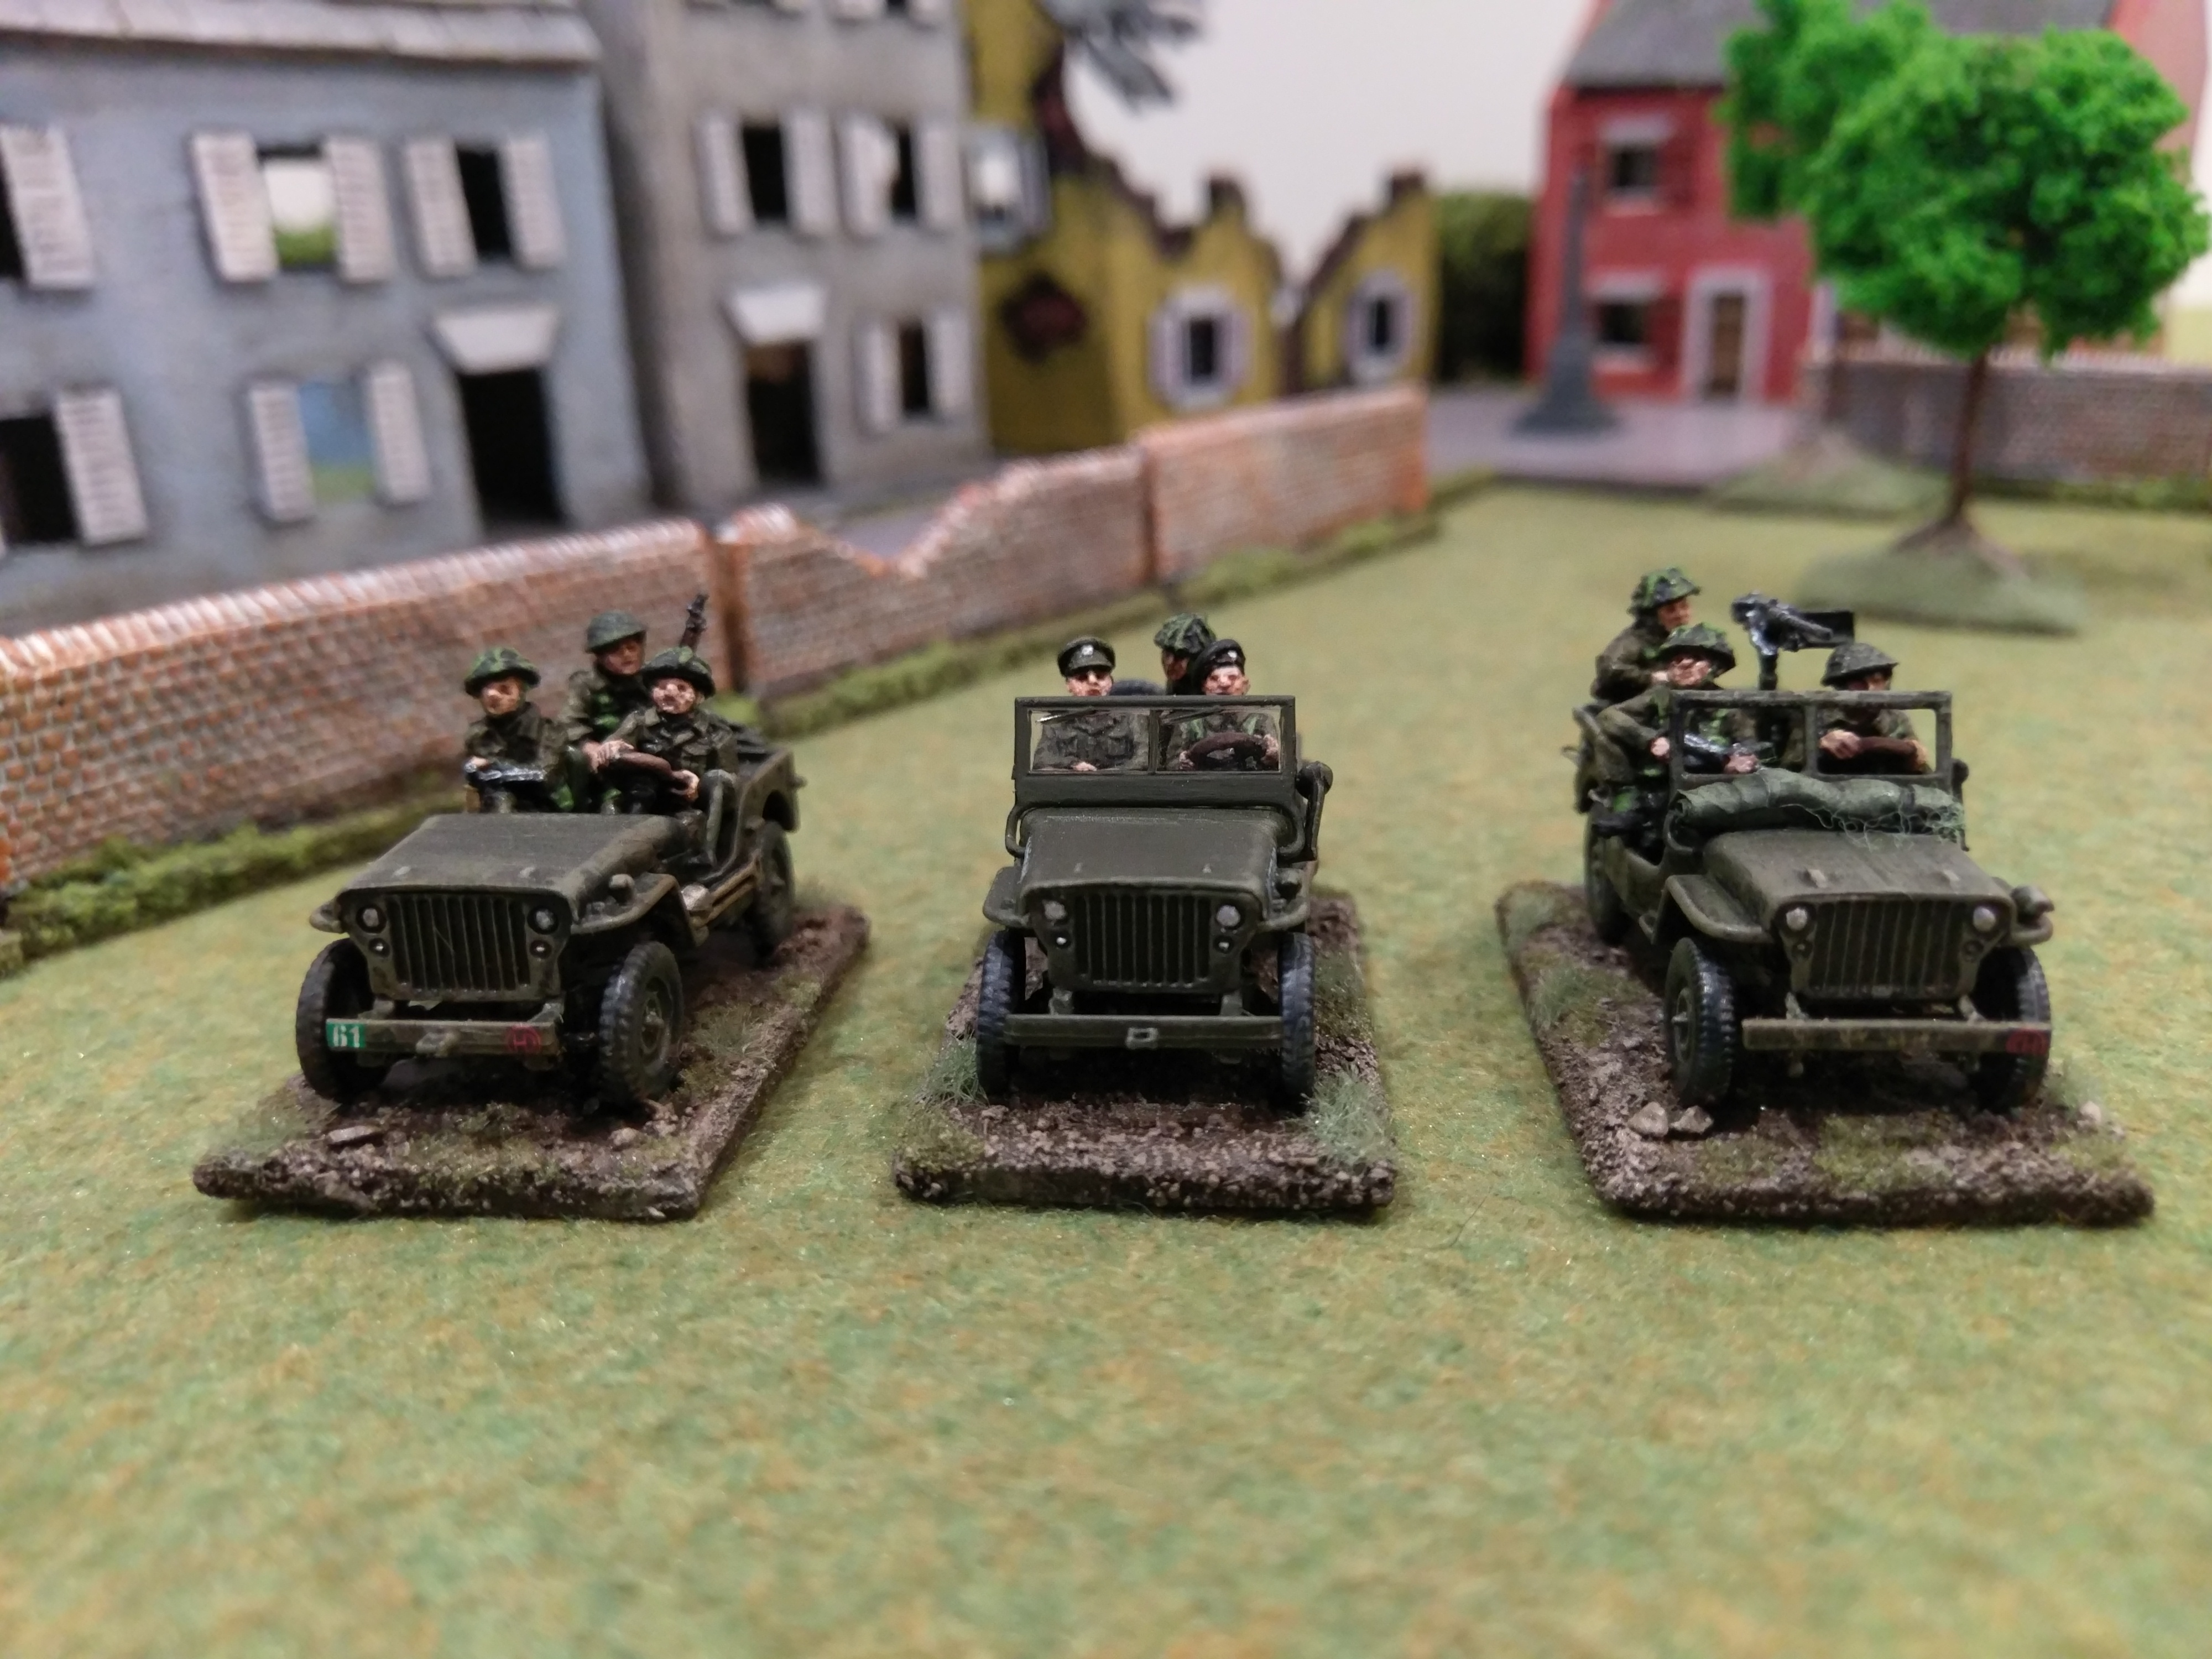
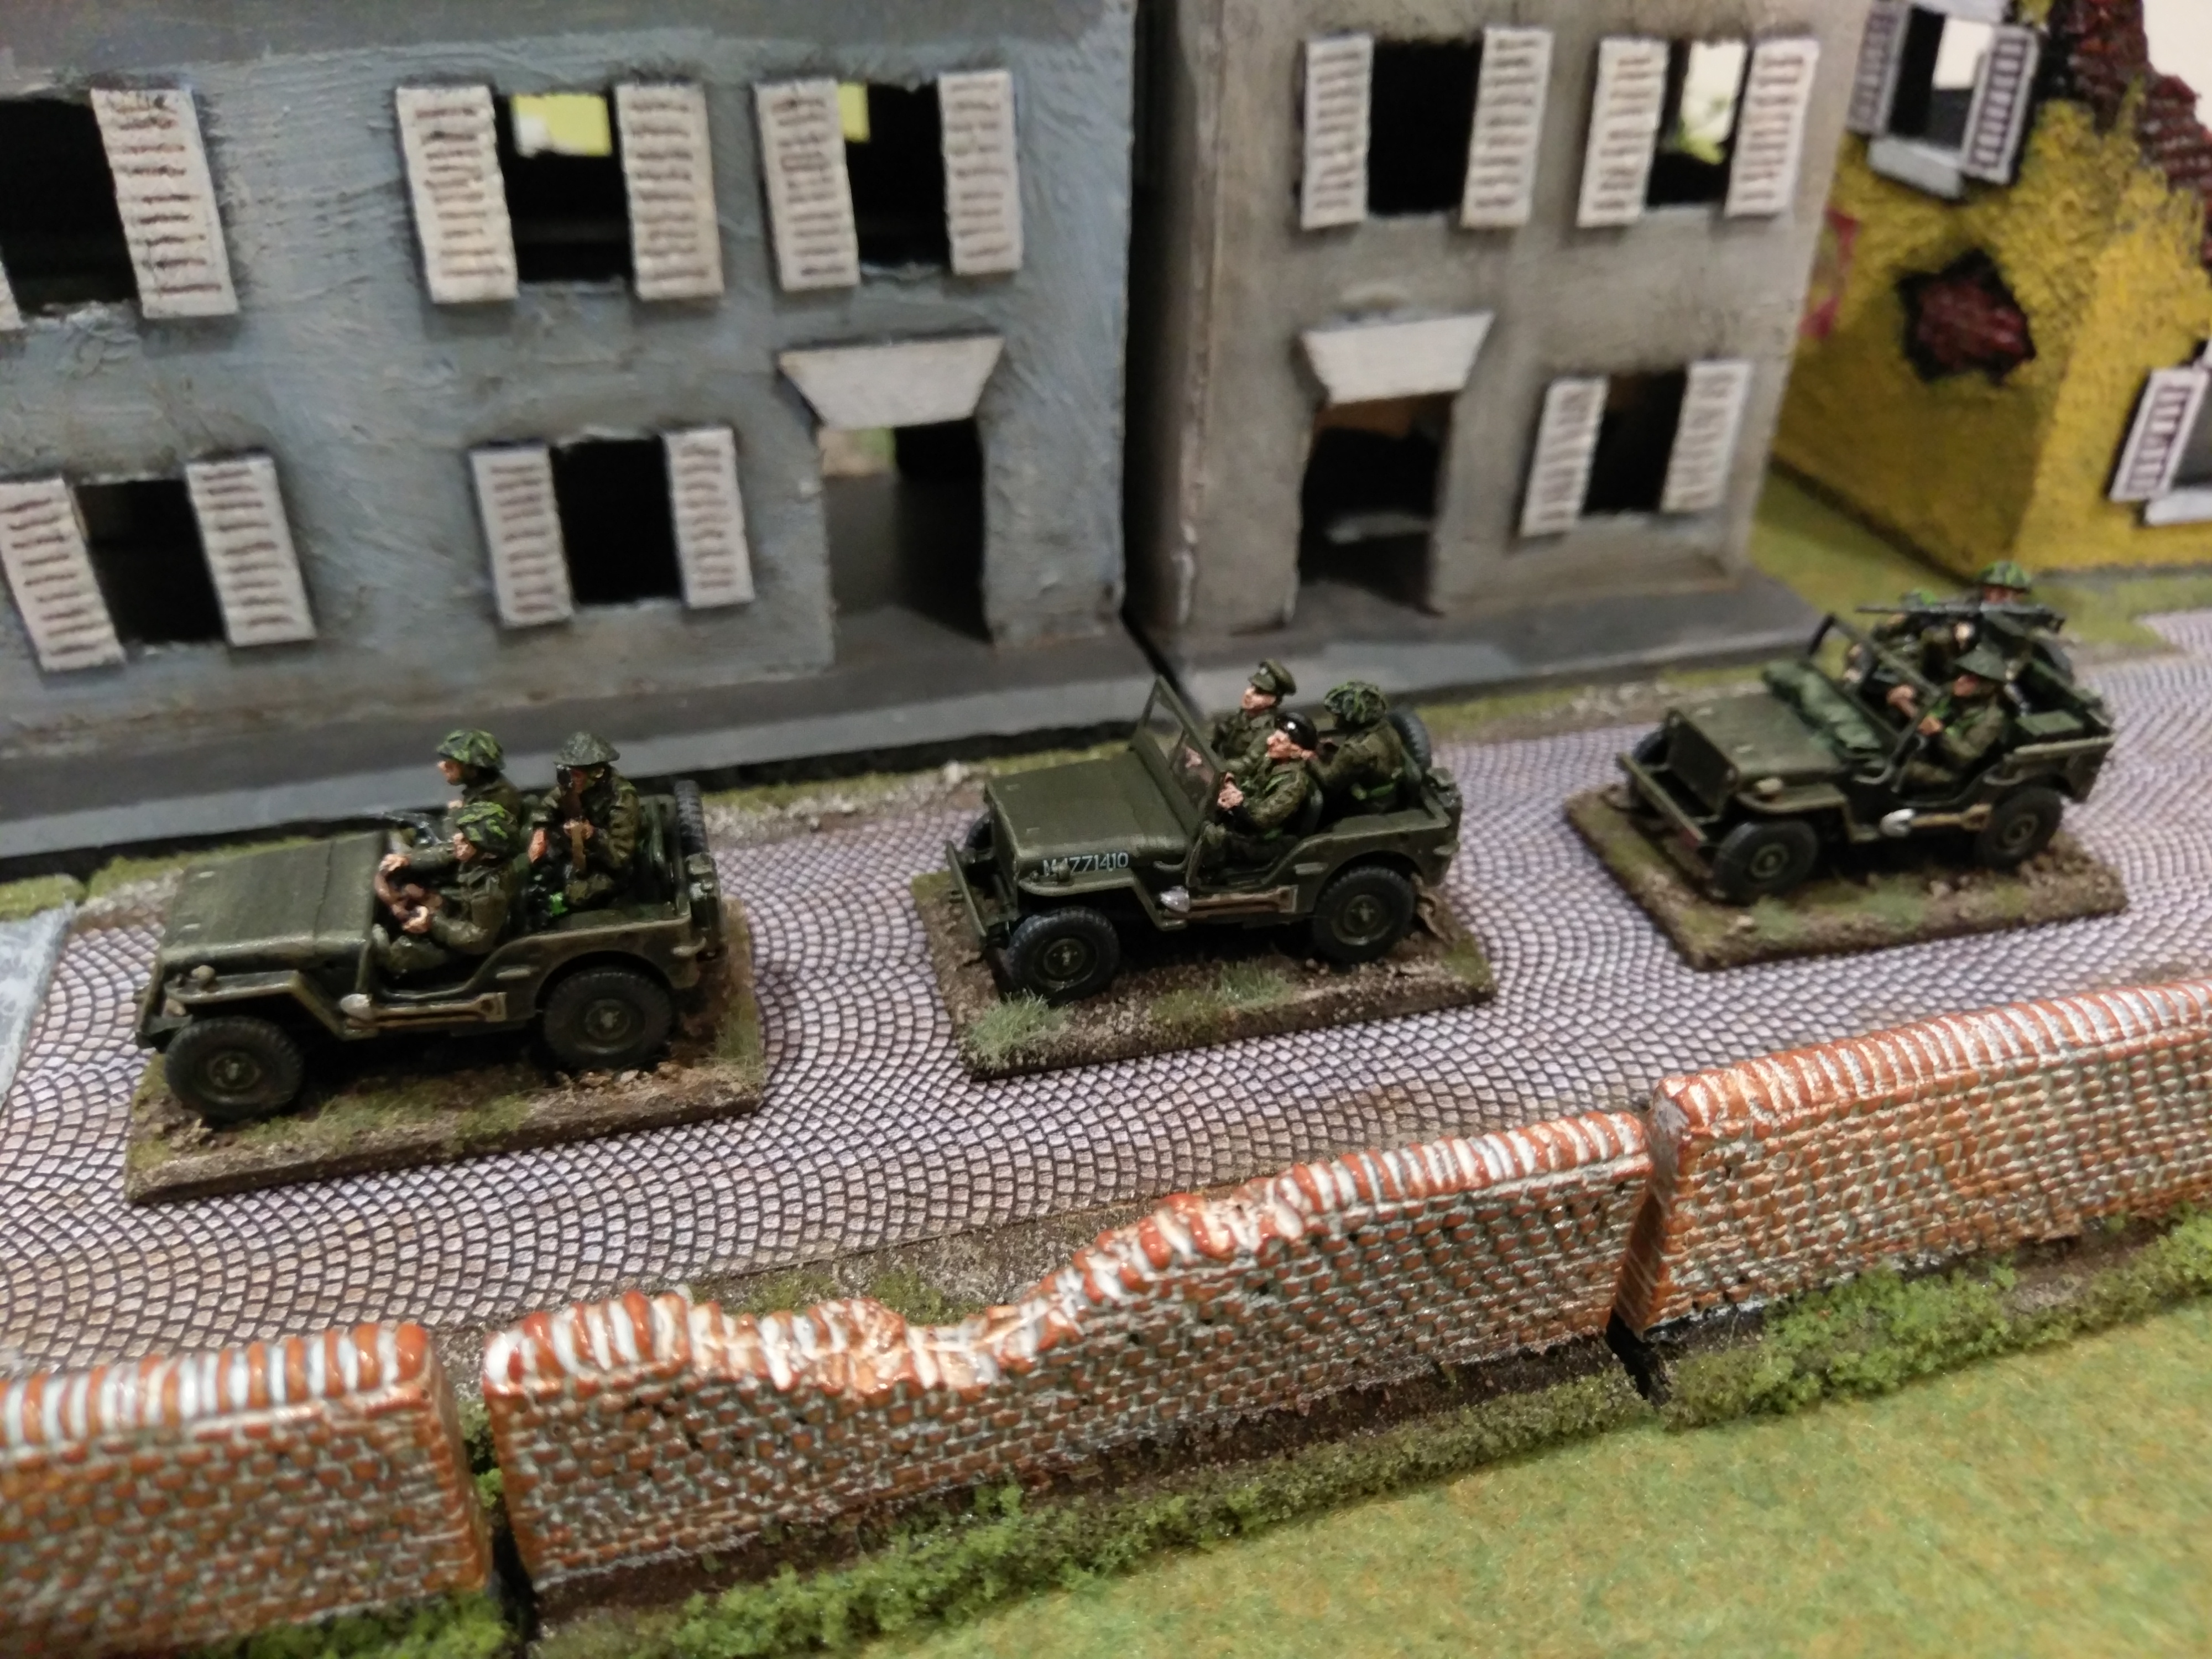
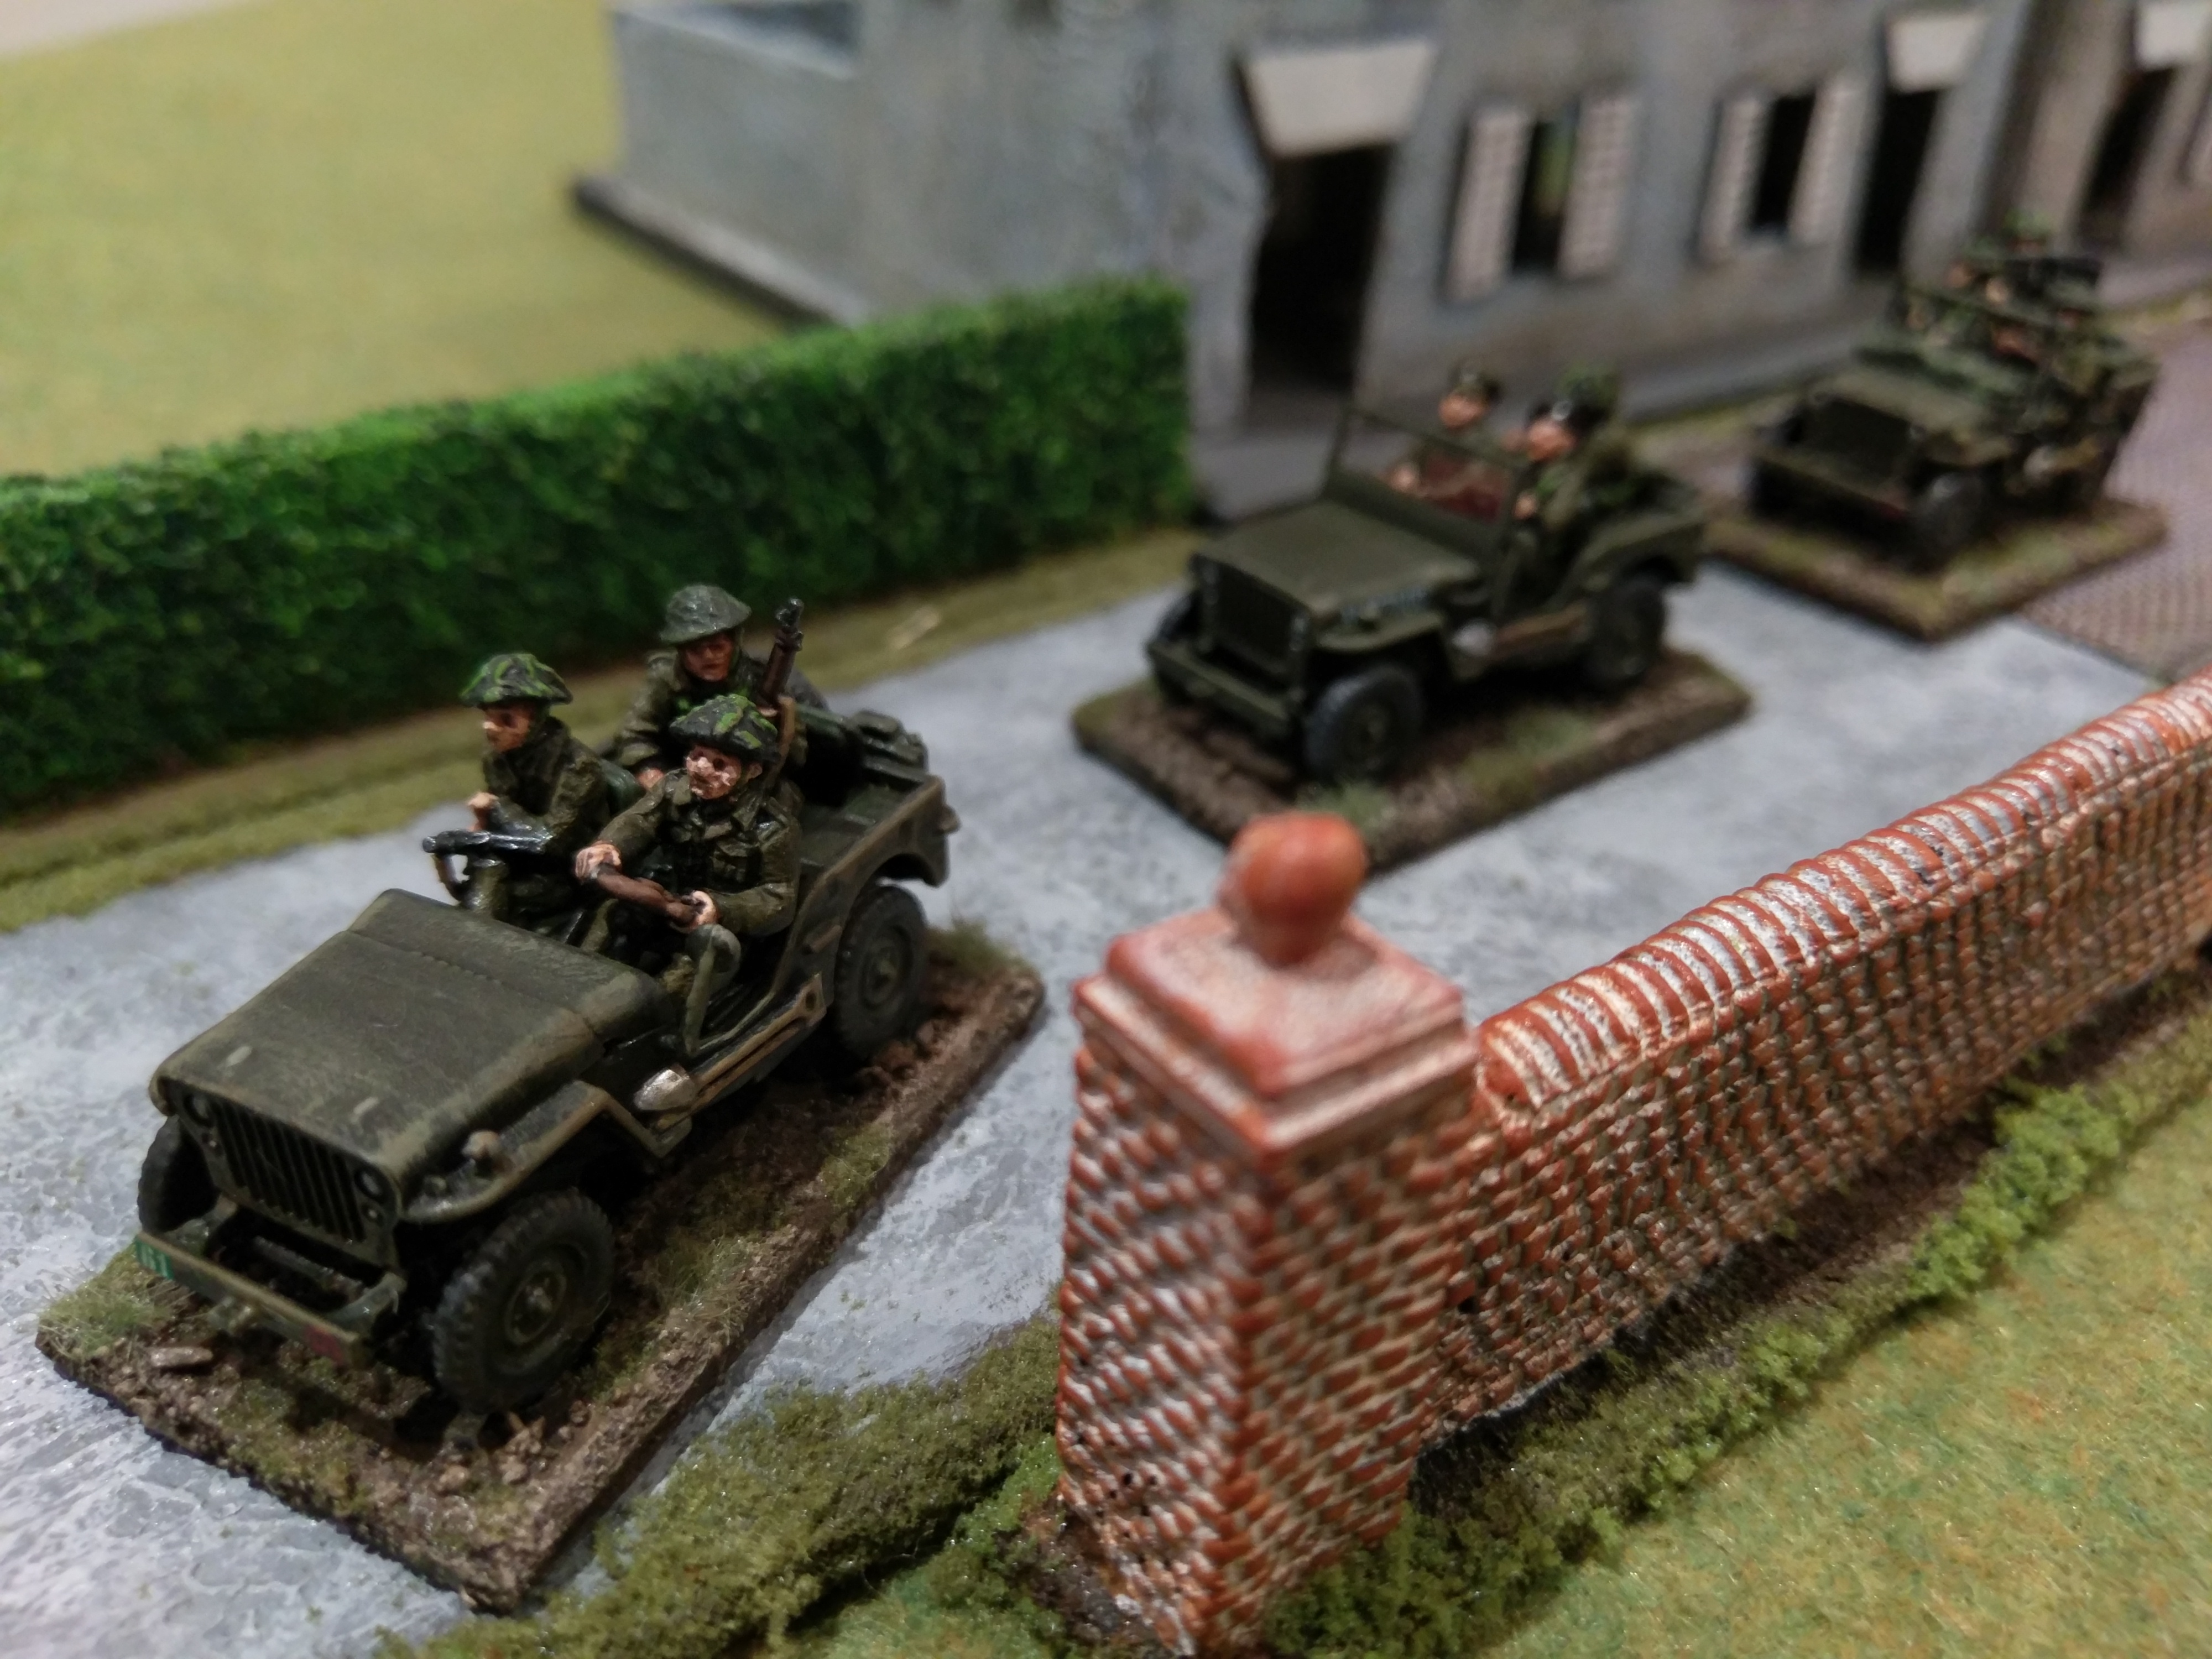
In my battle from Charles Grant’s book, which i wrote about in my last blog, my British forces made very light work of a German tank group. Only losing a brave little Humber scout car the Brits managed to knock out a Puma, two Panzer 4’s, while leaving a third retreating and wounded. The Germans failed their morale before they could even fire up their troop of Panthers! If you are looking for a new set of rules you should check these out. Below are a few snaps of the game showing mainly burning wrecks.

Charles Grant’s “Battle – Practical Wargaming”

While Gavin Lyall’s “Operation Warboard” was my number one, go to rule book, back in the eighties, “Battle – Practical Wargaming”, by Charles Grant, was my silver medal, or my second most read volume. Actually both books were my big brothers, and i just used to borrow them and read them over and over again. I decided to reenact one of Charles Grant’s scenarios from the book. Its a very simple joust between some Panzer IVs and some T34s. I changed it a bit and had a couple of troops of Panthers and Panzer IVs take on a troop of Shermans and a troop of Cromwells.

I based my terrain on the map in the book which you can see below. It gave me a chance to try out my new folding tables i picked up on Gumtree. I also repainted all my river sections with a paint thickening medium to create a wavy texture, then gave them a coat of greeny brown acrylic paint, plus a top coat of gloss varnish. I was really happy with how the end result came out, far more realistic than my previous bright green and blue artificial looking waterways.

Funnily enough my big brother is lining up as the opposition in this little fight. Only 30 years on since i borrowed his book in the first place……… Will post some action shots when battle commences.

The Panther Tank by Anthony Tucker-Jones

Milly from Pen And Sword Books was kind enough to send me a copy of “The Panther Tank”, by Anthony Tucker-Jones, for a bit of a review by Colonel Mustard. The Panther has to be one of the most popular of tanks in the modelling and wargaming world. I don’t know the statistics but if i had a top ten of tanks the Panther would be right there in the run down. Maybe even top five…… That could be a blog post right there.

So as a keen student of the history of the Panther i was very excited to read this concise and picture heavy volume. Only 120 pages long it’s an easy read, but a very entertaining and interesting one. It follows the Panther’s conception, development through various models, its involvement in various theaters of World War Two, and ultimately its successes and failures. Built initially by the Germans to counteract the super reliable and versatile Russian T34, it soon became a crucial part of their war machine. My preconceived opinion was that the Panther was a super successful vehicle, but that opinion appears to be a misconception after reading this. The Panther was fraught with problems from day one and suffered badly from these problems throughout its encounters of the war. Most of the time a high percentage of Panthers were unusable due to mechanical issues. It appears the design was over engineered, hard to repair, susceptible to poor conditions and often manned by untrained crews. I think its firepower and armour were unrivaled, but its reliability, maneuverability and availability were all crucial issues that detracted from its overall success. Mr Tucker-Jones does a great job of going through the tanks history in World War Two, and how it measured up against opposing forces.

I love the large amount of images included in the book which will provide many inspiring ideas for my own Panther tank modelling. It really is stacked full of black and white images of Panthers in various situations, many wrecked or shot full of holes! So anyone with an interest in this distinctive vehicle should grab a copy.

However if you want to win a copy just comment on this post with the answer to my following question: Which version of the Panther was a turret less tank with an 88mm gun? First correct answer will get a copy sent to them by Pen And Sword Books!

Colonel Mustard

IMAG0072

Armourfast Panzer IV

Armourfast make a big range of awesome kits for the wargamer. They come two tanks in the box for not much more than five dollars per tank. You really cannot get any better value than that anywhere in the 1/72 scale world of plastic models. I bought these Panzer IV’s to join my Italeri Panzer IV and make up a three tank troop. I have also previously blogged about the Armourfast Cromwell tanks, i think my first post back in October.

You know what you will get with Armourfast, two sprues (one per tank), and minimal parts. These panzers can be put together in minutes with their one piece track and running gear, two part hull and maybe four or five piece gun and turret. If you are looking for super detailed, accurate models, then these are not for you. But if you want good looking tanks, affordable, quick to build and ready to roll onto the table, then these are a great product.

Best thing is you can dress them up a bit and add some bells and whistles. Adding some stowage items, a commander in the open hatch, and some decals really makes up for the basic detail of the kits. I added my own stowage from SHQ and Value Gear, commanders from AB figures and Battlefield miniatures, plus decals from my growing bag of spares. I tried out a different camo scheme, which is more of a blotchy three colour as opposed to my usual stripey ideas. Aerials also added from stretched sprue glued into the thoughtfully provided holes.

Overall another great offering from Armourfast and makes me want to run out and try more of their kits. Photos below as my brace of tanks enters the edge of town looking for a scrap……

IMAG0064 IMAG0063 IMAG0065 IMAG0066 IMAG0067 IMAG0069 IMAG0070 IMAG0068

SHQ Miniatures 17 pdr Gun with AB Crew

After hunting around for a plastic model of a British 17 pounder anti tank gun, i soon realised that the choices i had were severely limited. In fact, i could not find one option for a 1/72 scale 17 pdr gun in plastic anywhere. So in my quest i had to turn to metal manufacturers, which was against my self imposed rules, but i had little choice. On reflection i am happy to break my rules on metal for figures, so why not for anything else?

SHQ make a huge range of everything 20mm for World War 2 and i picked up there 17 pdr for eight pounds fifty. I think after Brexit i may be purchasing more stuff from England in the future if the pound keeps depreciating. The gun is nicely detailed, well moulded and easy to put together with a bit of superglue. I think the model came in about ten parts maximum, so it didn’t take long to build. My crew figures are from AB Figures which is no surprise as they are far and away the best figures you can find.

I cut the base and placed the gun and crew on there first to get an idea of positioning. Then used modelling clay to build it up a bit before gluing the crew on, leaving the gun off. I find this makes it easy to paint the base and the crew before gluing the gun onto the base last. The gun was base coated black before a spray with olive drab. You get some ammo boxes and spare shells with the AB crew so i spread them around the base too.

The 17 pdr is an essential addition to my under gunned British company, especially when they come up against the bigger German tanks. Here he is taking up a defensive position in a French village.

Laser Cut MDF Buildings by In The Greenwood

I had been scratch building all my own Normandy village constructions, but felt i needed to try out something professionally made to balance things out. Oh and i have also got kind of tired of foam board, balsa and modelling clay. On my internet travels i stumbled across the In The Greenwood Ebay shop and then their own web site at http://www.inthegreenwoodlaser.co.uk

They do a range of laser cut MDF buildings in HO scale which are excellent value compared to other companies i had a look at. At around $20 Australian per house i thought this was a pretty good deal, so i ordered three of them. Although I think they are aimed more at Railway people, and are not actually French but rather Victorian, i reckoned i could make them fit into my Normandy landscape without too much problem!

As with other HO Scale manufacturers i have investigated i was worried these buildings would come in too small compared to my own creations and also my range of 1/72 scale models and figures. What a happy chappy i was when they came in around 120mm tall including my extra MDF base and fit perfectly with everything else i had made. The kit comes Ikea style in a flat pack box, amazingly packed in. So i got to work building my first one which was the Victorian Pub. I decided to make it as a restaurant instead.

All the pieces are very cleanly cut and i only had trouble with the bay windows at the front, as the holes in the bottom section did not match up with the holes in the top, so i had to do some carving to get it all to fit together. The instructions follow a step by step process which are a little hard to follow as there are no diagrams, but as long as you are not Stevie Wonder wearing boxing gloves you should be OK. The whole kit goes together with a bit of PVA glue. I added an MDF base to keep it all together, and to create a garden area at the back. One great thing is that the roof can be left removable which is perfect for all you wargamers! I did add some supports inside the roof to give it some extra strength.

My Brasserie painted up nicely and i added a sign on the front and a Martini ad on the side wall, both ideas i borrowed from other designs i have seen out there on the internet. Overall these are great little kits and fit nicely into my village, i am looking forward to making the other two kits i purchased. Check out my village photos below and you can see the MDF constructions fitting nicely into my assortment of home made houses

Airfix Willys Jeep and S-Model Willys Jeep in 1/72 scale

The Willys Jeep is an absolute essential to any Allied army group, and let’s face it they are one of the coolest vehicles of World War Two. I just want to keep on buying and building more and more jeeps! You can never have enough jeeps in my opinion, great for loading up mortars, MG Teams and officers who don’t want to get their boots dirty!

The two models i first got my grubby mitts on were from S-Models. Two kits in a box and good value for what you get. You can build your jeeps with a canvas roof or without and a 50 calibre MG instead. The detail is pretty amazing but that does mean the model is quite a fiddly prospect. On both kits i managed to destroy the shovel before even getting it off the sprue. I also managed to snap at least one axle just during removal. The kit also comes with some photo etched parts which get really tiny. It’s worth the effort but you need to bring your tweezers and patience to get it done. The S-Model jeep is excellent and i would highly recommend getting a few. In picture two the S-Model is on the far right.

I also picked up two Willys Jeeps from Airfix and was just as impressed. Less detailed and simpler to put together, compared to the S-Model kits, the end result was just as good. If you prefer an easier kit with less fragile parts then the Airfix kit is for you. The box includes some extras with a pack howitzer and a trailer, which are an added bonus! The Airfix kit comes with a transparent front windscreen and frame, one of which i managed to destroy in an attempt to mask it off while spray painting. I just left it off the completed jeep and i think it just adds to the battle torn look.

A few extras were added to my vehicles including some stowage from various sources like Value Gear and SHQ. I needed some British crew and drivers and as usual AB Figures have the best jeep riders you can get! A great set includes drivers, officers and various poses for passengers.

Photos below, convoy on the move and some parked poses shots!

IMAG0029 IMAG0028 IMAG0027 IMAG0030 IMAG0031-1 IMAG0034 IMAG0032

Trumpeter Stug IV in 1/72 scale

Time to look at another cracking little kit from Trumpeter, who are fast becoming one of my favourite manufacturers. This time it is their Stug IV. Previously i had made the Dragon Models version of this cool tank and have included some photos of both of them together below as a comparison. Cost wise Trumpeter kits are approximately half the price of Dragon kits, but definitely not half the quality. This Stug IV is no exception.

The simple nature of the tank design, with no turret, means the kit is also quite simple. The most complicated and time consuming part is putting the wheels and running gear together and attaching them to the lower hull. The upper hull and armament are pretty straight forward but still have plenty of detail. The tracks i gave a good stretch before painting them and attaching them after the tank was completed and painted. Everything fitted together very nicely and the kit was smooth and painless to make. Just how i like it. To add some interest i put on a heap of boxes and other kit on the back of the tank. I have seen various photos of Stugs carrying all sorts of stowage, so i used some extras i had from Value Gear. If you haven’t tried out some of their stowage packs i can highly recommend them!

I finished the whole thing off with a dark green camouflage scheme to match my other Stug IV. Pictures follow, some individual shots of the Trumpeter kit and also some with his Dragon counterpart. They make a good team!

Roden Opel Blitz

The backbone of the German army’s transport and logistics was the Opel Blitz. For 20mm plastic modellers and wargamers i don’t think we have a lot of choice out there for variations of this super popular truck. I tried the fast build kits from Pegasus, which are good, but lack much detail, and have yet to try the offerings from Italeri or Fujimi. So i turned to my first encounter with a plastic kit from Roden. The box art is great, so i had to include a photo of that to start with! Its also a big box with one big grey sprue and a couple of small ones.

IMAG0005

This kit was really fun to put together. It all starts with a tiny engine you have to build complete with fan and radiator. Unfortunately this part is all covered up by the cab when assembled, but cool to build nonetheless. The chassis, engine, axles and wheels all go together, followed by the cab and the rear. You can build versions with a covered back, as pictured on the front of the box, or a version with an open roof. I opted for the open version as i am planning to fill it up with some SS troops from AB figures hitching a ride. I did paint a couple of drivers, again from AB, who are happily sitting in the cab.

The level of detail on the outside of the truck is just excellent with wing mirrors, headlights, pioneer tools etc. Roden also give you clear plastic for windows if you want to use them. I managed  to balls up my cab placement too far back on the chassis and had to mess around a bit to fix it up. Based on MDF, textured and flocked as usual. This was a really nice kit to build and much better than other Opel Blitz models i have made so far in this scale. Check out my photos (with a new camera phone which is much better than my old one it seems).


SAS With The Maquis

For a bit of a change for Colonel Mustard this week I was given the opportunity to review some military history books by Pen & Sword Publishing in the UK. I picked out a very interesting title about an SAS unit fighting behind enemy lines in France in 1944.

Ian Wellsted writes an excellent first hand account of his activities with the SAS, in conjunction with the Maquis, or French resistance, in enemy occupied France. The narrative is quite riveting from the moment Ian and his few men are dropped into the French countryside, all the way to their repatriation to England by American forces a few months later.

Their adventures include many successes and failures along the way including blowing up railway lines, destroying bridges, ambushing enemy forces and various other missions. The spirit and bravery of all the men involved is certainly captured by Mr Wellsted, both SAS troops and French fighters alike. With limited resources, quite often just a broken down old car, maybe a few men and a bren gun, the results they achieved were amazing. Although it feels like a great adventure you never lose sight of the fact that this was a war and that people were dying around them. Danger and death are never far away, but this doesn’t stop these brave men from continuing their missions to disrupt German logistics.

It’s a great, absorbing story. British Jeeps charge around the French countryside, avoiding enemy units, teaming up with French civilians, aided by frequent resupply drops of equipment, then planning and executing operations (with varying degrees of success). Anyone interested in true acts of bravery under very difficult conditions should read this, so i can wholly recommend checking it out.

You can find this and many other titles at www.pen-and-sword.co.uk

IMAG0003