Waffen SS Set 1 by Pegasus

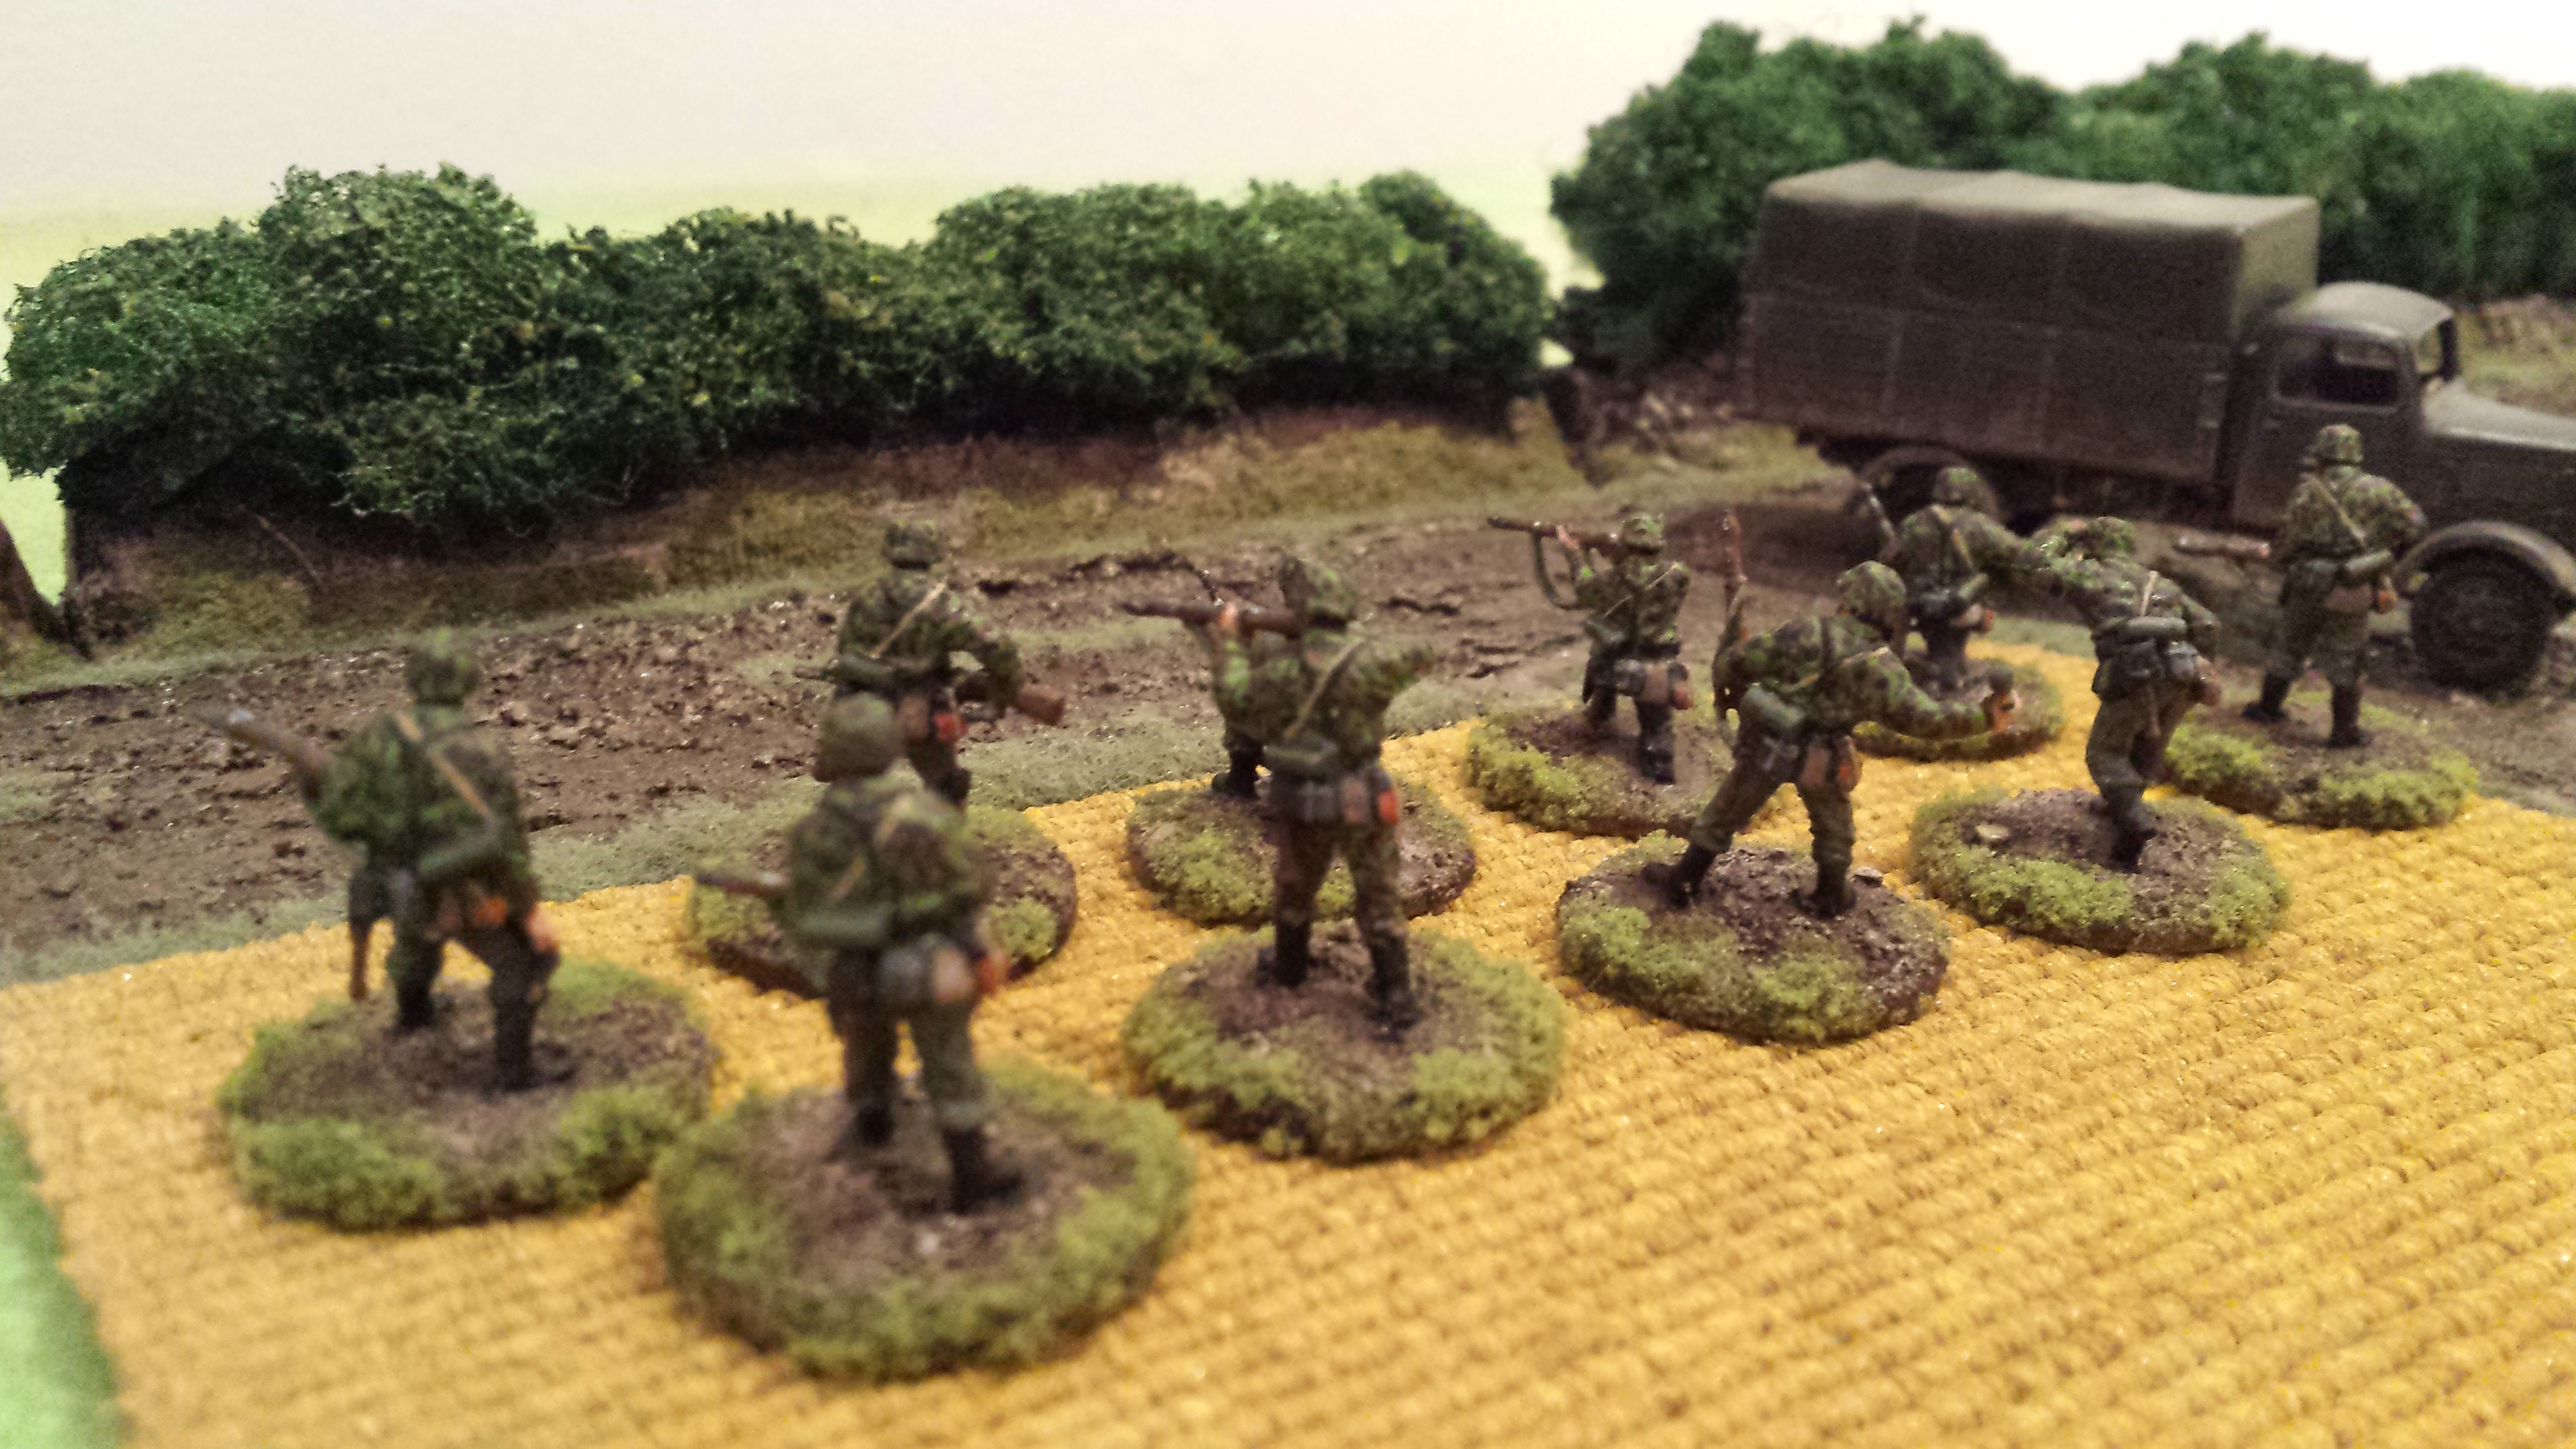
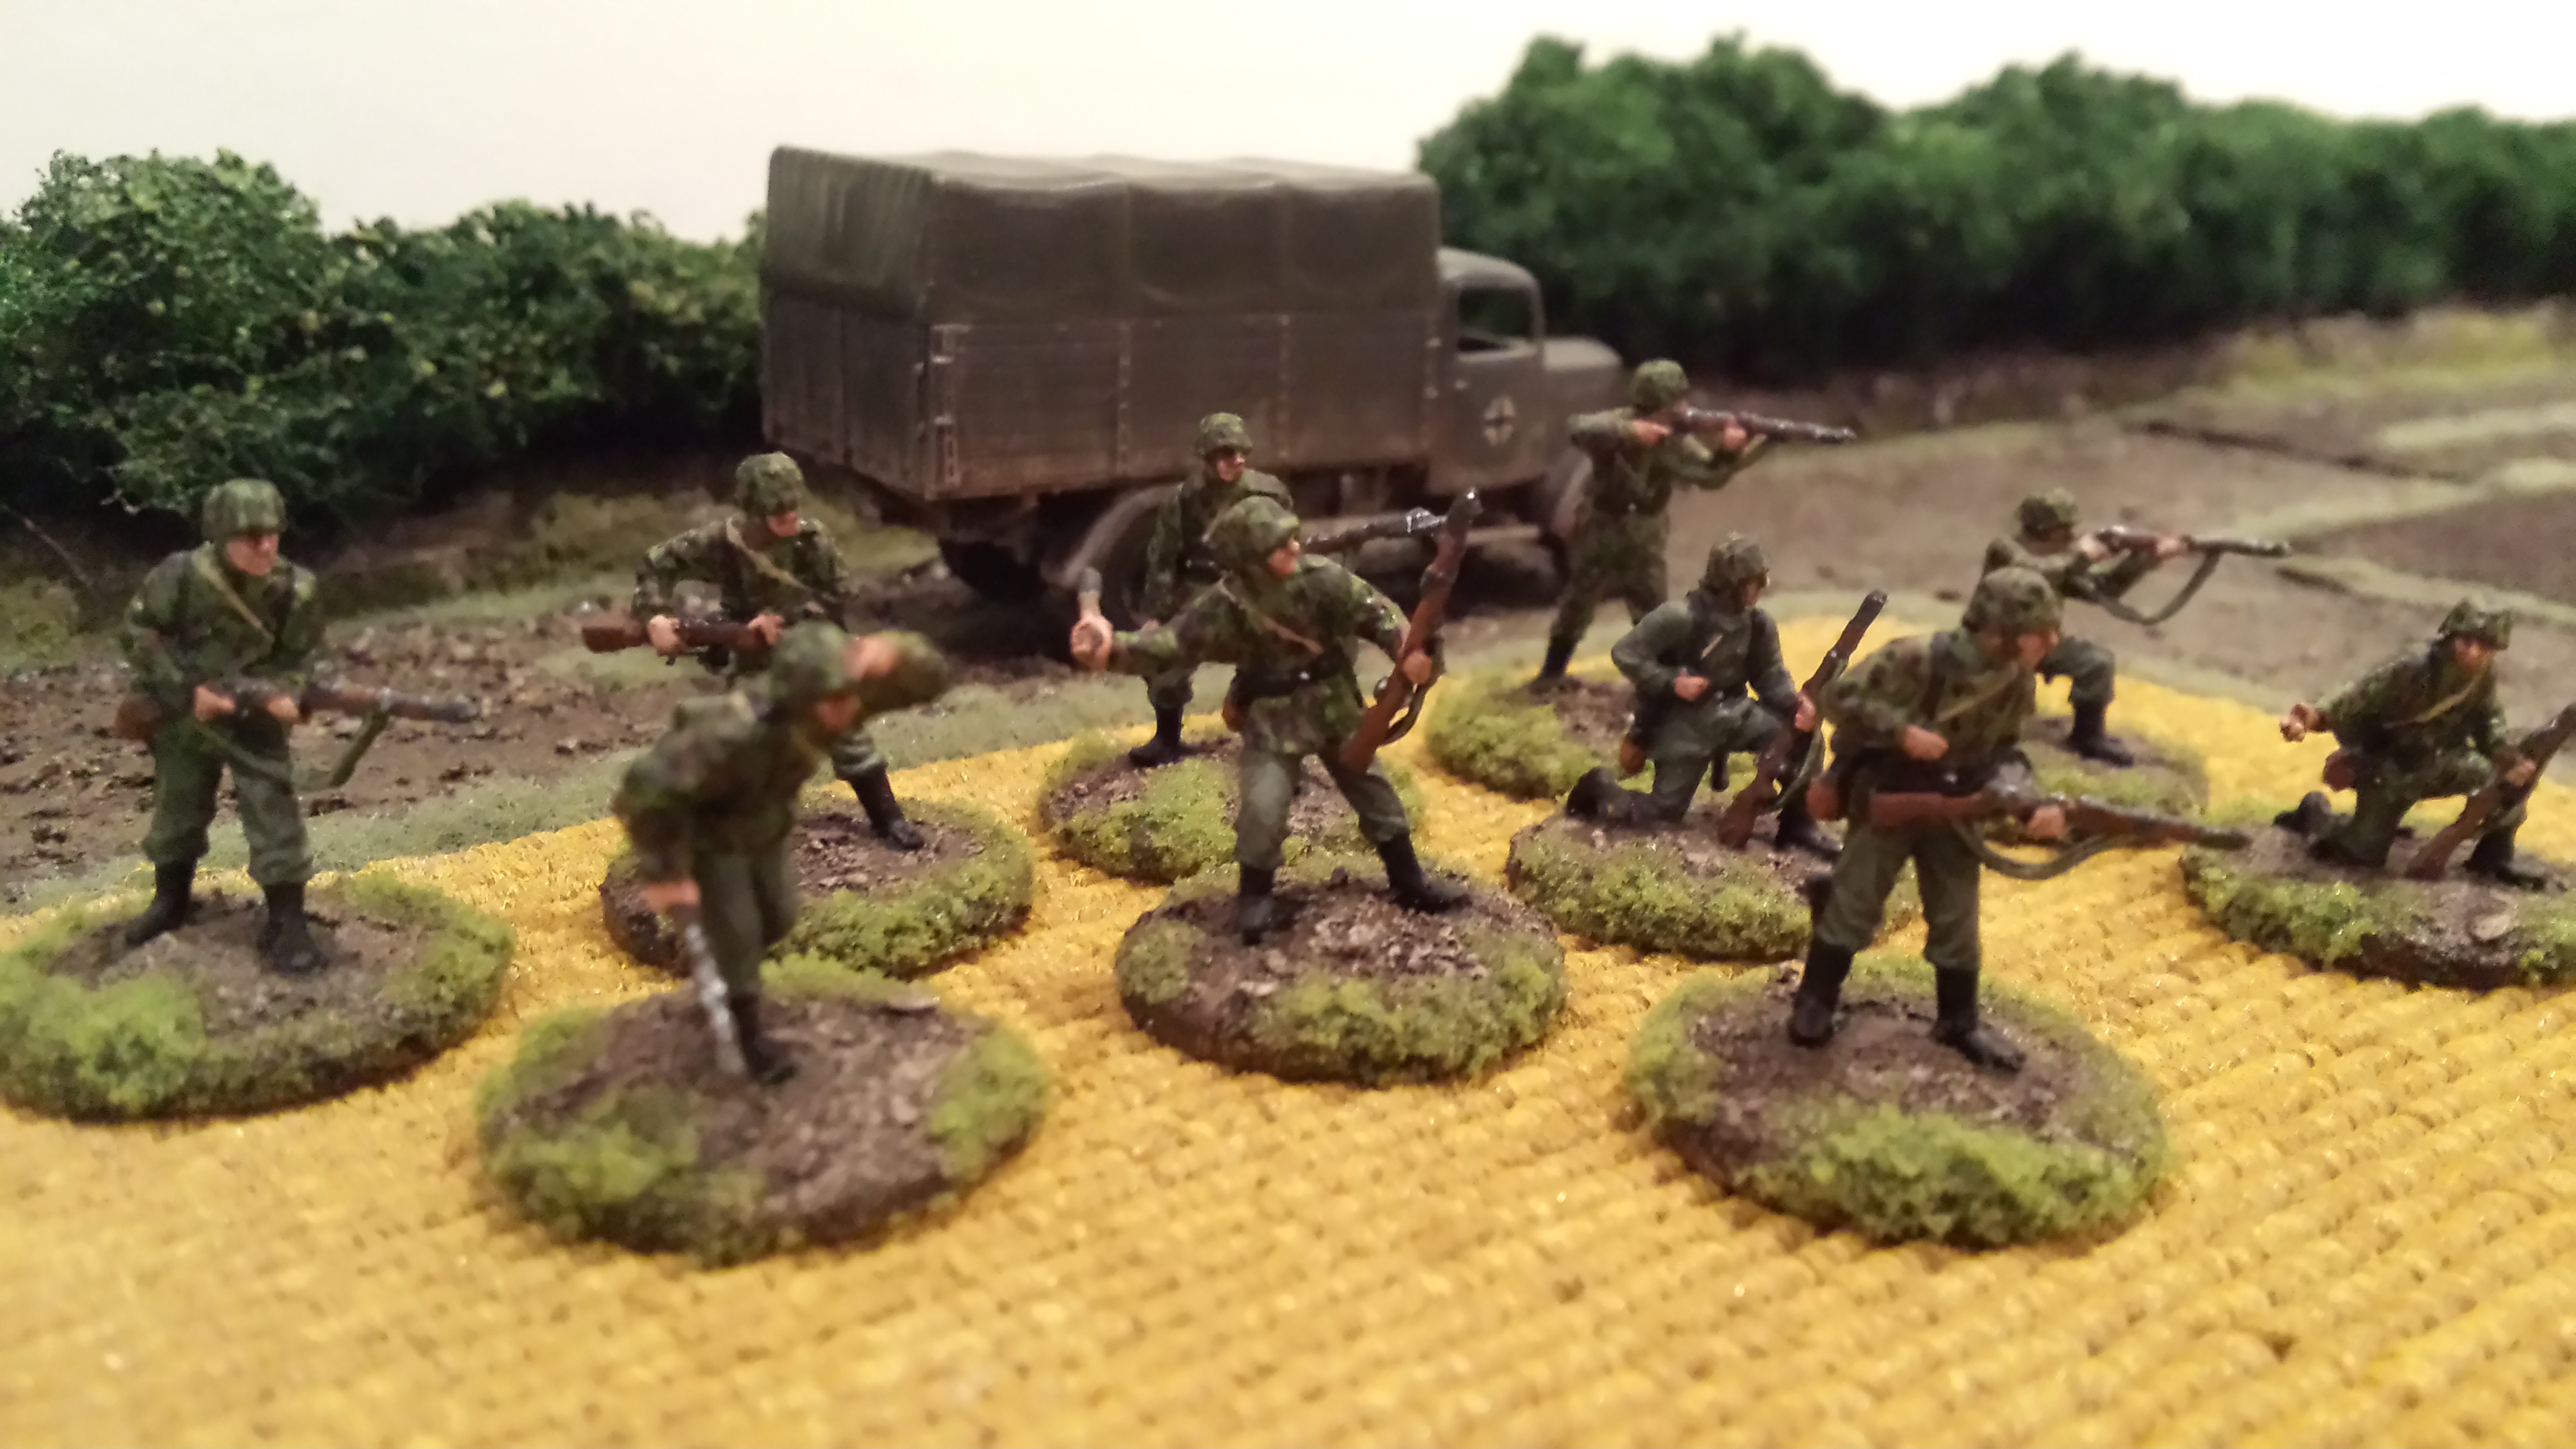
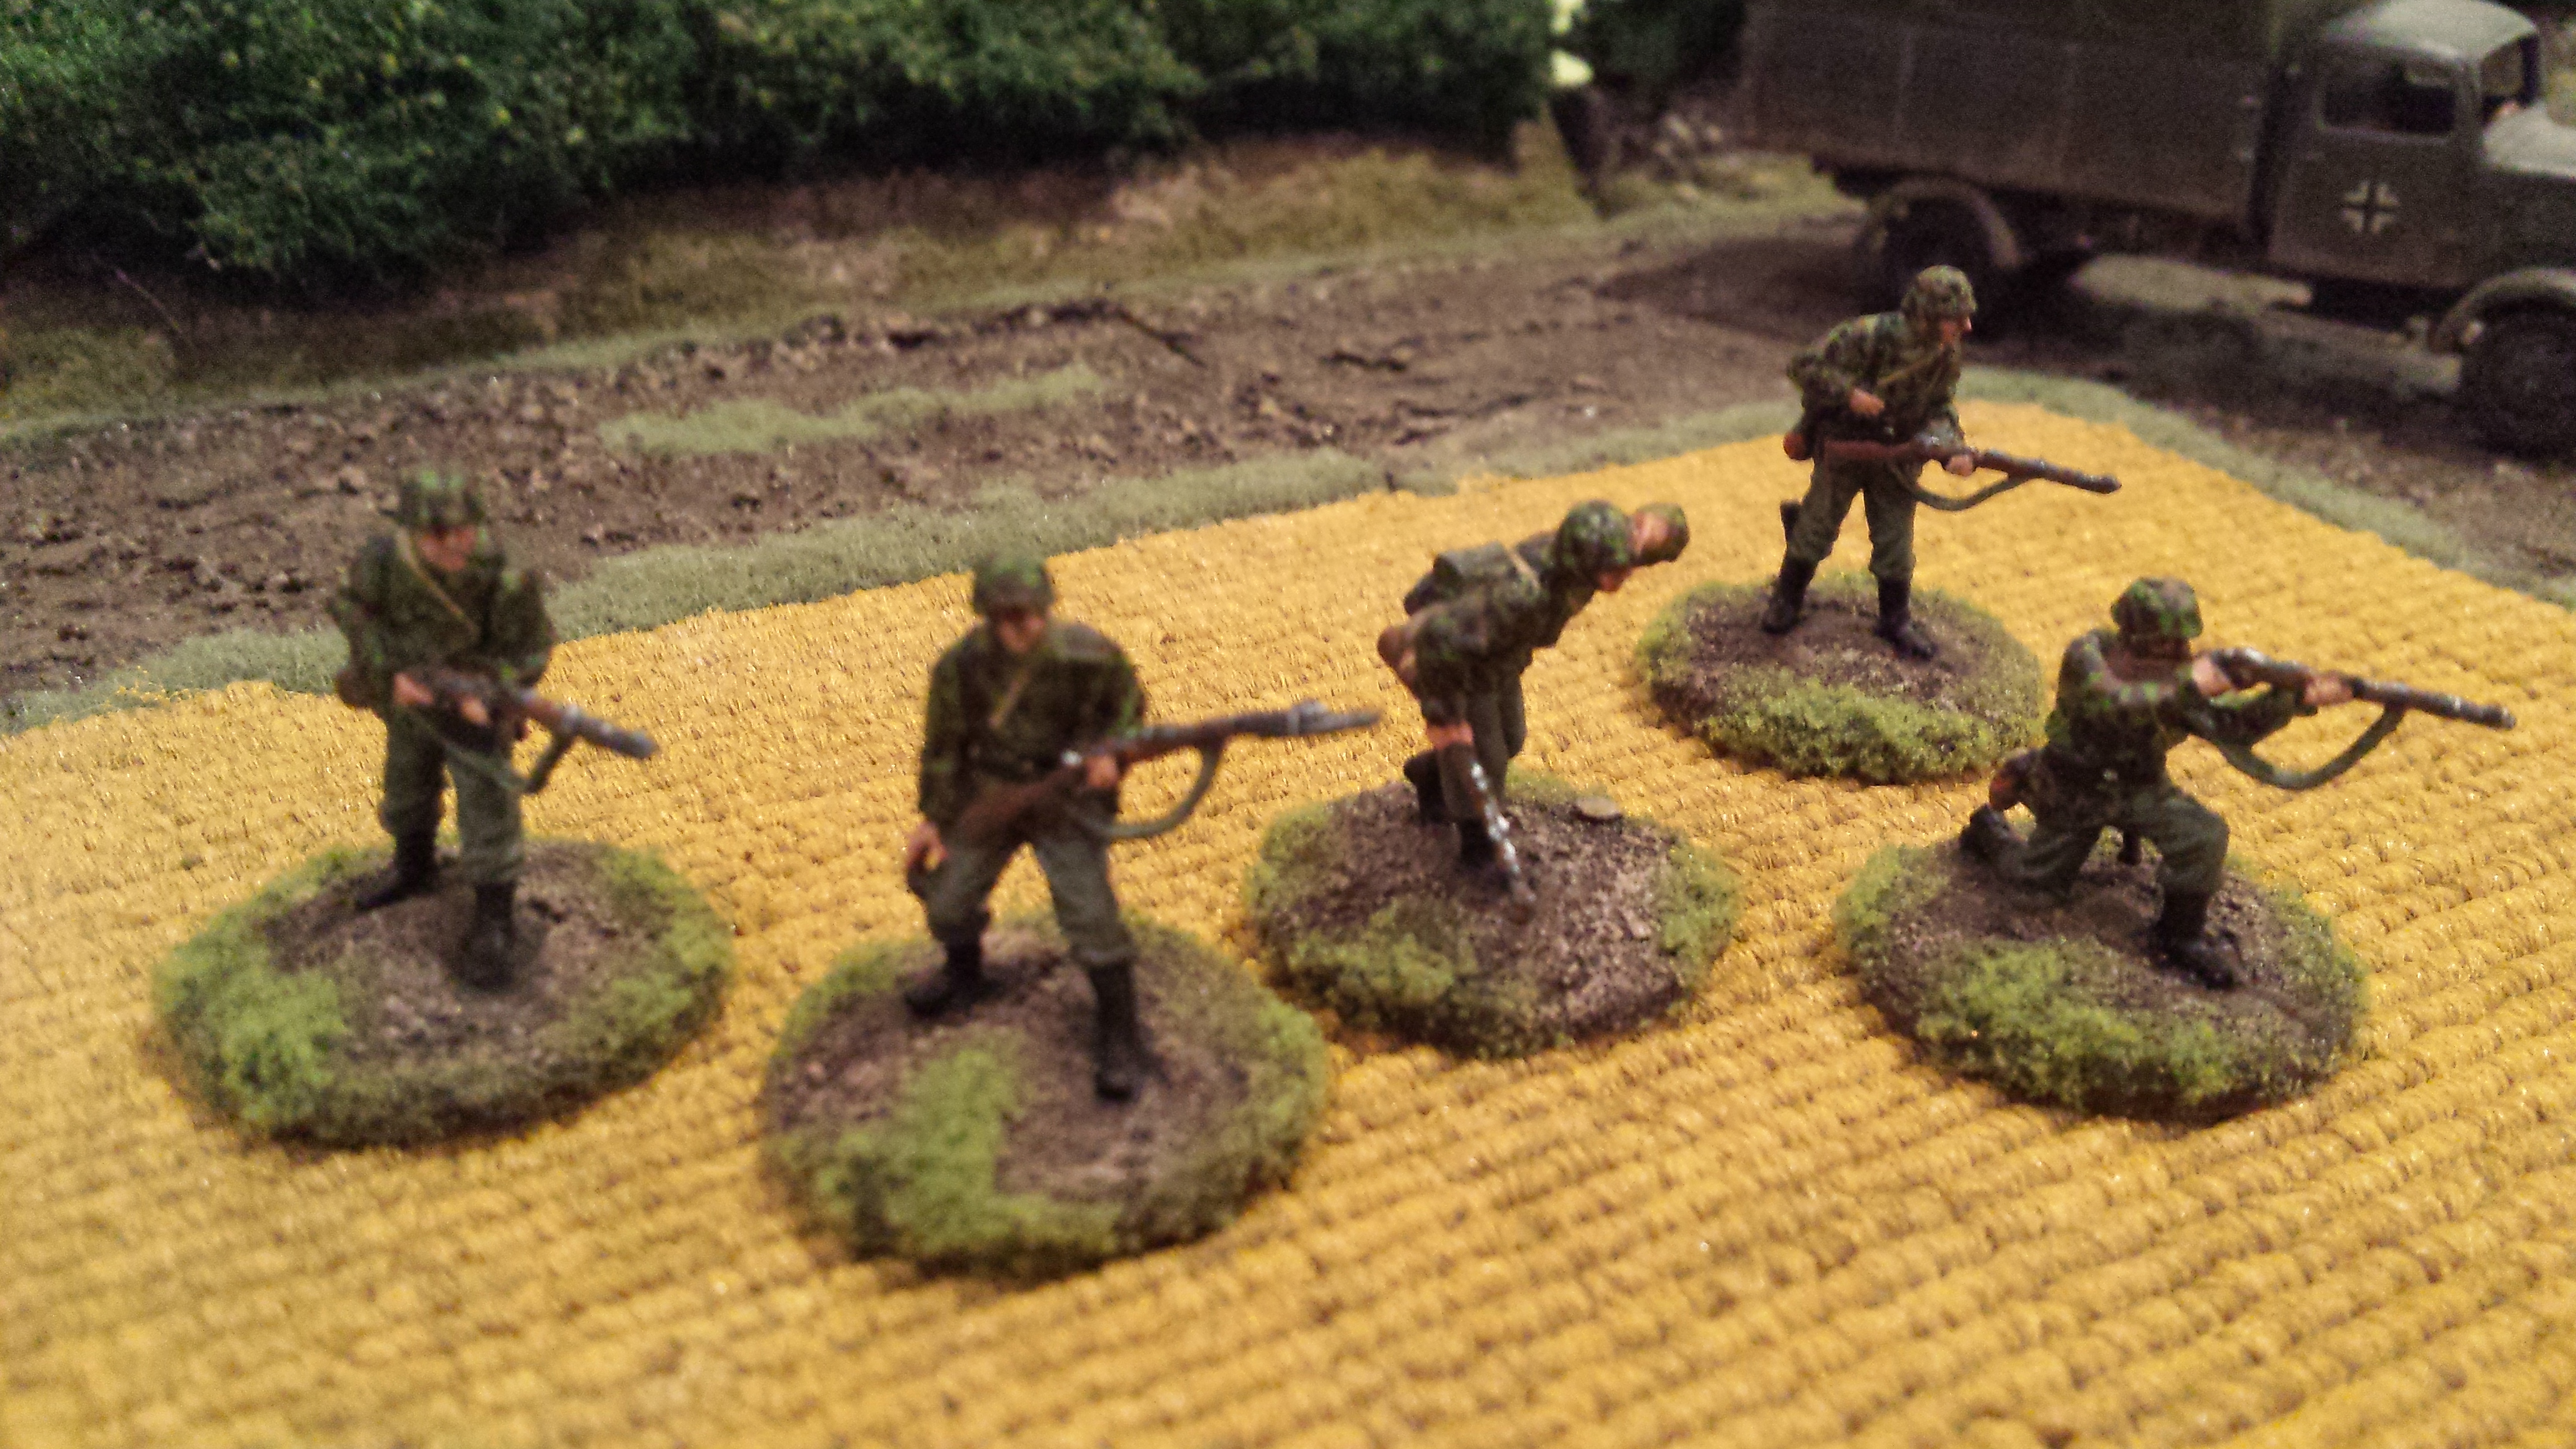
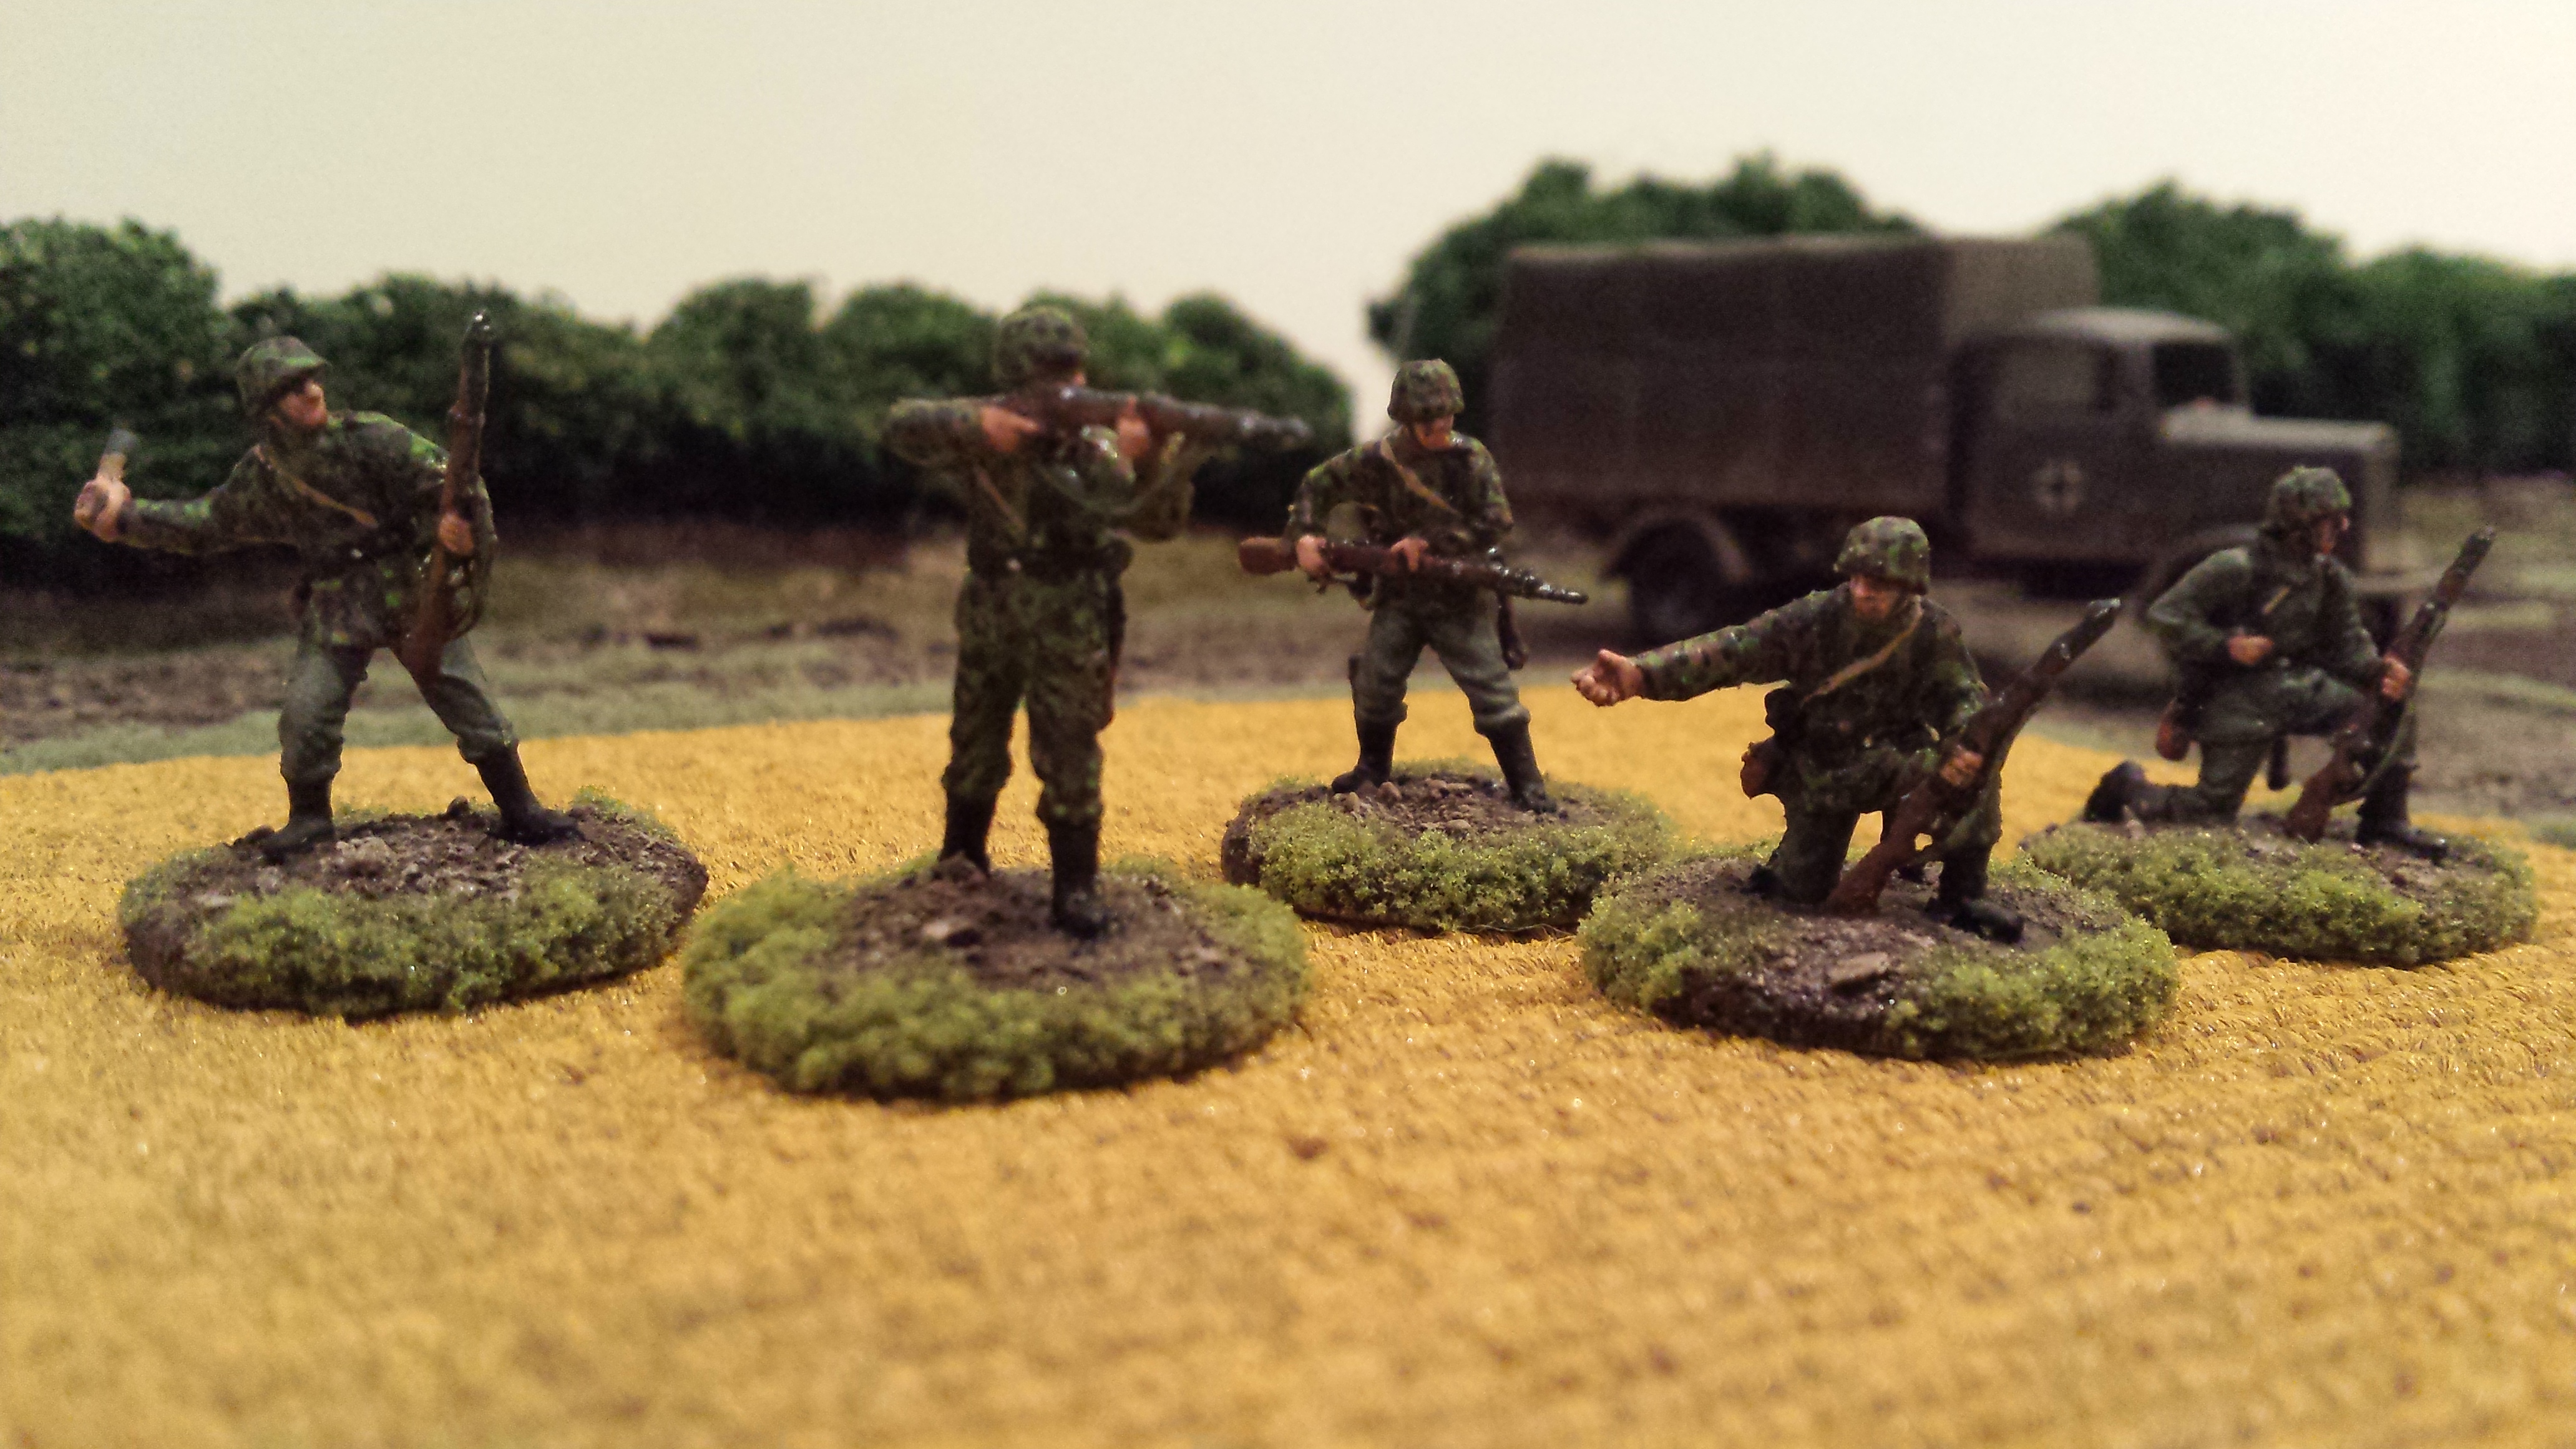
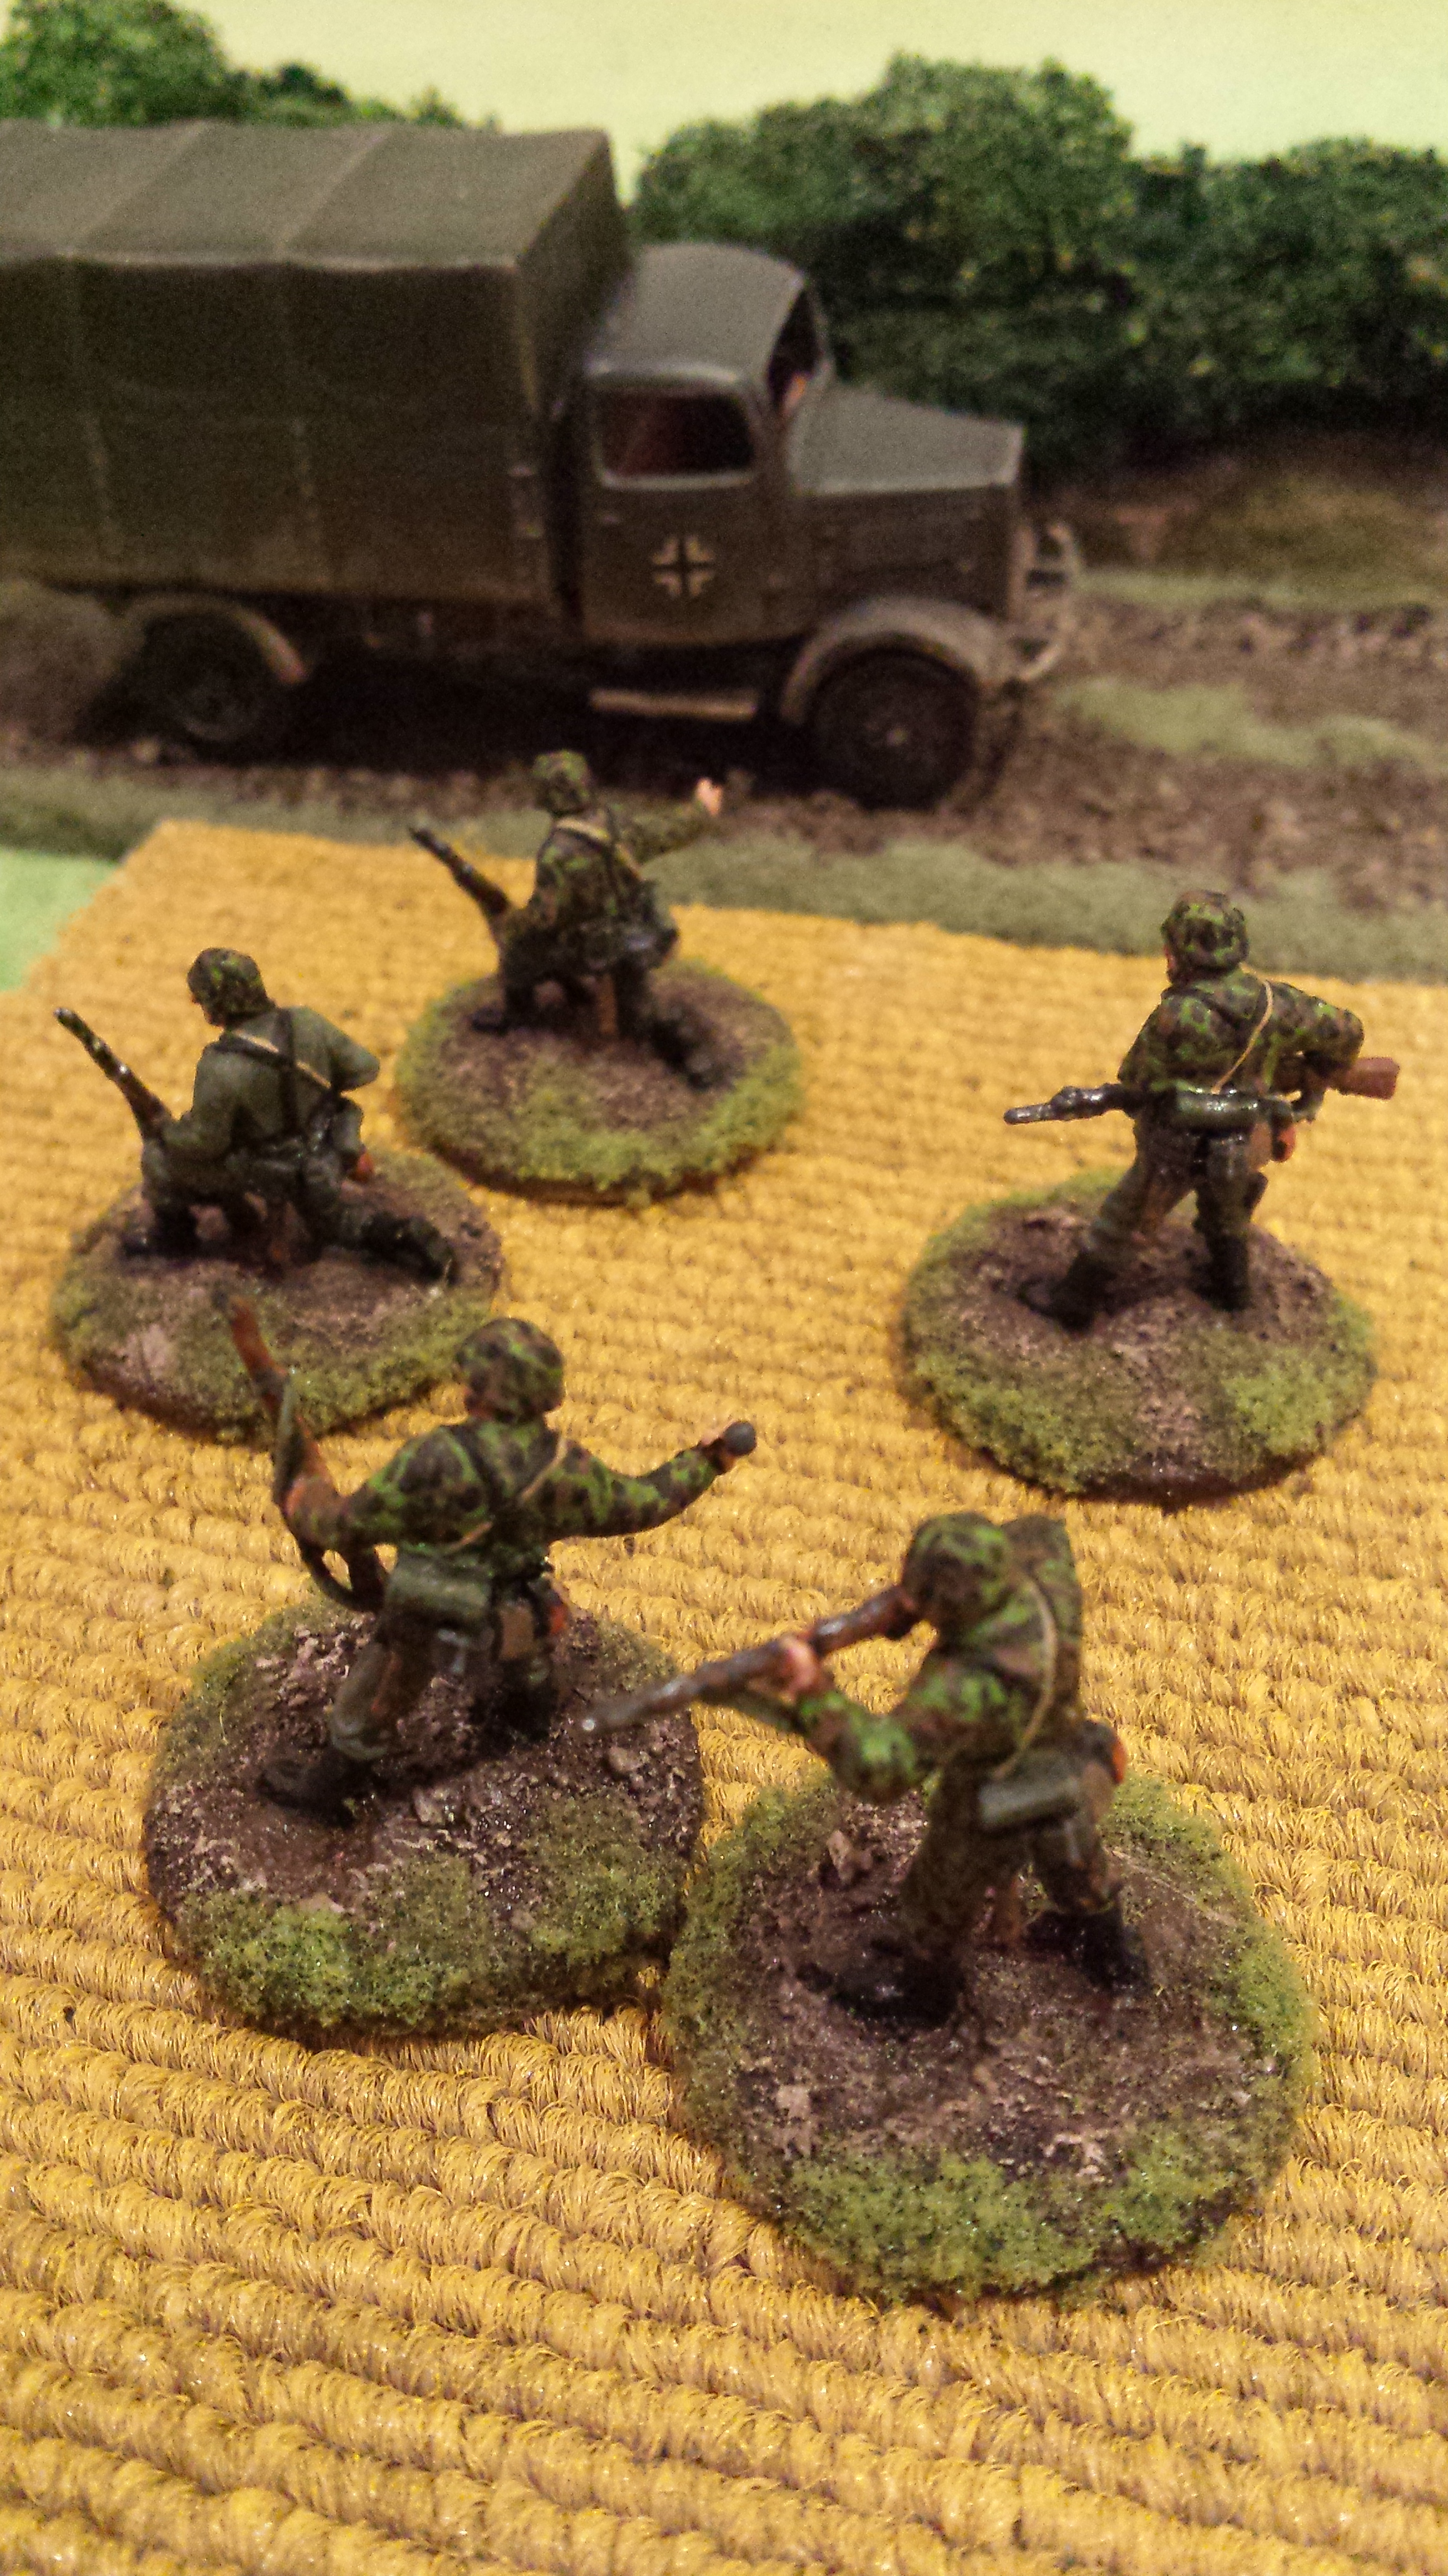
I thought I would post some pictures of a couple of squads of troops I painted from the Pegasus Waffen SS Set 1 figures that I picked up from Hannants a while back. Its an awesome box of forty or so German infantry. Plenty of rifles to make up your squads in plenty of different poses. I think these are the best figures in plastic for 1/72 scale you can get. Great detail, great variety of poses, and really easy to paint. I have set 2 somewhere in my stash which I will get out and paint some time……..

In the background is another Pegasus offering, one of their Opel Blitz trucks. I think the best value Opel truck you can find in 1/72 scale on the market today. A box of two costs around 8 pounds. Simple models, but perfect for wargaming.

My painting of these guys is my own interpretation of German camouflage schemes, somewhere between peadot and oakleaf… I wasn’t too bothered which, but was happy how they turned out. I use a base of a bright olive green, then do adjacent patches of red brown and dark green. Then go back over with smaller dots of brown and dark green. Finally I put a bunch of tiny bright olive green dots across the whole thing. I do all the camo first so you can just paint the webbing and straps over the top. Pants were field grey from Tamiya paints. Painting German camo is a labour intensive job but I was happy the way things turned out with these lads. Some pictures below! Its hard taking photos of men compared to vehicles, I think I need a better camera. Or a better phone…….

20151028_193212 20151028_19295920151028_19334620151028_193547


20151028_19434120151028_194037 20151028_193911

Ruined Two Storey Normandy House

I spent the last week working on a two storey ruined building for my Normandy village. After struggling with various different materials and techniques it all finally came together after more research and trial and error. I roughly copied a design from a terrain manufacturer as some inspiration. My usual dimensions for a 1/72 scale building are 40mm per floor, or twice the height of a regular man at this scale. Then the roof section i make the same height. So a two storey house will be 120mm high. Doors i tend to go 30mm high and windows 20mm square. These measurements all seem to work out well. I use 3mm MDF for the base and 5mm foam core for the walls. Both products are so cheap it makes building houses a really good option compared to buying, if you have the time…..

Once i had the structure cut out i removed sections roughly to create the ruined look before i PVA glued the thing together. Foam core is great as you can remove the card carefully and carve brickwork into the exposed foam with a ball point pen. The render effect on the undamaged walls was made using regular sand from the playground across the street mixed with a paint thickener i found in my art cupboard. PVA glue and sand would do the same thing. Window and door lintels, shutters and doors were all made with balsa wood glued on. The roof was constructed from balsa strips, as were the removable floors. I used modelling clay to make a bunch of roof tiles and also little bricks to create piles of rubble around the edge of the house.

Oh yeah and i forgot the wall paper you can see on the second floor was wrapping paper i found in our house that had a real retro feel and made the whole thing a little more interesting. Check out the photos. There is even a lonely private from the Durham Light Infantry (AB Figures) hanging around in the smokey ruins…….

20151023_200547 20151023_200753 20151023_20082220151023_200155 20151023_200844   20151023_20140520151023_20104320151023_200909

Italeri Panzer 4

Another kit that arrived from Lucky Model was the Italeri Panzer IV. I think it was around USD 8.99 for the kit, which I thought was a good deal considering this kit is listed as over 8 pounds on most British web sites and Italeri wont ship to Australia…… I wanted some Panzer IV’s to go with my Panzer III’s, and Panthers. The Panzer IV at least gives my British Armour a fighting chance in a fist fight.

Anyway the kit looked pretty good out of the box, but after building the awesome S-Model Panzer III’s this was a disappointment. I found the tracks super fiddly and very difficult to get looking even respectable. I hadn’t built this style of individual links fitting into the sprocket wheels, and found it tricky and frustrating. My sprocket wheels were not 100% perpendicular to the hull and threw out the track alignment. Its a learning process so next time I need to be more careful. Also gluing one link of track at a time and waiting until its dry before adding the next is the only way to get a good result.

More frustrating were the schurzen plates on the sides and turret of the tank. The connecting struts are all incorrect lengths and do not fit with the top of the hull. I had to screw around with them, cutting bits off, so they would sit correctly on the vehicle. I like my stuff to fit nice and snug…… I guess this Panzer was always doomed after I had such a nice time making those S-Model kits.

So the only thing that could save my fudgy tracks and botched schurzen plates was a good coating of paint! Black undercoat, followed by a layer of Tamiya Yellow got things started. As I don’t plan on ever owning an airbrush I am still perfecting (or trying to perfect) my camouflage scheme painting by hand. Here you can see the simple dark green scheme. I paint on the pattern freehand then dry brush and scrub around with an old brush over the top in the dark yellow. This blends the pattern into the tank. I then do a usual lighter shade dry brush over the top. Luckily the side plates covered a lot of my poorly executed track work.

My next Panzer IV’s will be Plastic Soldier Company or Armourfast – I wouldn’t ask this Italeri kit on a second date that’s for sure.

20150906_153225 20150906_153248 20150906_153306 20150906_153327

Colonel Mustard


S-Model Panzer 3’s in 1/72 Scale

To balance things out i figured i would post some German Armour to take on my predominantly British posts so far. These great Panzer Threes come from S-Model, who have a big range of 1/72 plastic kits that come in boxes of two kits. I picked these up from Lucky Model in Hong Kong for something like USD 15.99, which i think is pretty good value for two tanks. Lucky Model do some really great deals on Dragon, Revell, Italeri, and Hasegawa kits, but you have to wait a while for your order. I ordered these guys in December 2014 and didn’t get delivery until about 8 months later. So if you don’t mind waiting you can find some very decent deals!

The kits themselves are super easy to put together. Tracks come in one piece which keeps things really straightforward. The detail is great and you can have both tanks built quickly. As easy to build as Armourfast kits, but the quality of the construction and clarity of the detail is far superior. Hatches can be modelled open or closed allowing a commander to be happily sticking his head bravely out of the vehicle. I did one tank with a commander (from Battlefield Miniatures) and one with the hatches shut.

20151013_184312

20151013_183926

My paint job was pretty straightforward: a base spray of matt black, followed by a spray with Tamiya Dark Yellow. Then i applied a dark brown and black acrylic wash followed by a drybrushing of highlights with a mix of dark yellow and white. A bit of stowage was added to mix things up a bit. The kits come with decals but i really couldn’t see how i was going to fit them on the sides of the turret so i just put numbers on the back instead.

I put these little guys on MDF bases as they are so small, i thought they could do with some support.  These were a pleasure to build and paint and i will be excited to grab some more S-Model kits in the future!

20151013_18470620151013_184014

Colonel Mustard

Dingo Armoured Car by ACE Models

I picked up a couple of British Dingo Armoured cars from ACE Models via a good model web site in the Ukraine http://www.hobby.dn.ua

Only around USD 6 per kit i thought these were pretty good value, and choice for the Dingo Armoured car is pretty limited. Its a great web site if you want to buy any particular ACE or Unimodel Kit considering i think they are all made in the Ukraine. Worth checking for a bargain.

Once i got the box open though my bargain didn’t look so flash. It took a lot of cleaning up of extra plastic on many of the parts. Also some of the moulding on the surface of the upper hull was pock marked and not formed smoothly.

The parts did not fit together very well and there were gaps showing everywhere. Maybe my lack of skill but it was certainly frustrating to build. The kit also includes some tiny etched drivers pedals and other stuff way too fiddly for me, which end up invisible in the interior once you have finished. So a pointless waste of effort anyway.

I made the best job of a poor and annoying kit that i could. I had to add buckets of stowage on the car to cover up all my botched construction and crappy moulds.

20151005_14551920151005_145623

I did buy some very cool Dingo crew men from AB Figures, so my second attempt at this will include them. Overall i think i would probably go and buy the S-Model kit of the Dingo rather than this one if i had my time over again.

20151005_14545220151005_145545

Armourfast Cromwell Tanks

My first post is of four Cromwell tanks i have completed for my British Army troops in Normandy. These are great value (6.25 pounds from Hannants for a pack of two – I think i get a VAT discount being in Australia, normal retail seems to be 7.50), and so easy to put together. You can have them assembled in 10 minutes max really nicely with no issues. The hatches can be open or closed to accommodate any commanders you want. 20151004_144044To make them a bit more interesting i added plenty of stowage from Value Gear, SHQ, and Sgts Mess, plus some hedge cutters too. I added some aerials by melting and stretching sprue using a cigarette lighter. The models come with appropriate holes you can glue the aerials straight into. I picked up some decals from the The Plastic Soldier Company which do the job nicely. I don’t really care if they are not accurate for a particular unit – its purely for aesthetics.

Crewmen come from the fantastic AB Figures range, which are now produced in Melbourne, so lucky for me very easy to get hold of. 20151004_144534If you want nice simple models, that are good value, i would highly recommend these Armourfast kits. They give you plenty of room to customize them as much as you want, or perfectly good as they come. Considering i used to be happy with unpainted Airfix kits (i dont think i even bothered using a knife back then), these are a massive improvement. 20151004_14425920151004_144824

Colonel Mustard