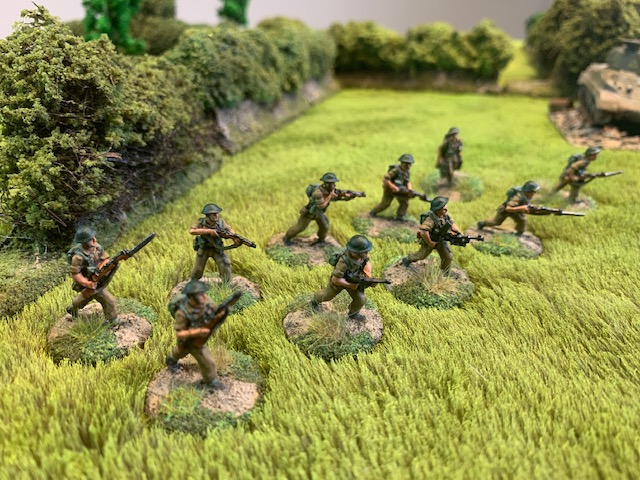
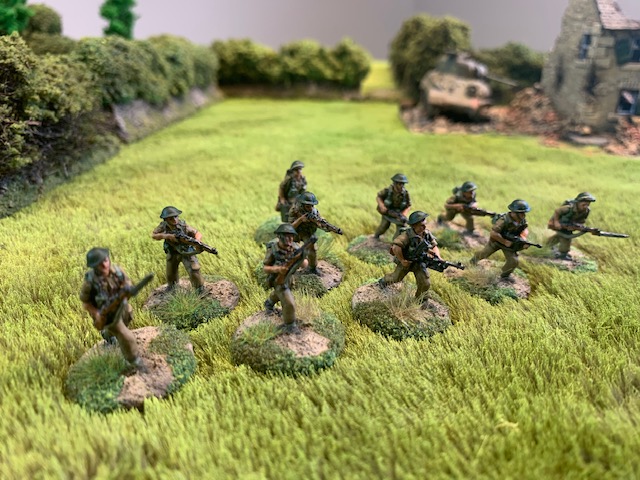
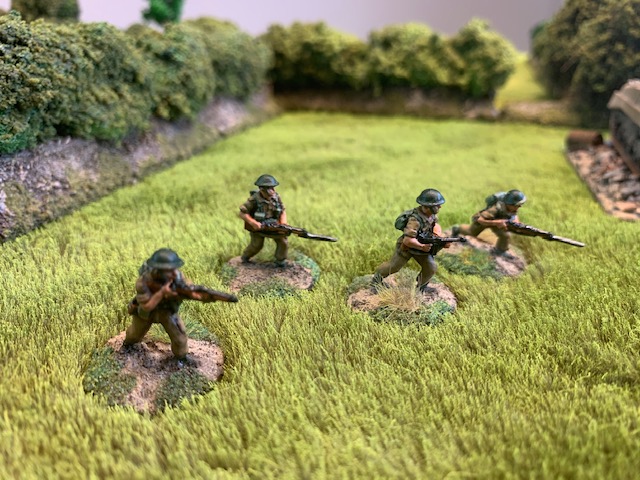
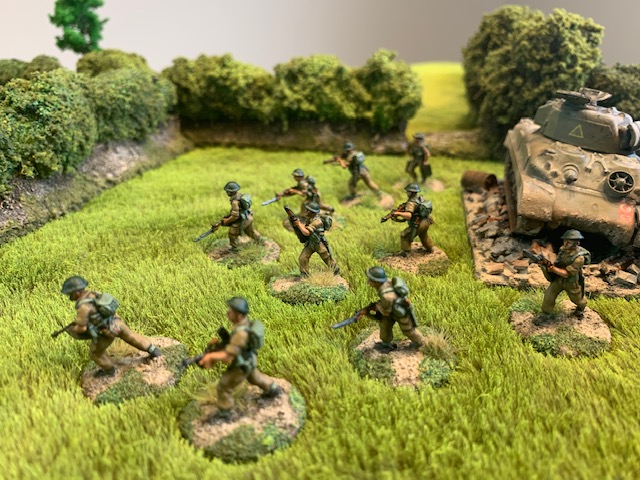
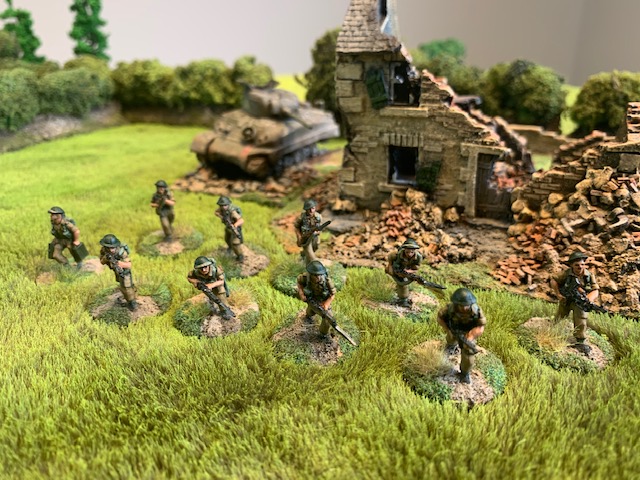
I am so close to finishing up my British Infantry battalion it is not funny. The trouble is i keep finding more awesome figures to buy and paint. This platoon from my favourite AB figures was no exception. I think they are meant for the Far East by the equipment and the presence of a Thompson sub machine gun, but I have painted them up to join my Northumbrian Light Infantry in Normandy. Nothing much to add, they took me ages to paint as usual.
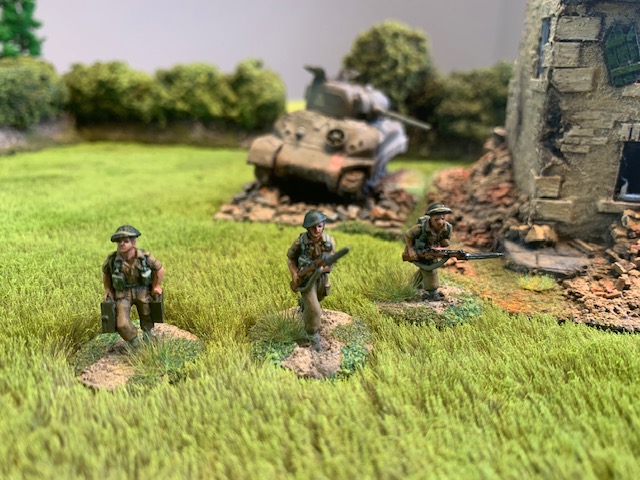
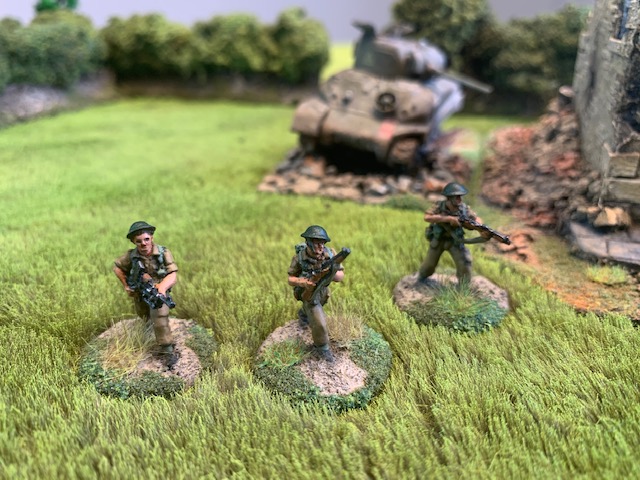
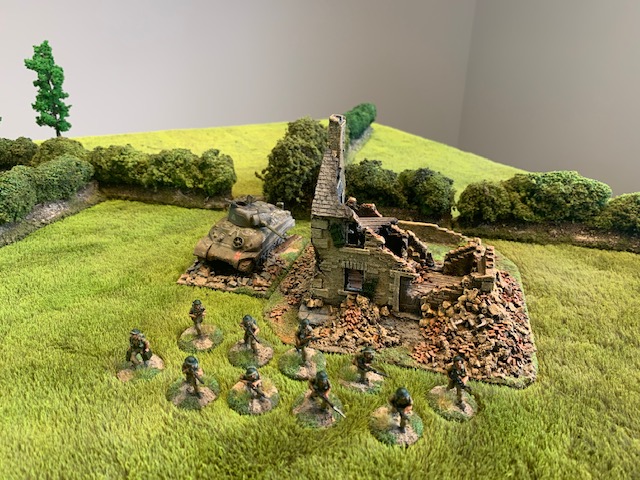
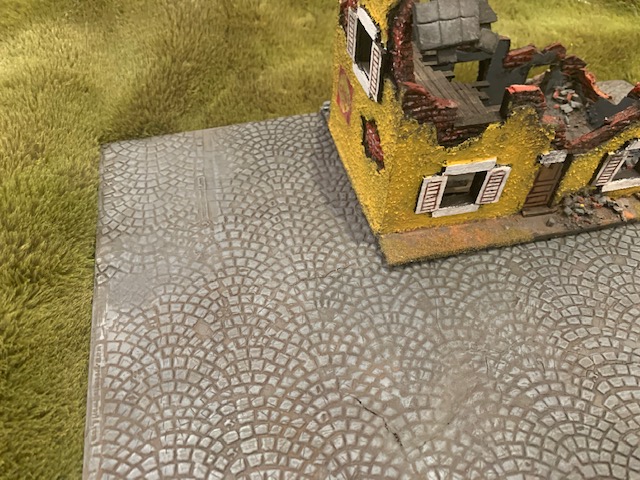
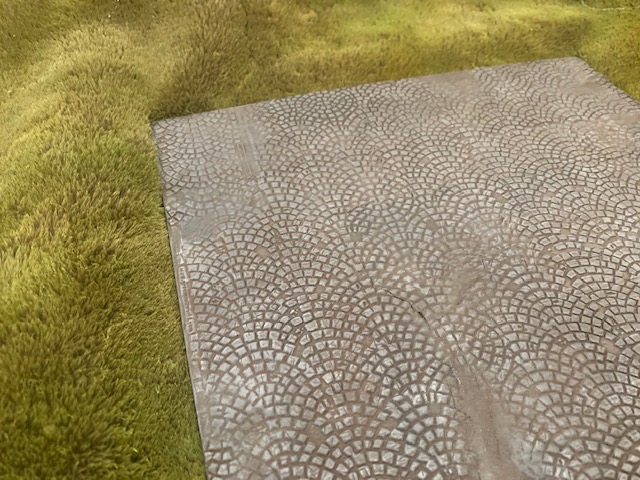
I was asked about the new grassy mat I have photographed them on. This was made using a faux fur blanket I found at Spotlight (an Australian craft store). The material is available at this link – i have no idea if the same stuff is available in other countries:
https://www.spotlightstores.com/sold-by-the-metre/plush-fashion-fur-150-cm-fabric/BP80506687
The trick is that this particular fabric has a fur length exactly the height of grass at 1/72 scale so you do not have to cut it or shave it or mess with it at all. You could easily shave roads and paths into it if you like, but i tend to place all my terrain on top, or hills can be anything placed underneath. Other fur fabrics are a pain as they are generally quite long and need a lot of cutting to get them to look like anything else except fake fur…..
Painting is simple. I just laid my 3m x 150cm fabric out on the lawn and sprayed it lightly with a lime green and bright yellow cheap spray like the below. $3.50 per can, and i probably used 2 green and one yellow. You could throw in some brown or beige or cream depending on the effect you want.
https://www.megasavers.com.au/australian-export-lime-green-250g-spray-paint
The trick is to take it slowly and spray lightly and repeatedly so you retain the texture of the fabric and do not get it swamped or claggy. When you are happy with the colour mix leave it to dry. If you get spray paint on the lawn dont worry it will go away next time you mow.