IBG Models 1/72 Chevrolet C15A No.11 Cab Personnel Lorry

IBG Models are a Polish model company that make a smallish range of 1/72 scale vehicles mainly for the Allies. Some British and American trucks and carriers. You can buy them direct from the company in Poland, which is probably the cheapest option, or if you are like me you can get them at around AUD $20 per kit from good Australian stores like BNA Model World.

What can i say, you pay a bit more for these kits, but they are worth it. This Chevy truck was a pleasure to build. There isn’t much more for me to say! IBG make three or four versions of the same truck, plus some British Bedfords and Universal carriers. They have some good looking American trucks too which i am definitely going to try. For your Allied army transport needs do not look any further than this!

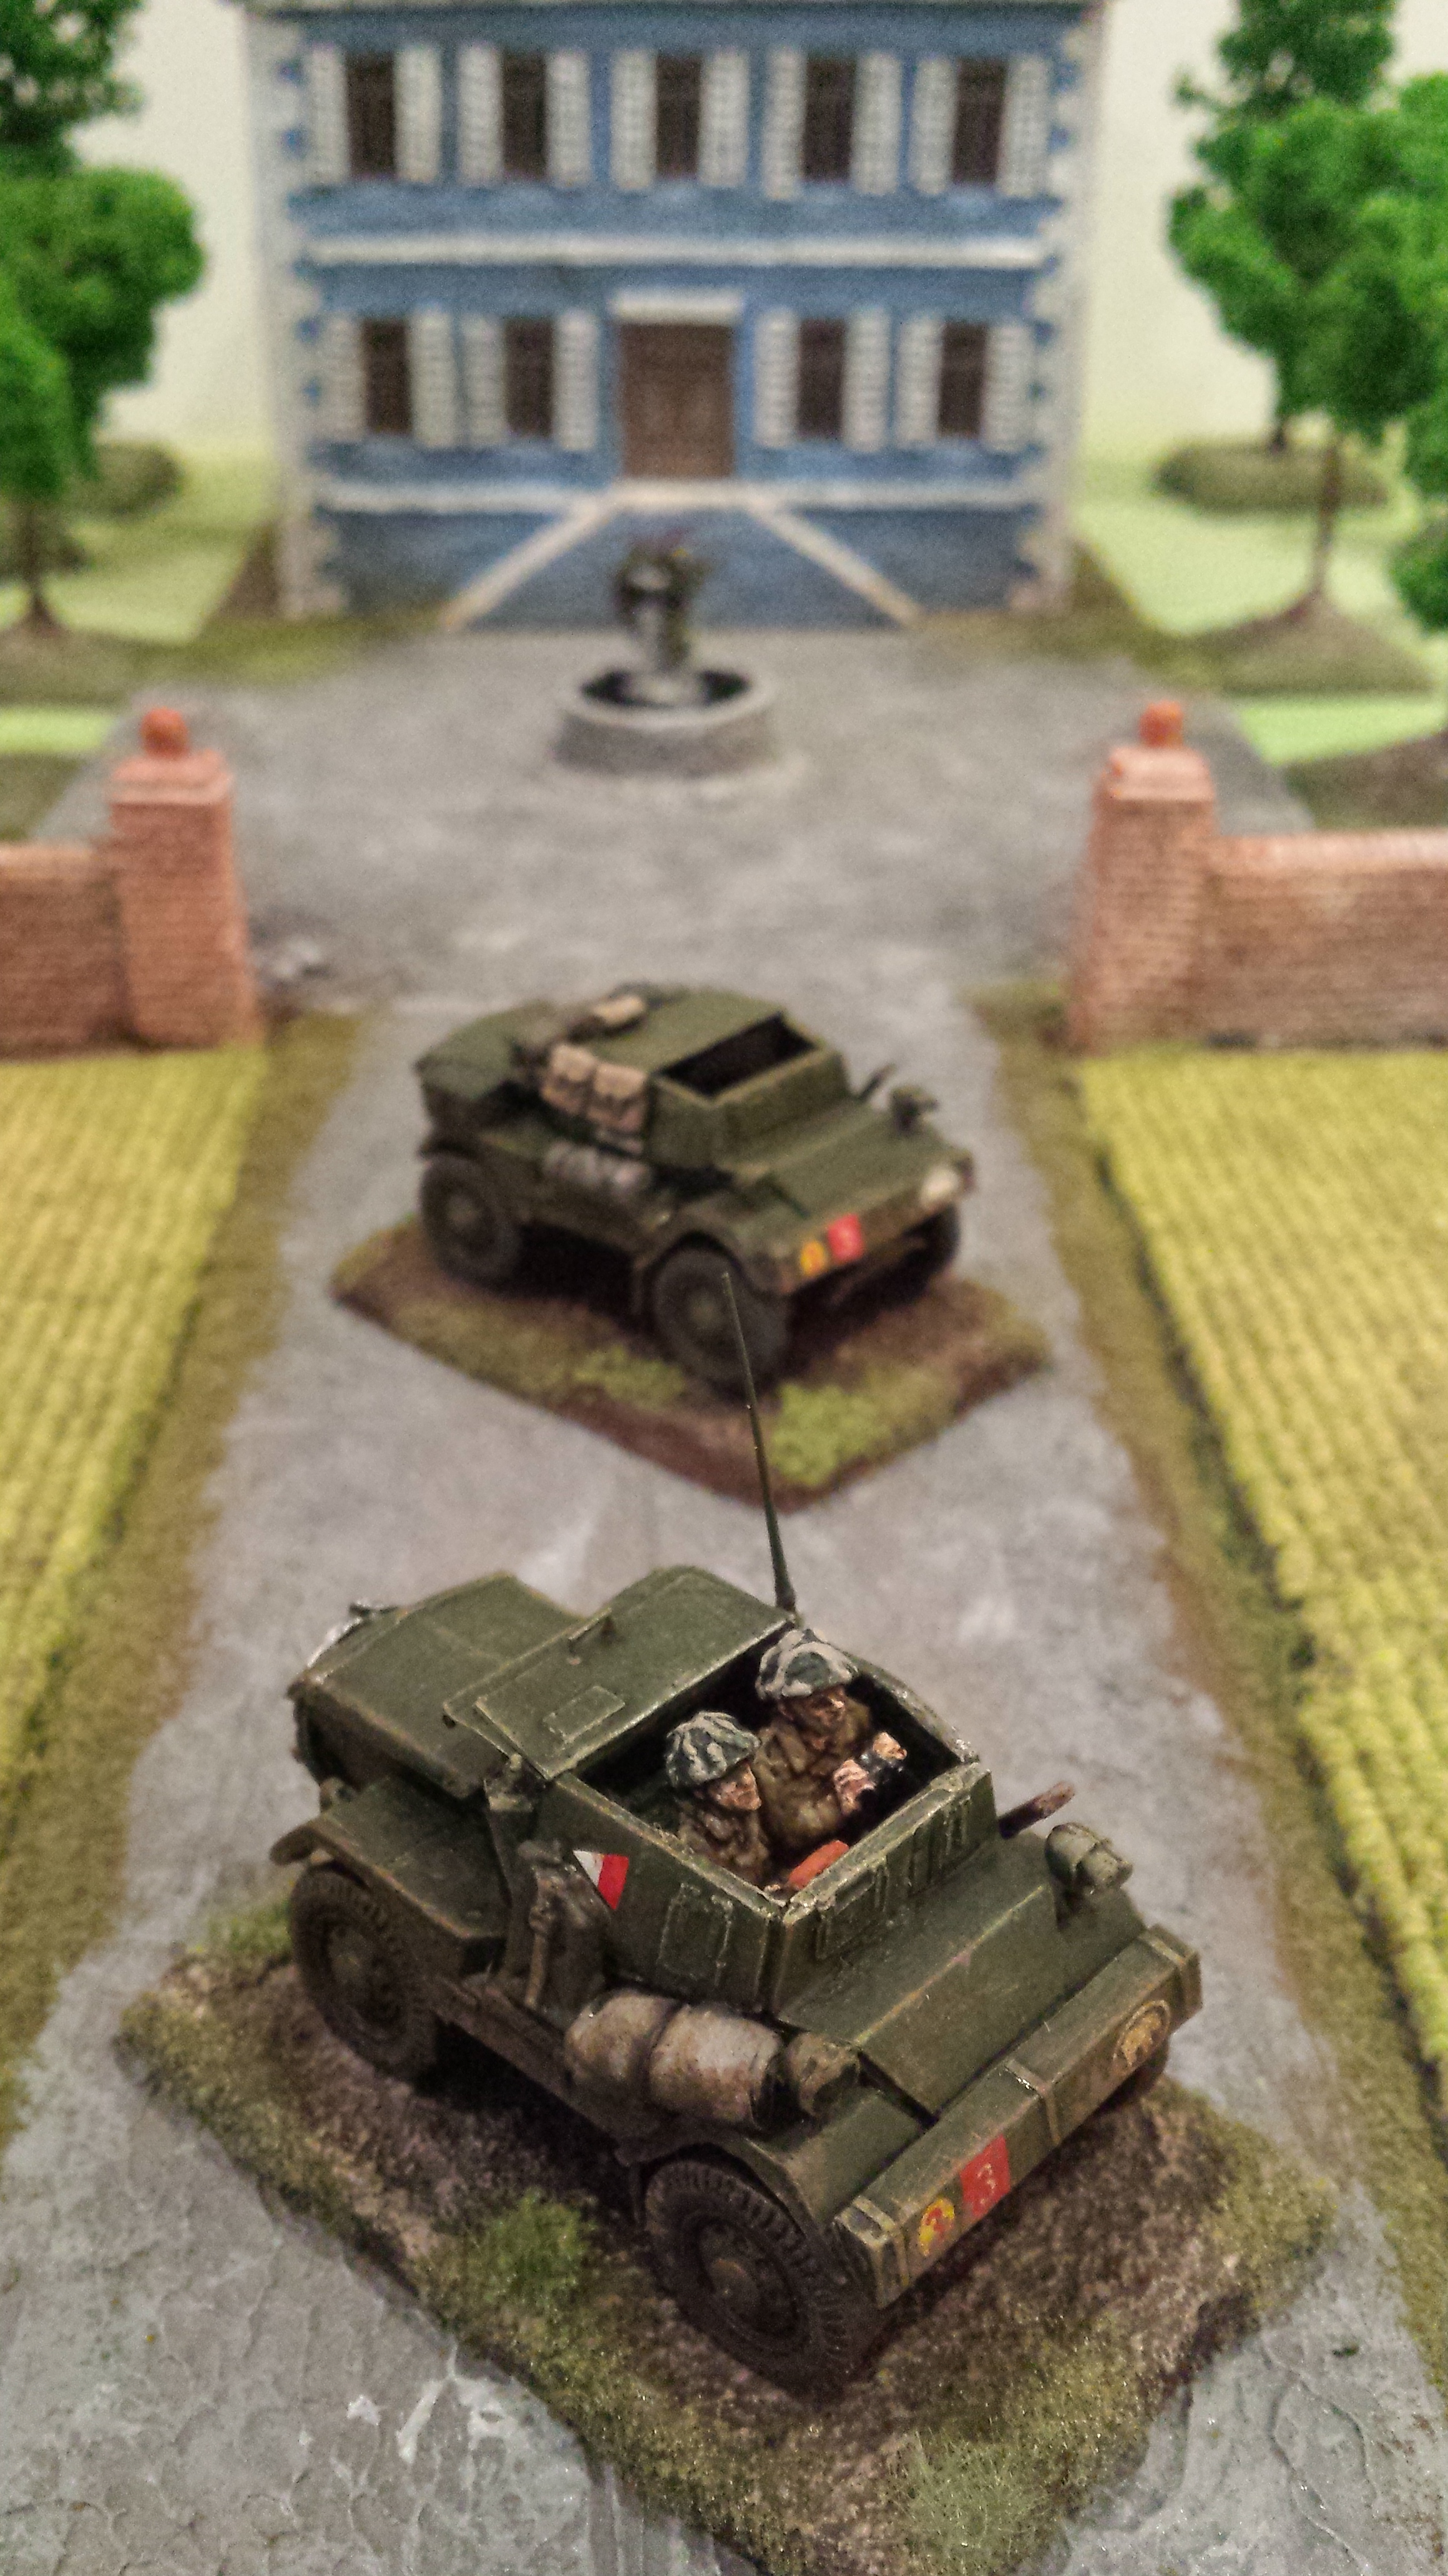
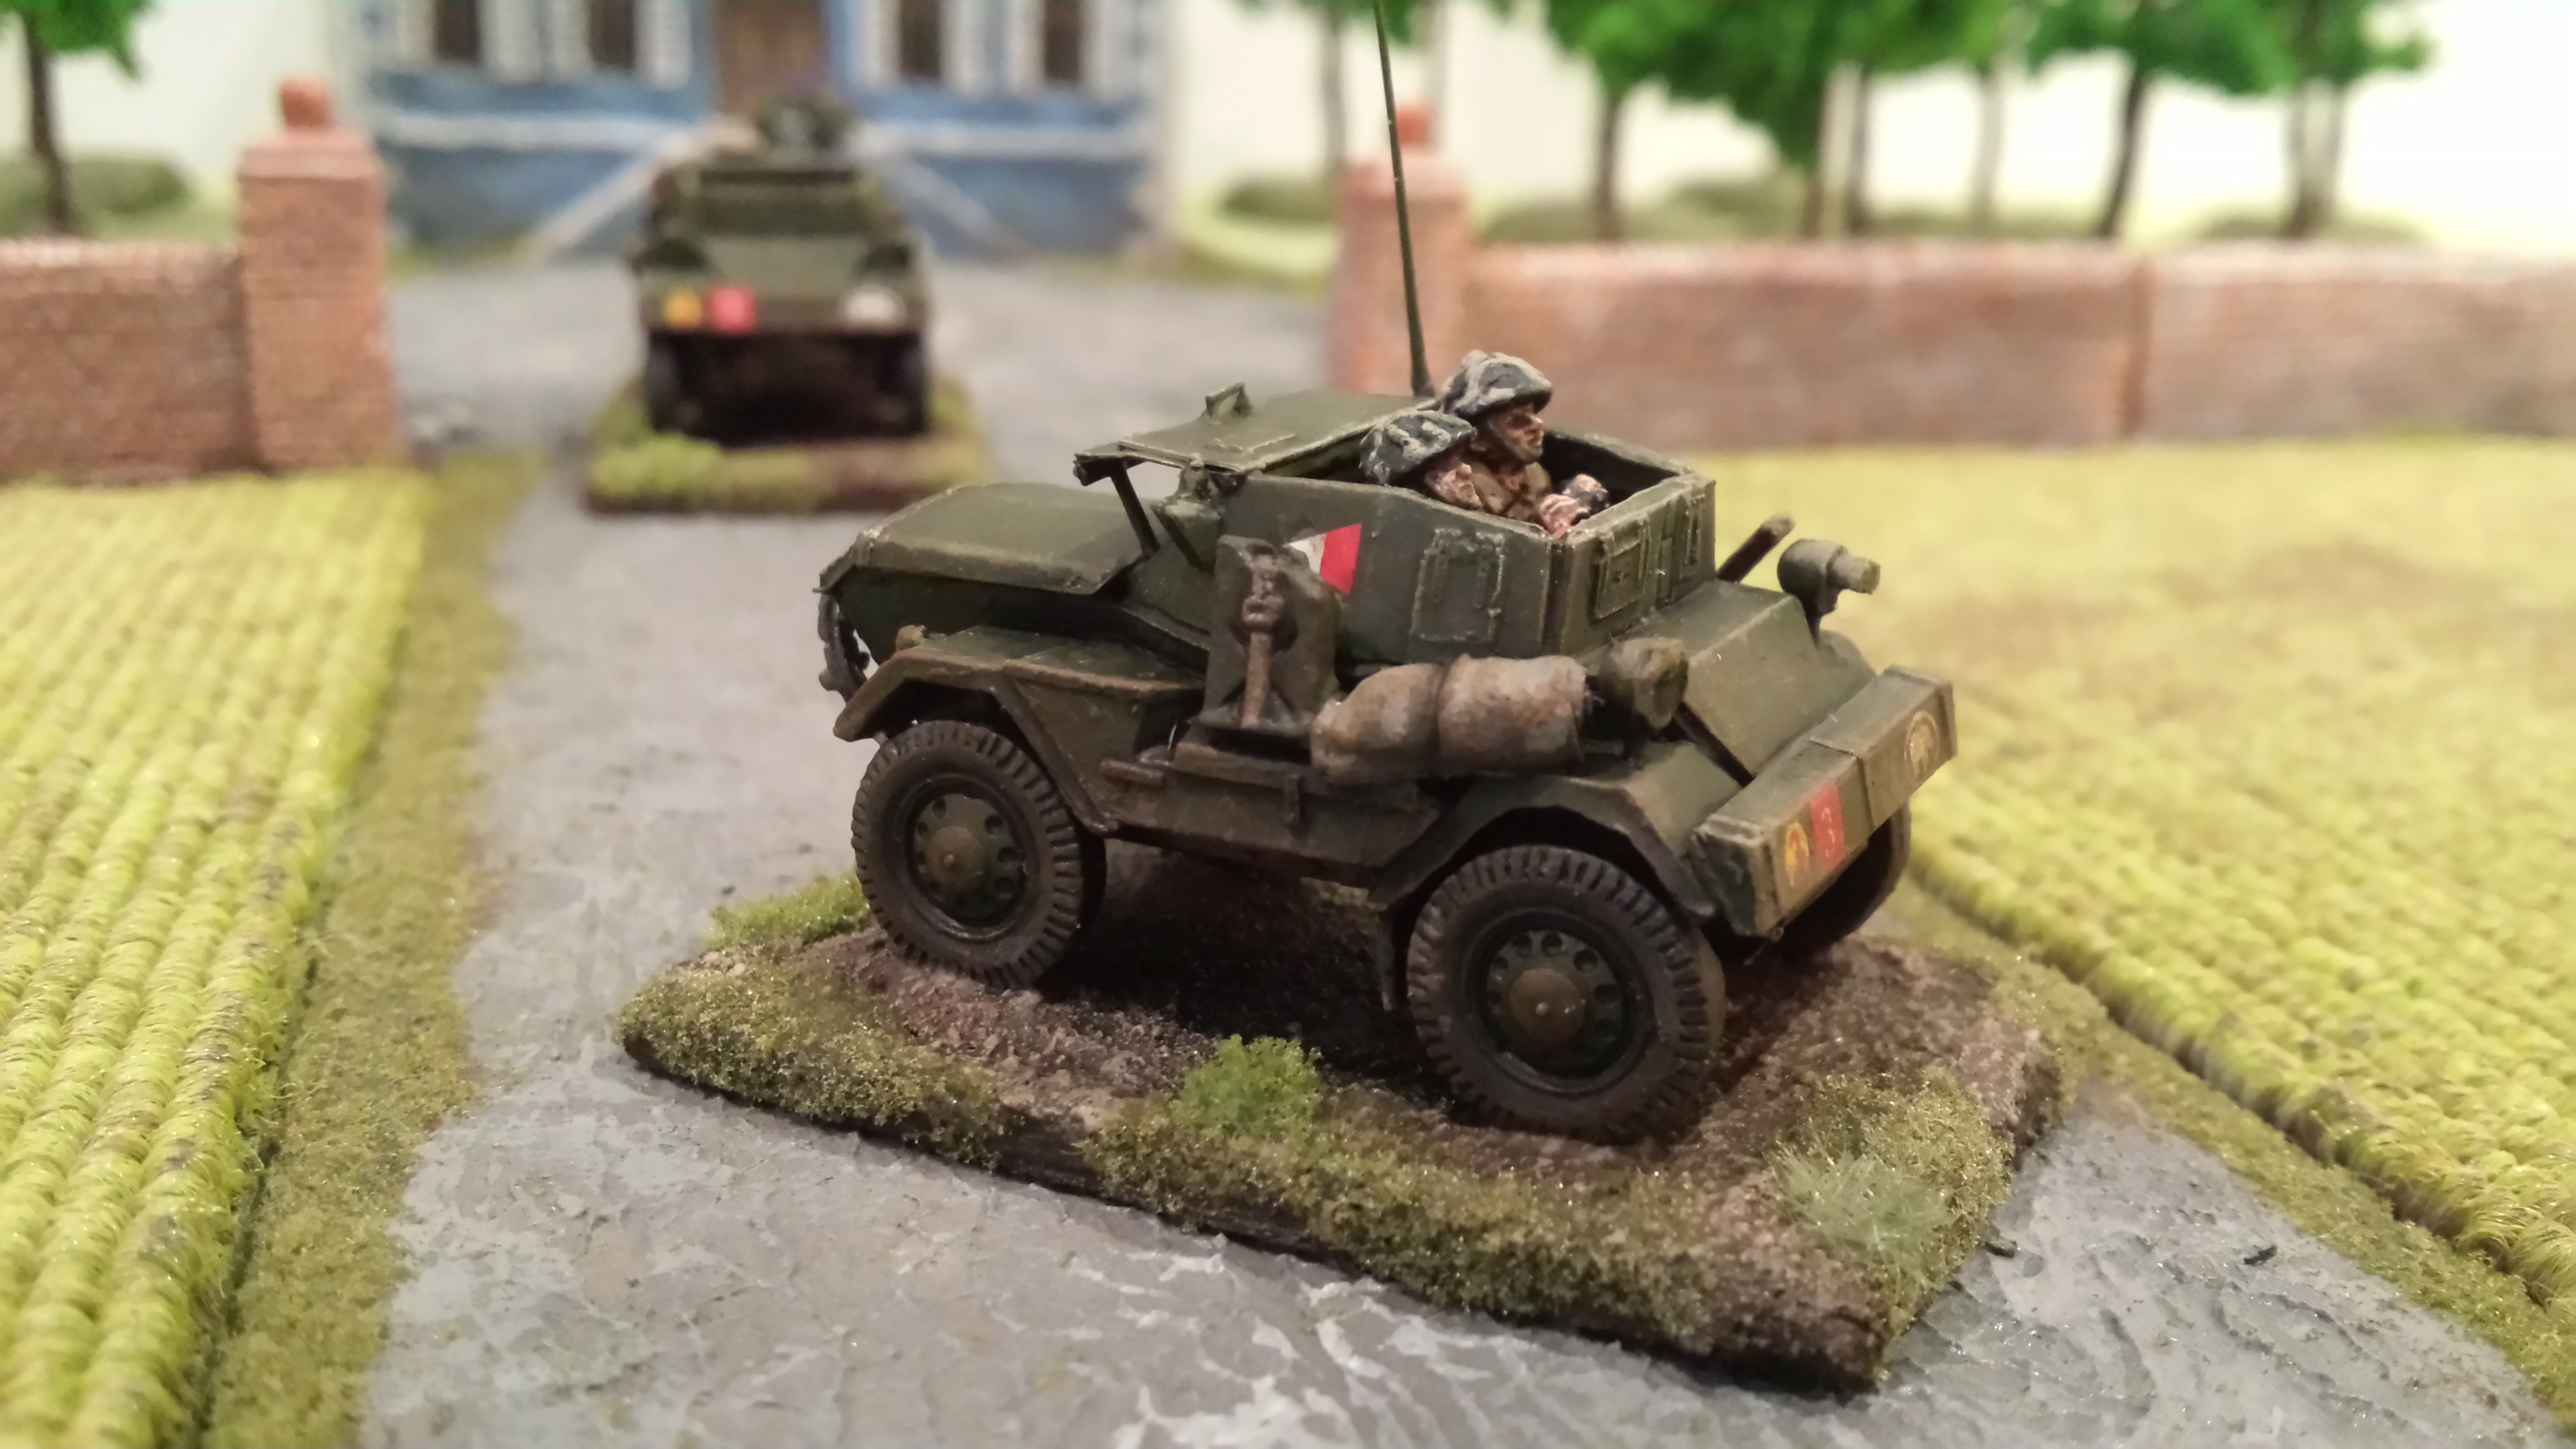
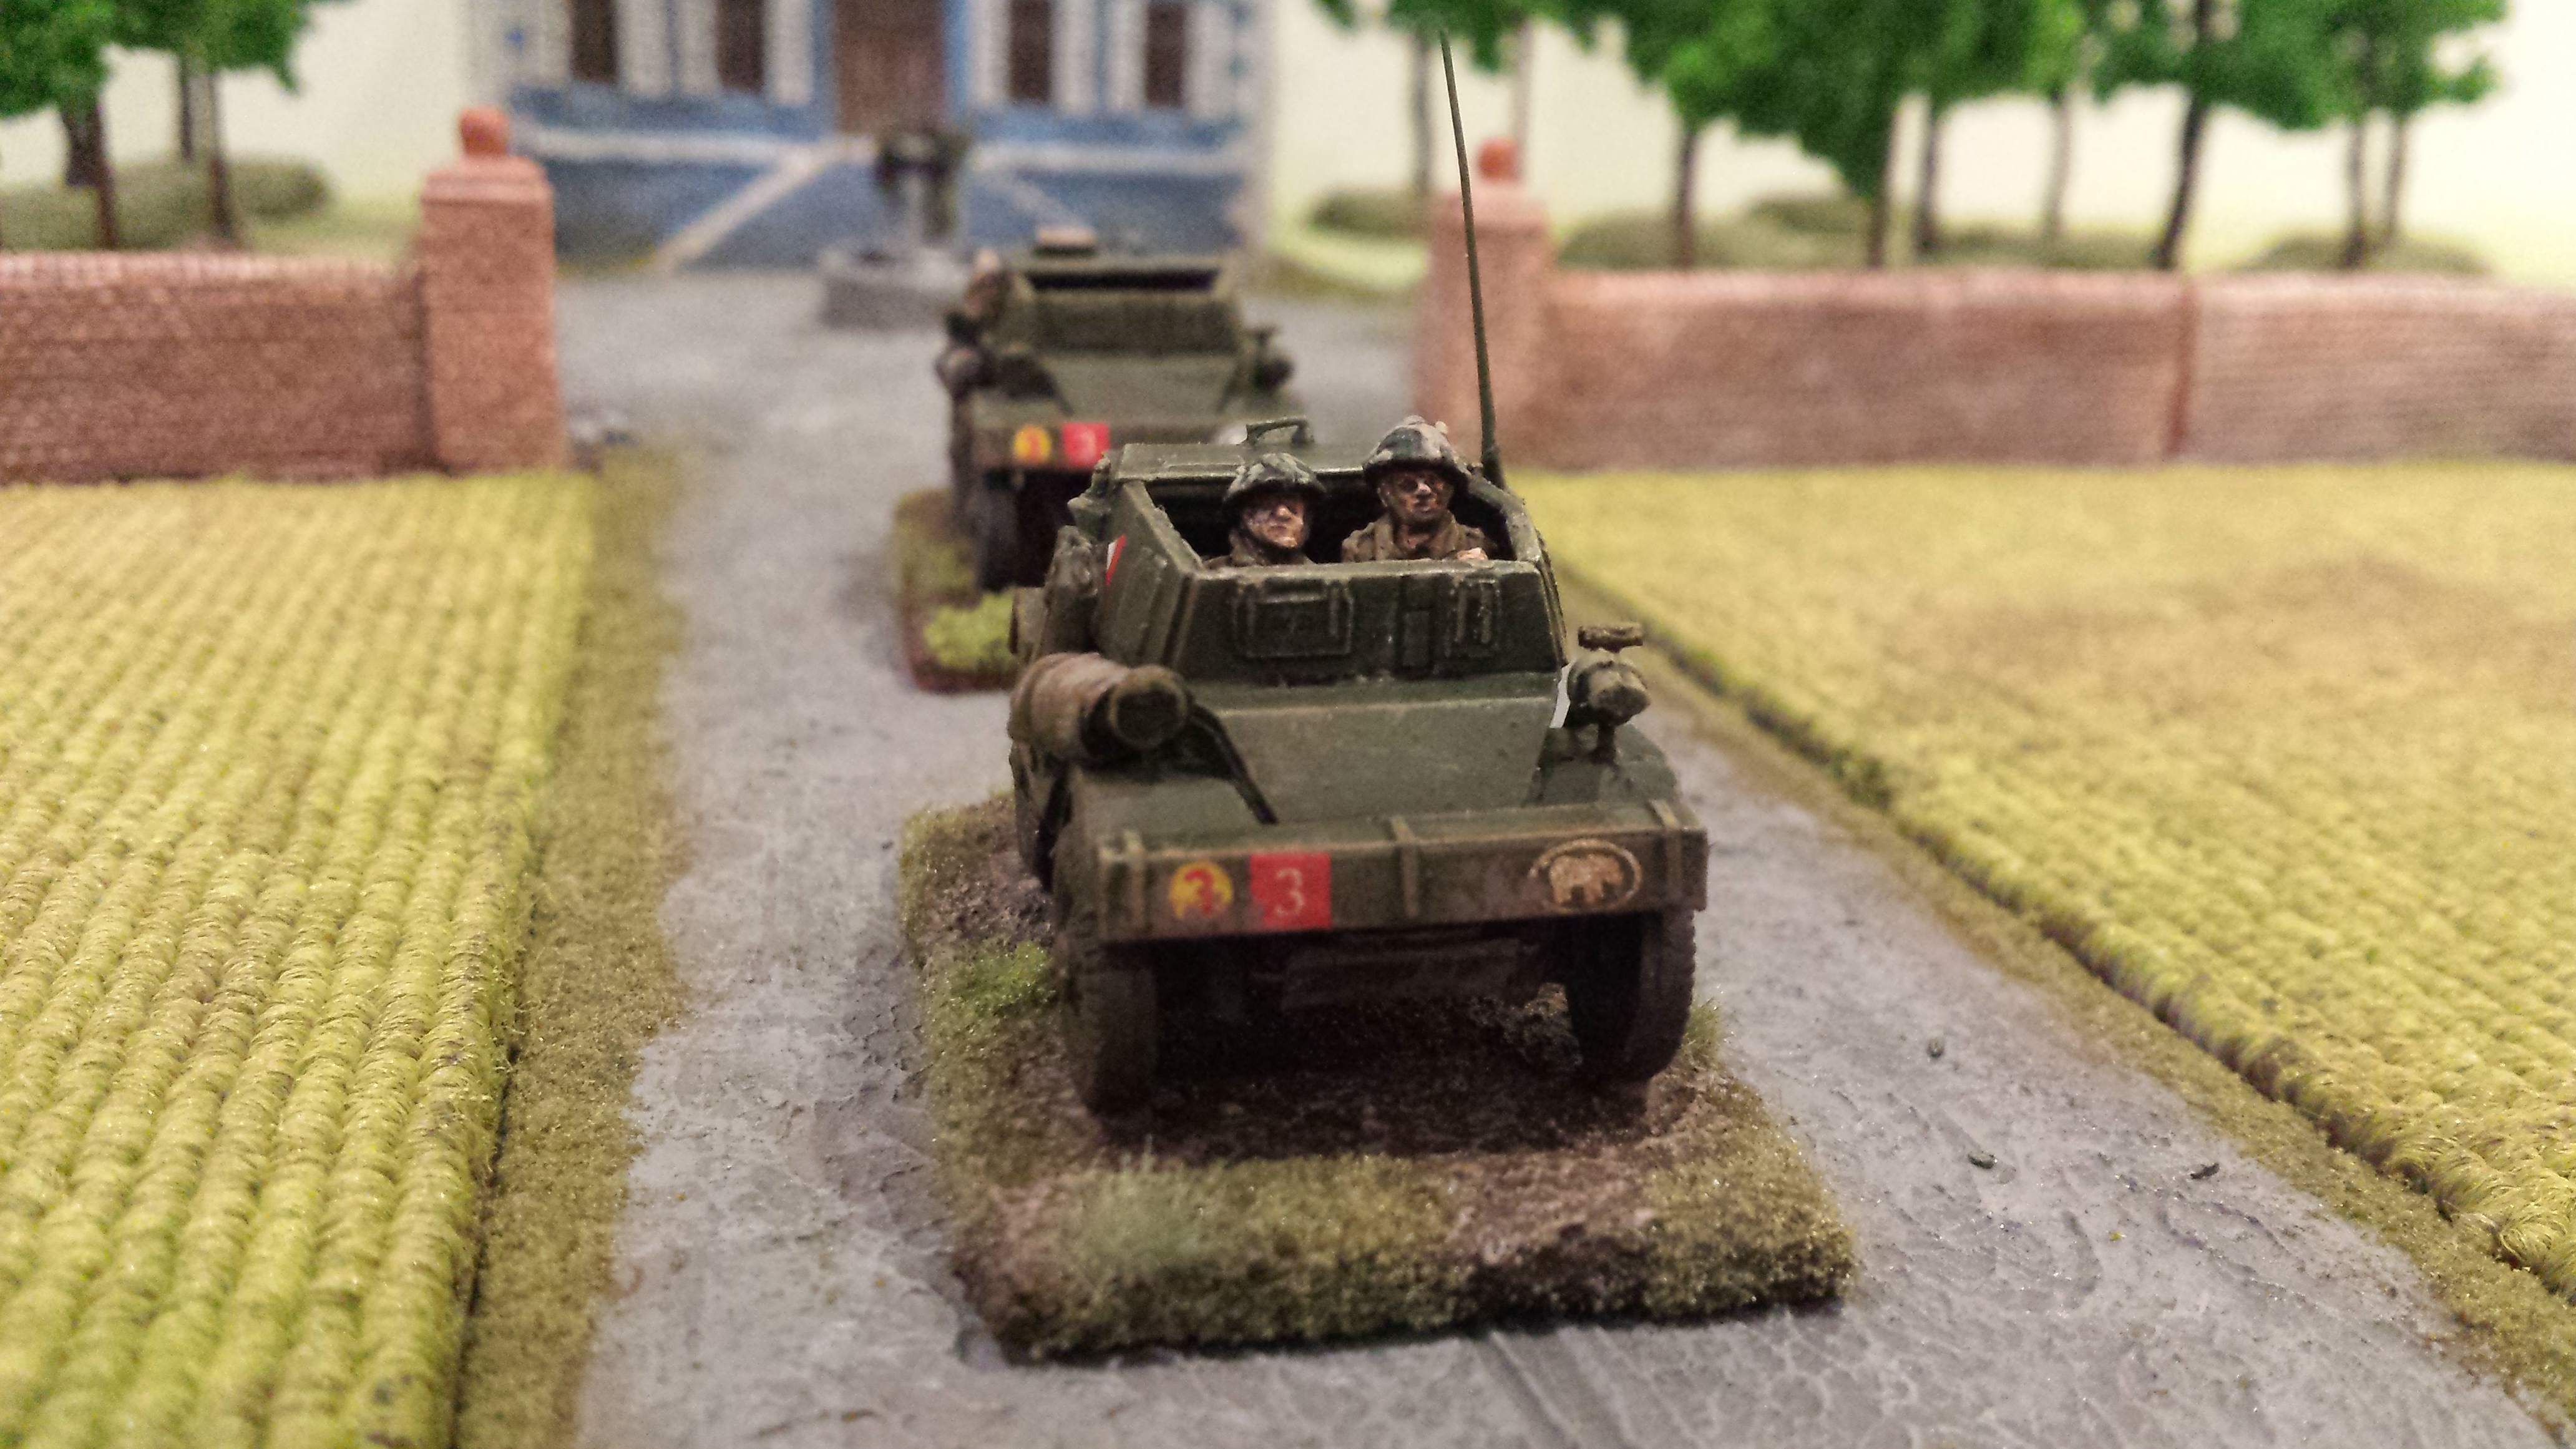
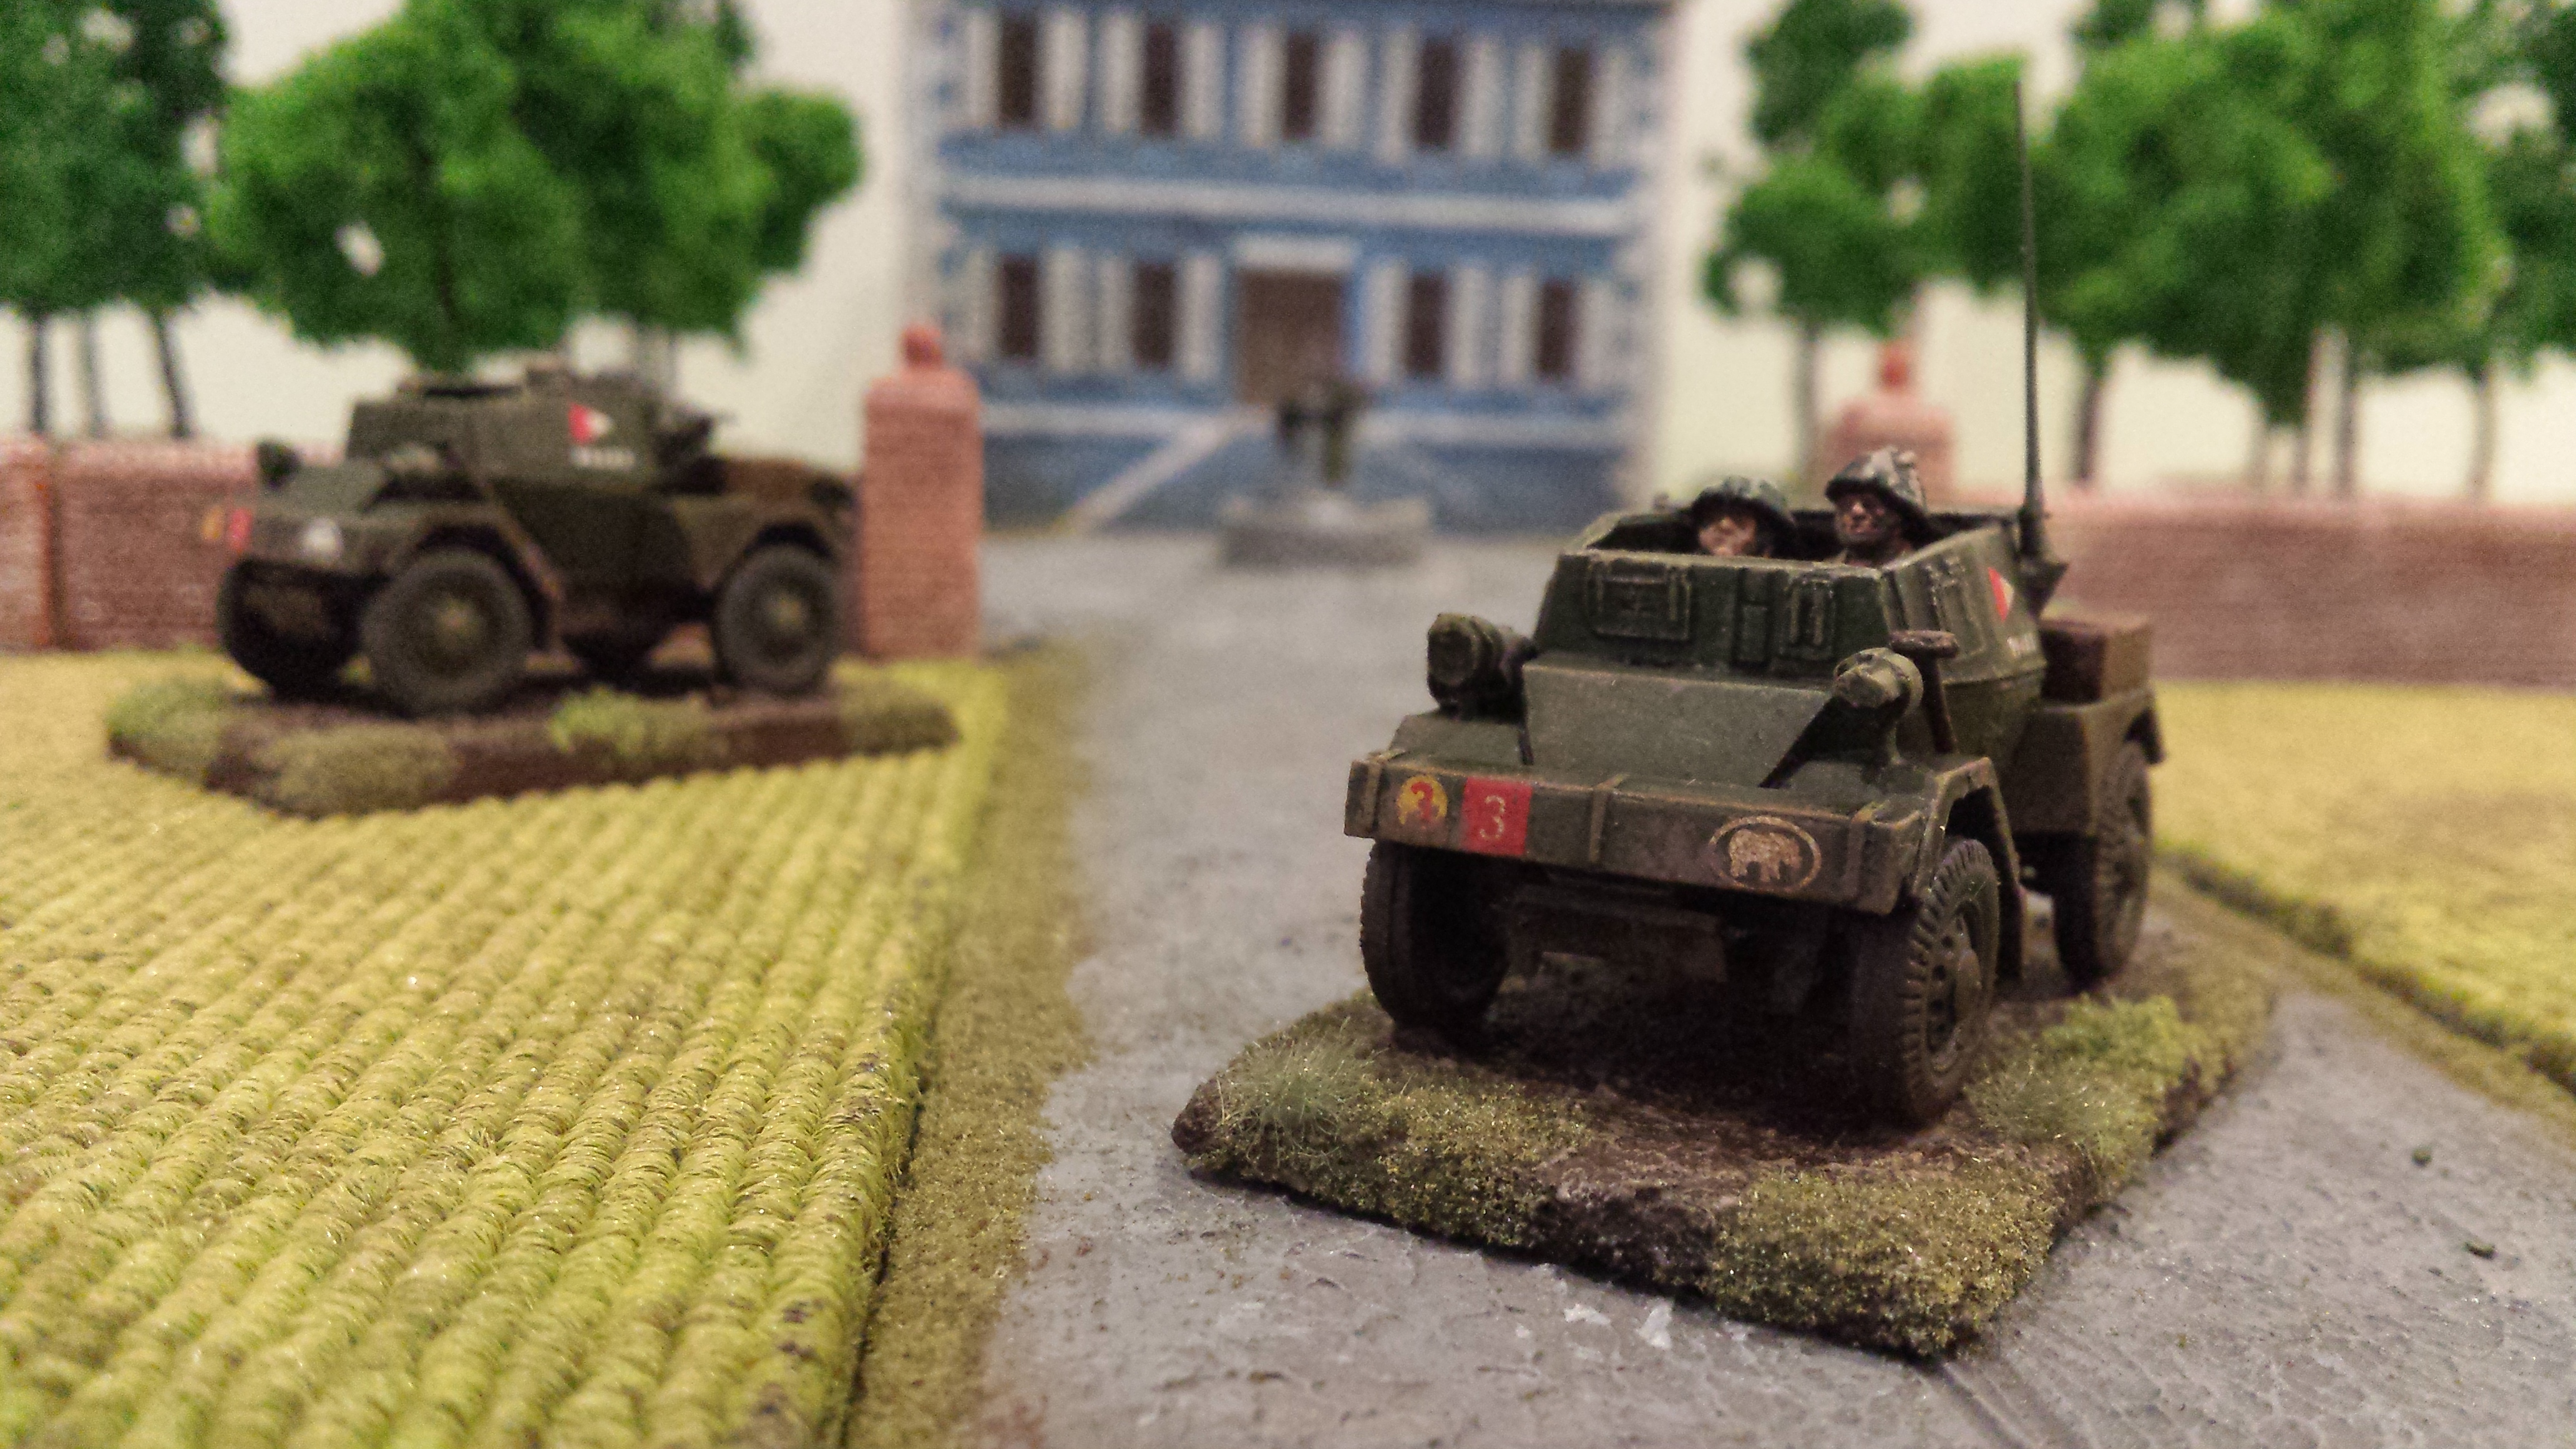
In the back of mine i put some crates and stuff and a few British Tank Riders from HaT. Same with the driver who is a cut down HaT figure. When i get some more of these i will try putting some relaxed Tommies from AB Figures who have just the right poses lounging around in the back….

The paint job was a simple olive drab and some dirt. Good decals are supplied. No arguments here this was a great model to build and i would recommend it to everyone!


Trumpeter M4A3 Sherman and M4 Sherman Tank Mid Production

You can never have enough Sherman Tanks. I had previously bought a pack of three Shermans from the Plastic Soldier Company, but felt they were a little on the big side, so wanted to try a different angle. I purchased these two Sherman kits from Trumpeter at around AUD $10 per kit on line. Somewhere between a fast build and normal kit, i was very pleased with what i found in the boxes.

You have the option to build the bogey wheels from individual wheels and parts or just use the one piece bogeys that are supplied. I didn’t see much difference so opted for the lazy route. I can keep the spare wheels in my spares box. The hull has plenty of moulded on detail, which may not suit everyone, and i guess doesn’t match up to the PE and other detail found on Dragon and Unimodel tanks. But hey, i reckon these are pretty good looking little tanks for your money.

The commanders hatch can be open or closed, i think you need to cut it in half to open it up. You also get a choice of 50 or 30 cal machine guns to go on the turret. There are a couple of wooden crates for stowage, but i added plenty of my own to the tanks, and also some spare track bits i had kicking around. Adding extras to these guys certainly improves their look.

The vinyl tracks can be tricky to put on, and i had read some horror stories about Trumpeter track problems. I made sure i stretched mine very carefully to fit around all the wheels before attempting anything. Then i glued them starting over the top wheels first before letting that dry for a long time. Then putting glue on the sprocket wheels and folding the tracks around and under the tank. Once this was dry i would add glue on the bottom wheels and add some weight on top of the tank (turret off) so the glue would stick. I didn’t worry about connecting the ends of the tracks together until all the glue was dry. As long as you have stretched your tracks enough to touch, connection at the end should not be a problem.

The highlight of these kits are the decals! I wanted to make them British Shermans but could not resist the awesome decals that came with them. “To Hell With It” and “Classy Peg” just look great on the olive drab tanks.


Unimodel Sherman Dozer

Unimodel make a large range of World War 2 plastic kits in 1/72 scale covering many nations and many different vehicles. Getting through Normandy bocage can be tricky and this Sherman Bulldozer is just the right tank for helping cut handy holes through the dense brush.

The kit is more complicated than other Sherman models, coming in over 150 parts including some tiny photo etched guards and lights. The tracks come in individual links around the sprocket wheels which take a little patience too. So its a challenging little tank but I think well worth the effort. Once the tank is built the dozer blade is constructed and just attaches to the bogey wheels. I did have to fiddle around with this bit and clamp it to get it in the right spot.

The hatch can be modelled open, which I did, and put in an AB commander from their British range. Although its an American tank, and all the decals confirm this, I didn’t think it would matter. The Brits may borrow him anyway. The kit comes with a 50 cal machine gun, but I used a 30 cal from a different kit that fitted better with my commander.

It was painted the usual olive drab, the fun bit was adding steel scratches to the front blade. Check him out in action below!


Airfix Bedford Trucks QLD & QLT in 1/72 scale

The real shame for me these days about building Airfix kits is that they are mostly 1/76 scale and do not fit with all the other great new stuff out there. For old times sake i really want to buy some and relive those early days…… its a sign of getting old all this nostalgia. Fortunately Airfix do make a 1/72 scale kit of Bedford Trucks, the QLT and QLD, and i was very happy to build a couple of these a while back.

My British Army in Normandy definitely needed some transport to get them around the country side, and a few Bedfords are just the ticket. These are fantastic models from Airfix and fill a big hole in the 1/72 scale plastic choice for British trucks. The only other option i could find were from the Polish company IBG Models, which were more expensive for only one truck in a box. Airfix give you two trucks in one kit. Bonus.

Building these little fellas is a breeze, clear instructions, all round a great little model. I only struggled a little with the drive shafts in the chassis. I made sure i had them all fitting on a dry run before gluing. No drivers included, so i chopped down some HaT British Tank Riders who do a good job. Just make sure you paint the seats and inside of the cab and put in your painted driver before constructing the cab….. I also used more HaT British Tank Riders in the back of the troop carrying QLT. These HaT figures are great value and you get 44 men in a box, but if i do more i cant help wanting to buy more AB Figures instead.

I followed the suggested paint scheme with an olive drab and black camo scheme plus khaki drab and black for the tarpaulins. I actually used a permanent black marker to mark out the black camo scheme and then filled it in with black paint after that. Supplied decals are excellent and give you plenty of choice! There is no debate about these kits if you need British trucks go out and buy some! Some pictures below!!!


The Plastic Soldier Company Panther Tank

One of my first purchases a while back was a couple of boxes of these Pz V Panther tanks from The Plastic Soldier Company. If you have a German force you just have to have some Panthers. The previous ones i built would have been that old Airfix kit from the 1970’s. So 40 years later and what a difference!

You get two tanks in a box, but value wise they still come out to around $10-12 each once i shipped them to Australia. So on a par with other more complicated Panther kits out there. What you get is two easy to build tanks, with minimal parts. The track sections come in one piece, so no tricky wheel alignment or rubber track catastrophes to avoid. Hatches can be modelled open or closed, plus you get some extra bits of track to add onto the hull. I added some more metal track i had to the turret on one of these just for some variety. These are really solid models and perfect for wargaming, although i think a little big and chunky compared to other 1/72 scale manufacturers.

Although they supply some crew figures for the turret and hull hatches, i didn’t really like them, so I switched to a Battle Field Miniatures German commander who you can see in the pictures below. That’s not to say the crew are poor, its just i am keen on my metal manufacturers for crewmen. You can build your Panther with or without side schurzen, so you have options to vary your tanks out of the box.

I primed my tanks in flat black, gave them a covering from my Tamiya spray can of dark yellow, then hand painted a random camouflage pattern in red and green. I would highly recommend these Panthers for any wargamers out there, but next time i will try something that is a bit more of a challenge from a modelling perspective. Maybe a Dragon or Revell offering………..

Some Panthers in action in the following photos!


Hasegawa Humber Armoured Car 1/72 scale

While i was on the Hasegawa modelling wagon i dragged out these two Humber armoured cars i made a while back, and thought i should add them to my blog. Great value when you buy from Japan or China these guys were no more than USD 10 each delivered to Australia. Better than buying from the UK at close to the same in pounds…..

As usual with Hasegawa models they were easily put together and not too complicated to build. I didn’t like the metal axle rods and lack of suspension. You need to fix the metal rods so the wheels do not slide from side to side or rotate. I should have fixed these two to an MDF base to prevent any slippage and also as they are quite delicate. They come with some stowage items like a box or two and some rolled blankets/tarpaulins. The crew figure, which typical for Hasegawa, is awful. So i replaced him with a crew man from Battlefield Miniatures. I also added aerials so the forward recce team can radio into headquarters when they spot the enemy.

Choices for your British in plastic 1/72 scale Humber Armoured Cars is extremely limited, and in fact i think only RPM make an alternative version. I haven’t seen that model but can recommend these Hasegawa kits as an excellent addition to any British force.

Looking at these pictures i may go back and add some more mud/weathering/dirt to my vehicles as they look a bit clean!

Hasegawa Puma Armoured Car

My German force definitely required this iconic armoured car for the front line reconnaissance units. My choice was either the Hasegawa or Roden version, and opted for the Japanese model company mainly due to getting one for around $10 direct from Japan.

Hasegawa make excellent models for wargaming, not too complicated, but entertaining to put together, and with an excellent amount of detail. I think far better than the quick build stuff out there. This Puma was no exception. One particularly good thing is the way the wheels are set up which makes them really easy to align. With eight wheels there is a lot of capacity for making a mess, but the easy construction of the suspension means it hard to screw it up. The only thing i did struggle with was the main gun assembly which i couldn’t quite work out from the instructions and pictures, resulting in me fudging the connection to the turret a bit. Not that i can tell now.

I popped in an AB figures commander in control up top, added an aerial out the back. The instructions do show an aerial with like an upside umbrella on top. I tried that but it didn’t look right so i scrubbed it. Three colour camo scheme and based on 3mm MDF finished him off, plus a bit of dry brushed dirt. Hey Presto here is Captain Schulz wandering around looking for trouble.

Zvezda German MG Teams in 1/72 scale

Just a very quick post on a couple of German MG teams painted up and based ready for our next clash. Coming in a box of two for a few dollars this is a great little kit and good value. The poses are excellent and look really good hiding behind a grassy knoll. Based on small MDF squares and painted in SS camo these dudes will bolster the firepower of my German troops.

Taking photos of figures with my phone is not the best but i hope you can make them out OK!

20160111_201834 20160111_201732 20160111_202530

River Sections and Rustic Bridge

Finished some river sections and a rural bridge this week. The river sections all made with 3mm MDF cut to shape. I then added modelling clay river banks. The banks were then sealed in with a coating of acrylic filler, and then coated with a thick layer of sand and PVA glue. Some bigger gravelly bits were glued close to the waters edge. The water itself is just blue and green spray paints, the photos are actually a bit brighter than real life. The banks were sprayed brown then dry brushed with a lighter shade of brown and then flocked with a  couple of greens. I added some reeds made out of an old cut up paintbrush which came out OK.

My bridge was scratch built using foam board covered with embossed plasticard. Details were added with modelling clay. The road way was just cardboard bent and glued in place. Painting involved various different colours including grey, light brown, sandy yellow and pink.

The river sections were all 15 cm wide and from 30 – 40cm long. I need to make some shorter bits and also some more 45 and 90 degree turns for variety. Photos below!

20160102_100001[1] 20160102_100023[1] 20160102_100058[1]20160102_10023320160102_100140

ACE Dingo Armoured Car Part 2

I built the second ACE Dingo i had in my kit box. This time i learned from my previous attempt and so the construction process was much smoother. It took plenty of extra plastic removal to make sure all the parts fitted without gaps. I was also able to get my wheel alignment much better by getting the suspension on early in the piece. Still i had to cover some dodgy bits with stowage items. A definite improvement on the first attempt at this kit, but i would still try the S-Model Dingos rather than this ACE kit.

I added my AB Figures Dingo crew, one driver and one officer with binoculars. They were a tight fit but really make all the difference!

Here they are scouting out a very fancy French country house!

20151227_201901 20151227_201759 20151227_201657 20151227_201546