Airfix Bedford Trucks QLD & QLT in 1/72 scale

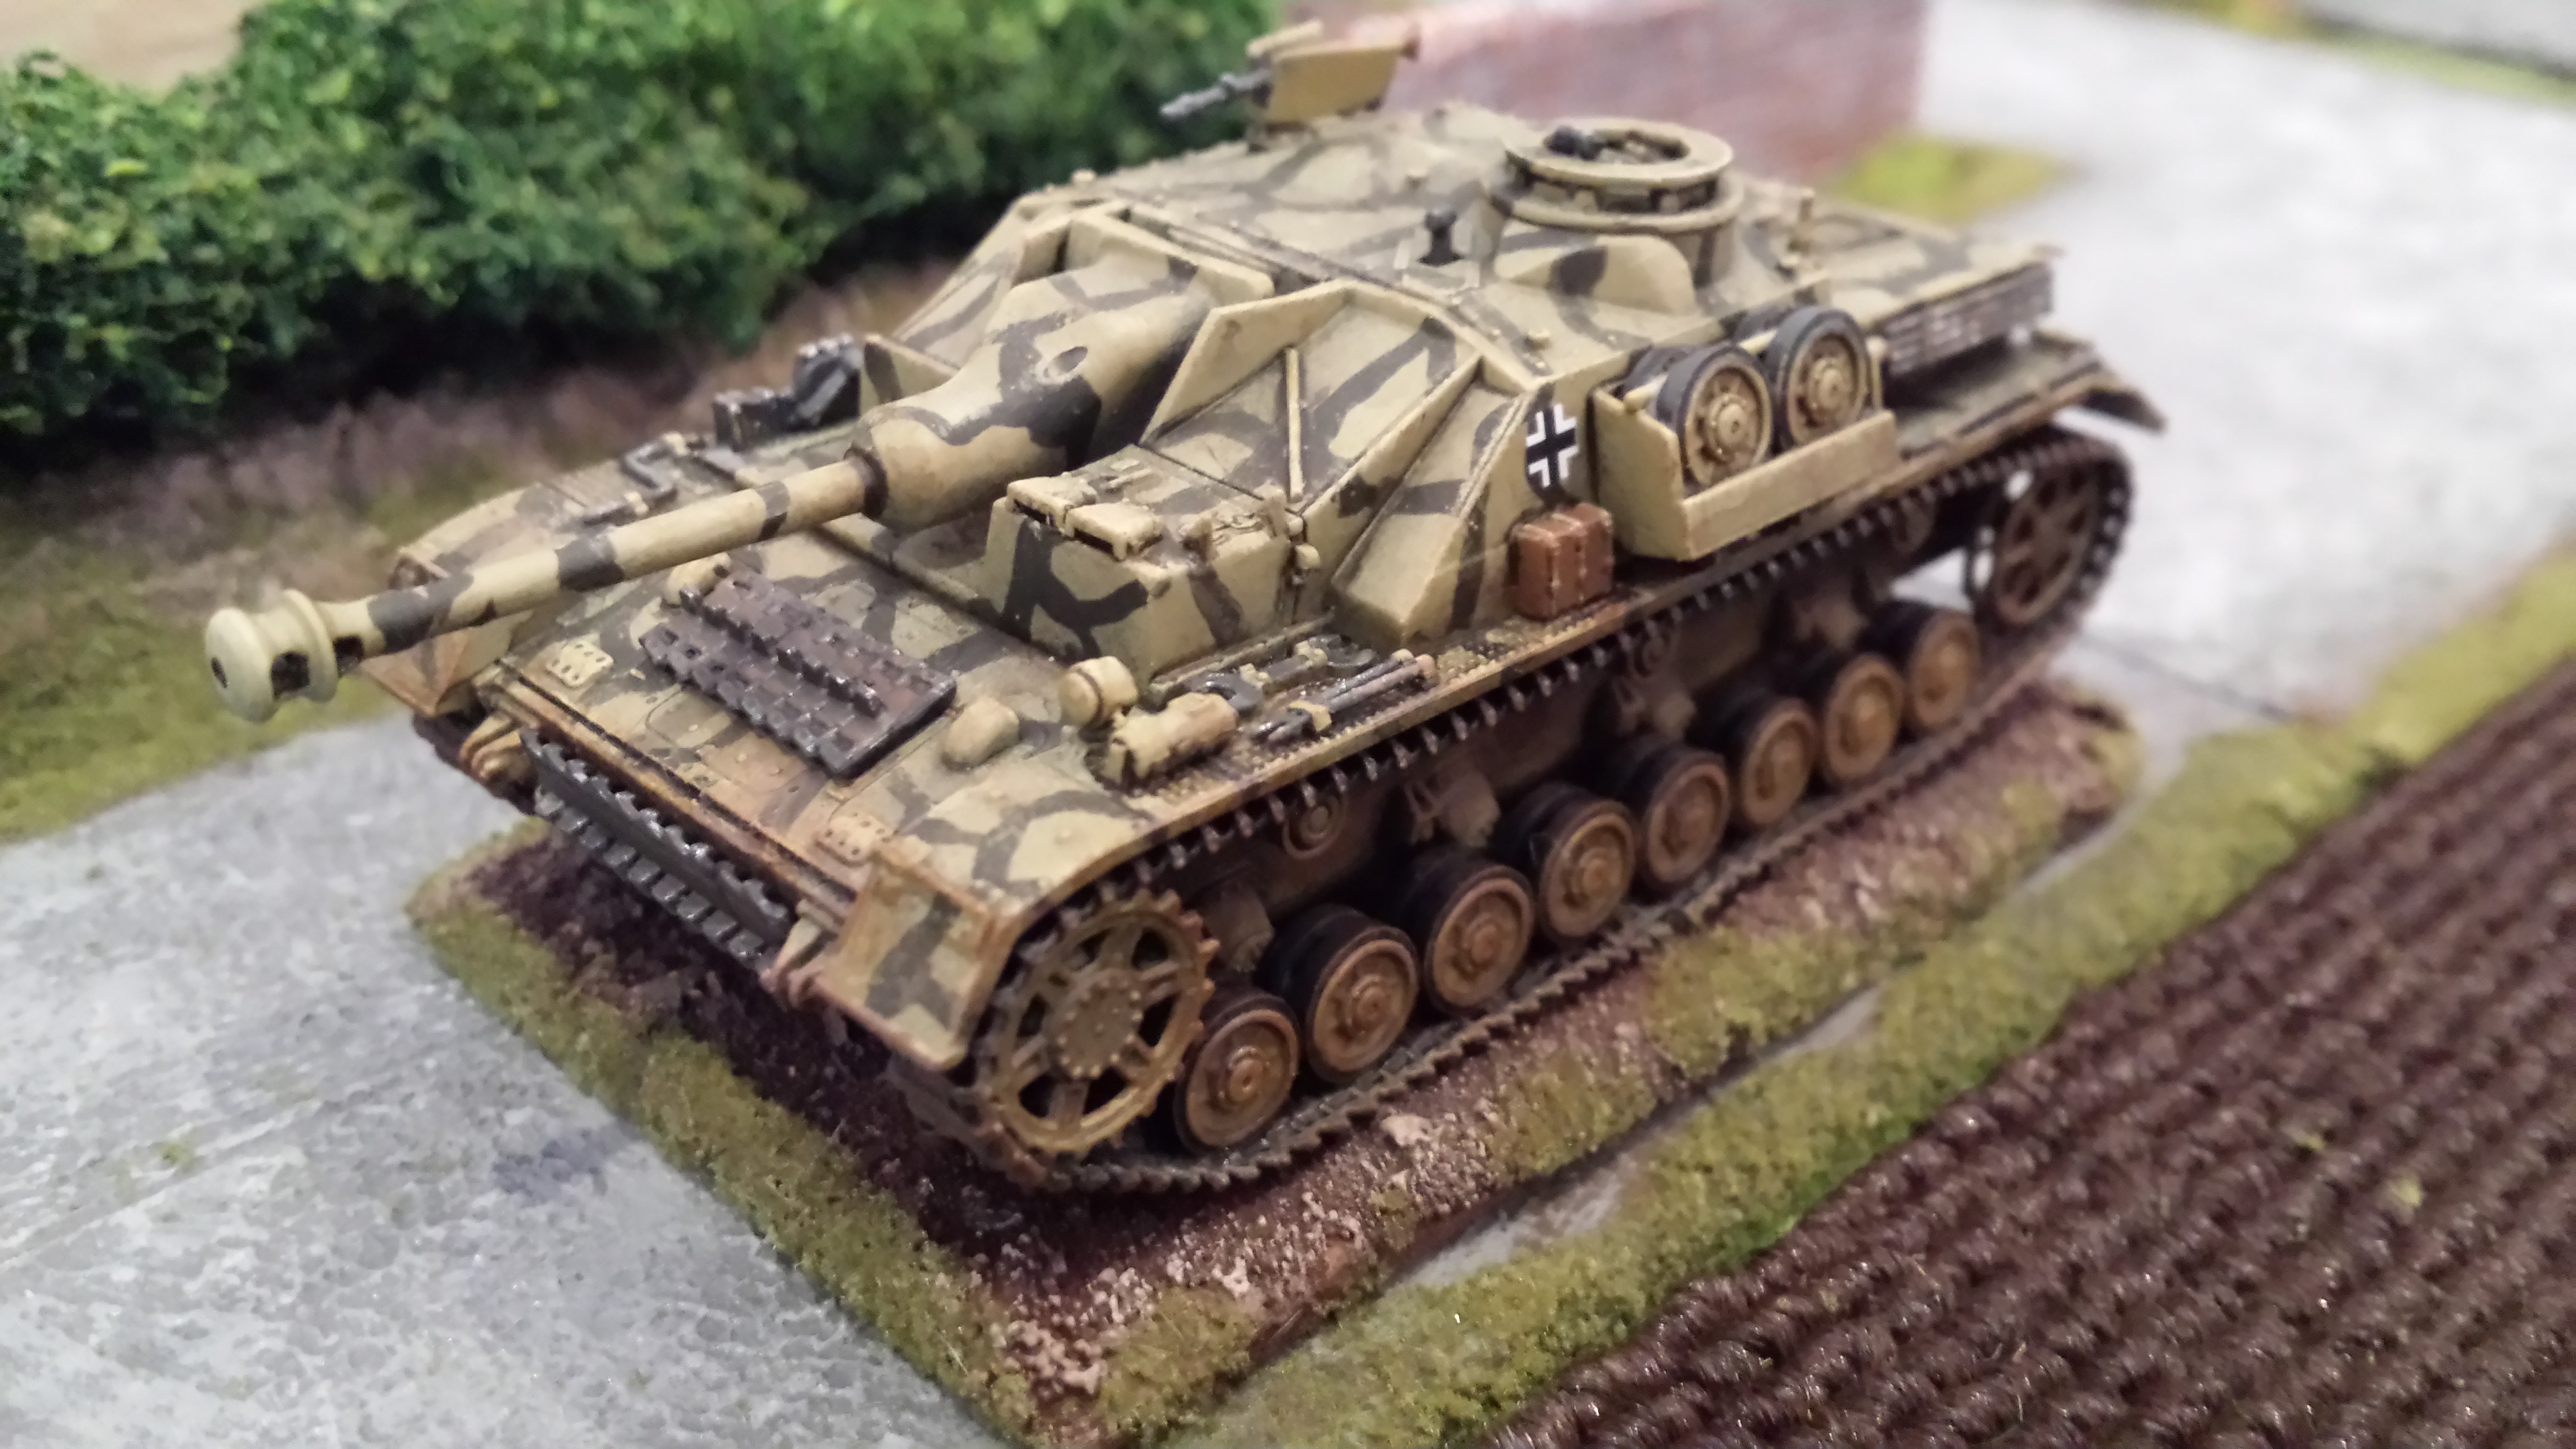
The real shame for me these days about building Airfix kits is that they are mostly 1/76 scale and do not fit with all the other great new stuff out there. For old times sake i really want to buy some and relive those early days…… its a sign of getting old all this nostalgia. Fortunately Airfix do make a 1/72 scale kit of Bedford Trucks, the QLT and QLD, and i was very happy to build a couple of these a while back.

My British Army in Normandy definitely needed some transport to get them around the country side, and a few Bedfords are just the ticket. These are fantastic models from Airfix and fill a big hole in the 1/72 scale plastic choice for British trucks. The only other option i could find were from the Polish company IBG Models, which were more expensive for only one truck in a box. Airfix give you two trucks in one kit. Bonus.

Building these little fellas is a breeze, clear instructions, all round a great little model. I only struggled a little with the drive shafts in the chassis. I made sure i had them all fitting on a dry run before gluing. No drivers included, so i chopped down some HaT British Tank Riders who do a good job. Just make sure you paint the seats and inside of the cab and put in your painted driver before constructing the cab….. I also used more HaT British Tank Riders in the back of the troop carrying QLT. These HaT figures are great value and you get 44 men in a box, but if i do more i cant help wanting to buy more AB Figures instead.

I followed the suggested paint scheme with an olive drab and black camo scheme plus khaki drab and black for the tarpaulins. I actually used a permanent black marker to mark out the black camo scheme and then filled it in with black paint after that. Supplied decals are excellent and give you plenty of choice! There is no debate about these kits if you need British trucks go out and buy some! Some pictures below!!!


The Plastic Soldier Company Panther Tank

One of my first purchases a while back was a couple of boxes of these Pz V Panther tanks from The Plastic Soldier Company. If you have a German force you just have to have some Panthers. The previous ones i built would have been that old Airfix kit from the 1970’s. So 40 years later and what a difference!

You get two tanks in a box, but value wise they still come out to around $10-12 each once i shipped them to Australia. So on a par with other more complicated Panther kits out there. What you get is two easy to build tanks, with minimal parts. The track sections come in one piece, so no tricky wheel alignment or rubber track catastrophes to avoid. Hatches can be modelled open or closed, plus you get some extra bits of track to add onto the hull. I added some more metal track i had to the turret on one of these just for some variety. These are really solid models and perfect for wargaming, although i think a little big and chunky compared to other 1/72 scale manufacturers.

Although they supply some crew figures for the turret and hull hatches, i didn’t really like them, so I switched to a Battle Field Miniatures German commander who you can see in the pictures below. That’s not to say the crew are poor, its just i am keen on my metal manufacturers for crewmen. You can build your Panther with or without side schurzen, so you have options to vary your tanks out of the box.

I primed my tanks in flat black, gave them a covering from my Tamiya spray can of dark yellow, then hand painted a random camouflage pattern in red and green. I would highly recommend these Panthers for any wargamers out there, but next time i will try something that is a bit more of a challenge from a modelling perspective. Maybe a Dragon or Revell offering………..

Some Panthers in action in the following photos!


Hasegawa Humber Armoured Car 1/72 scale

While i was on the Hasegawa modelling wagon i dragged out these two Humber armoured cars i made a while back, and thought i should add them to my blog. Great value when you buy from Japan or China these guys were no more than USD 10 each delivered to Australia. Better than buying from the UK at close to the same in pounds…..

As usual with Hasegawa models they were easily put together and not too complicated to build. I didn’t like the metal axle rods and lack of suspension. You need to fix the metal rods so the wheels do not slide from side to side or rotate. I should have fixed these two to an MDF base to prevent any slippage and also as they are quite delicate. They come with some stowage items like a box or two and some rolled blankets/tarpaulins. The crew figure, which typical for Hasegawa, is awful. So i replaced him with a crew man from Battlefield Miniatures. I also added aerials so the forward recce team can radio into headquarters when they spot the enemy.

Choices for your British in plastic 1/72 scale Humber Armoured Cars is extremely limited, and in fact i think only RPM make an alternative version. I haven’t seen that model but can recommend these Hasegawa kits as an excellent addition to any British force.

Looking at these pictures i may go back and add some more mud/weathering/dirt to my vehicles as they look a bit clean!

Dragon Stug IV Late in 1/72 scale

Picked up this little beauty at my local hobby store. Unfortunately these days you pay more at the store than on line. Retail shopping is a dying breed…….

Its official I love Dragon kits. Even if I have to pay a little bit more for them compared to other manufacturers, its worth the money. This little Stug was a pleasure to build. Starting with the wheels which are moulded separately making it super easy to paint the outer tyre part black and the inner hub dark yellow, before fitting them together. The tracks themselves are one piece flexible plastic/rubber which I much prefer to the really fiddly multiple part tracks I have struggled with on other kits. I didn’t quite manage to get the sagging weight effect of the top tracks – something I need to investigate further next time.

The top section is excellent and full of detail. Some hatches can be modelled opened or closed, so next time I will add a commander and crew. Everything fitted together perfectly with no issues. I primed and painted the bottom section before gluing on my pre-painted wheels. Then the tracks went on, before I glued the top and bottom together.

I went with a dark green on yellow camouflage scheme, and a dirty brown wash to blend him into the base. I couldn’t recommend this Dragon kit more highly, and will buying a couple of more of these to make up a troop.

Check him snooping around a Normandy village in the following photos.

20151217_171521 20151217_171600  20151217_171806 20151217_172016 20151217_172108 20151217_172155

Hasegawa 88mm and half track 1/72 scale

After finishing my Zvezda 88mm with AB crew, I needed to make sure I had some transportation for the gun to get around. I didn’t want to have my gun and crew base trailing a halftrack round the board so I decided to get hold of a second gun in the limbered position. The two Hasegawa kits, 88mm gun and heavy halftrack, were just the ticket. Bought direct from my favourite Japanese web site these kits are way cheaper than buying Hasegawa from any other source. At under USD 9 each they are such a bargain. If you buy Hasegawa from other foreign web sites they are probably double the price.

The kits are easy to build and I can highly recommend them. Check out the below pictures. I gave them my usual dunkelb treatment, plus added drivers from AB figures. All that is missing is the gun crew sitting in the back seats. I think I will add them at a later stage.

20150906_153040 20150906_153004 20150906_152737

Dragon Horch Heavy Cars in 1/72 Scale

I needed some more transport for my German squads to get them smoothly and quickly round those little Normandy lanes. These Horch cars from Dragon Models came up, and at two kits in a box for less than $20 from BNA Models, I could not miss the opportunity. As usual with Dragon kits I found them really nice to build, with enough details to make things interesting, but not too fiddly to be annoying. Everything fitted together perfectly, and I would highly recommend this kit. I am on the look out for maybe a halftrack or two from their range.

I added my usual drivers from AB Figures and painted them up in the finest dunkelb. All ready to go. Photos below show them in convoy with a Panther and just posing in a country lane.
20150725_13295420150725_132601  20150725_133059 20150725_133125

Waffen SS Set 1 by Pegasus

I thought I would post some pictures of a couple of squads of troops I painted from the Pegasus Waffen SS Set 1 figures that I picked up from Hannants a while back. Its an awesome box of forty or so German infantry. Plenty of rifles to make up your squads in plenty of different poses. I think these are the best figures in plastic for 1/72 scale you can get. Great detail, great variety of poses, and really easy to paint. I have set 2 somewhere in my stash which I will get out and paint some time……..

In the background is another Pegasus offering, one of their Opel Blitz trucks. I think the best value Opel truck you can find in 1/72 scale on the market today. A box of two costs around 8 pounds. Simple models, but perfect for wargaming.

My painting of these guys is my own interpretation of German camouflage schemes, somewhere between peadot and oakleaf… I wasn’t too bothered which, but was happy how they turned out. I use a base of a bright olive green, then do adjacent patches of red brown and dark green. Then go back over with smaller dots of brown and dark green. Finally I put a bunch of tiny bright olive green dots across the whole thing. I do all the camo first so you can just paint the webbing and straps over the top. Pants were field grey from Tamiya paints. Painting German camo is a labour intensive job but I was happy the way things turned out with these lads. Some pictures below! Its hard taking photos of men compared to vehicles, I think I need a better camera. Or a better phone…….

20151028_193212 20151028_19295920151028_19334620151028_193547


20151028_19434120151028_194037 20151028_193911

Italeri Panzer 4

Another kit that arrived from Lucky Model was the Italeri Panzer IV. I think it was around USD 8.99 for the kit, which I thought was a good deal considering this kit is listed as over 8 pounds on most British web sites and Italeri wont ship to Australia…… I wanted some Panzer IV’s to go with my Panzer III’s, and Panthers. The Panzer IV at least gives my British Armour a fighting chance in a fist fight.

Anyway the kit looked pretty good out of the box, but after building the awesome S-Model Panzer III’s this was a disappointment. I found the tracks super fiddly and very difficult to get looking even respectable. I hadn’t built this style of individual links fitting into the sprocket wheels, and found it tricky and frustrating. My sprocket wheels were not 100% perpendicular to the hull and threw out the track alignment. Its a learning process so next time I need to be more careful. Also gluing one link of track at a time and waiting until its dry before adding the next is the only way to get a good result.

More frustrating were the schurzen plates on the sides and turret of the tank. The connecting struts are all incorrect lengths and do not fit with the top of the hull. I had to screw around with them, cutting bits off, so they would sit correctly on the vehicle. I like my stuff to fit nice and snug…… I guess this Panzer was always doomed after I had such a nice time making those S-Model kits.

So the only thing that could save my fudgy tracks and botched schurzen plates was a good coating of paint! Black undercoat, followed by a layer of Tamiya Yellow got things started. As I don’t plan on ever owning an airbrush I am still perfecting (or trying to perfect) my camouflage scheme painting by hand. Here you can see the simple dark green scheme. I paint on the pattern freehand then dry brush and scrub around with an old brush over the top in the dark yellow. This blends the pattern into the tank. I then do a usual lighter shade dry brush over the top. Luckily the side plates covered a lot of my poorly executed track work.

My next Panzer IV’s will be Plastic Soldier Company or Armourfast – I wouldn’t ask this Italeri kit on a second date that’s for sure.

20150906_153225 20150906_153248 20150906_153306 20150906_153327

Colonel Mustard


S-Model Panzer 3’s in 1/72 Scale

To balance things out i figured i would post some German Armour to take on my predominantly British posts so far. These great Panzer Threes come from S-Model, who have a big range of 1/72 plastic kits that come in boxes of two kits. I picked these up from Lucky Model in Hong Kong for something like USD 15.99, which i think is pretty good value for two tanks. Lucky Model do some really great deals on Dragon, Revell, Italeri, and Hasegawa kits, but you have to wait a while for your order. I ordered these guys in December 2014 and didn’t get delivery until about 8 months later. So if you don’t mind waiting you can find some very decent deals!

The kits themselves are super easy to put together. Tracks come in one piece which keeps things really straightforward. The detail is great and you can have both tanks built quickly. As easy to build as Armourfast kits, but the quality of the construction and clarity of the detail is far superior. Hatches can be modelled open or closed allowing a commander to be happily sticking his head bravely out of the vehicle. I did one tank with a commander (from Battlefield Miniatures) and one with the hatches shut.

20151013_184312

20151013_183926

My paint job was pretty straightforward: a base spray of matt black, followed by a spray with Tamiya Dark Yellow. Then i applied a dark brown and black acrylic wash followed by a drybrushing of highlights with a mix of dark yellow and white. A bit of stowage was added to mix things up a bit. The kits come with decals but i really couldn’t see how i was going to fit them on the sides of the turret so i just put numbers on the back instead.

I put these little guys on MDF bases as they are so small, i thought they could do with some support.  These were a pleasure to build and paint and i will be excited to grab some more S-Model kits in the future!

20151013_18470620151013_184014

Colonel Mustard

Dingo Armoured Car by ACE Models

I picked up a couple of British Dingo Armoured cars from ACE Models via a good model web site in the Ukraine http://www.hobby.dn.ua

Only around USD 6 per kit i thought these were pretty good value, and choice for the Dingo Armoured car is pretty limited. Its a great web site if you want to buy any particular ACE or Unimodel Kit considering i think they are all made in the Ukraine. Worth checking for a bargain.

Once i got the box open though my bargain didn’t look so flash. It took a lot of cleaning up of extra plastic on many of the parts. Also some of the moulding on the surface of the upper hull was pock marked and not formed smoothly.

The parts did not fit together very well and there were gaps showing everywhere. Maybe my lack of skill but it was certainly frustrating to build. The kit also includes some tiny etched drivers pedals and other stuff way too fiddly for me, which end up invisible in the interior once you have finished. So a pointless waste of effort anyway.

I made the best job of a poor and annoying kit that i could. I had to add buckets of stowage on the car to cover up all my botched construction and crappy moulds.

20151005_14551920151005_145623

I did buy some very cool Dingo crew men from AB Figures, so my second attempt at this will include them. Overall i think i would probably go and buy the S-Model kit of the Dingo rather than this one if i had my time over again.

20151005_14545220151005_145545