Fujimi Opel Blitz Ambulance Truck 1/72 Scale

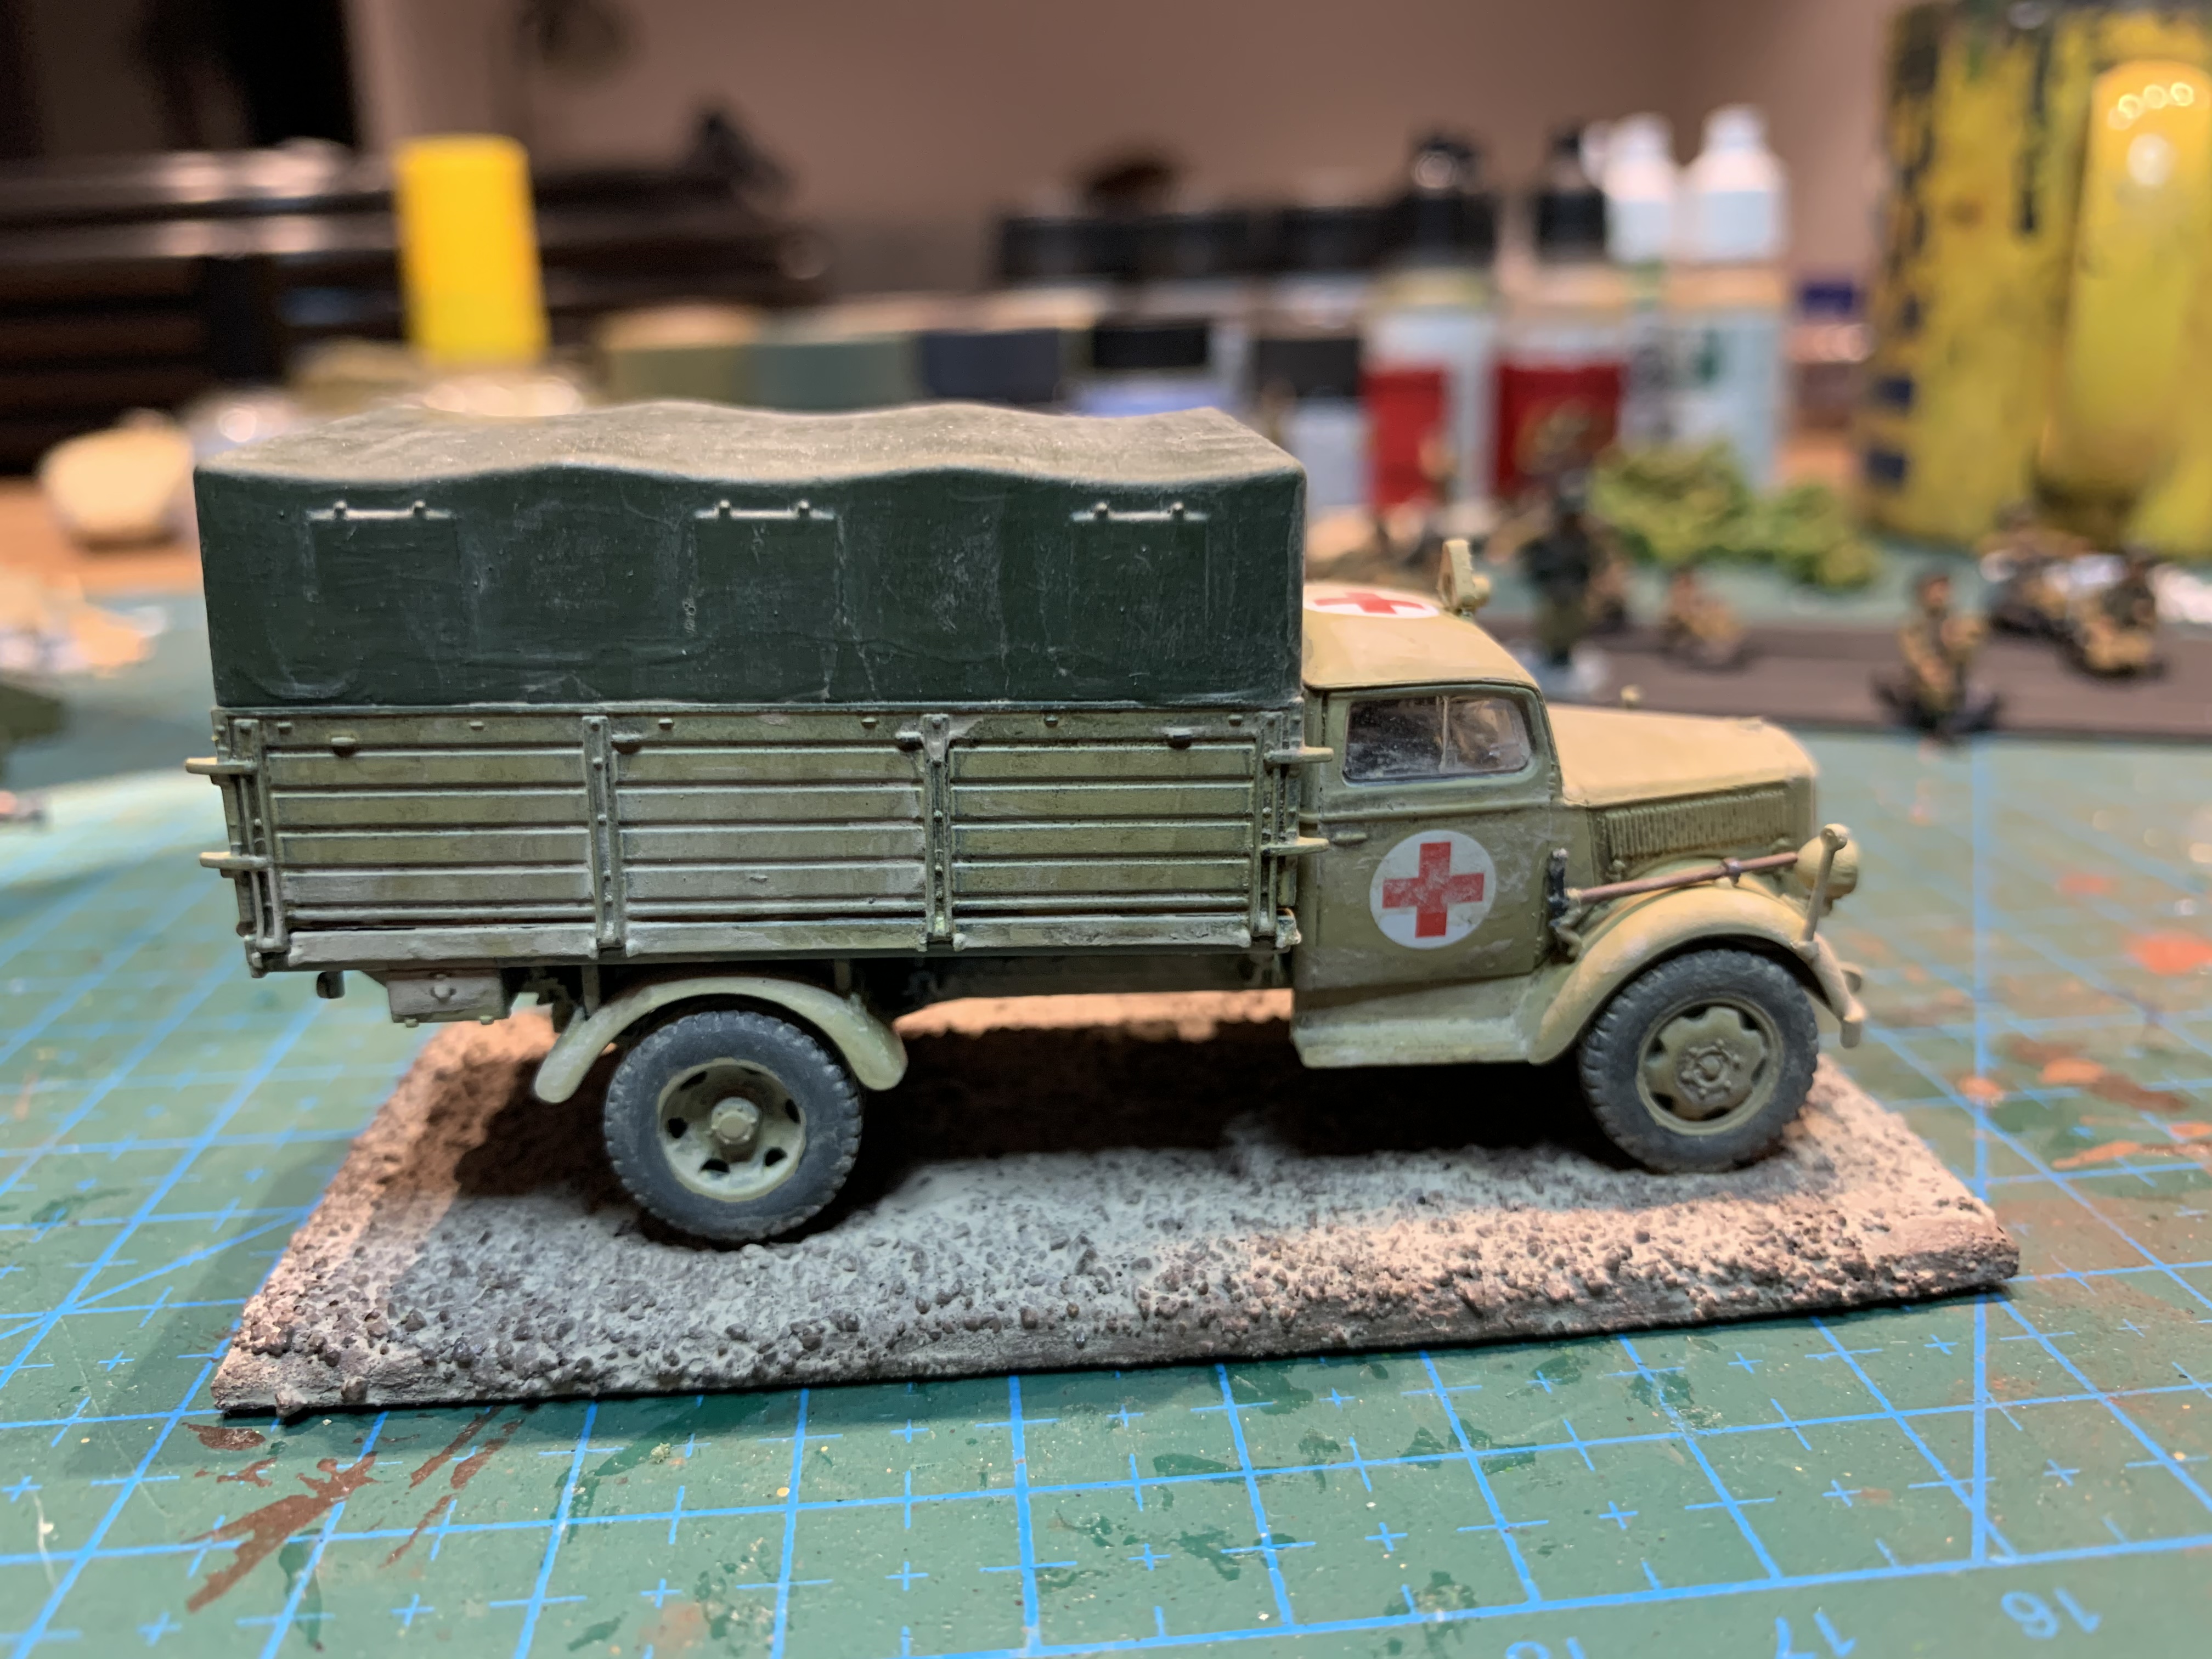
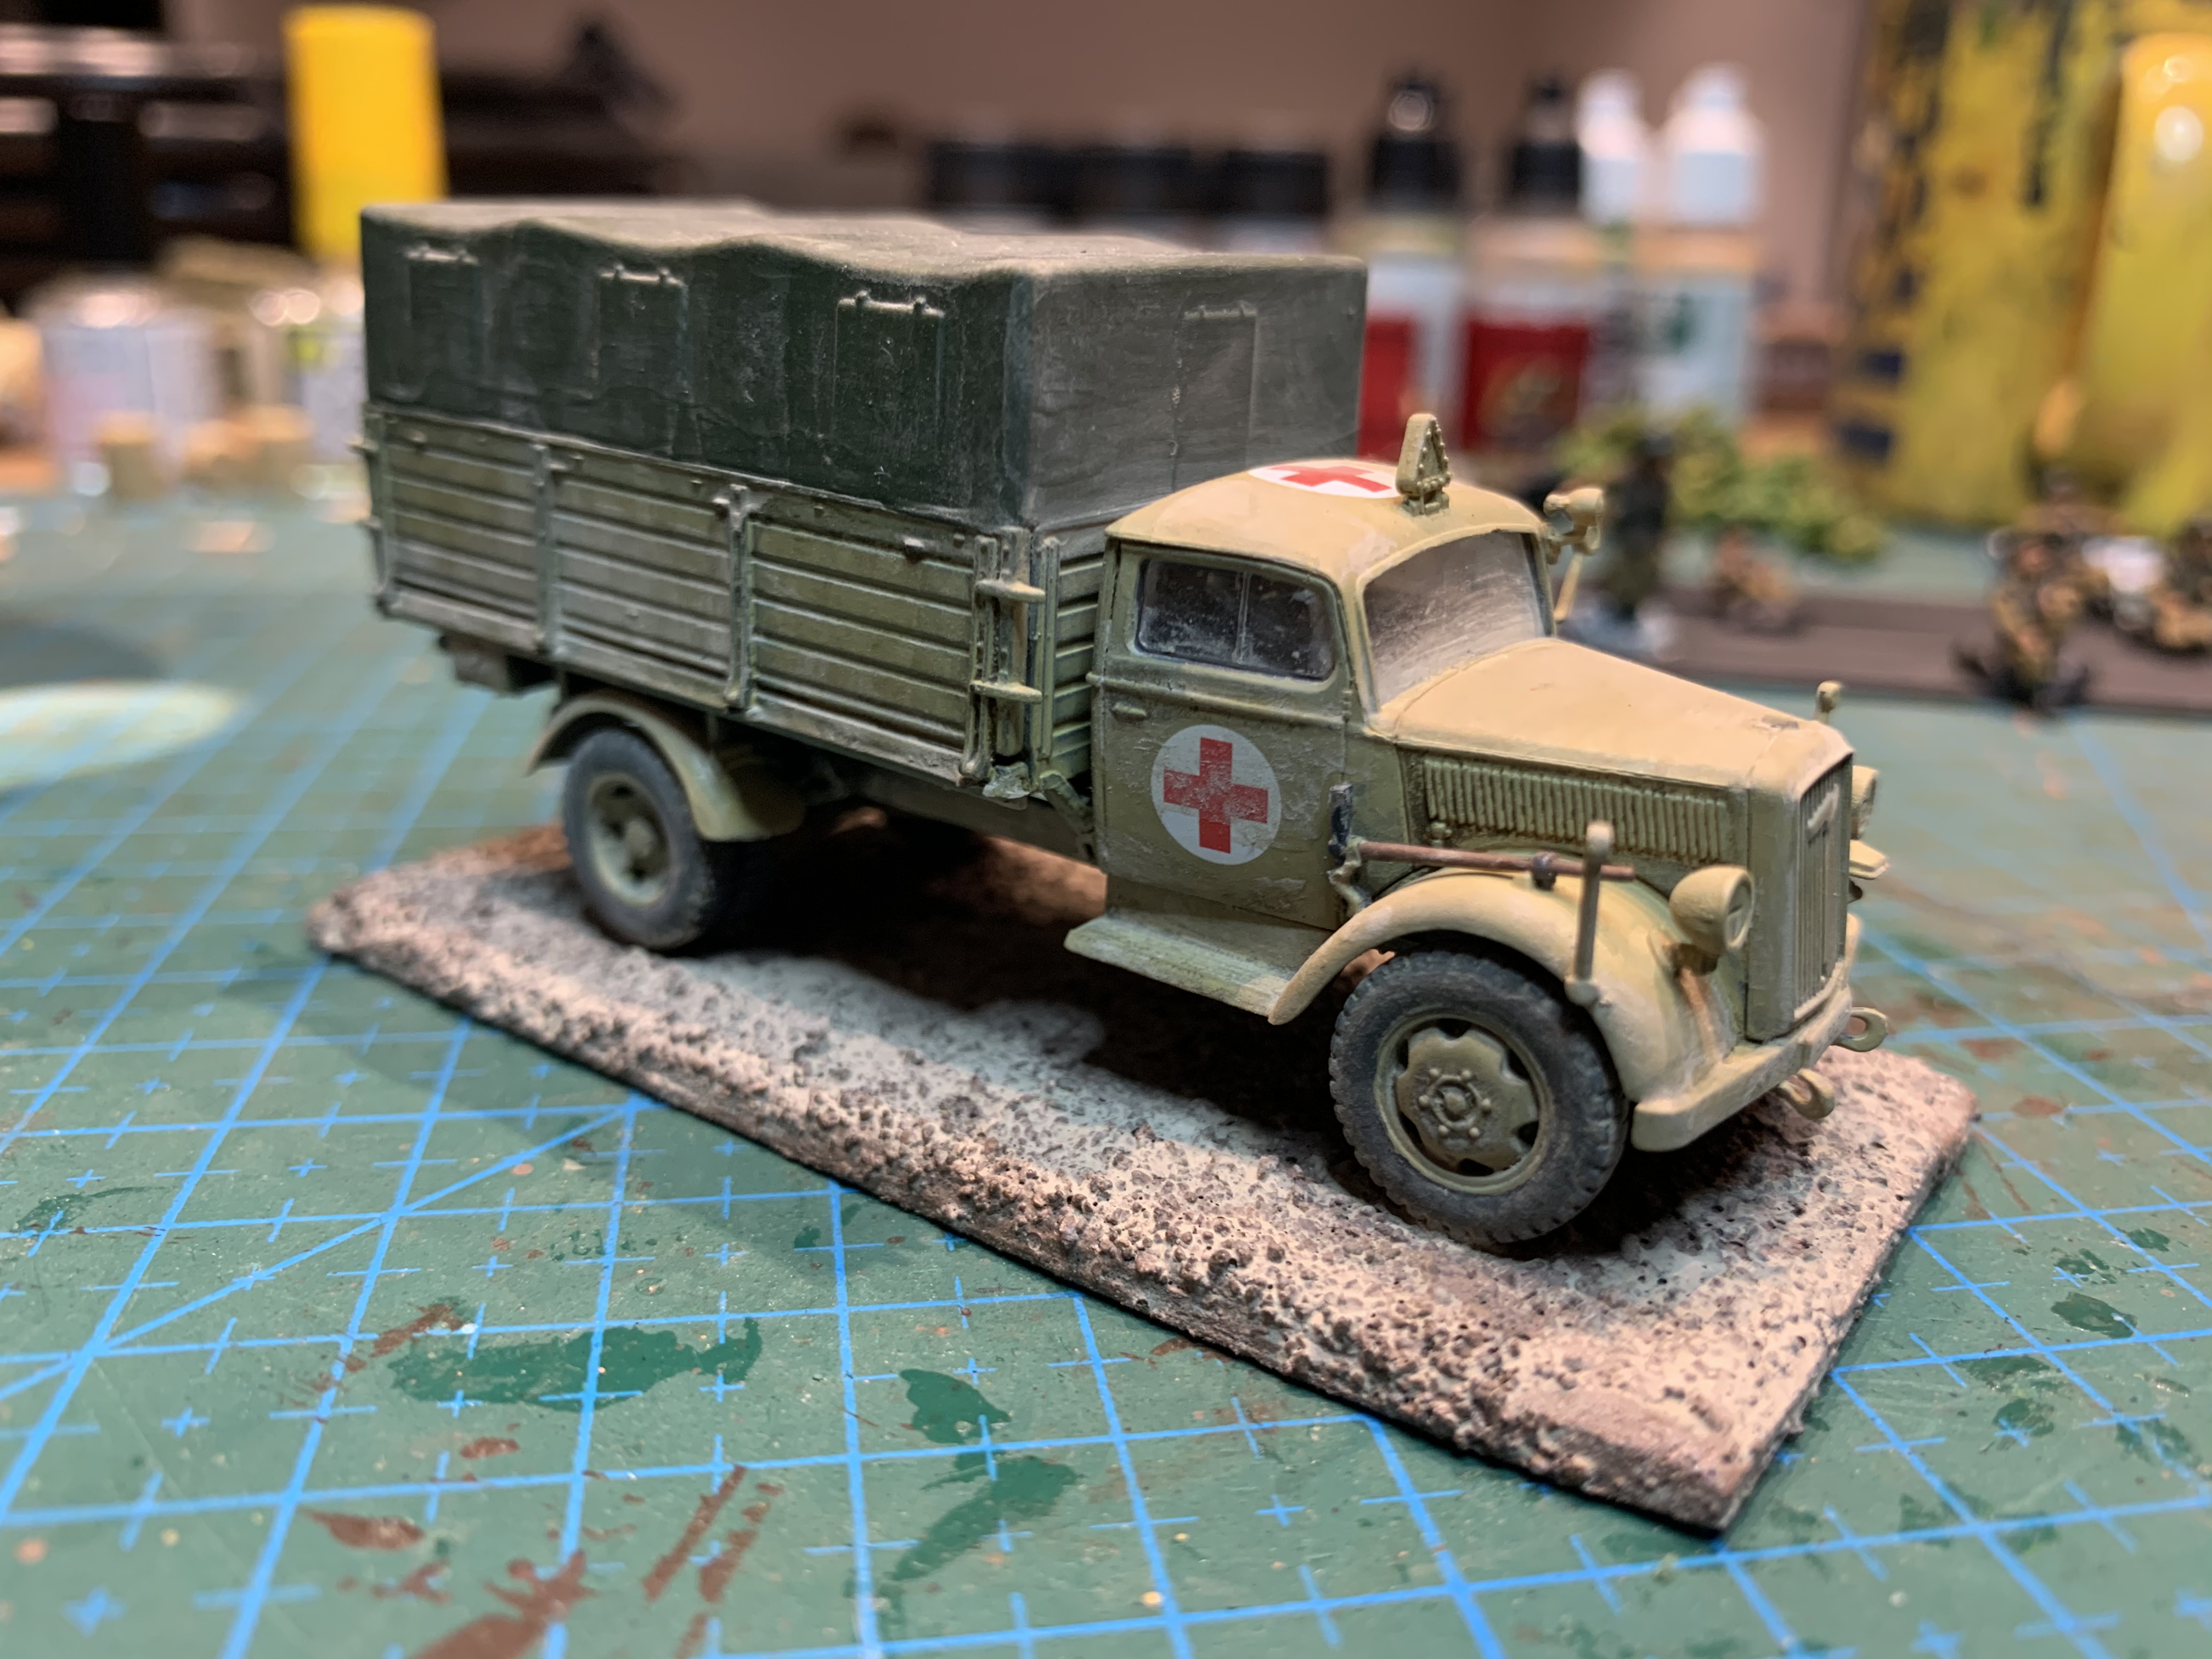
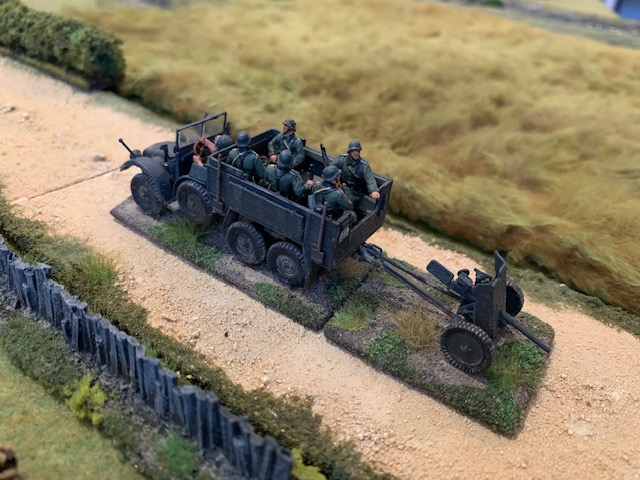
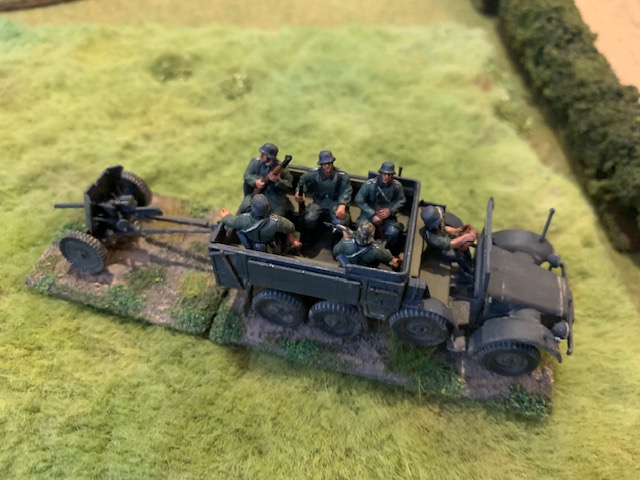
Another German softskin vehicle to add to my growing armada. I was going to make this just as a regular truck but then seeing the cool red cross decals that come with it I decided to make the ambulance version.

This is the first kit from Fujimi I have ever made and it was a good experience. Easy to build and plenty of detail. The only issues I had were with the back body of the truck sitting at a very wonky angle on the chassis. It needed some surgery and fiddling around to get it close to horizontal. So OK not so easy to build. Maybe i stuffed up which is highly likely but the tilty angle was way off.

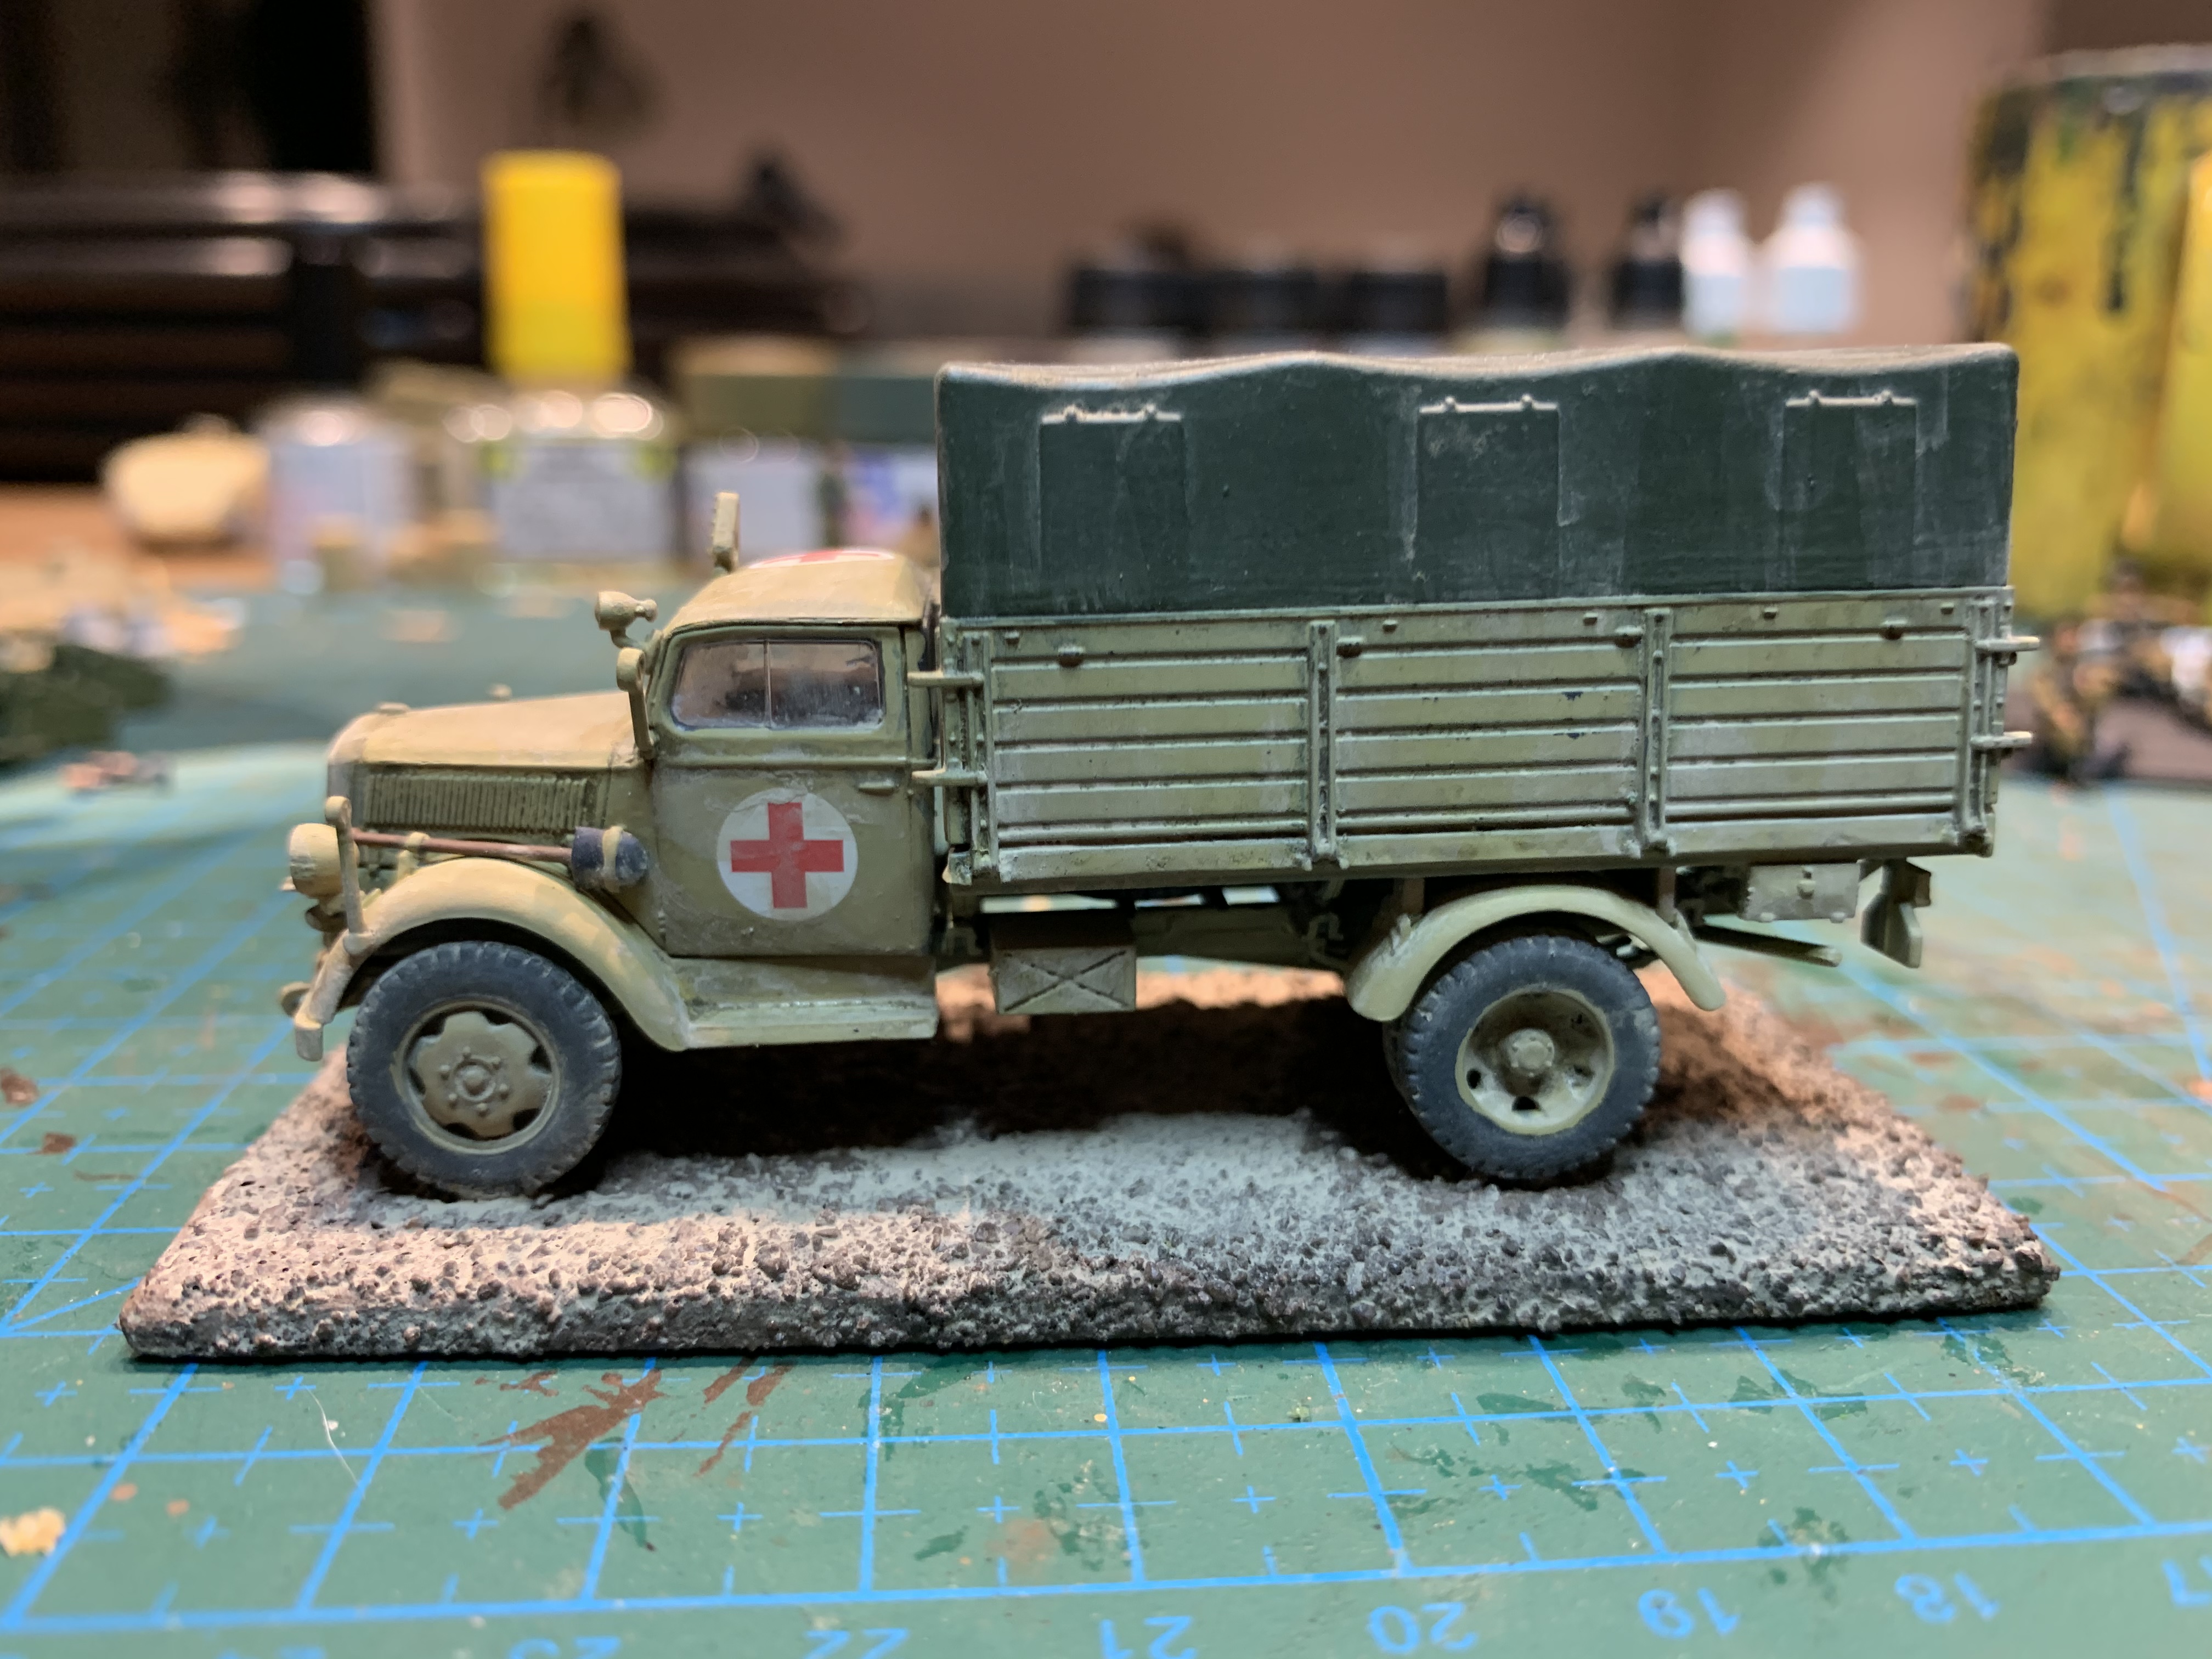
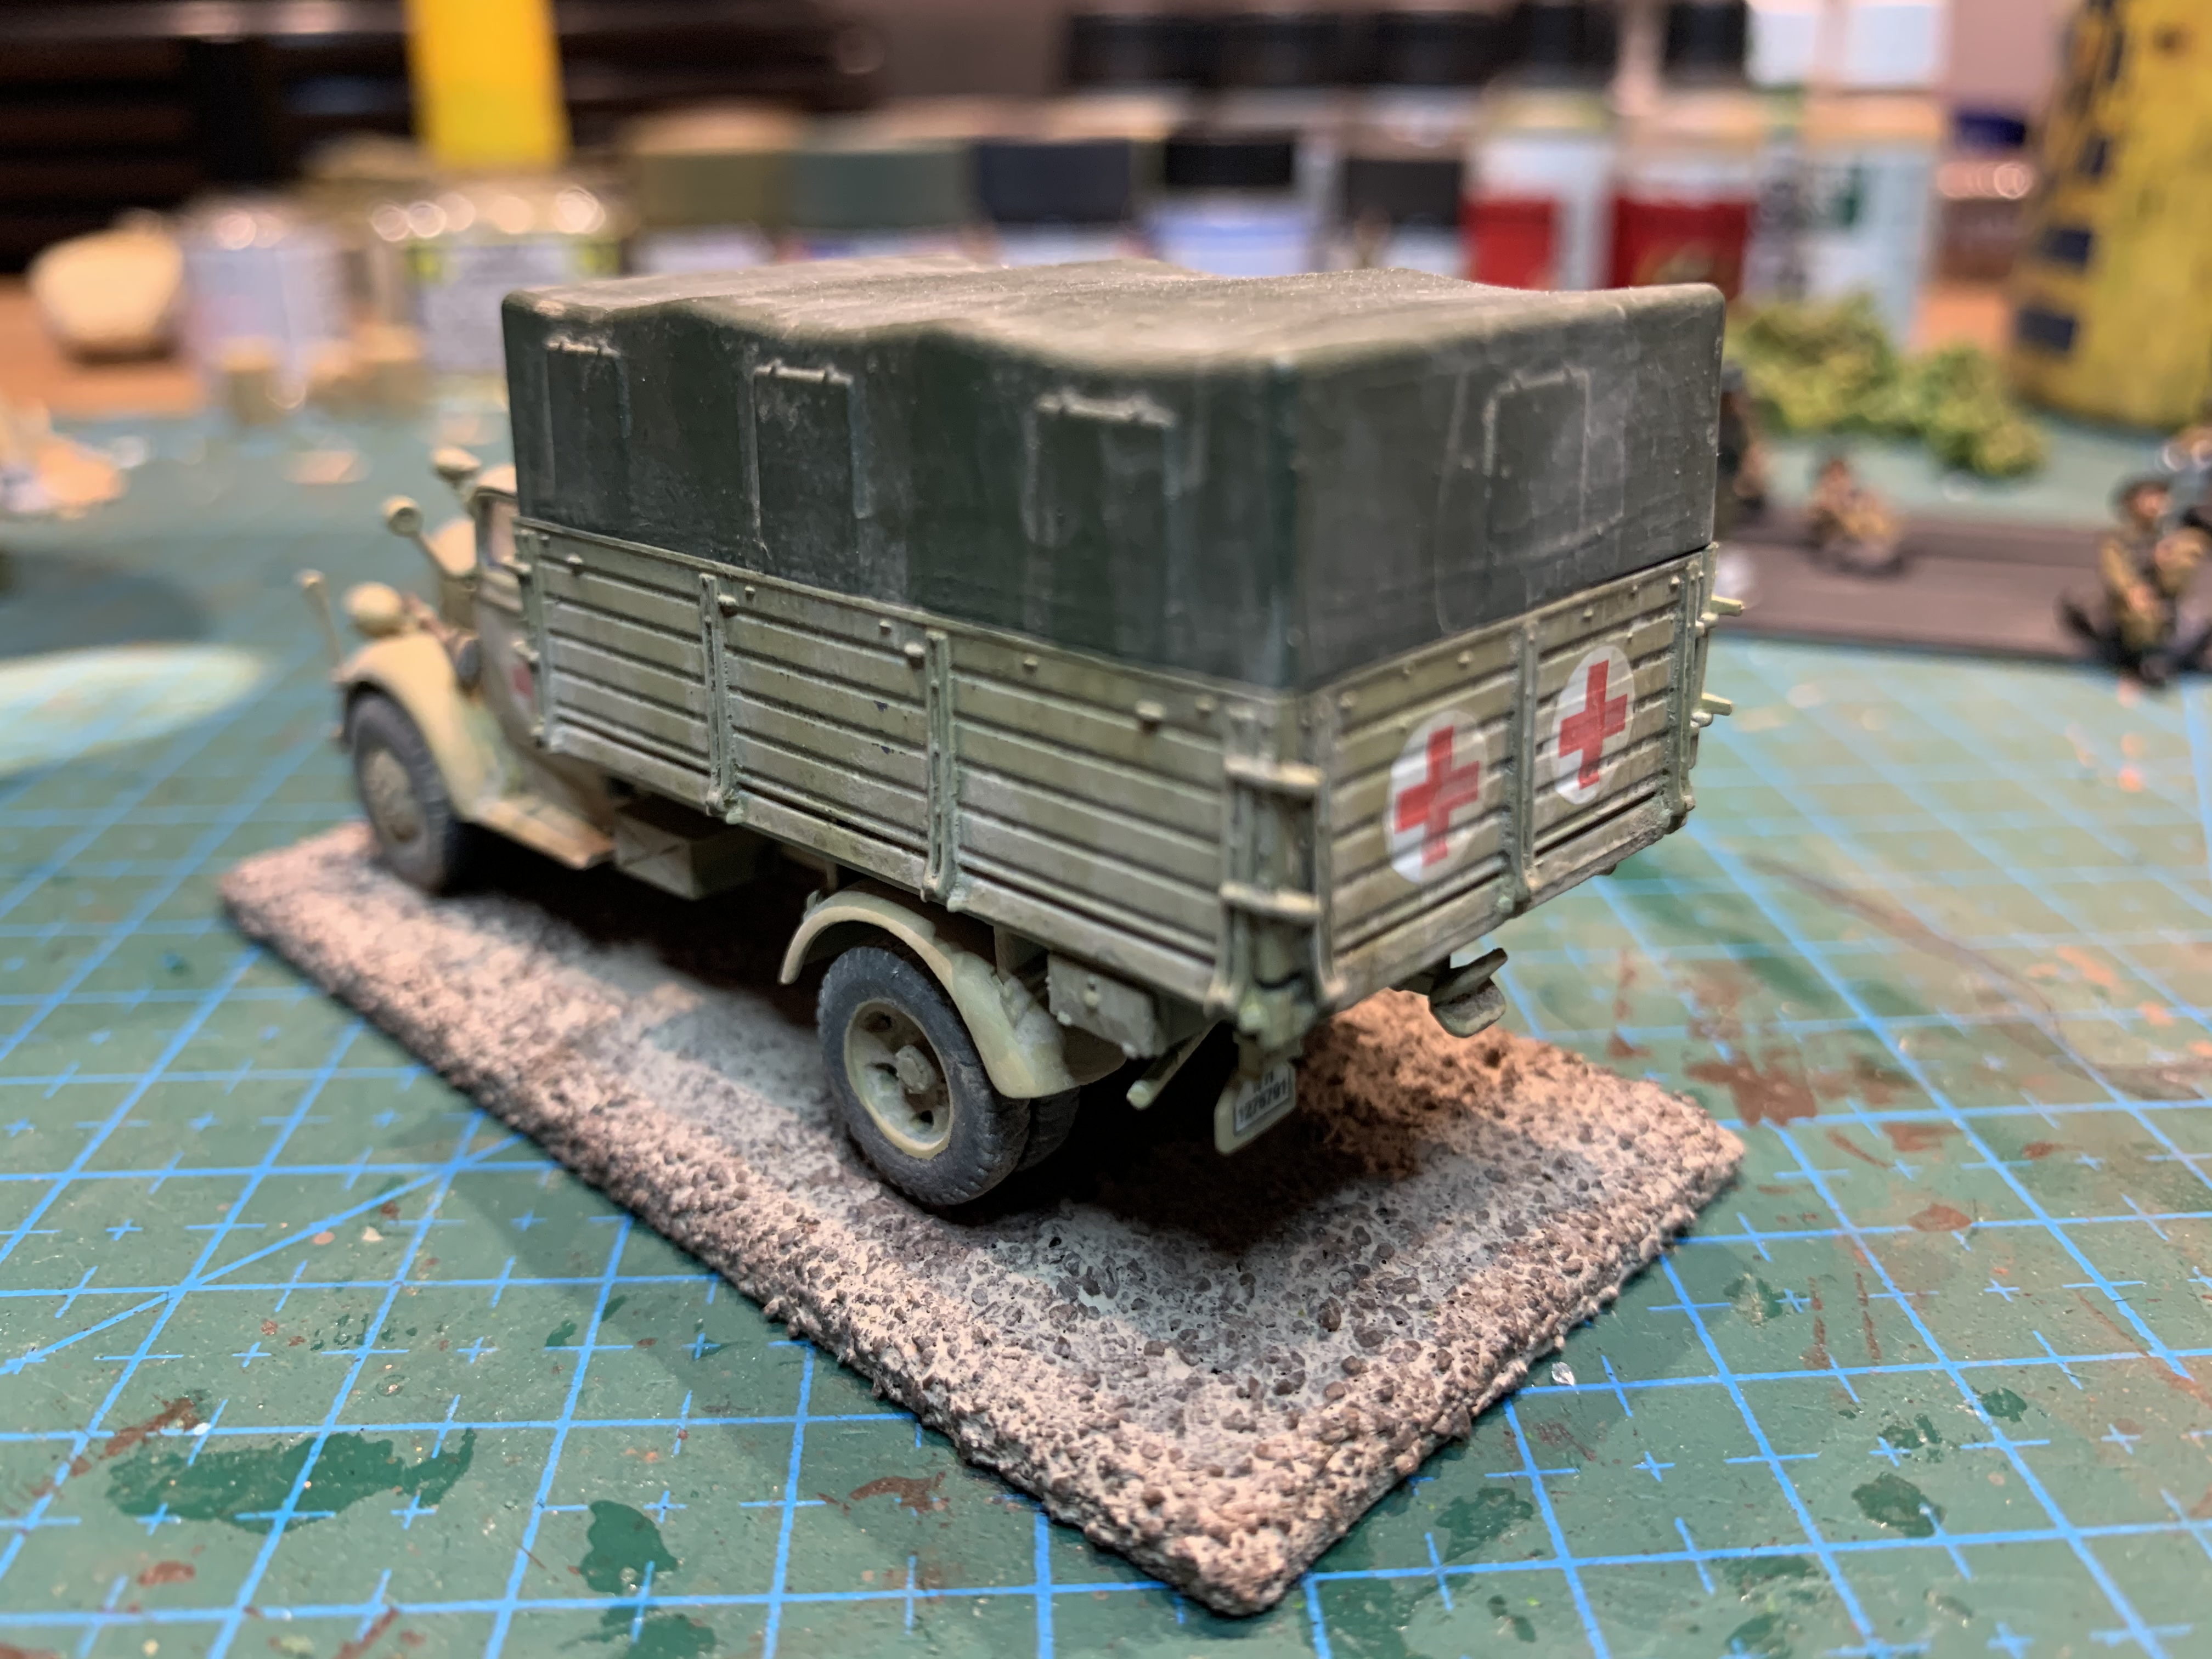
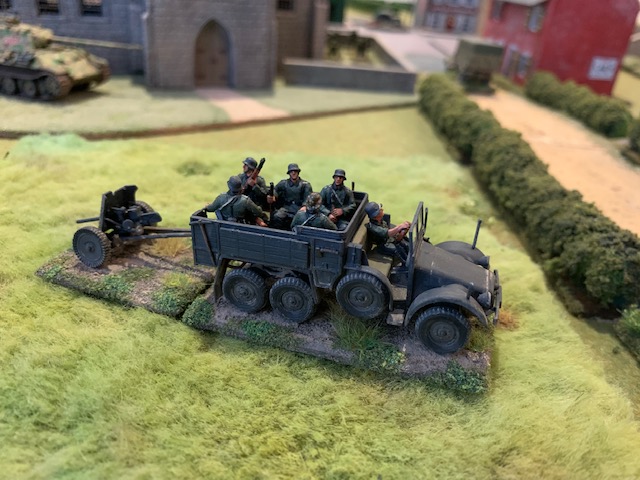
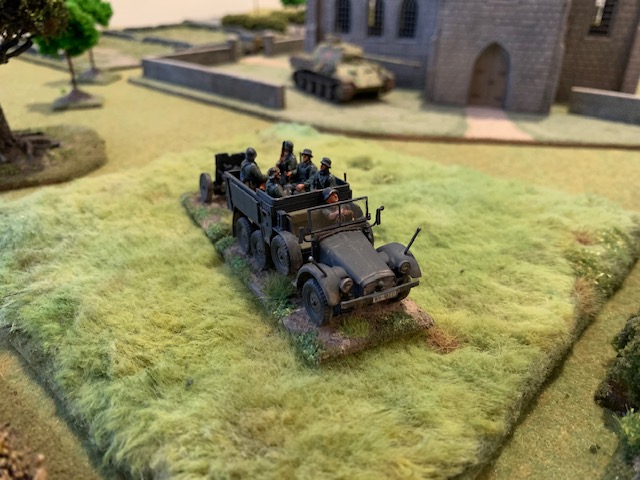
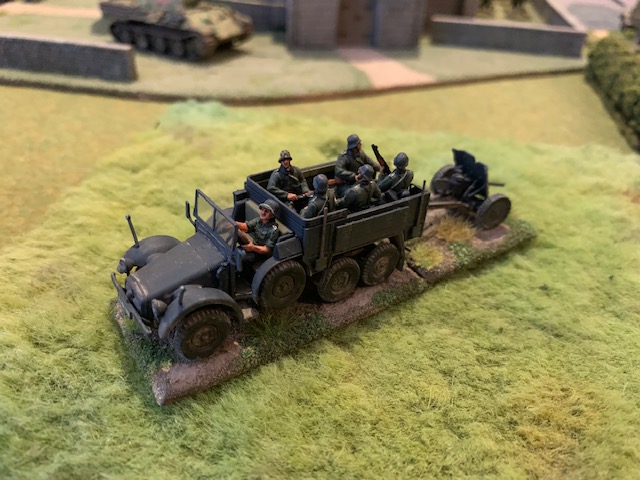
Like I mentioned the red cross decals were excellent but I did need to use plenty of decal softener to get the back ones to sink into the truck panelling. The only other thing I did change was the windshield which is a really thick piece of plastic. So I changed it to a thin piece of plastic.

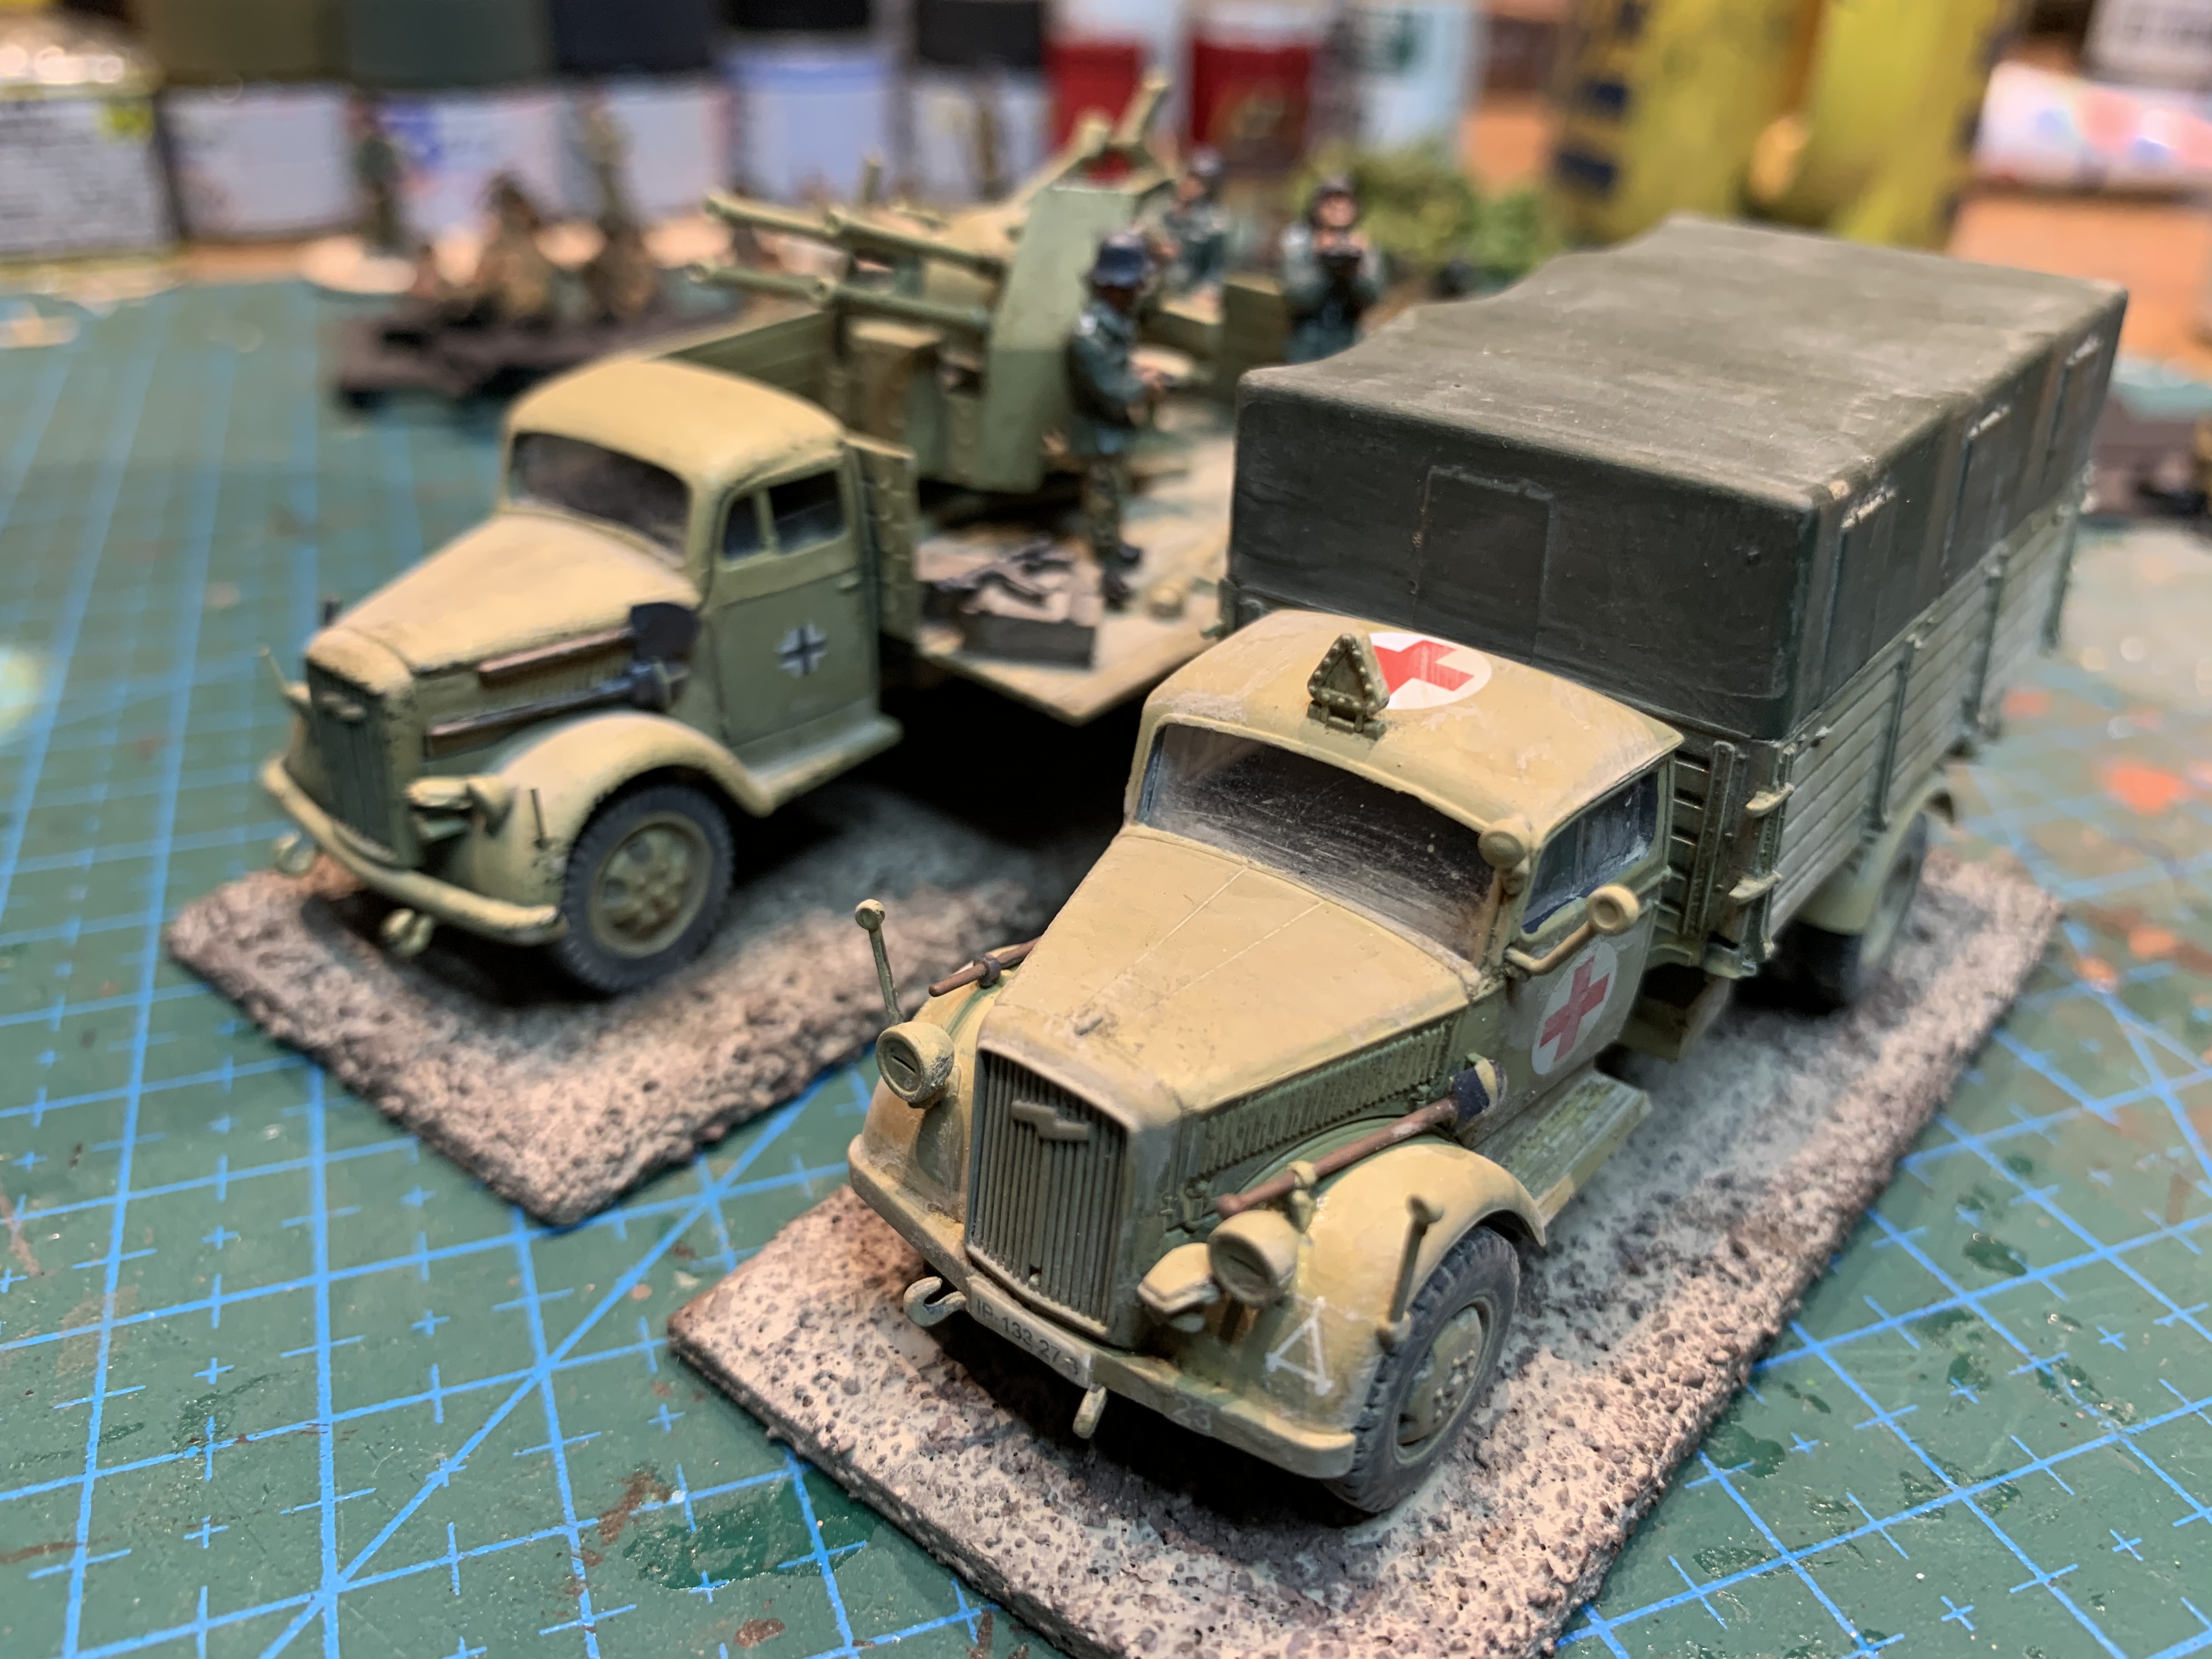
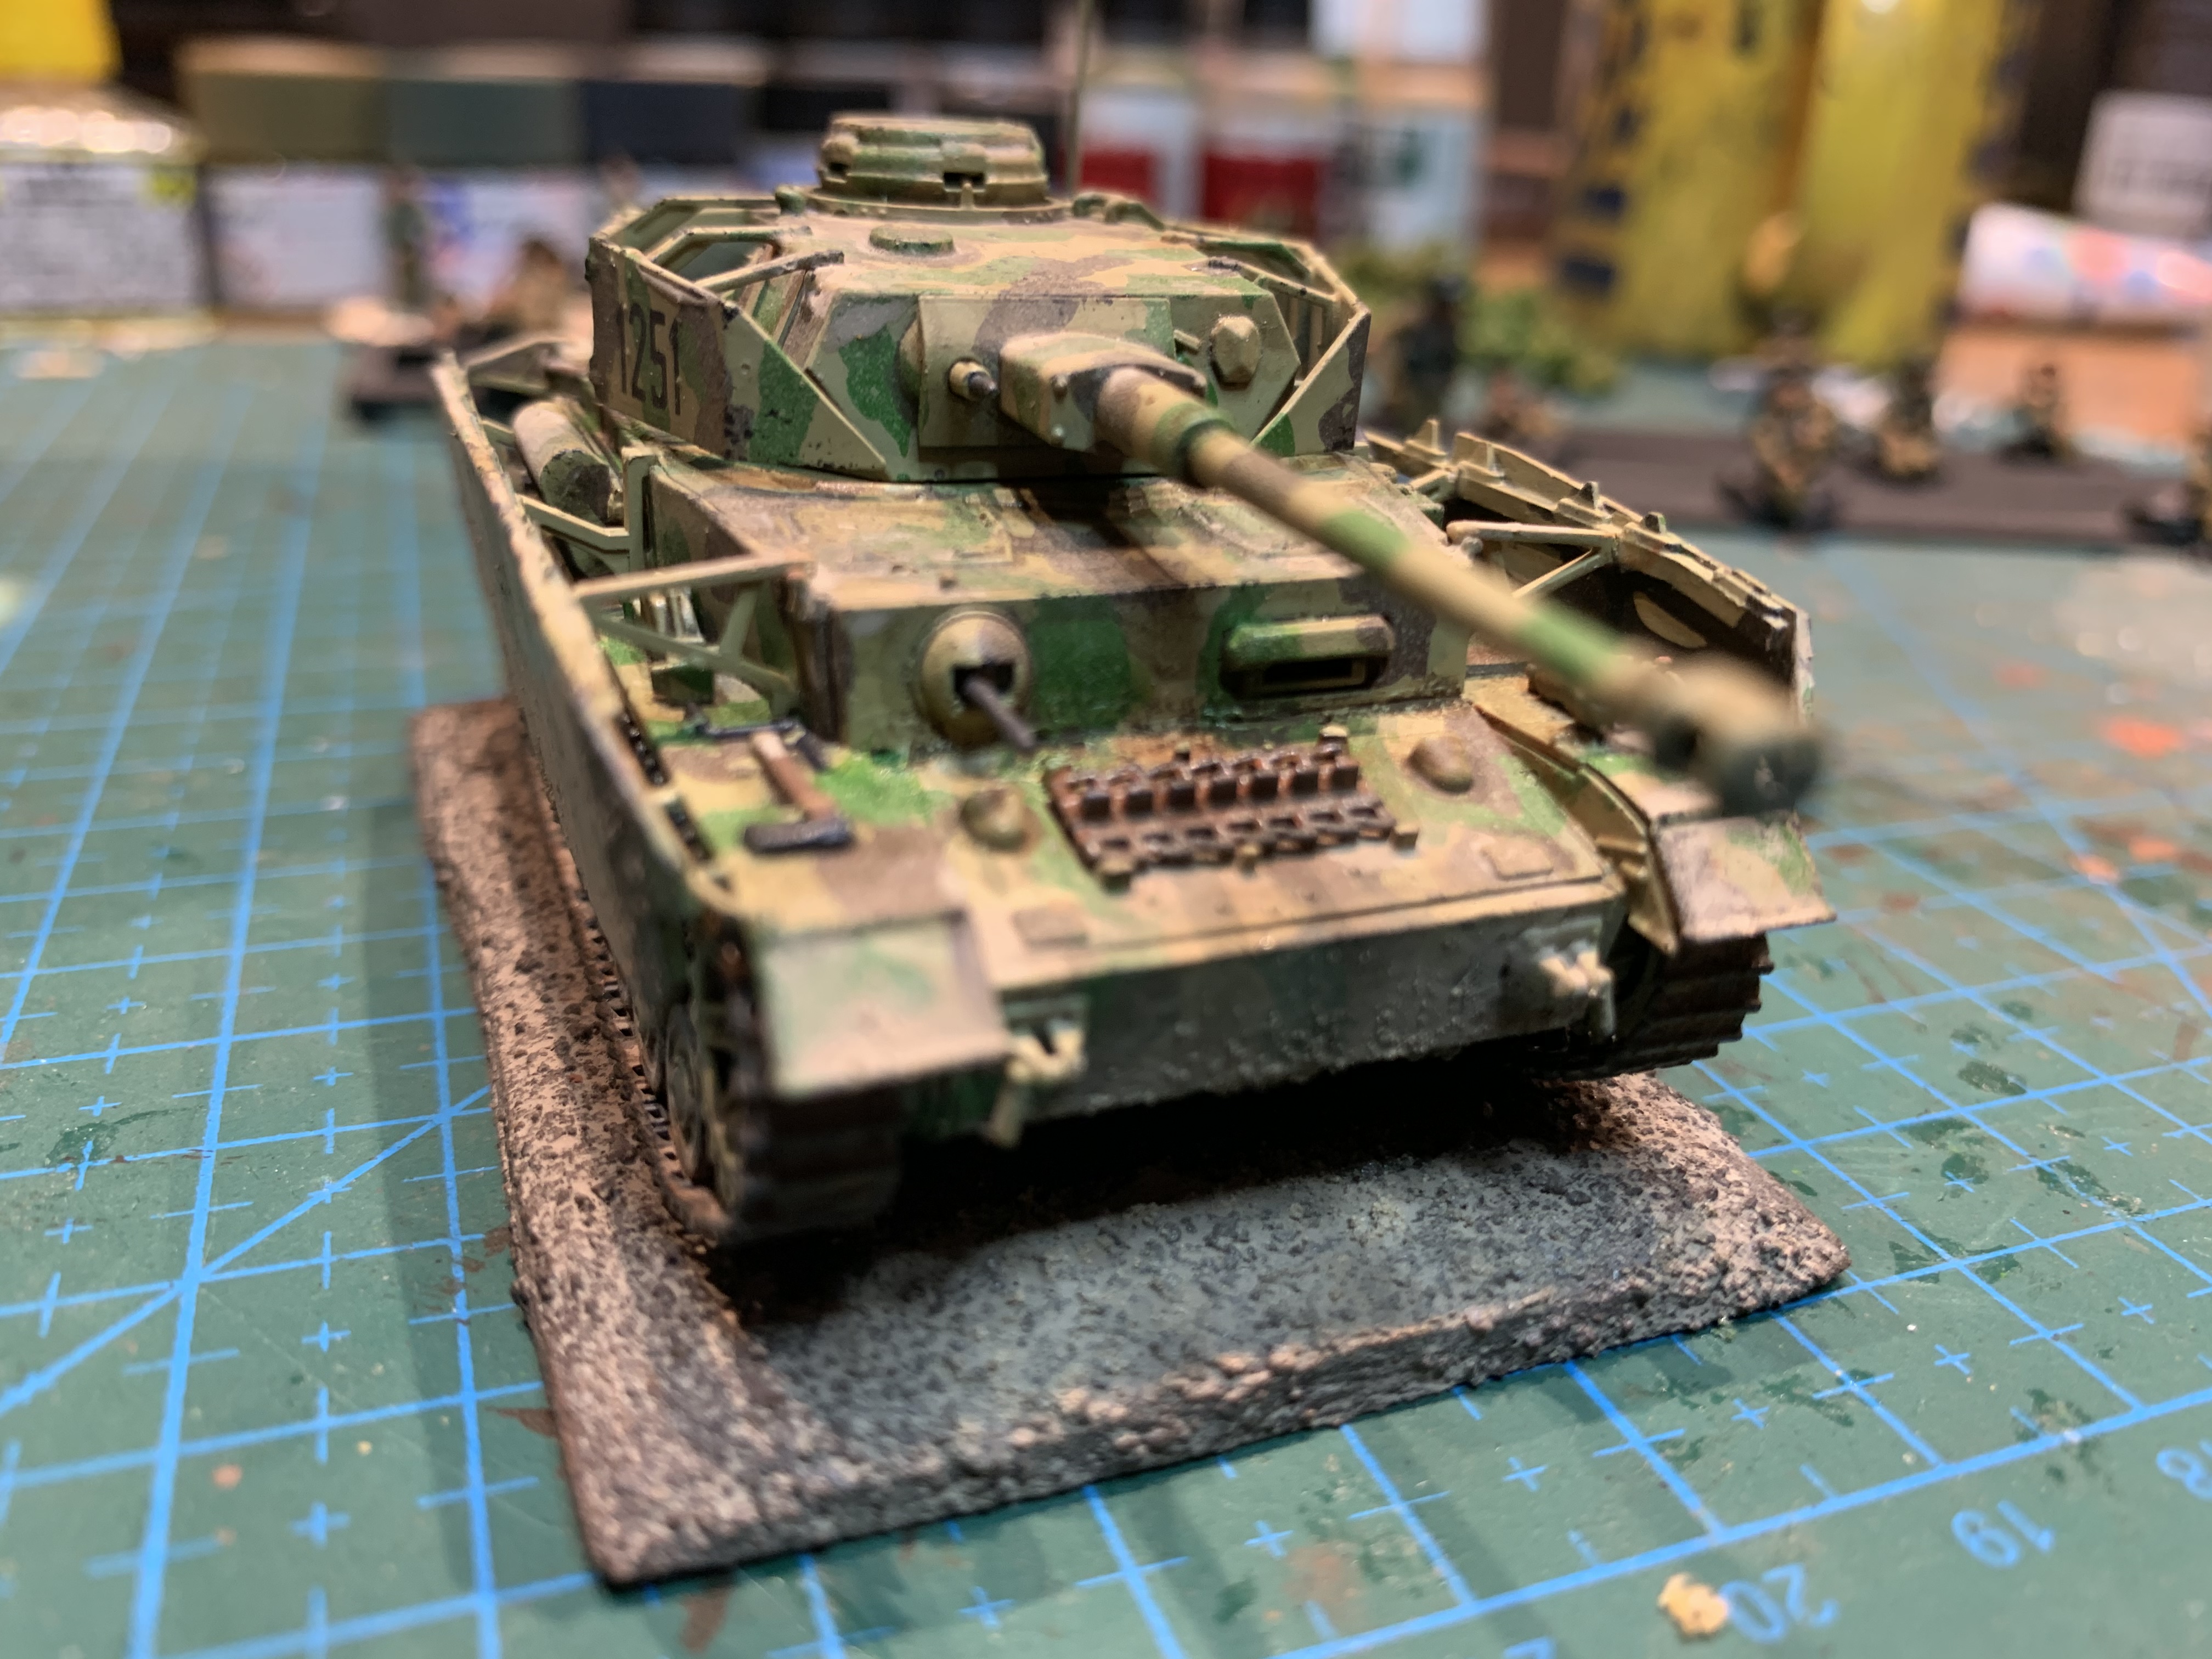
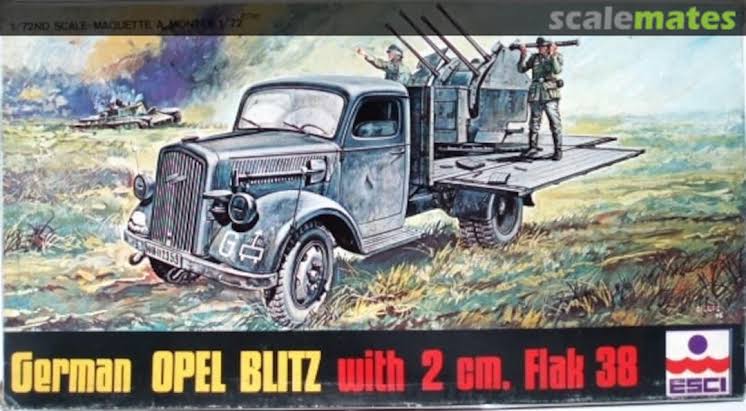
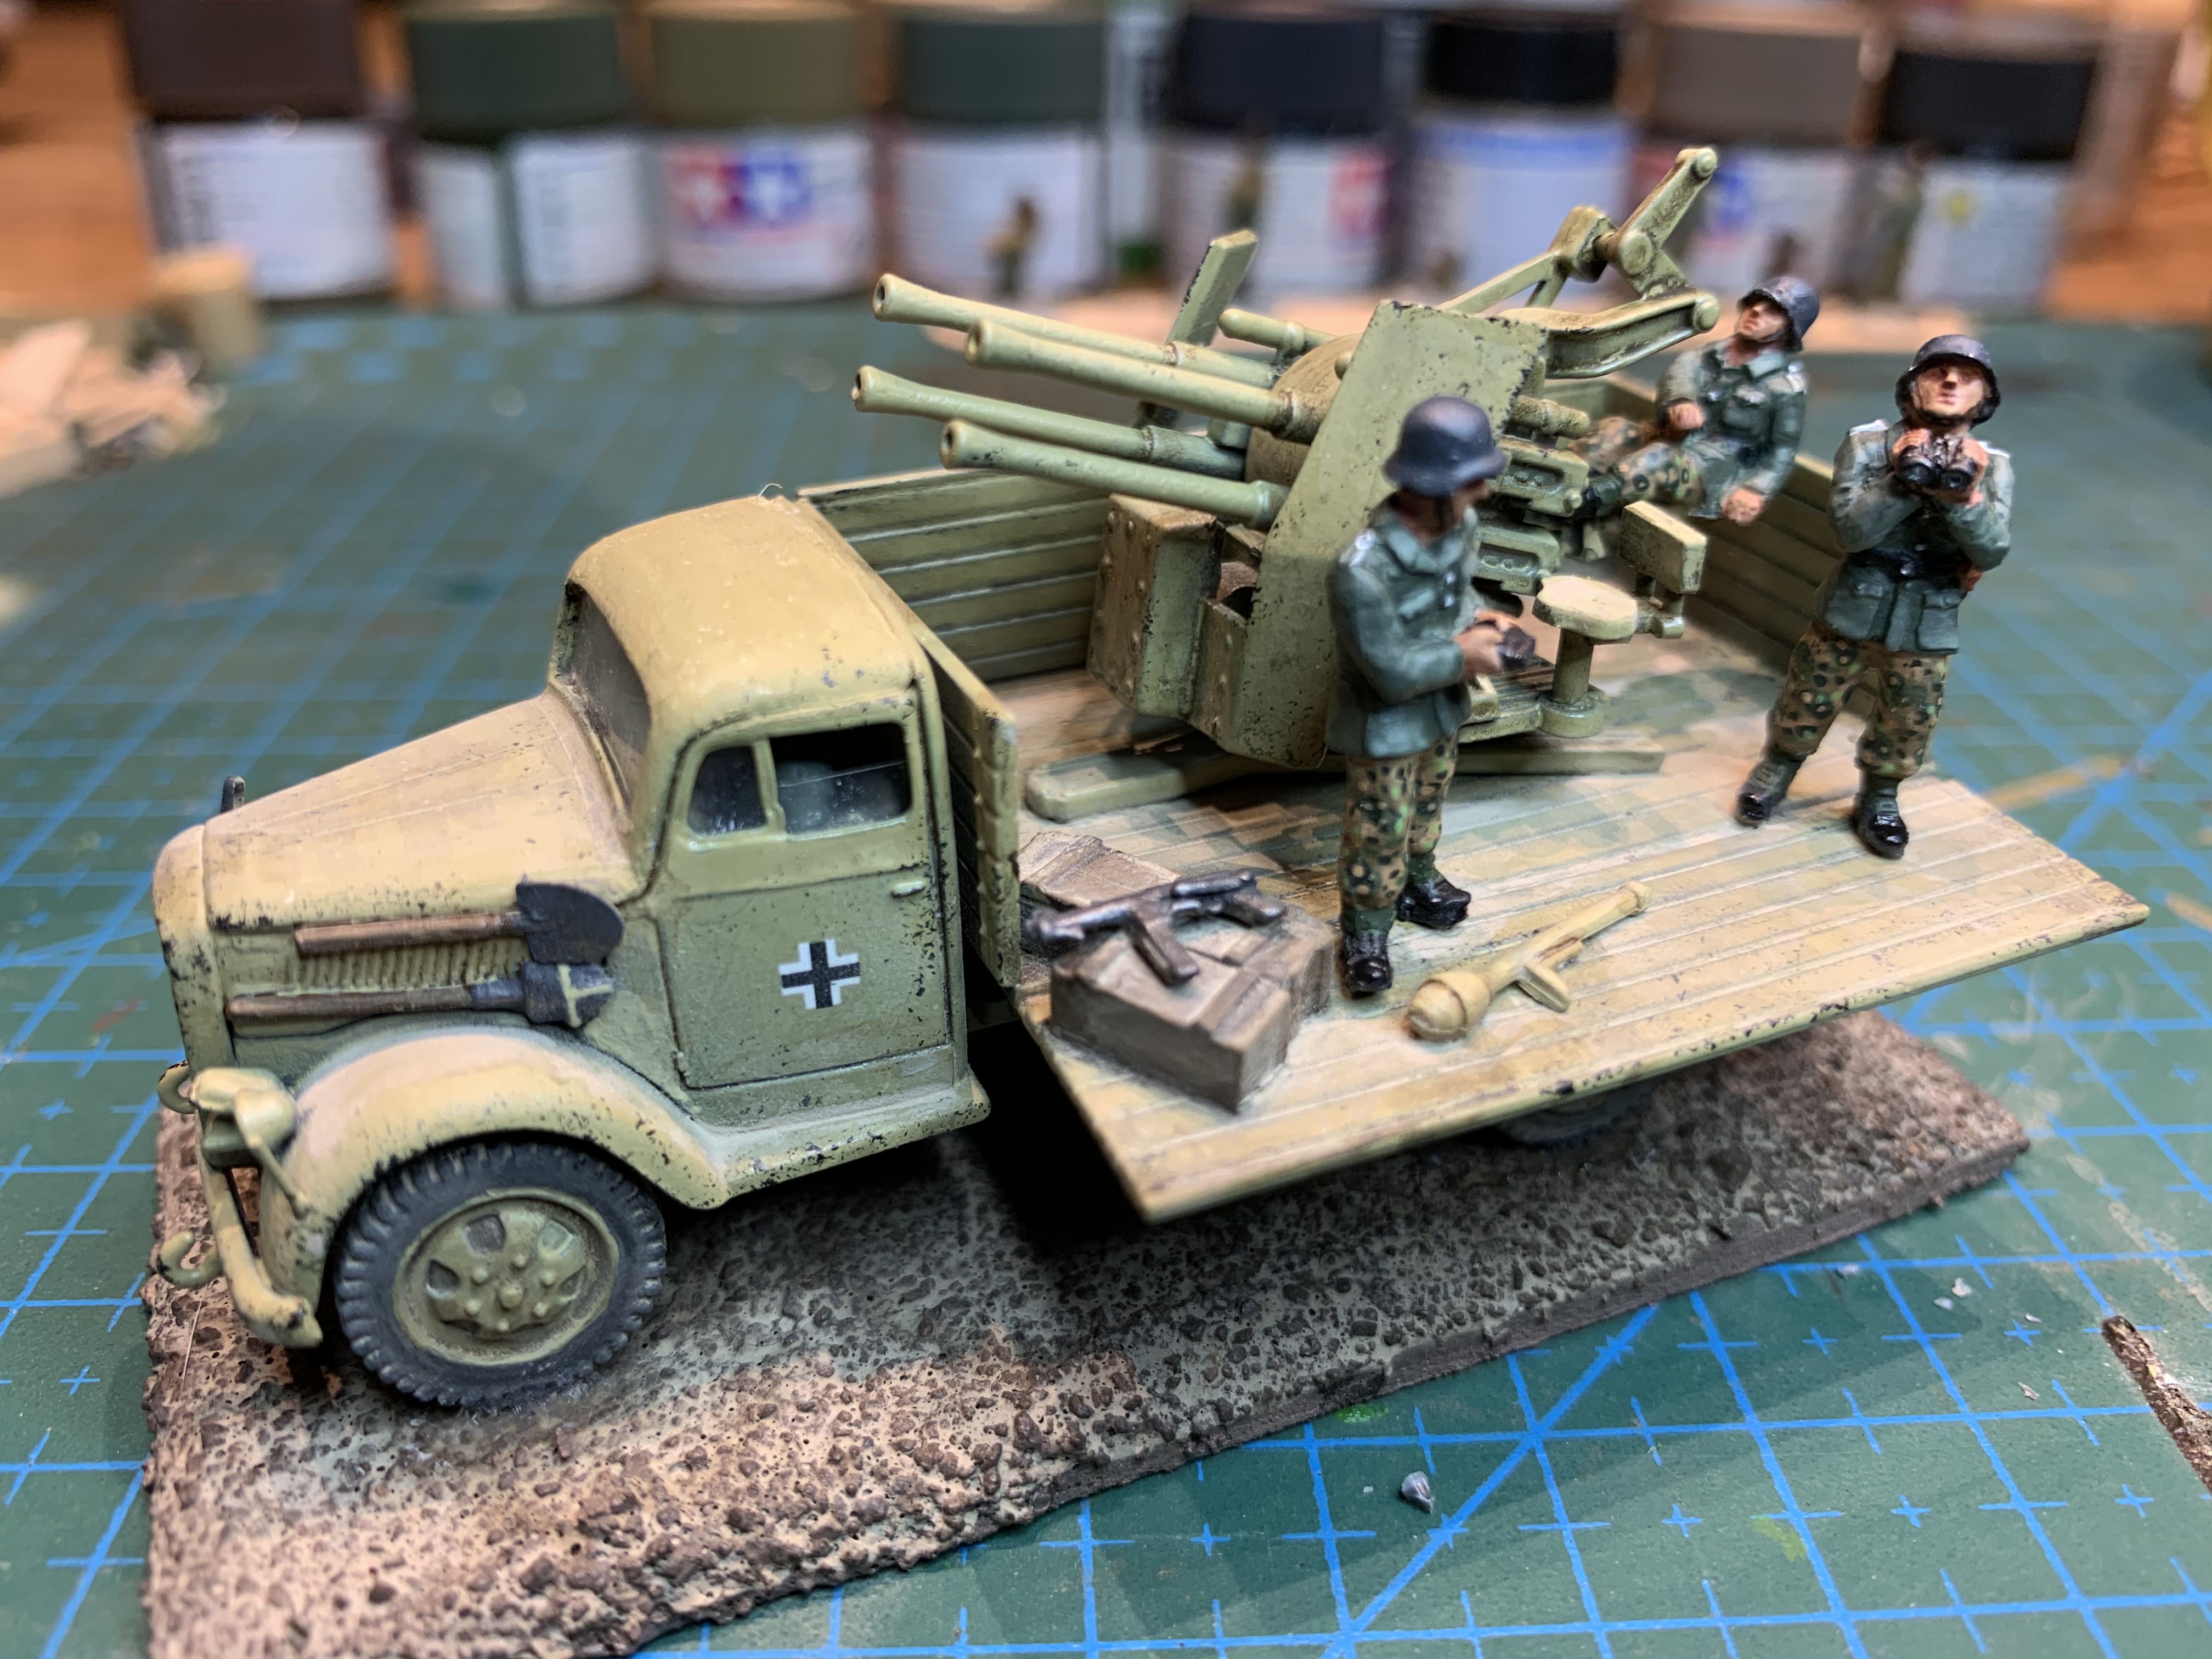
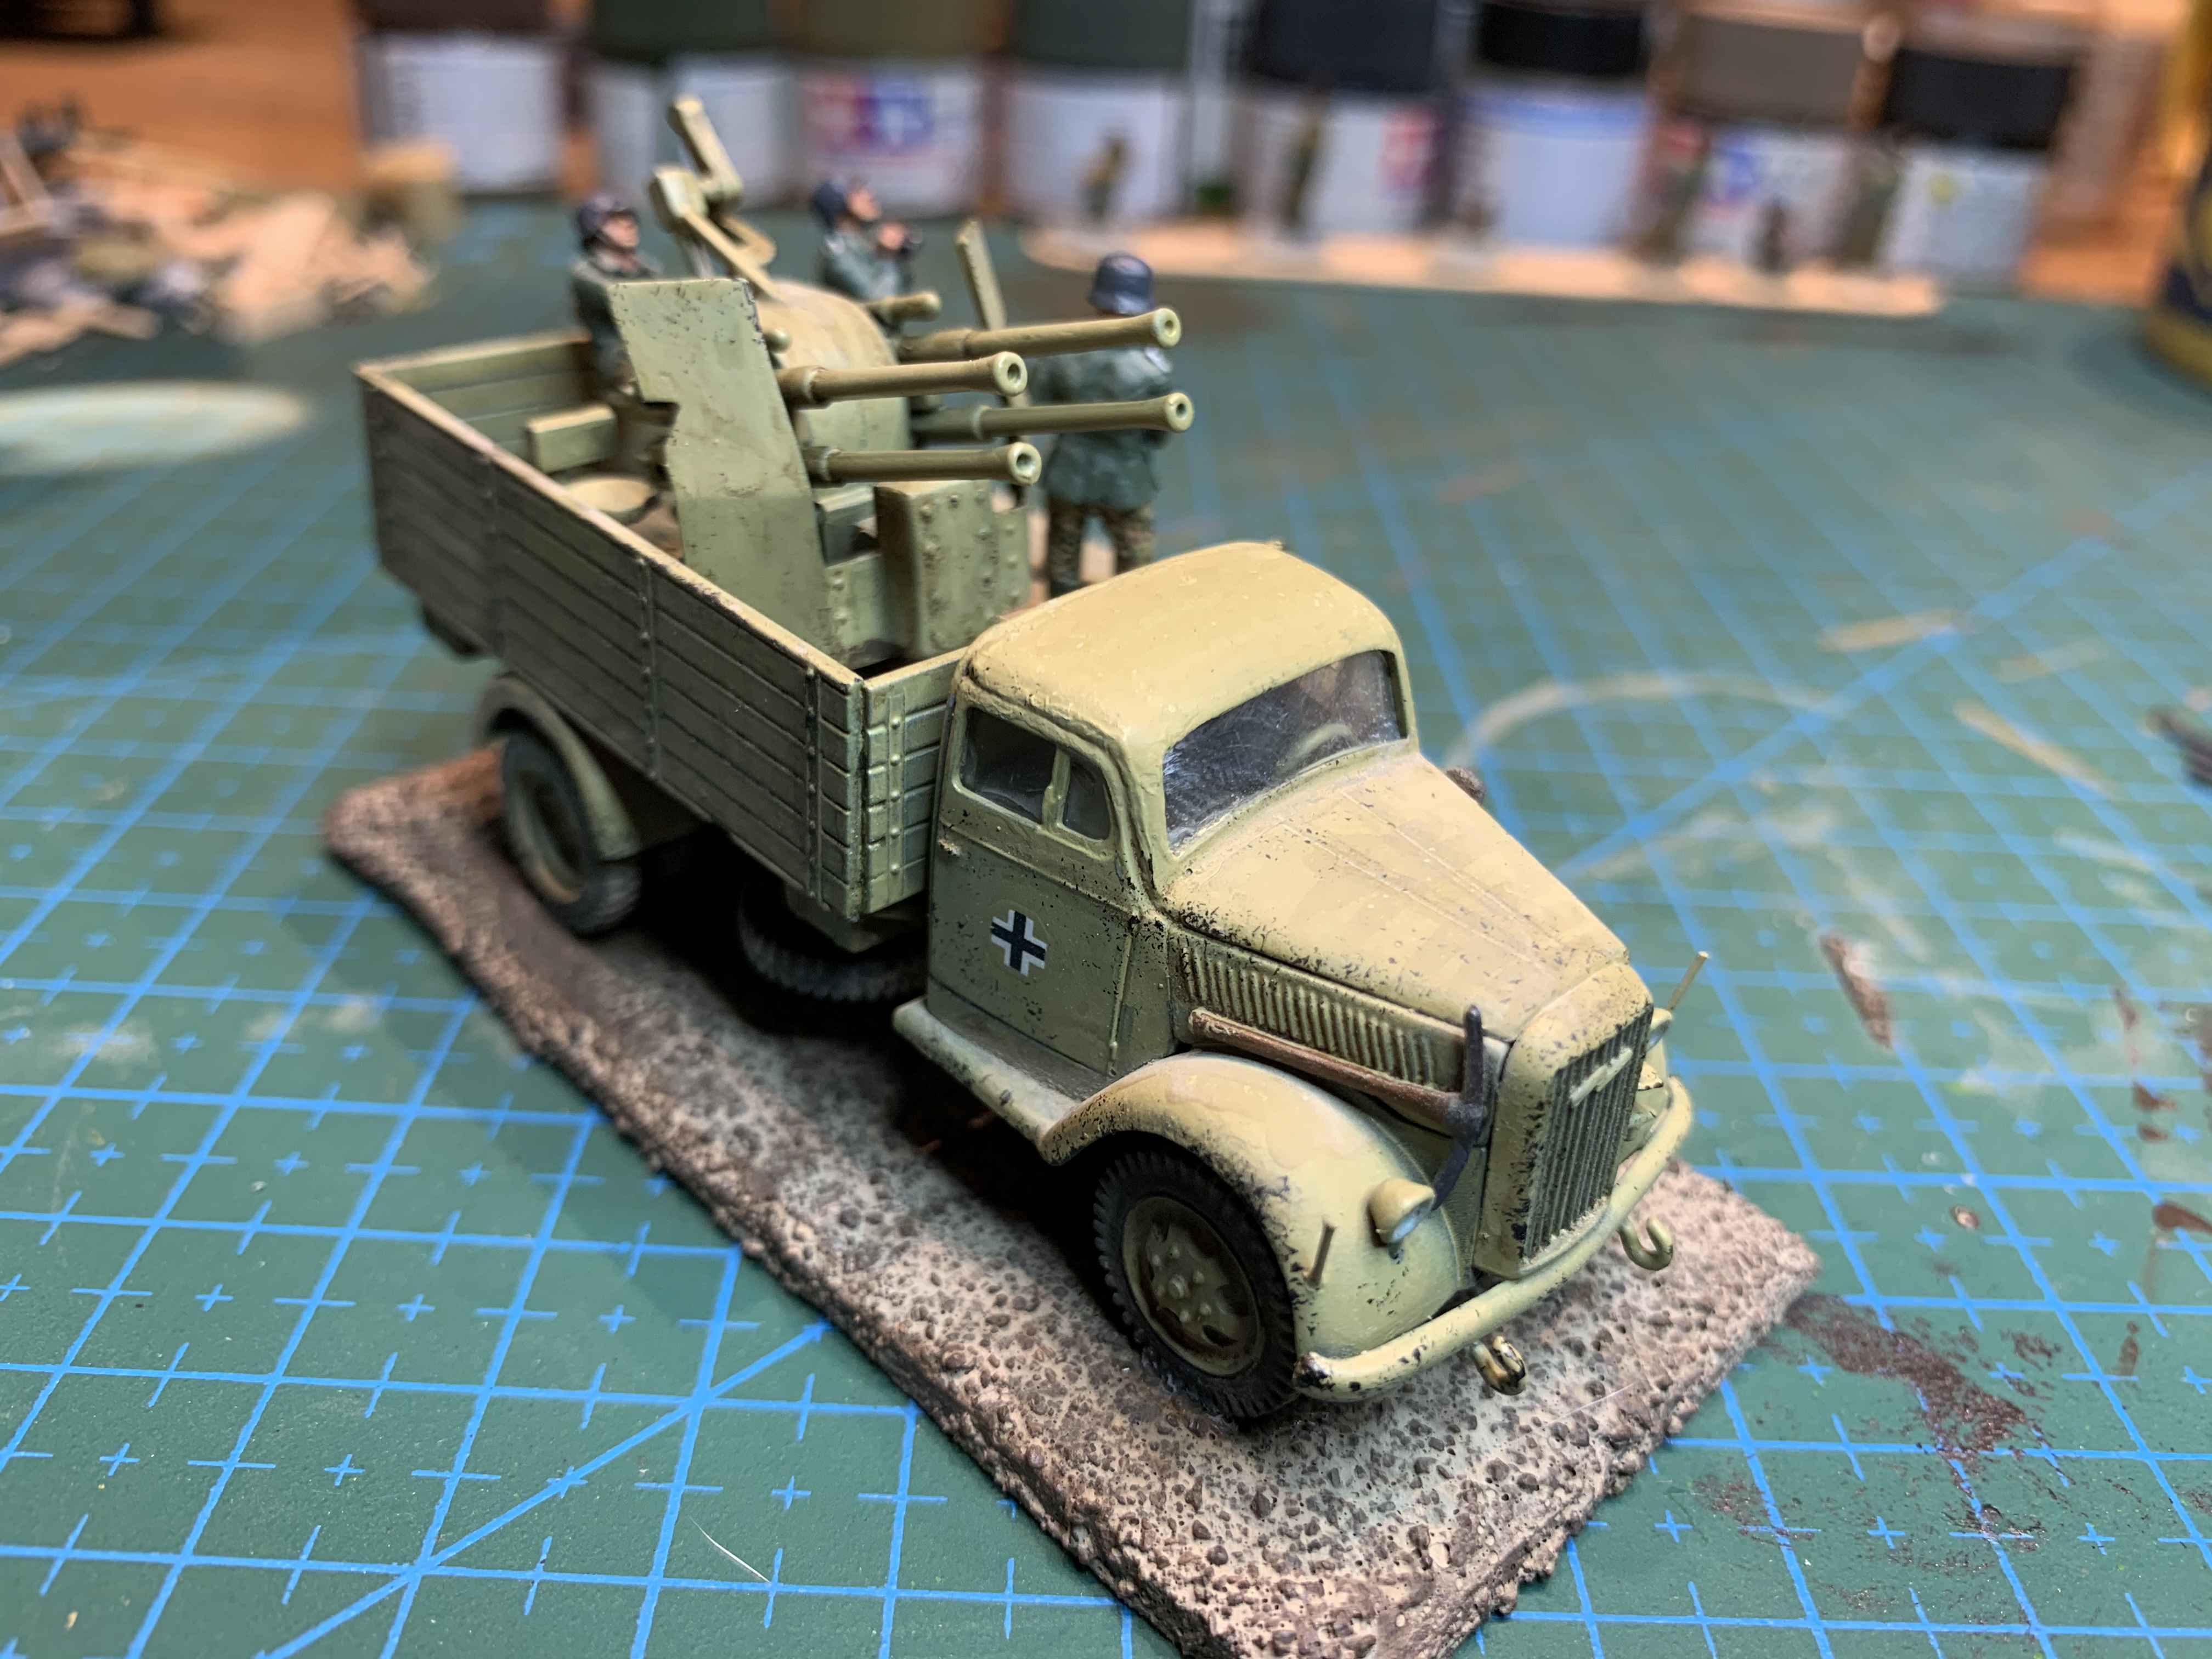
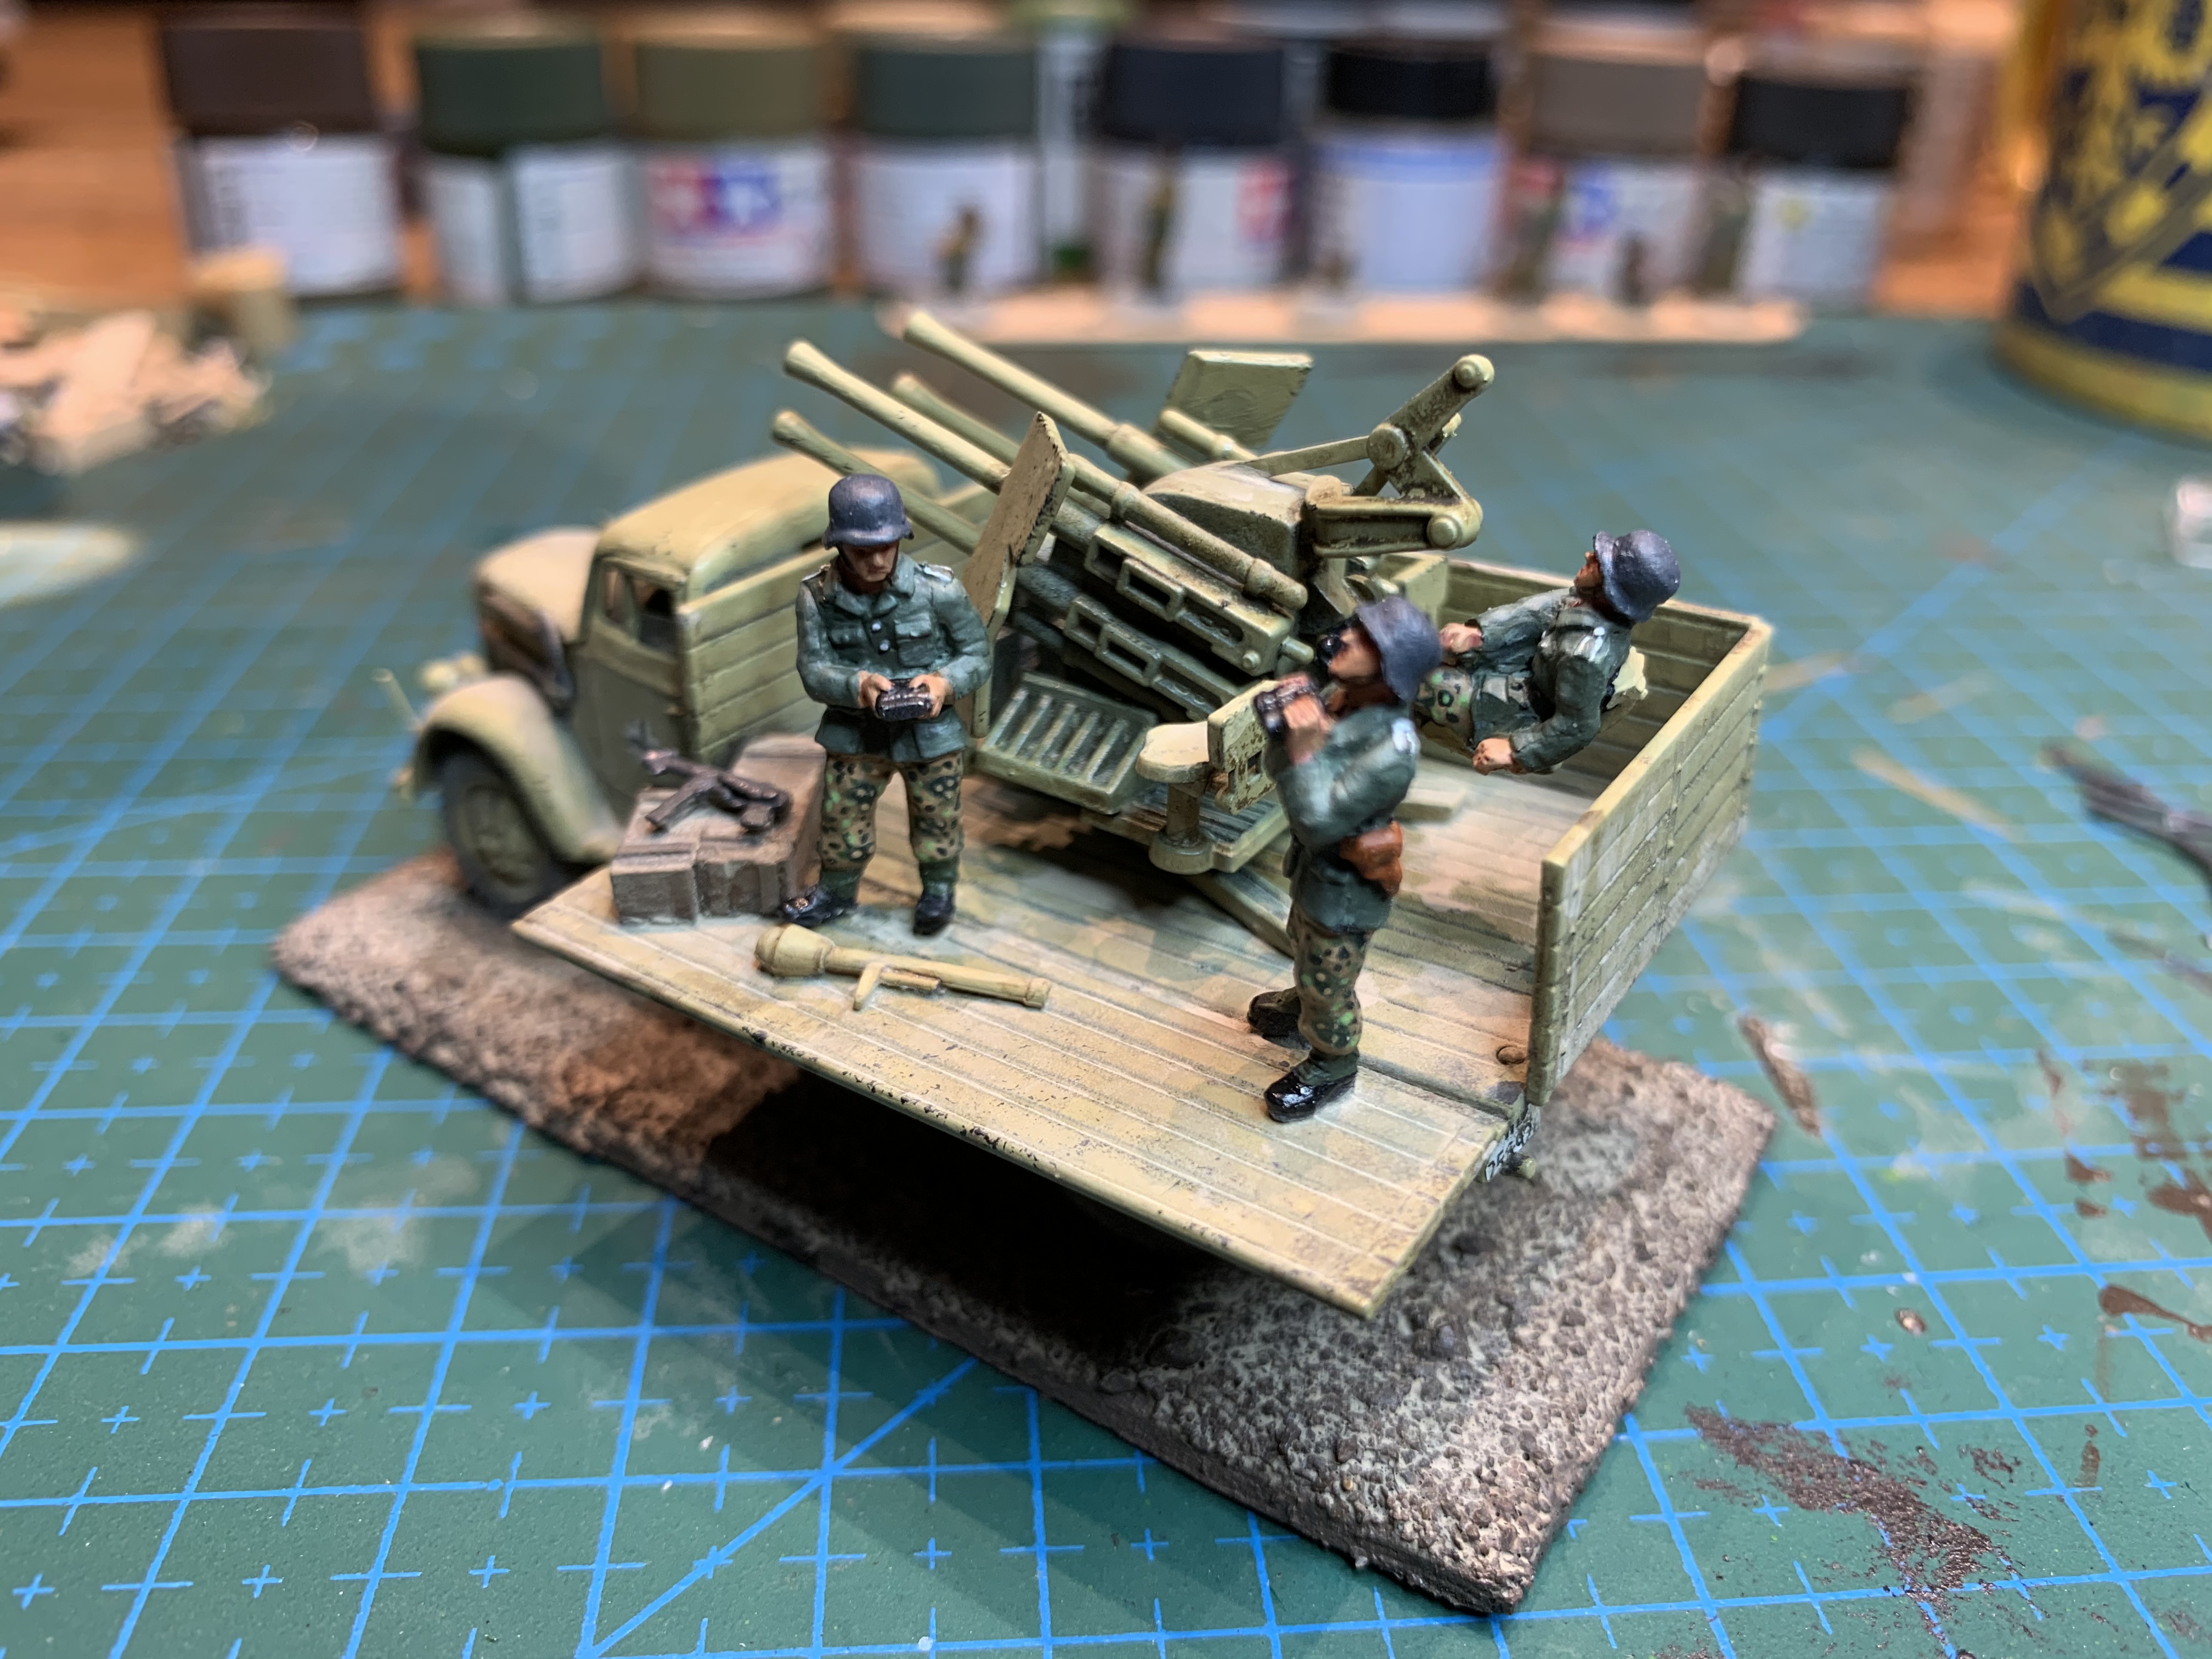
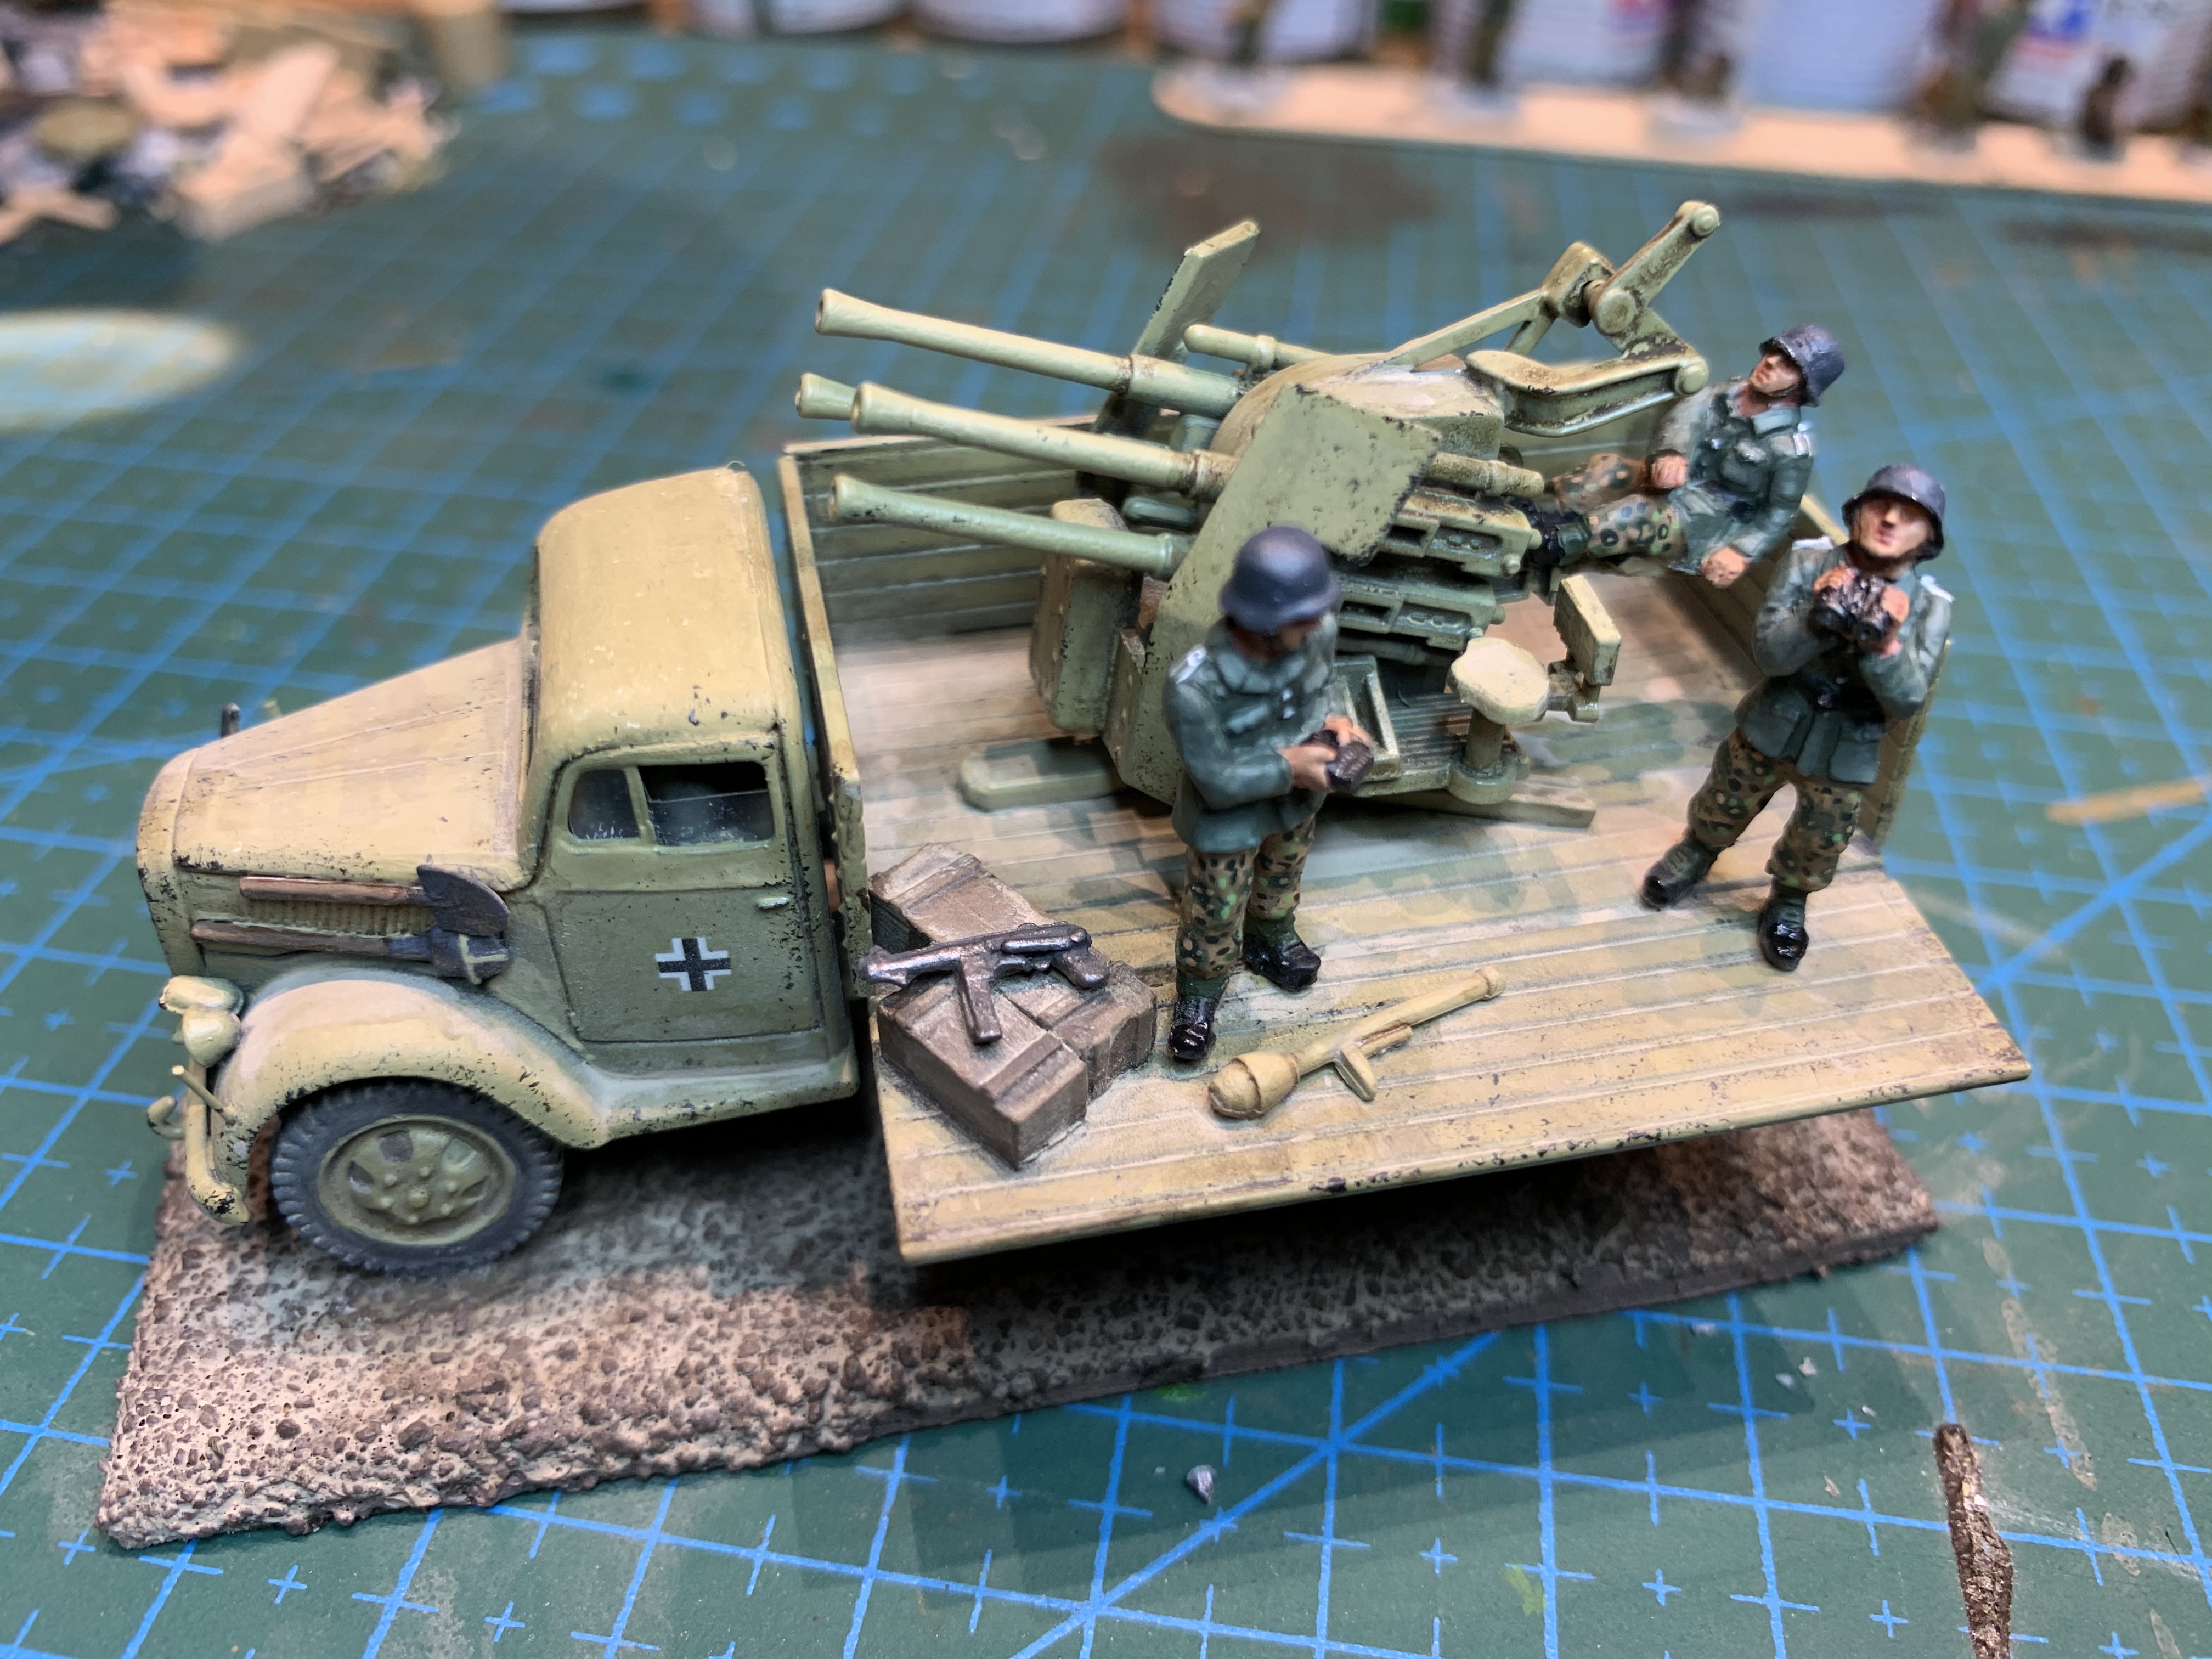
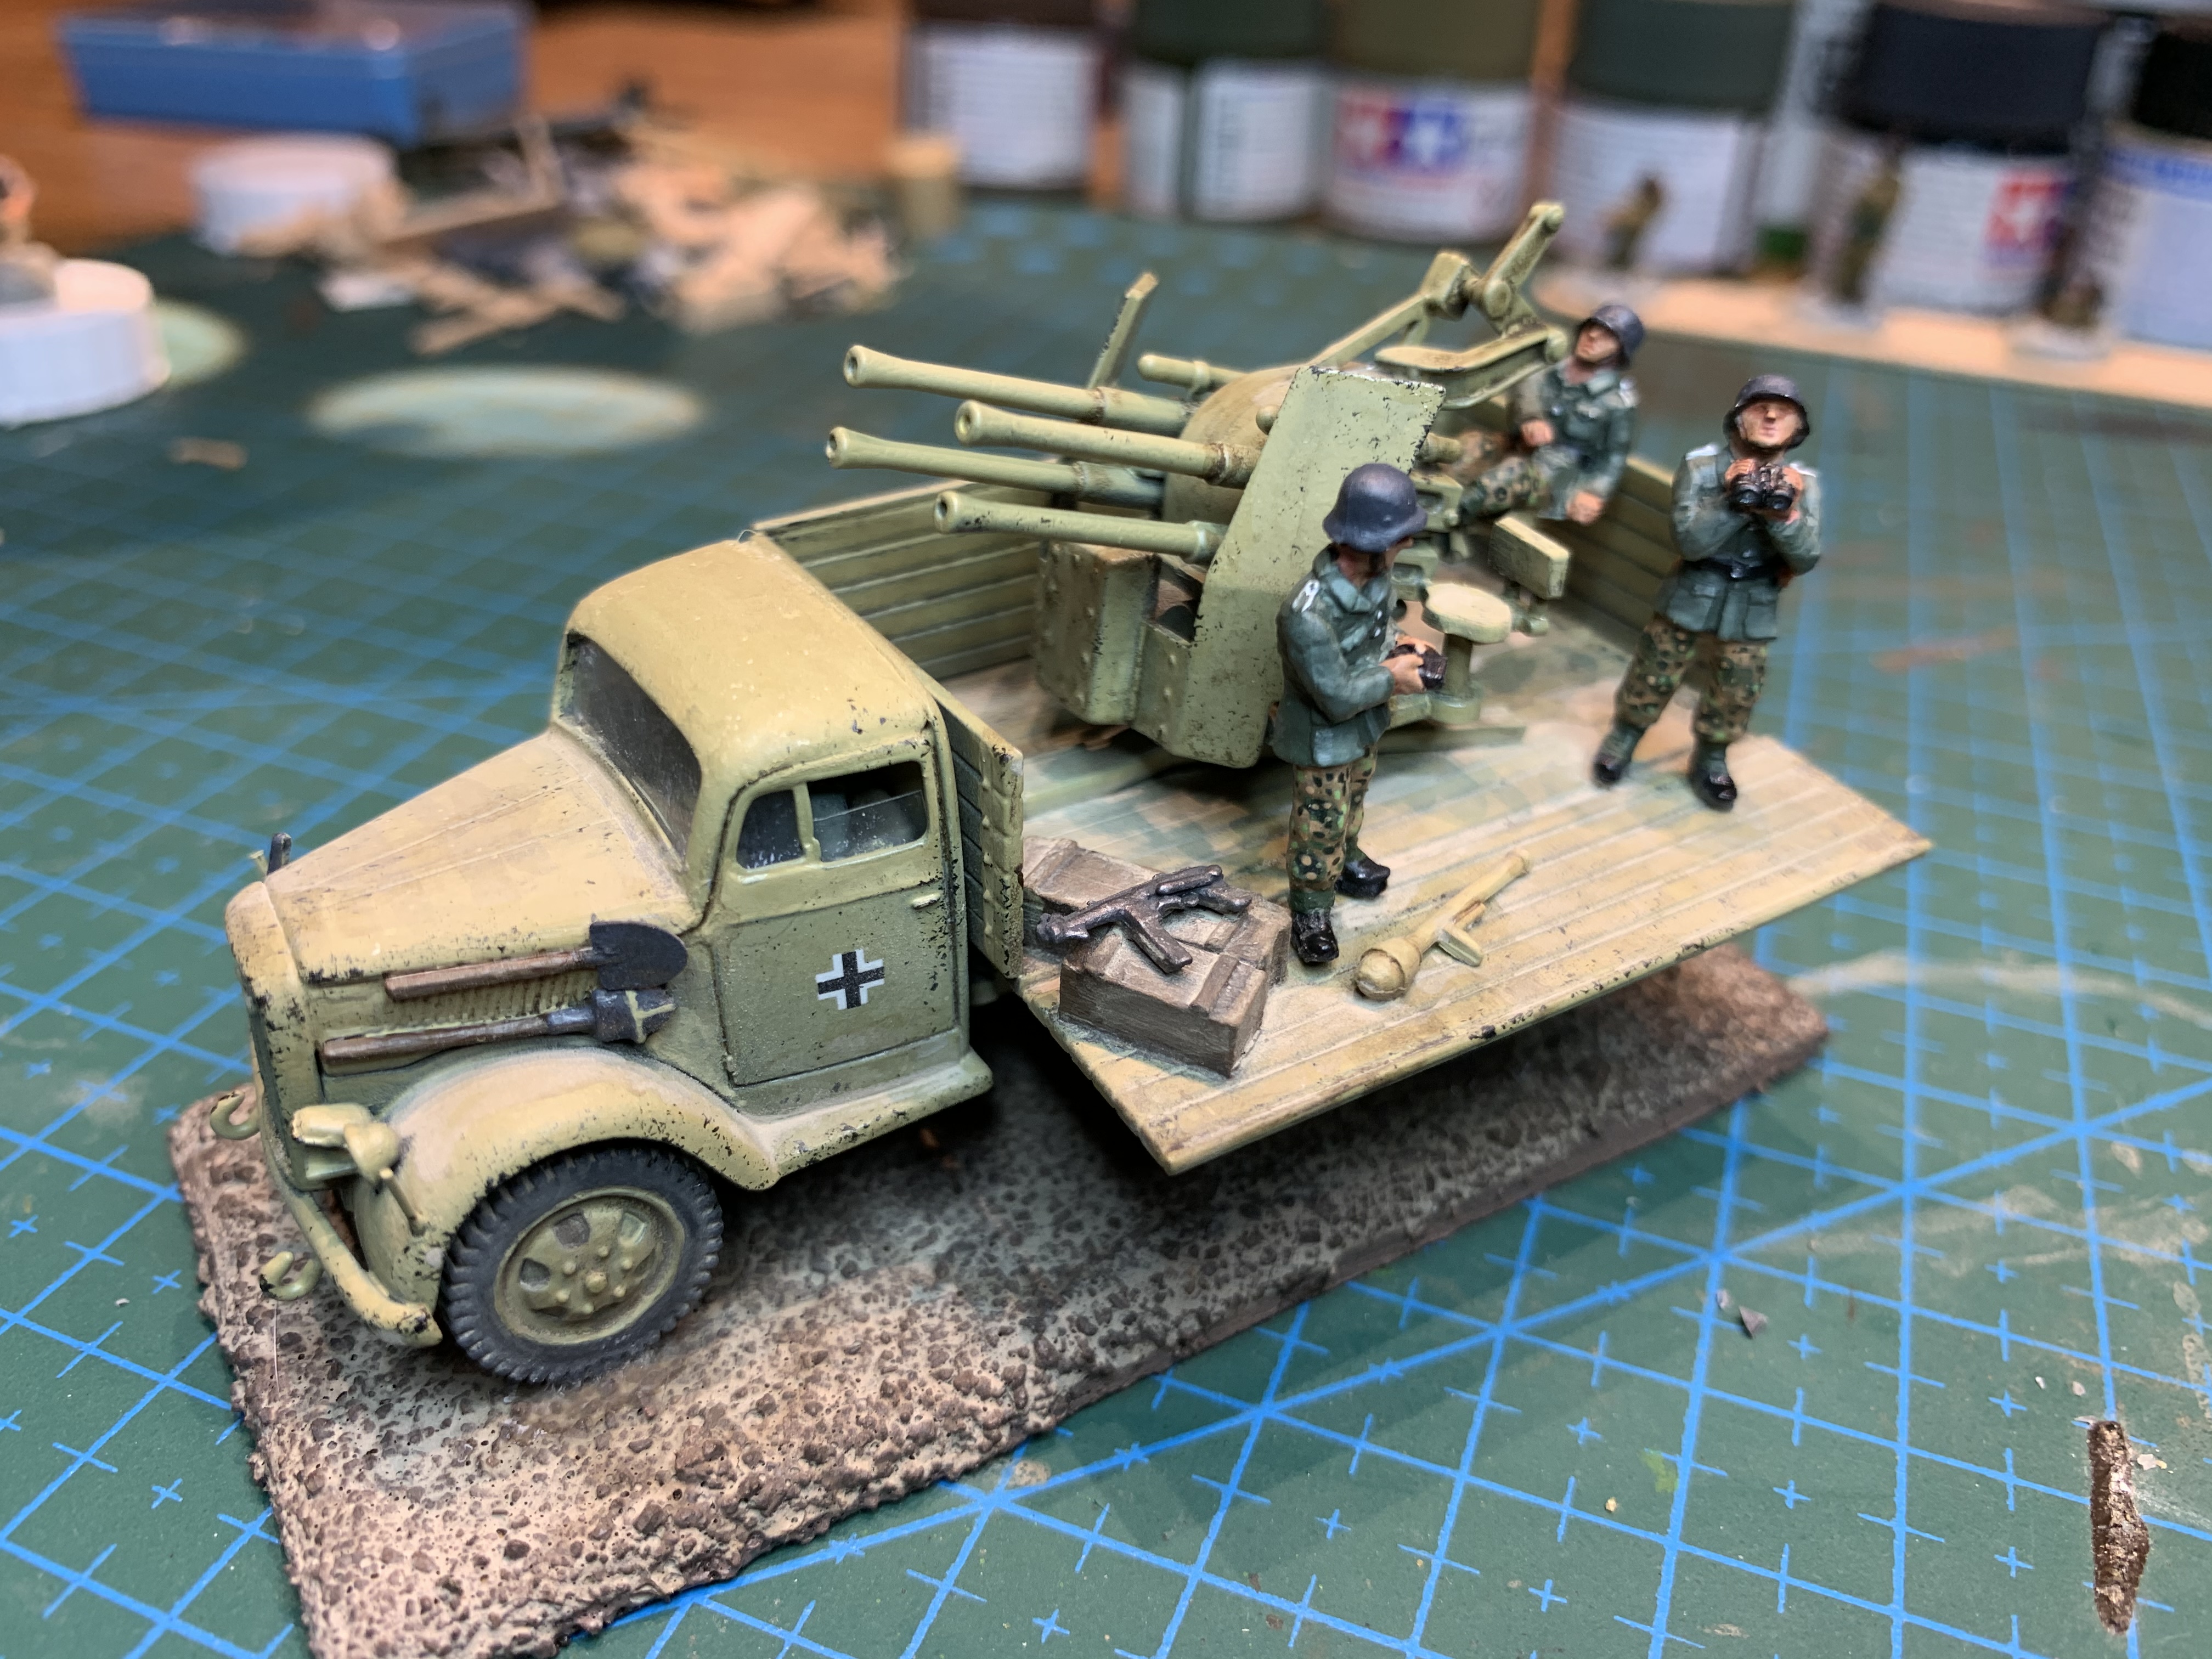
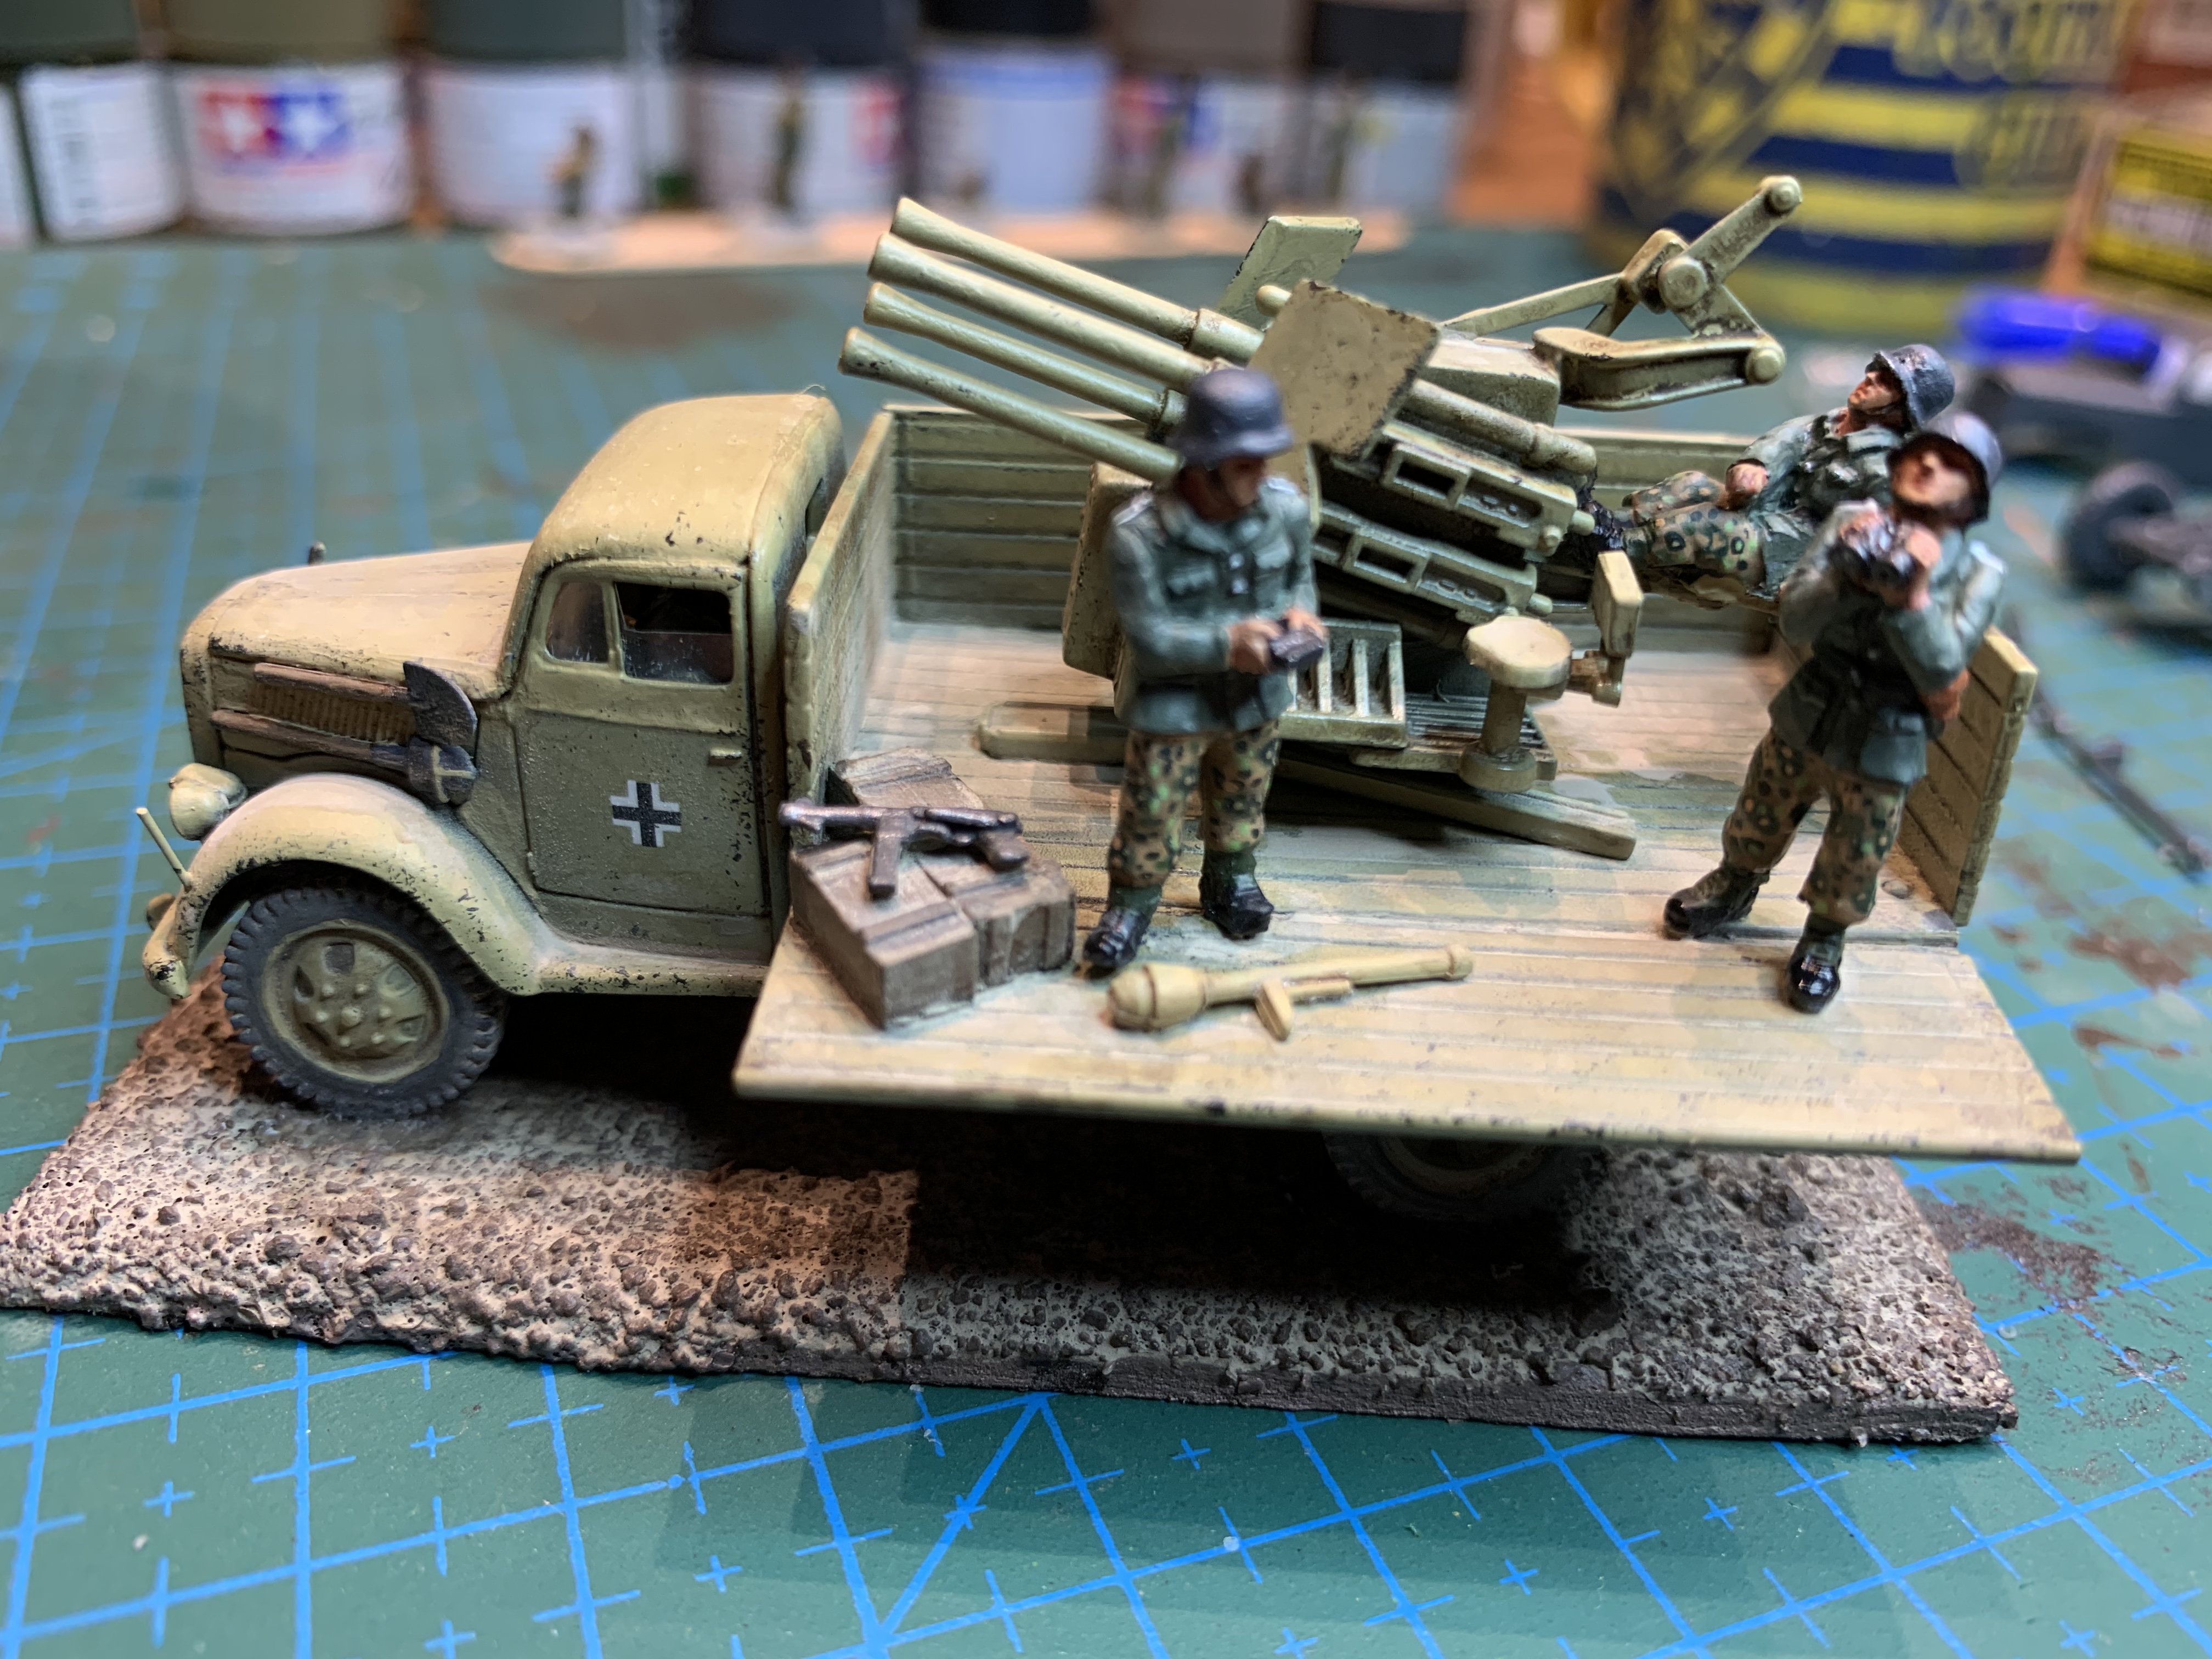
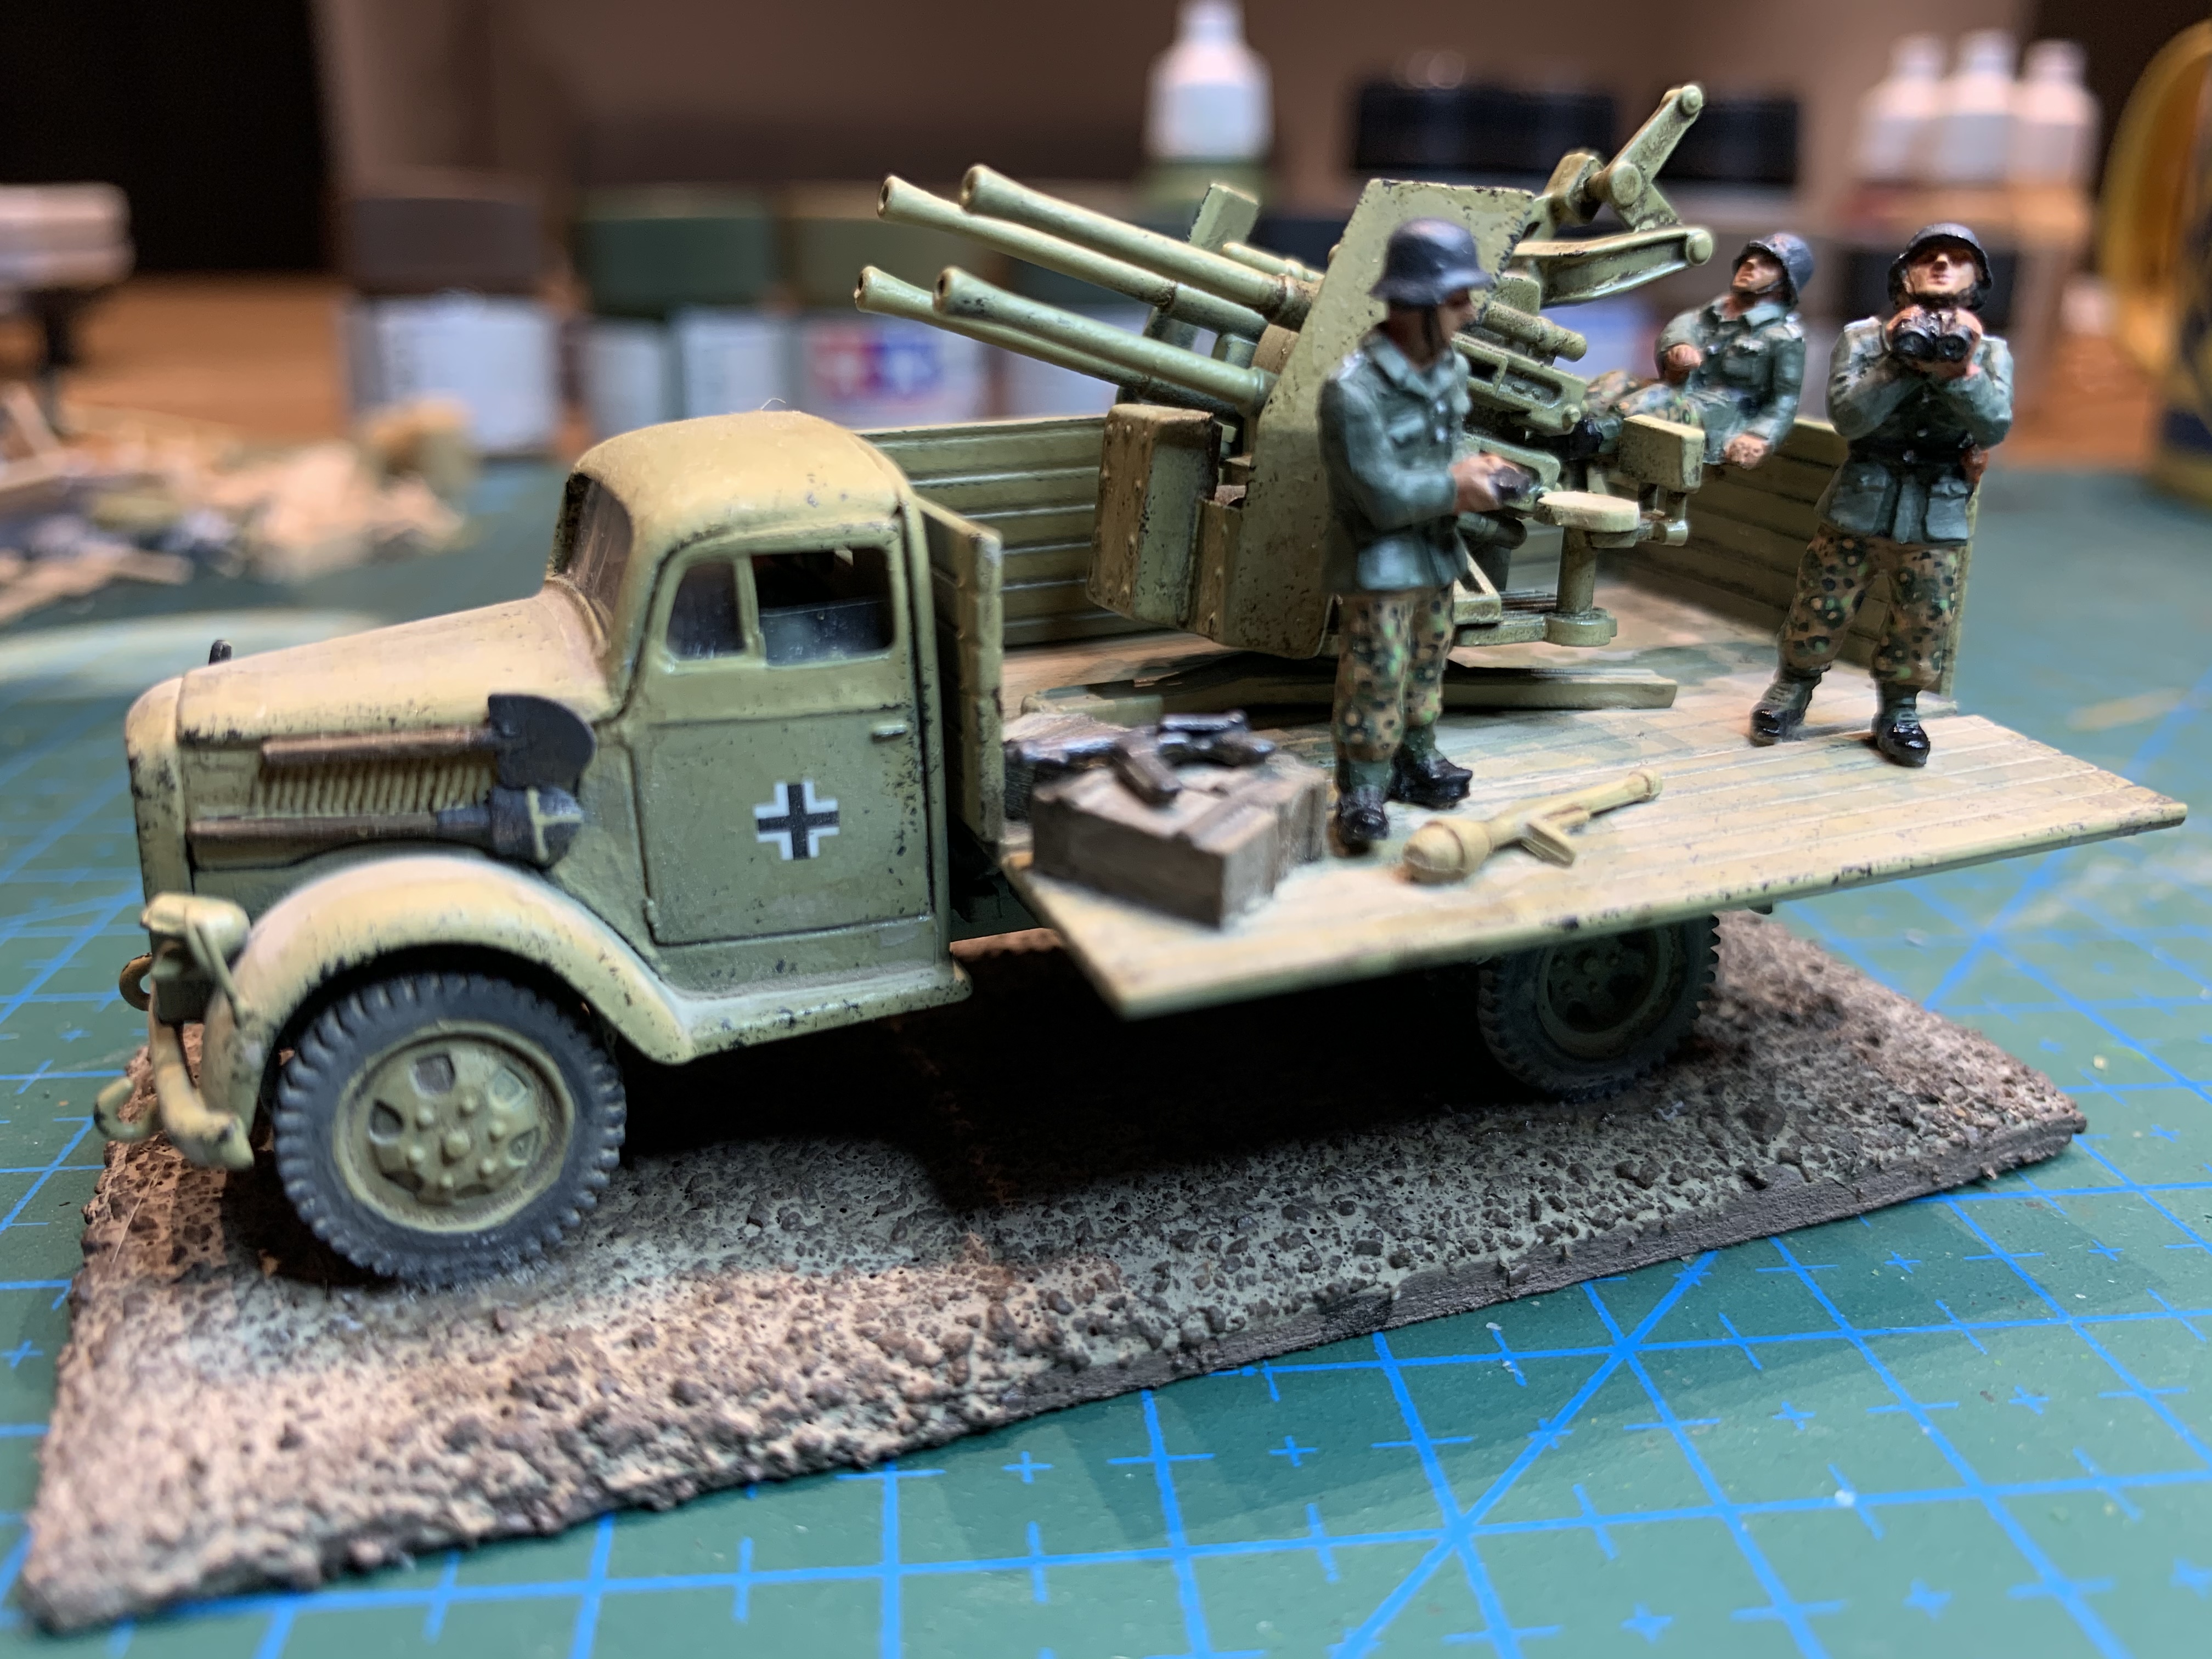
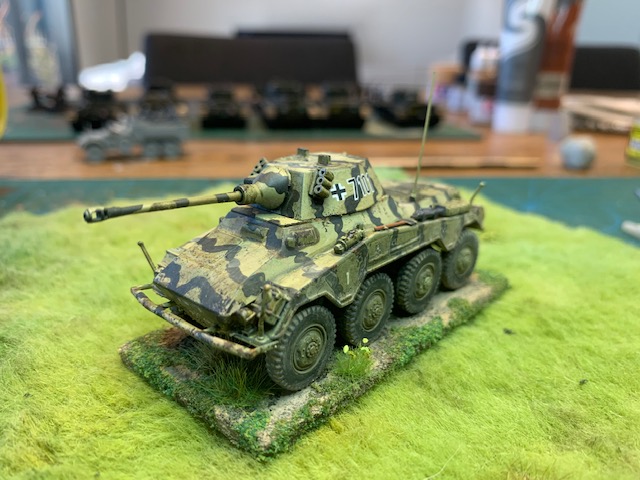
Lots of dusty dirt on this guy and here is next to the Opel Blitz with Flak Gun both ready for some grassy bits and tufts.

Zvezda Panzer IV in 1/72 Scale (again)

To finish off my Panzer IV units i needed one more of them to give me three troops of three tanks. My go to kit is the Zvezda model which is just excellent. It is the best kit in this scale except for the hatches being modelled closed. I have read some people complain about the thickness of the side skirts but it doesn’t bother me.

i added an aerial and also cut out one of the side panels for some interest. Particular nice are the tracks on these models but be careful when attaching to be gentle. That is it for me and the Panzer IV. No more Panzer IV. Panzer IV no more.

i do have three Tigers from Dragon Models which look like a lot of fun. This German armour is never ending!

Esci Opel Blitz with AA Flak Gun

Another great vintage kit I found on eBay for a few pennies. Nicely worn cardboard smelt twenty years old, and the decals had long since passed into browny, crispy bits. As i have found with some of these older kits they really stand up even being twenty years old or more. This one was good fun to build and quite straight forward.

i made some adjustments mainly adding my own clear plastic windshield and also a driver who you cannot see anyway. I did manage to make a pigs ear of attaching the bonnet and had to cover my error with an extra shovel. Looks OK for a cover up. I decided the crew were setting up ready for action so i only dropped one side of the back. The decals came from my pile of spares. The crew are the excellent AB figures who i gave field grey jackets and pea dot camo pants. I did have to remove the back seat of the flak gun as the seated AB dude had his seat welded to his backside. I added a box or two, a panzerfaust and an SMG for some extra protection.

It’s my first bit of anti aircraft equipment for the Germans, but not the last as i have a heap of MACO kits i am saving up for a rainy day!

Zvezda Panther Ausf. D in 1/72 Scale

Boxart Pz.Kpfw. V Panther - Ausf.D 5010 Zvezda

I still needed a couple more panthers to get up to three troops of three tanks, so I picked up a Zvezda Panther on eBay. I have made one of these before and also a few of the Panzer IVs and also a Tiger so I know what I am in for. These kits are advertised as snap together which really only means some of it is snap together, but if you are like me you are going to be gluing it all together anyway. Zvezda kits are generally really good. The detail is excellent and parts go together very nicely. Also they are great value for money, especially if you buy them from Eastern Europe where they are made. I don’t think this cost me much more than $10–12AUD.

My only criticisms would be as follows. The hatches are all moulded shut, so if you like placing extra figures in the tank, like I do, you cannot, unless you are brave and feel like doing some surgery.

Due to the snap fit design some bits are tricky to get together, like the rear of the top hull fitting into the bottom. I had to cut off a couple of small lugs that were just bending rather than fitting. Also there was a gap at the front where the hulls meet and i had to do some filling and sanding with my magic putty.

The track design is great, you wrap around the flexible tracks and then fit them onto pegs in between the wheels. This can also get tricky as its a tight fit, and you need to be very careful not to apply too much force and break any of the sprocket wheels. I made this mistake before on the Tiger so I was extra cautious this time.

My paint job was a patchy camouflage scheme and some dark washes, plus plenty of dirt and dust to finish him off. I added an aerial and half destroyed the side skirts for some interest. I used some excellent decals from the Revell panther i finished next which gave more options than this kit.

Dragon Models Sd.Kfz.70 6 x 4 Personnel Carrier in 1/72 scale

Another great kit from Dragon Models. It is a Krupp six wheeled heavy car towing a Pak 36 anti tank gun. I really like Dragon Models, they make the best kits. Great detail, clear instructions, and everything fits together nicely. I particularly like building trucks and vehicles right now, and luckily my time period of World War Two is full of interesting transports.

I always base my wheeled vehicles, and this one also has some fiddly bits that definitely need a base you can pick the model up with, rather than risking big hand damage. I painted this one an early war German grey and then lightened it with a second coat with some white added. My only gripe was that the anti tank gun is really fiddly and I nearly threw my toys with the teeny tiny bits. Driving the truck is a man from AB Figures and in the back are some greatcoat wearing seated dudes from Caesar Miniatures. I bought a box of these guys who are really cheap and handy for the back of any your trucks. It made a nice change to do a grey vehicle rather than my usual dunkelb and camo.

Italeri Sd.Kfz. 234/2 Puma in 1/72 Scale

Another personal favourite of mine the Puma armoured car. This one is from Italeri and a great little kit. I have previously built the Hasagewa version of the Puma, which is also a very nice kit. The Italeri one is not quite as detailed and slightly bigger in all dimensions, but matches up pretty well. Unfortunately the hatches on the Italeri kit are moulded shut so you would need to do some surgery in order to open them up. I did not change much just added the usual aerial. I particularly liked how easy it was to align the eight wheels on this model, its a good design. Overall it was a fun kit to build, but I still prefer the Hasagewa version.

I did a dunkelb base and a dark green camo. Some chips with a sponge in dark brown and black. Oh and a dirty brown wash. Here is the finished model next to my other Puma for comparison.

Special Armour Sd.Kfz 11 LEICHTER ZUGKRAFTWAGEN HALFTRACK 1/72 Scale

See the source image

So another German half track rolls off my painting (dining) table. This time from Special Armour, which is a company I have never built before. It’s a nice little half track mainly used for towing guns I think. Another eBay purchase that I found quite cheaply. The kit was quite a challenge with various small PE parts that raised my frustration levels a fair bit. I lost at least one door handle in the process. The worst thing though was the front engine and drivers compartment did not fit properly on to the chassis. So the front section was too high and there was a gap between the chassis and the engine, and the front suspension looks a bit high. I am not sure if it was my building that went wrong but I could not see how it was meant to be any different as the whole back section was correct and in line. Anyway I wont be buying one of these again. Luckily you cannot really see the problem.

I used the usual dunkelb dark yellow and did a fair amount of chipping with my sponge and added plenty of dirt and dust. The squad in the back and the driver and officer are all from AB figures. I tried out a new M44 camo scheme using an awesome set of paints I bought. Also threw in an old fuel barrel that I rusted up.


Esci Sdkfz 250/3 and 250/9 in 1/72 scale

Another two old Esci kits I bought on eBay for not very much. They were both pretty old kits and I managed to buy two of the 250/9’s and one 250/3. As usual with Esci kits of this age the little tracks were wonderful vinyl that would not bend, but rather snap into little pieces at the slightest hint of movement. So the first step was to find replacement tracks as none of my lessons for Esci vinyl tracks I have previously learned could be applied here. Luckily on eBay again I found a ready supply of rubber track for this little armoured car, so I picked up four sets for only $10 or so. Its amazing what you can find these days. If you need it, you can almost always find it, and have it delivered to your door. Very lucky in the current climate.

So onto the kits themselves! I cannot say that I enjoyed making either of these little vehicles. The plastic is old and brittle and did not take plastic cement at all well. They are not complicated but so bits didn’t fit well and didn’t glue well. The wheels especially were very tricky to get square. Even super glue did not really cope with the plastic. So I would recommend avoiding these particular old Esci kits if I were you. There must be plenty more versions these days that are a million times better!

Once I had managed to build them I added some aerials and a bit of stowage here and there and painted them in a two tone camo scheme. The original decals were long gone so I used replacements. They came up OK after all the painting and basing, but there was a sigh of relief when I finished them. You get what you pay for sometimes…….

Revell King Tiger in 1/72 scale

Ooh so as working from home continues, working on model kits also continues at a feverish pace, if you will excuse the term in the current pandemic. I bought this Revell King Tiger from eBay for not much as it was missing a box and decals. No box means cheaper postage anyway I guess too. Win win.

Boxart Tiger II Ausf. B Production Turret 03129 Revell

This is a great kit. So much in a tank kit boils down to their treatment of tracks. This monster of a tank has excellent link and length tracks. They are nice big track links to begin with, but very easy to put together. I always start with multiples of two and around the sprocket wheel. The running gear and tracks you can make as two units before attaching them both, left and right, to the lower hull. Wheels are individual but are easy to get nice and straight. You can model the hatches open or closed which is always nice when you want to put in a couple of AB figures tank crew like me.

A few tow cables for the sides look good. There is also some spare track to put on the turret, but they don’t include hooks. So I added some of my own just by gluing small squares of plastic card where the hook would stick out. I left the spare tracks off until I had painted the turret so the rusty effects would not interfere.

For painting I loosely followed the plans in an excellent book i have called “How To Paint 1:72 Military Vehicles – The Weathering Special”. They actually use the Tiger II for one chapter so I went through the majority of the techniques in the book. Another guide to painting that I can really recommend.

weathering172_01.jpg


I chopped off some of the side guards for battle damage, like they had in the book, and copied best I could the colour schemes. Lots of chips, dirt, mud and grime using various sponges, powders and other products. AB tank commanders to finish him off. Great little kit and great fun to spend a bit longer on the paint job and all the weathering effects.

Armourfast Stug IV in 1/72 scale

You always know what you are going to get with a Armourfast kit. Two tanks in a box for something like seven pounds. Great value at about seven Australian dollars a tank for me down here in the Southern hemisphere. There are only a few parts to each tank, so they are super quick to build. Nothing wrong with a fast build tank. The detail is good enough for a wargame, and if you want a large number of tanks in quick smart time, then these kits are for you. You cannot beat value for money to bulk up an army.

I had a lot of fun doing a lot of weathering to my two Stugs. I really wanted to try the hairspray chipping effect on these two to add a bit more interest to them. So after building, and leaving the side skirts off, i sprayed everything with a red oxide and a dark brown spray can. Then i gave it three thin coats of hairspray, letting it dry in between each layer. Oh and do this outside….. It can get smelly. Once this was all dry i did the usual dark yellow dunkelbĀ  spray over the top. Once that’s all dry you can grab a stiff brush and a toothpick, wet a small surface of the tank and give it a rub and a scratch. The trick here is to do this in areas that would get worn out, like hatches etc, and also not to over do it. I was impatient as usual and went overboard. It’s a fun process and can look really good but you need to remember less is more. Next time i will take it easy.

I gave it all a gloss varnish and a dark wash. Plus some decals. You don’t get decals with the tanks so you need to source elsewhere. I added my favourite AB figure crewmen plus a home made aerial and also some camouflage foliage. These Armourfast tanks really do improve greatly if you take a bit of extra effort and make some modifications!