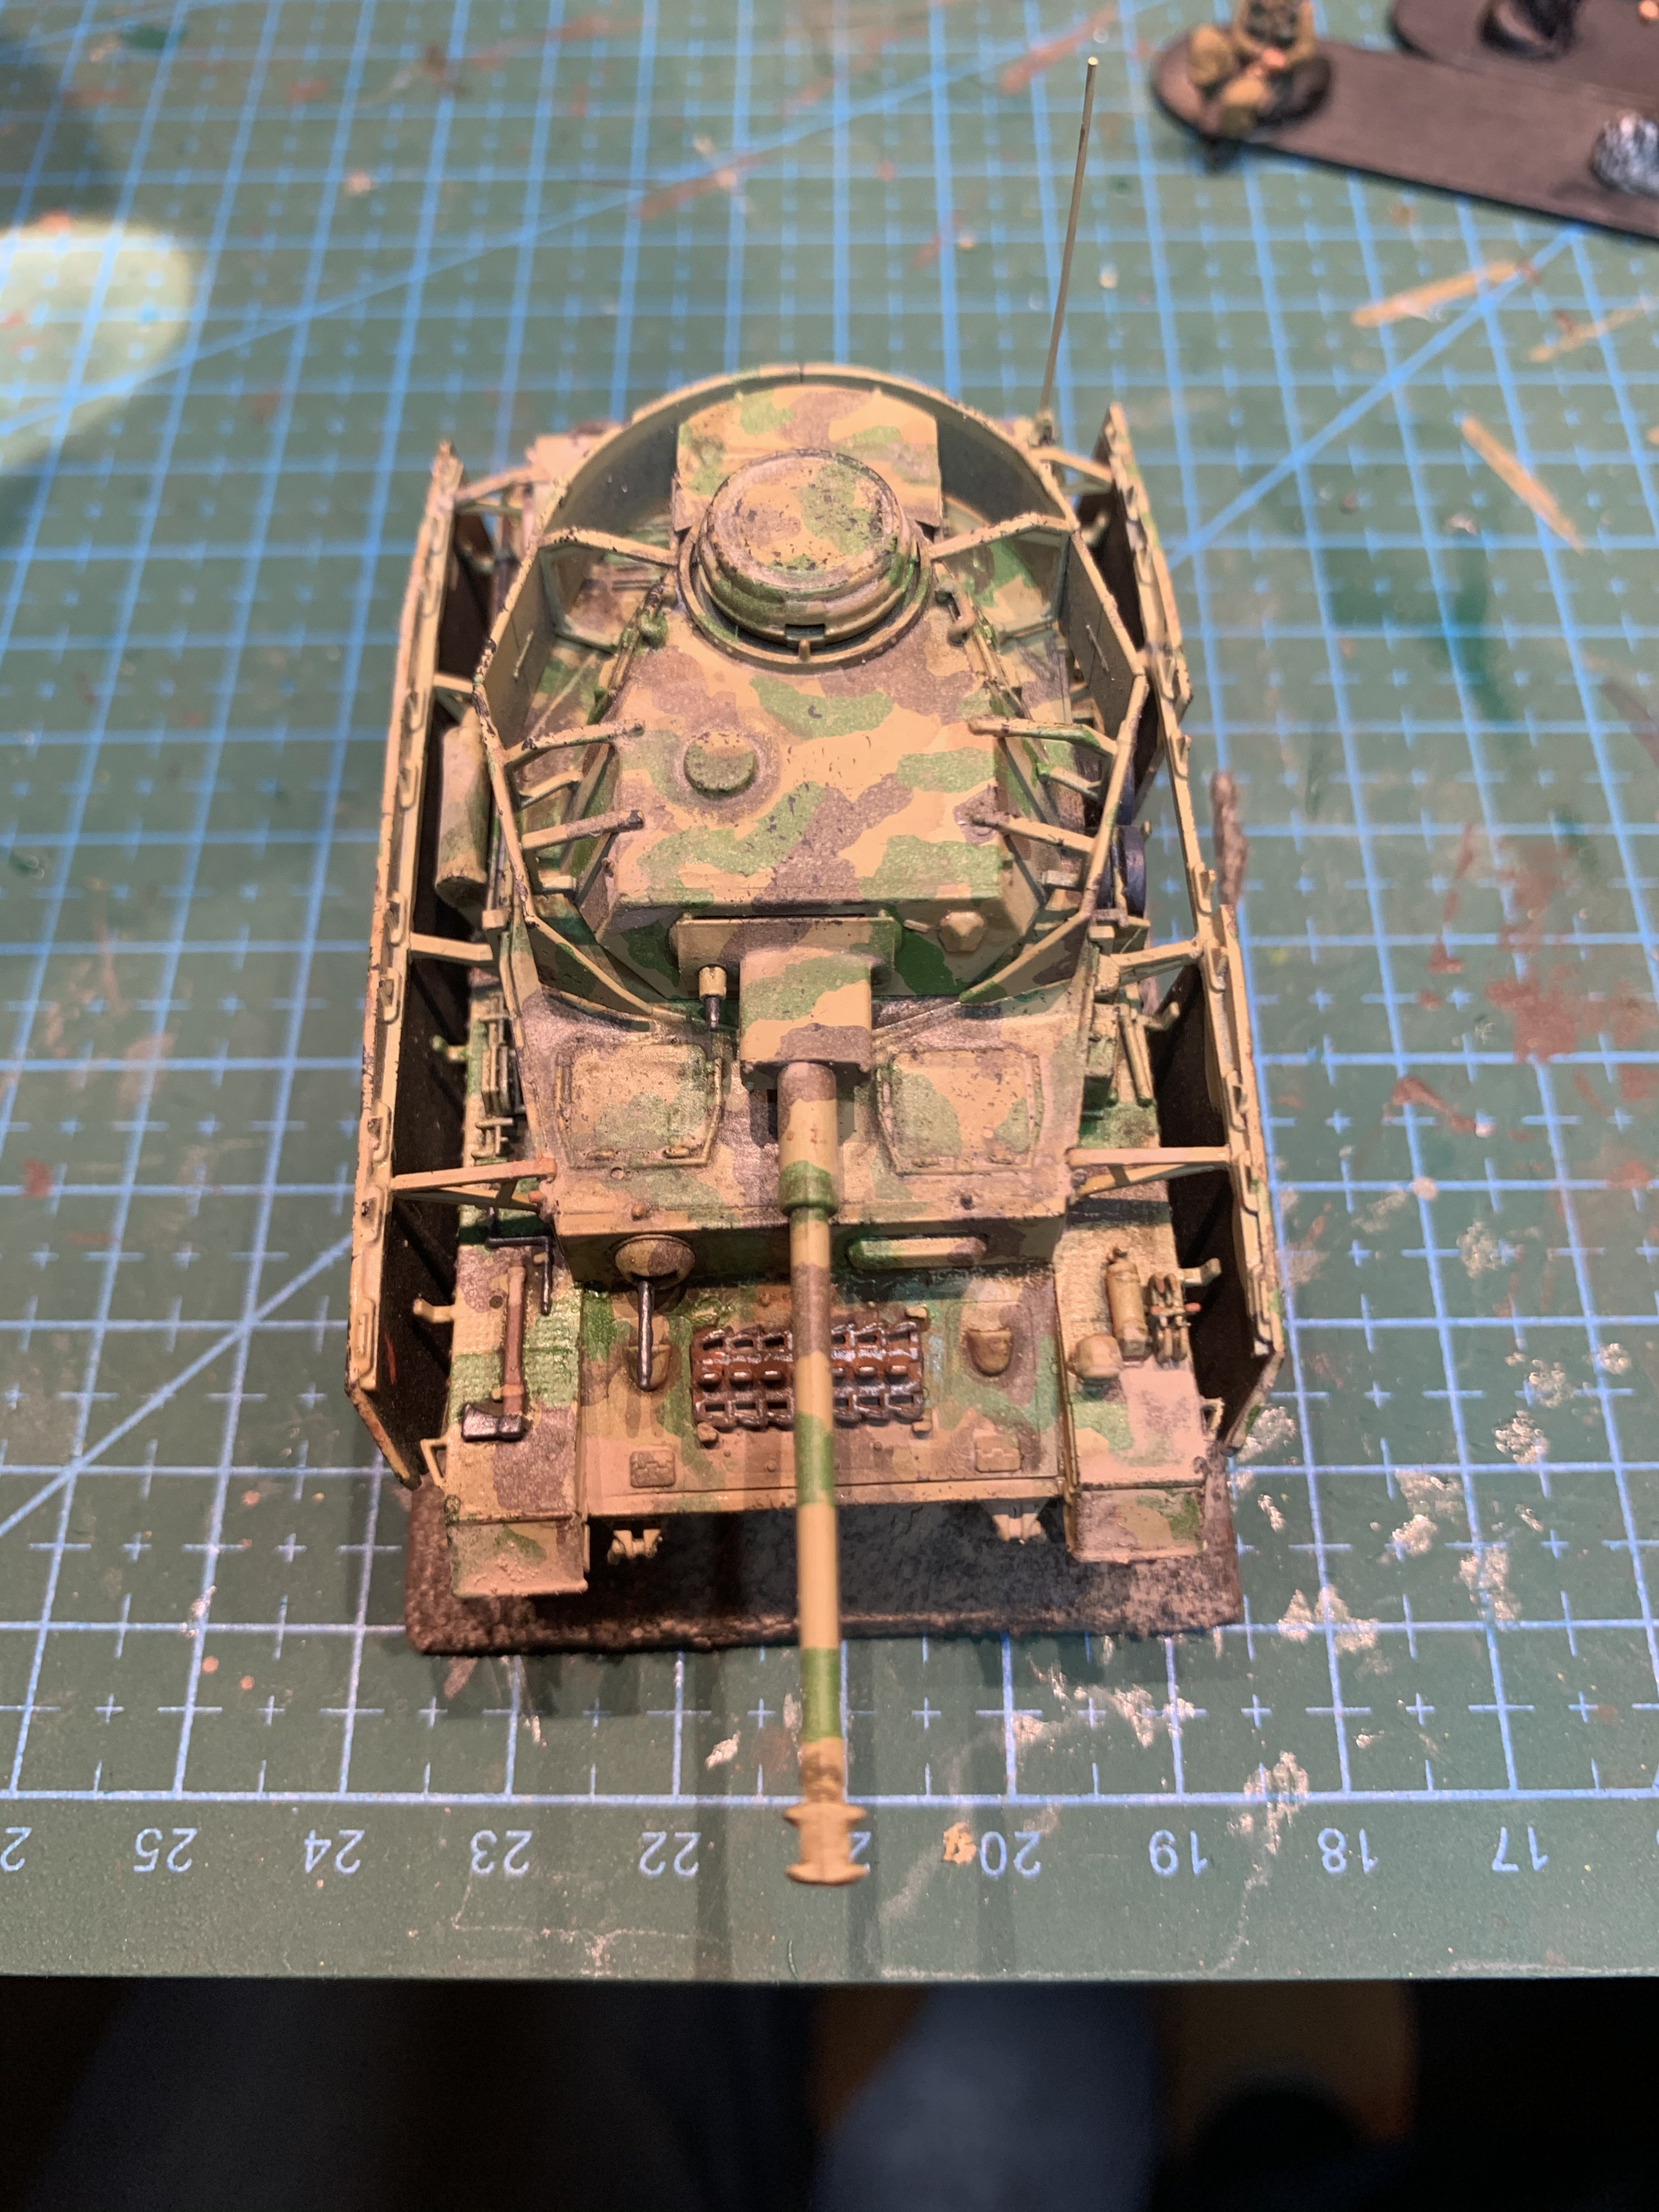
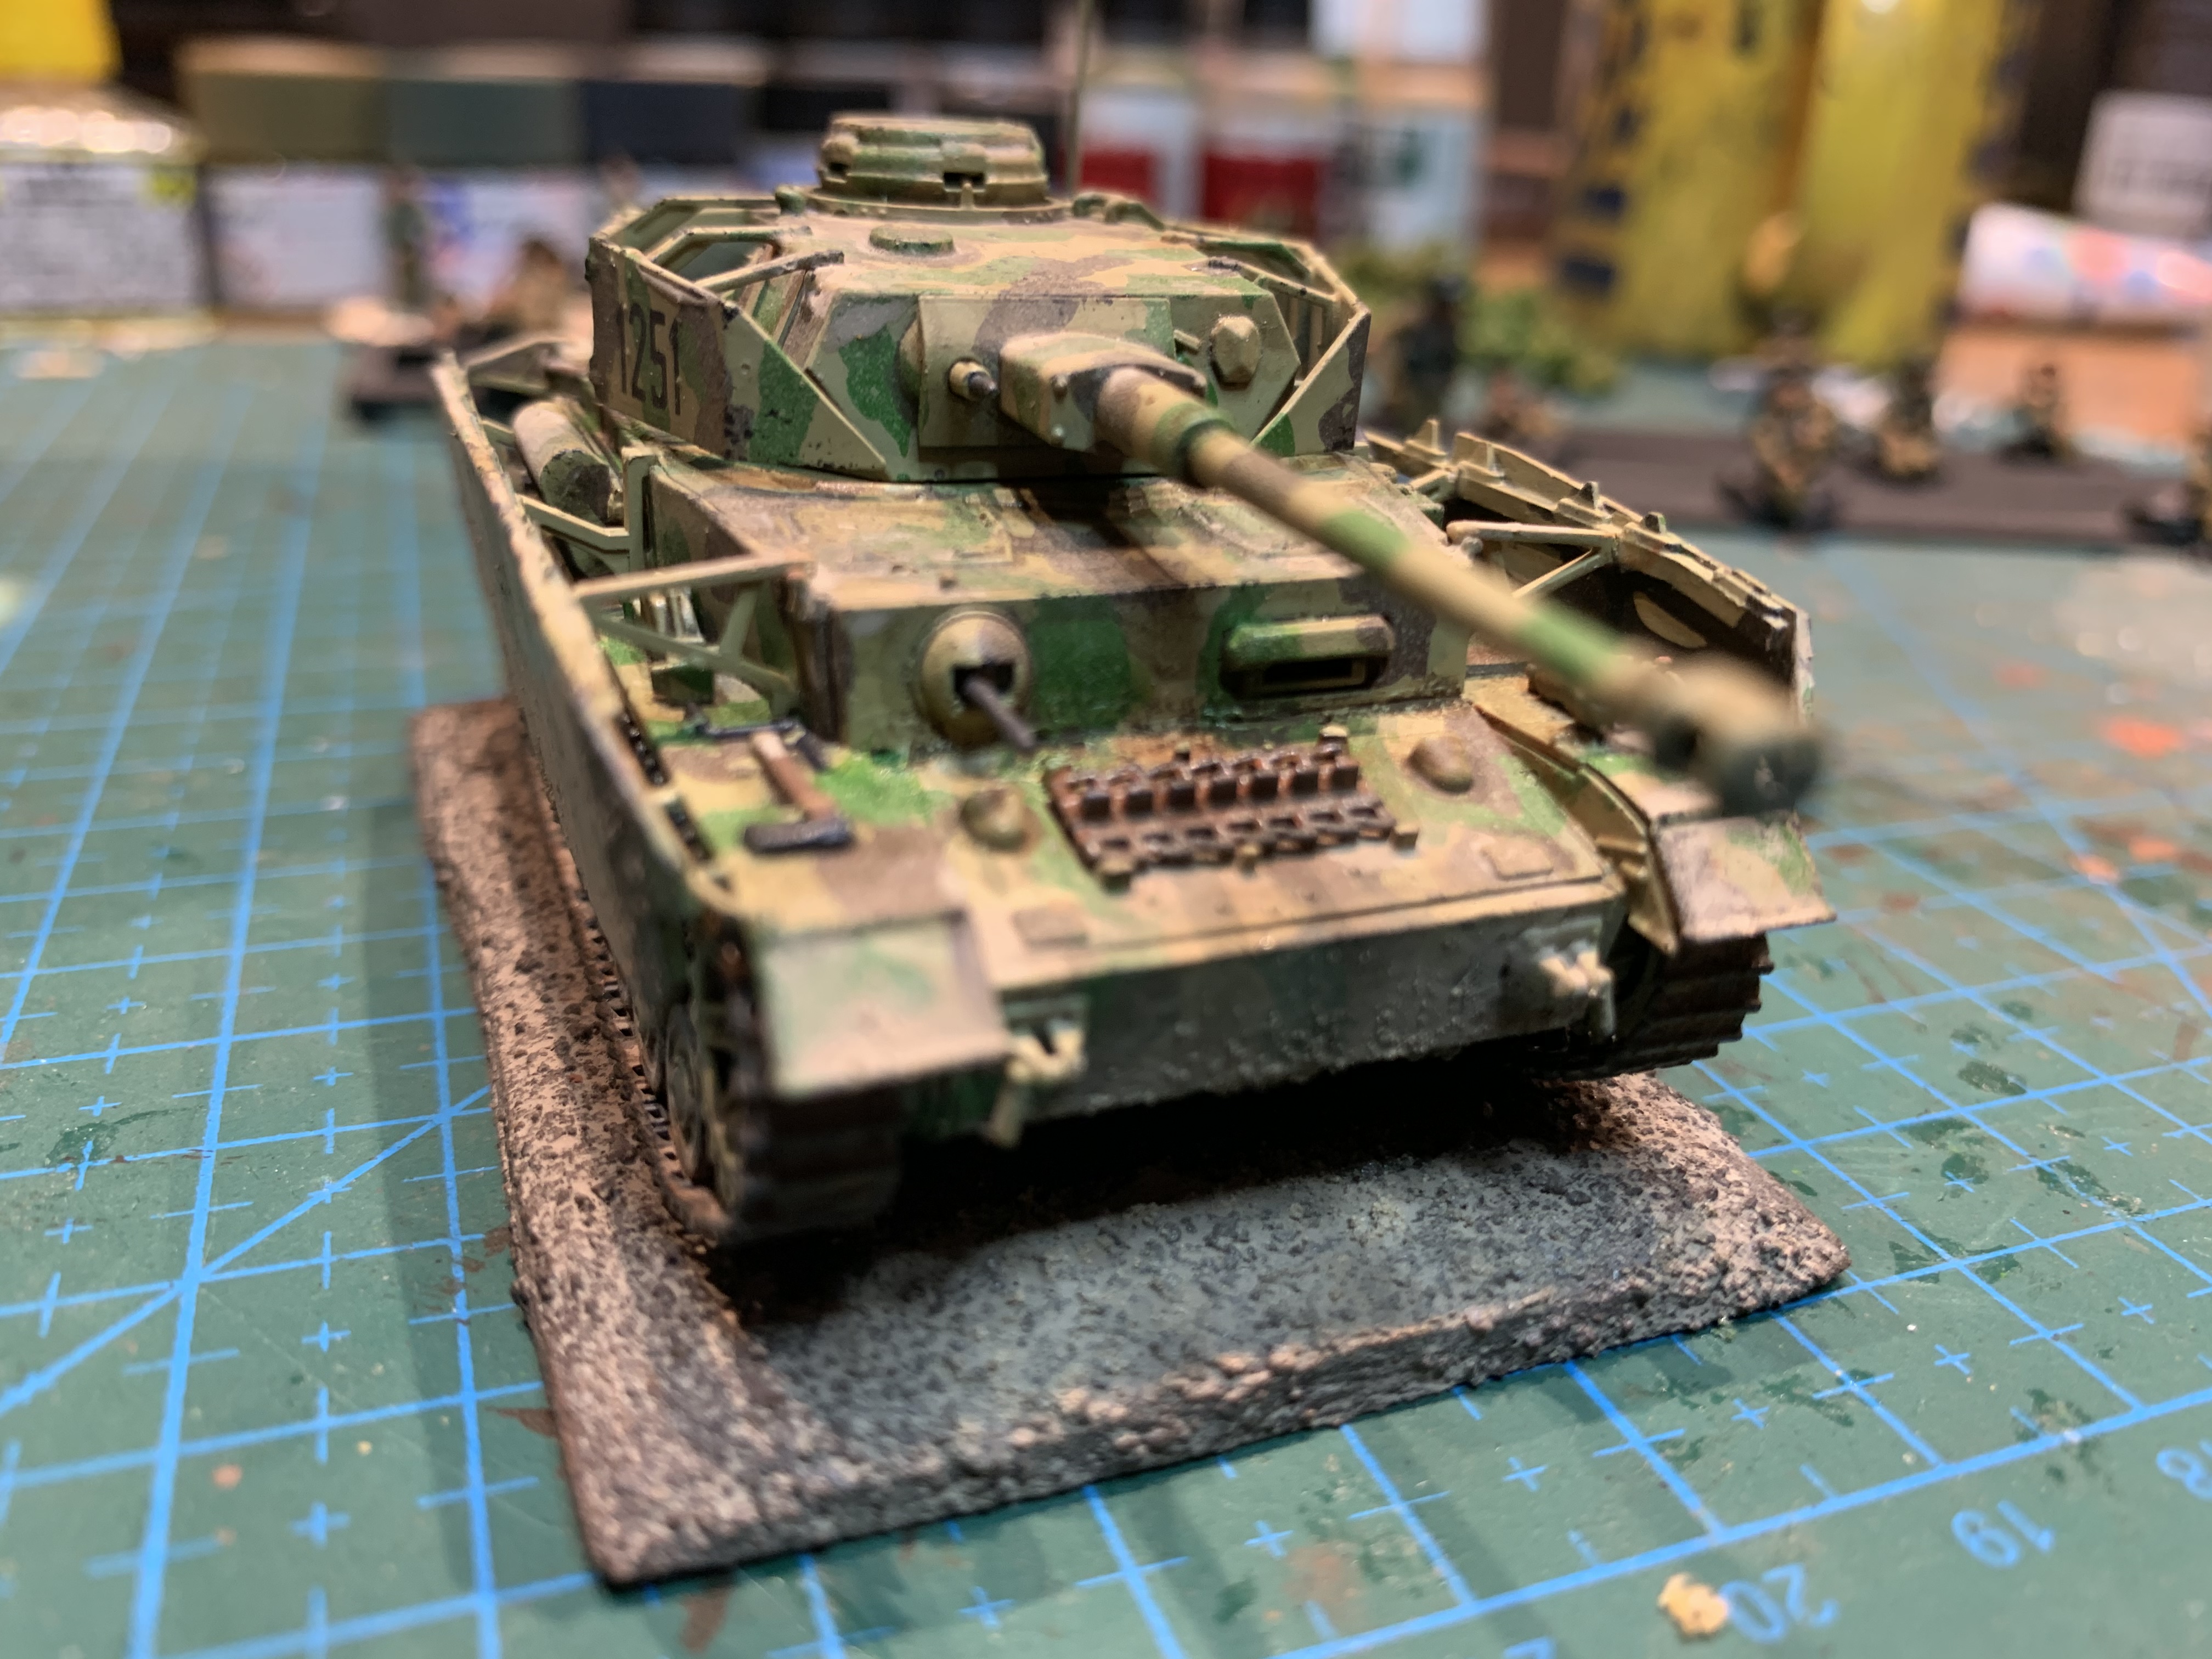
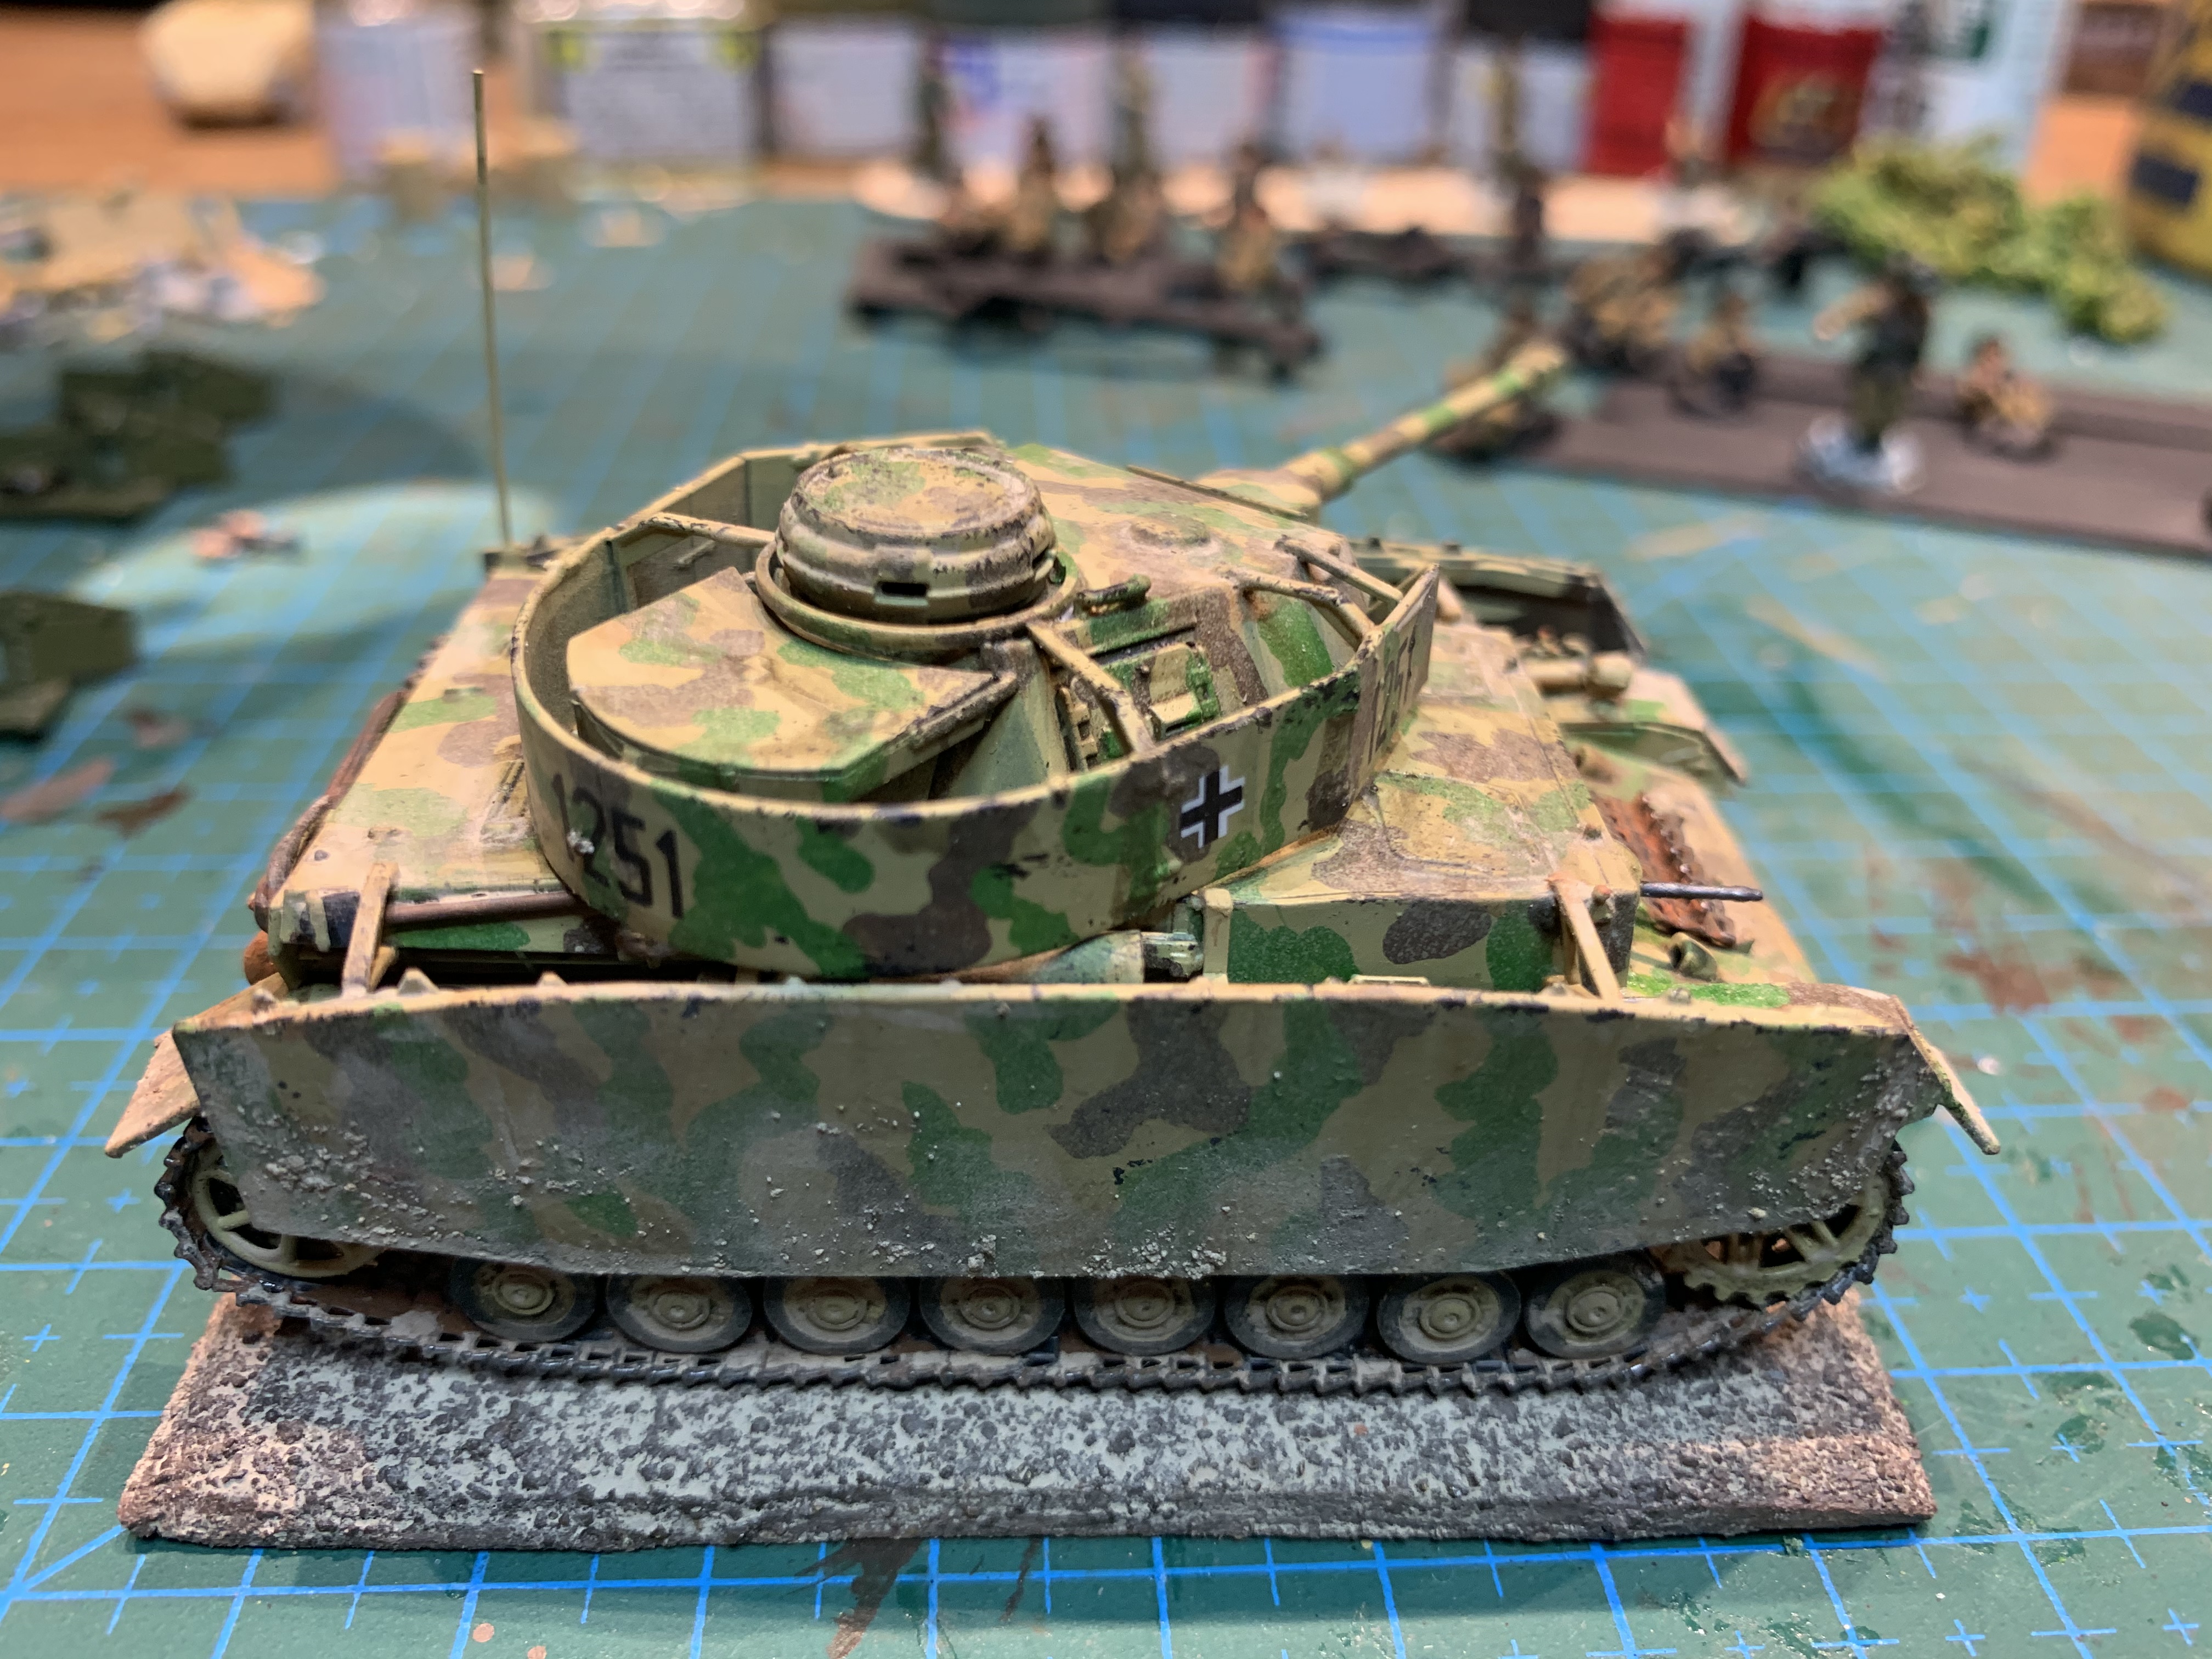
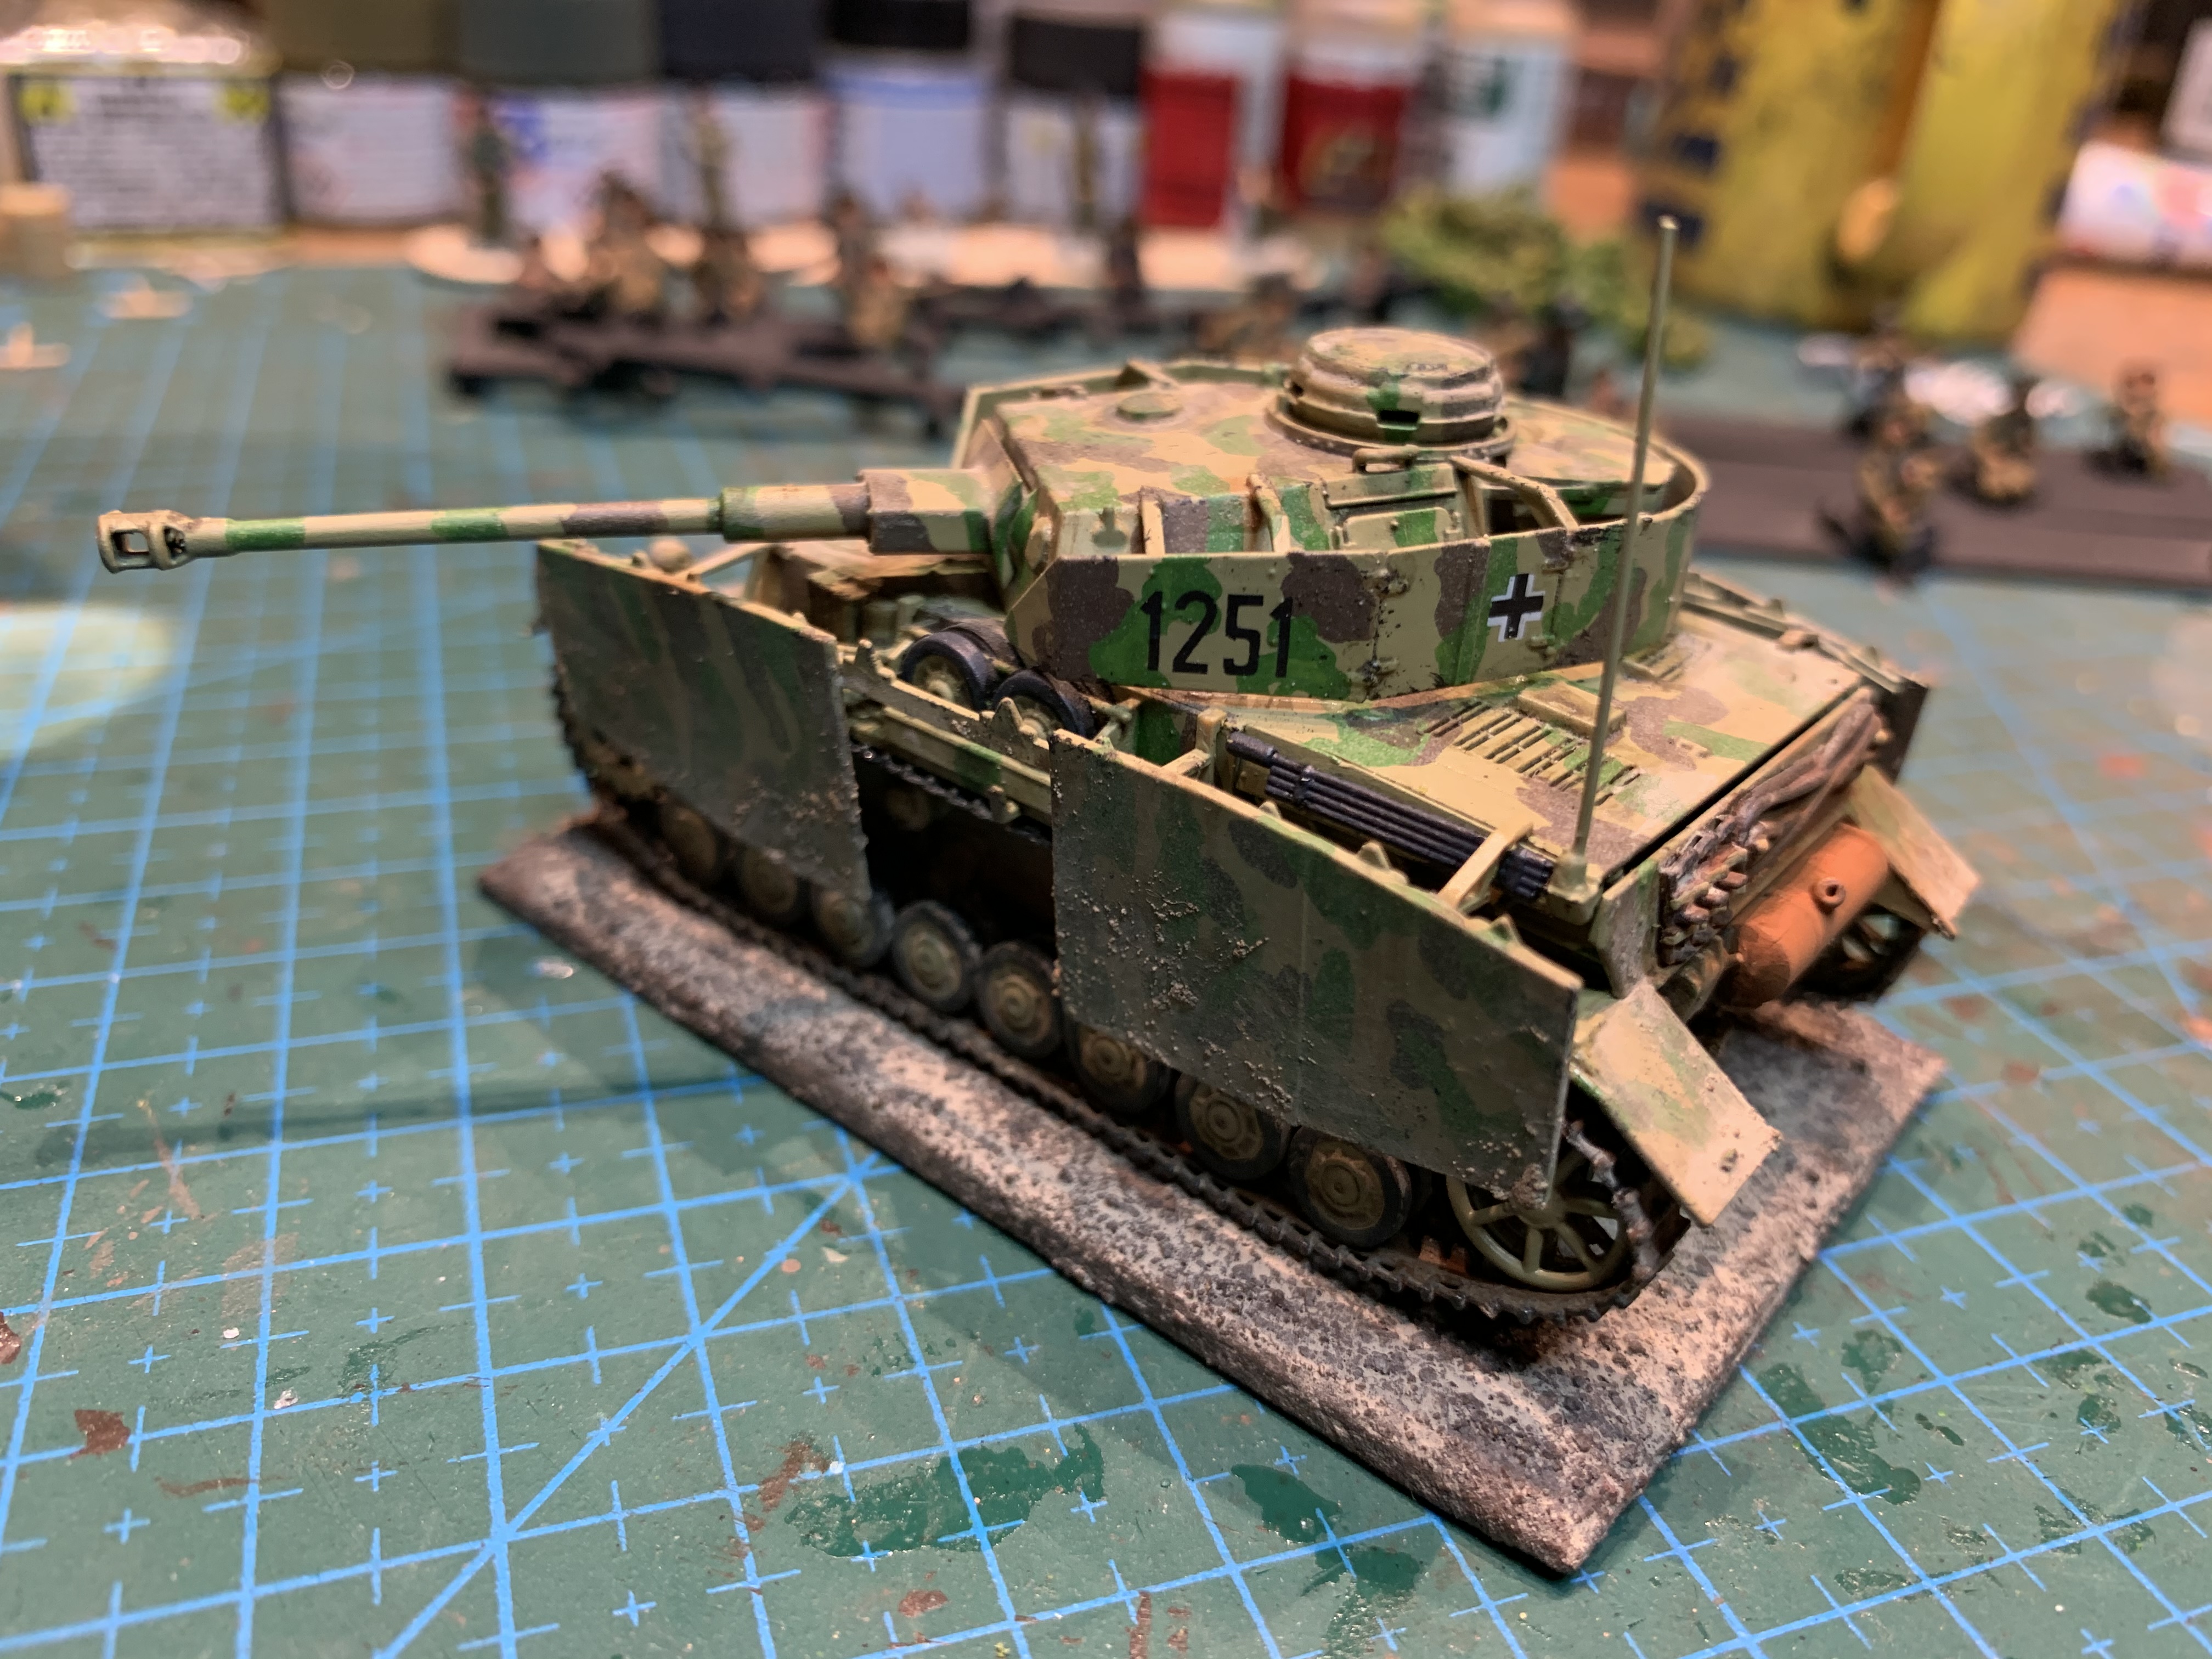
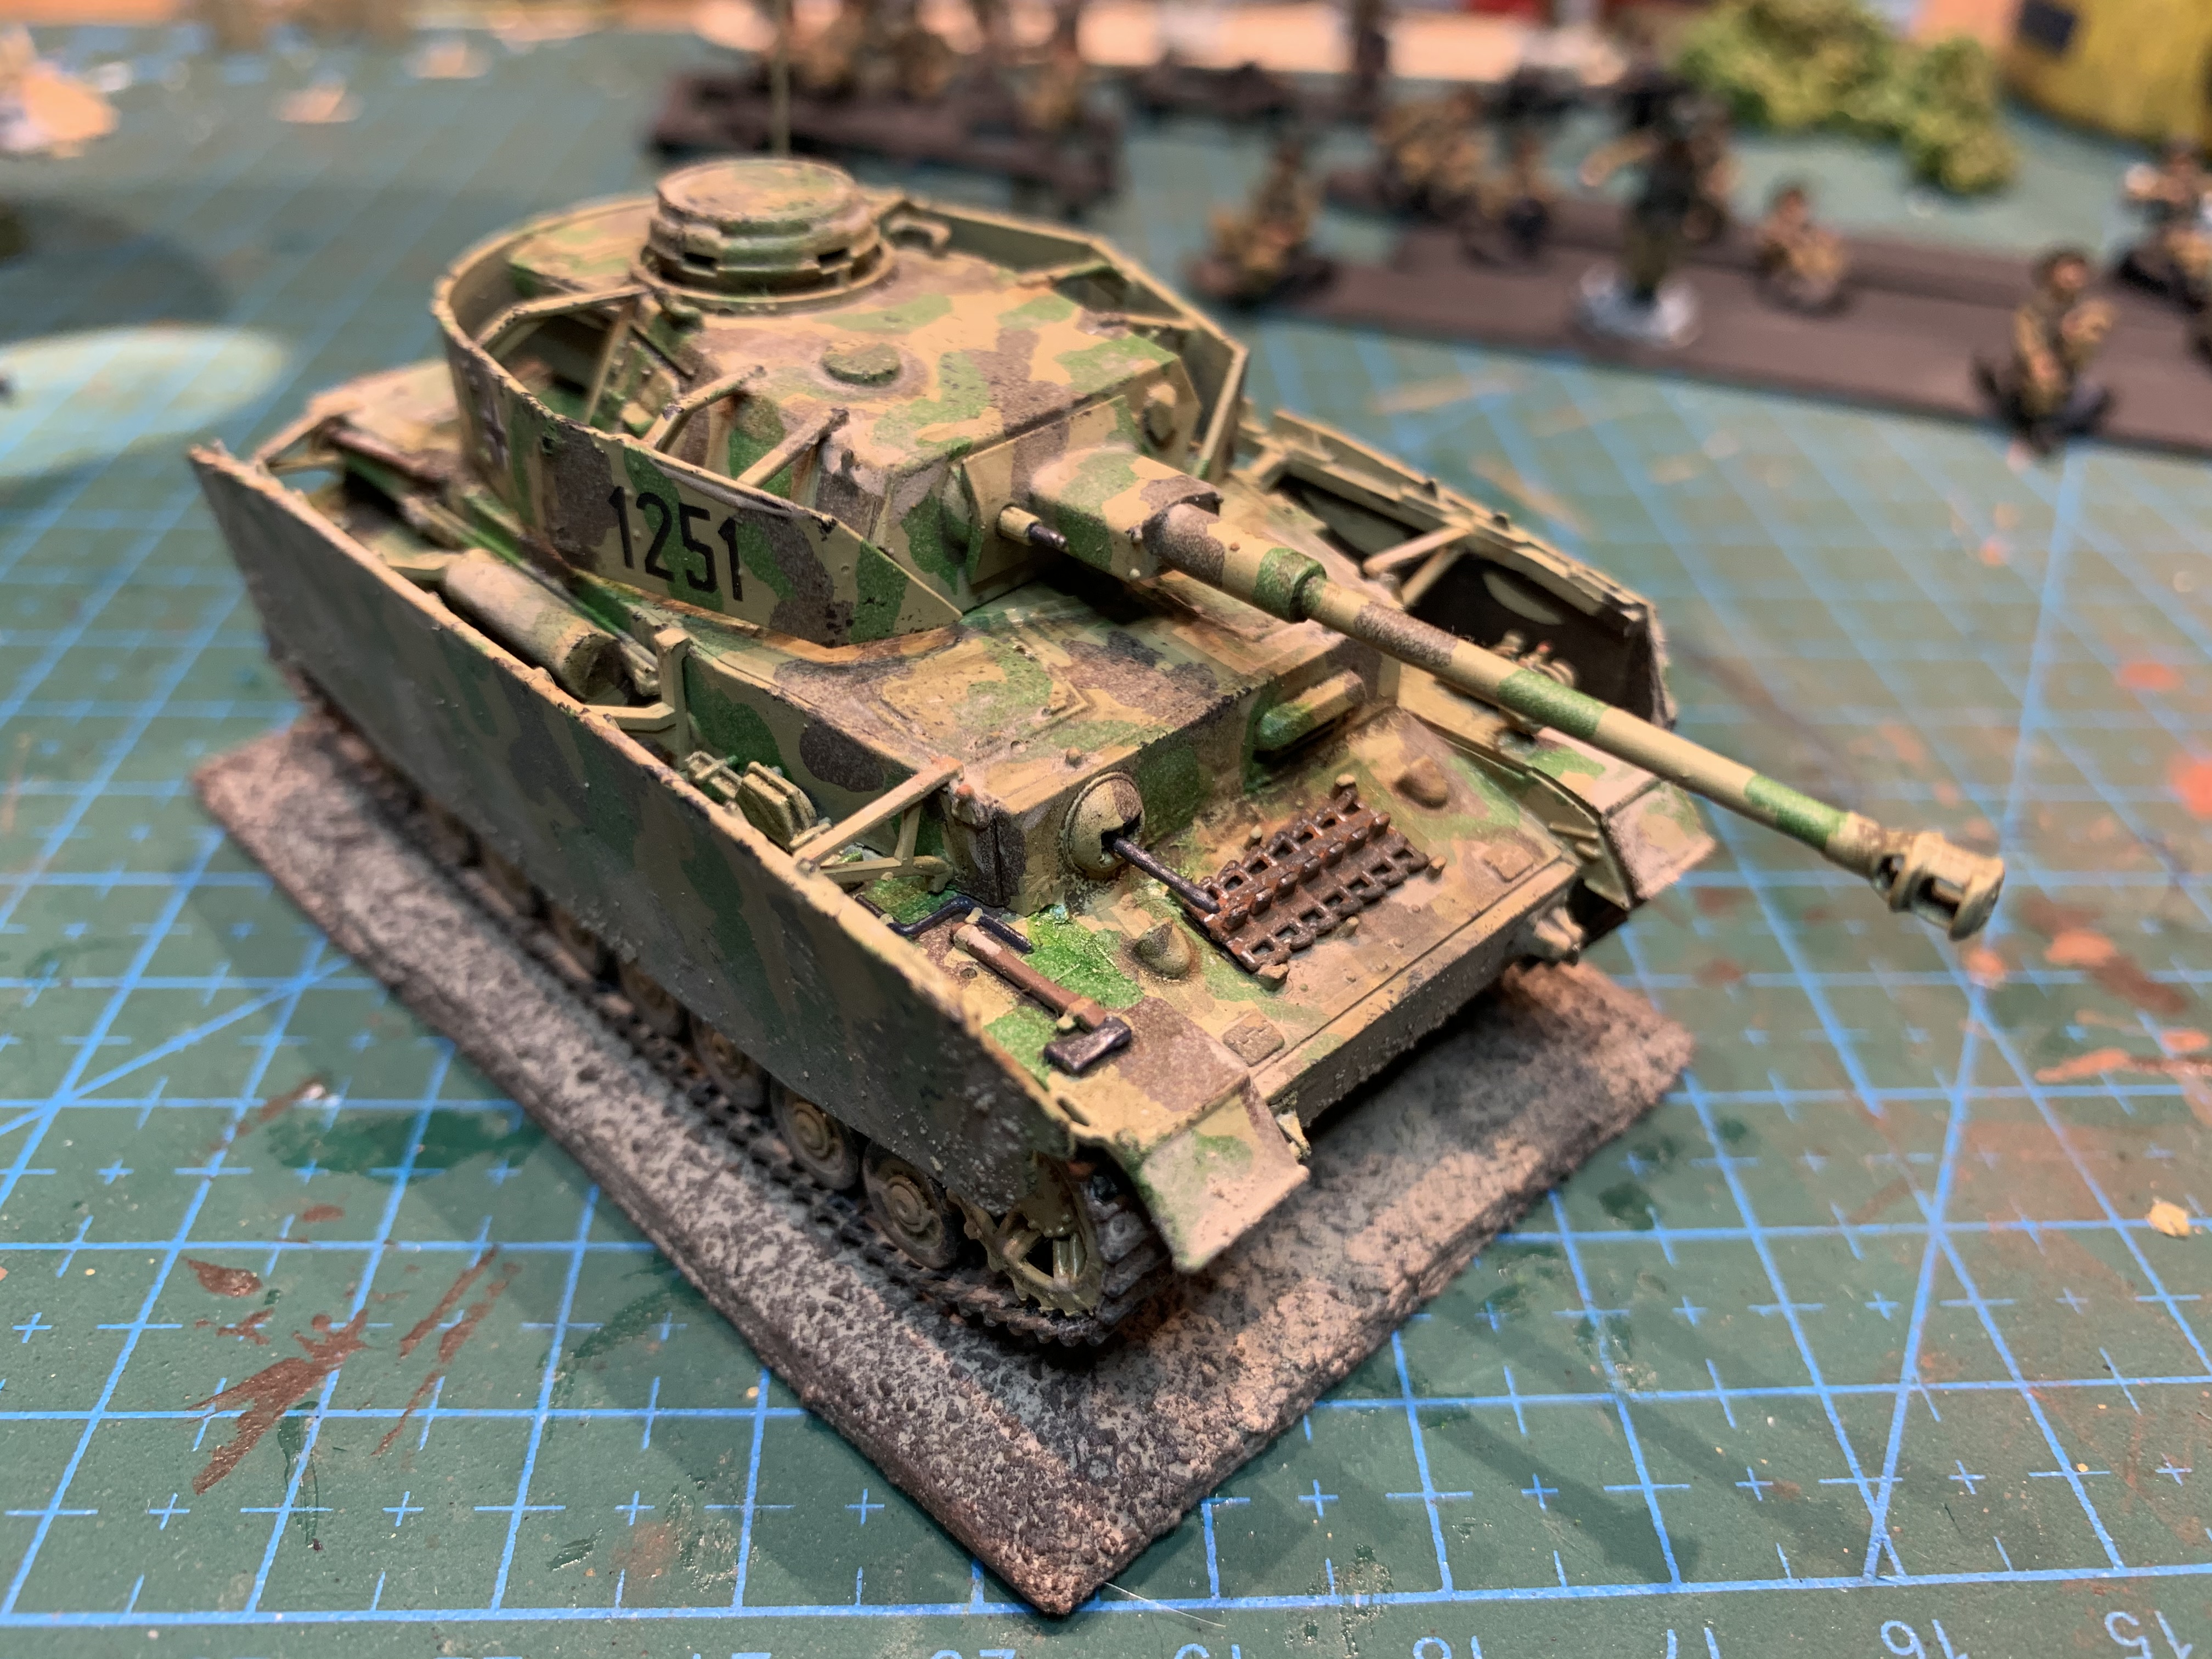
To finish off my Panzer IV units i needed one more of them to give me three troops of three tanks. My go to kit is the Zvezda model which is just excellent. It is the best kit in this scale except for the hatches being modelled closed. I have read some people complain about the thickness of the side skirts but it doesn’t bother me.
i added an aerial and also cut out one of the side panels for some interest. Particular nice are the tracks on these models but be careful when attaching to be gentle. That is it for me and the Panzer IV. No more Panzer IV. Panzer IV no more.
i do have three Tigers from Dragon Models which look like a lot of fun. This German armour is never ending!
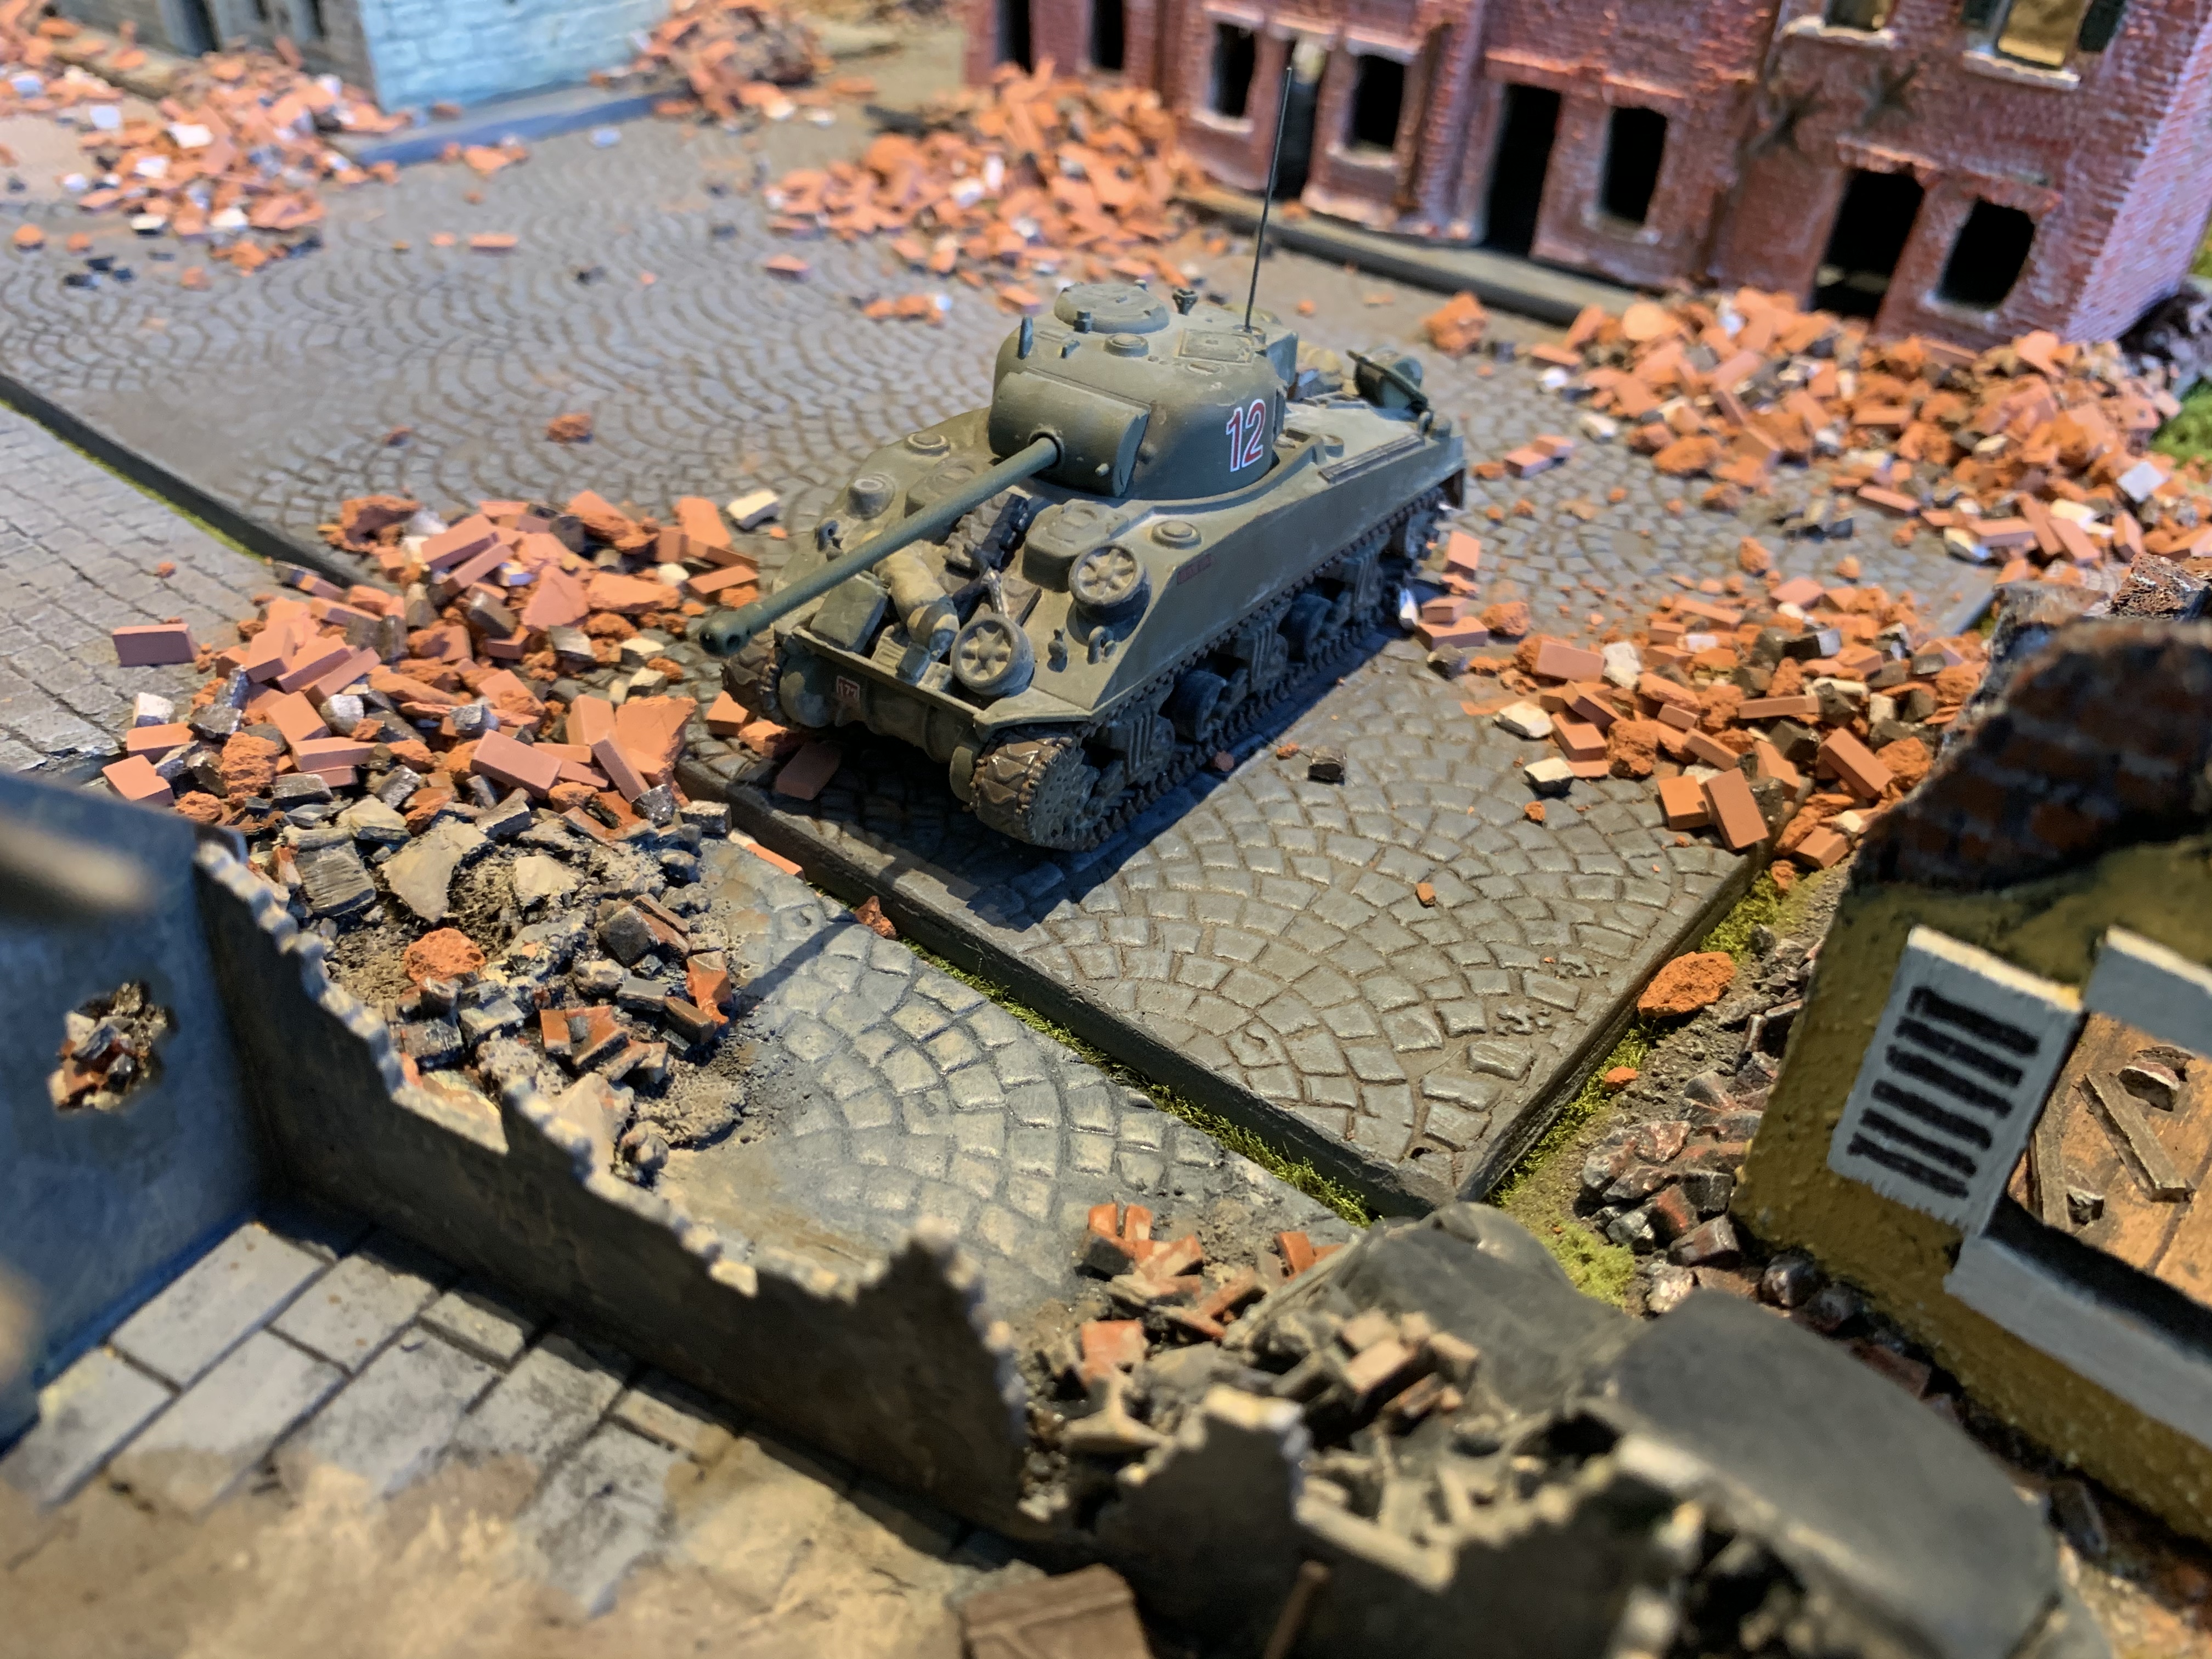
As soon as i had seen that this new Airfix version of the Firefly had been released i was all over it. Well i did check its relative size to my other armour and it works out to be matching size to Armourfast PSC and Unimodel Fireflies that i have. You never know with Airfix 1/72 or 1/76 and exactly what you are getting.
its a great little kit. The tracks are a nice one piece moulding that you place onto the running gear just like their Cromwell. Its a great design and much easier than all that link and length mullarkey. They also provide complete running gear and tracks in one piece which you can alternatively use. They have gone in my spares box to be used no doubt to replace some dodgy vinyl bollocks i am bound to find.
Other great touches are the lift rings that you glue up into the hull on larger fittings through a hole. Great design again rather than chasing tiny lift rings around in the carpet.
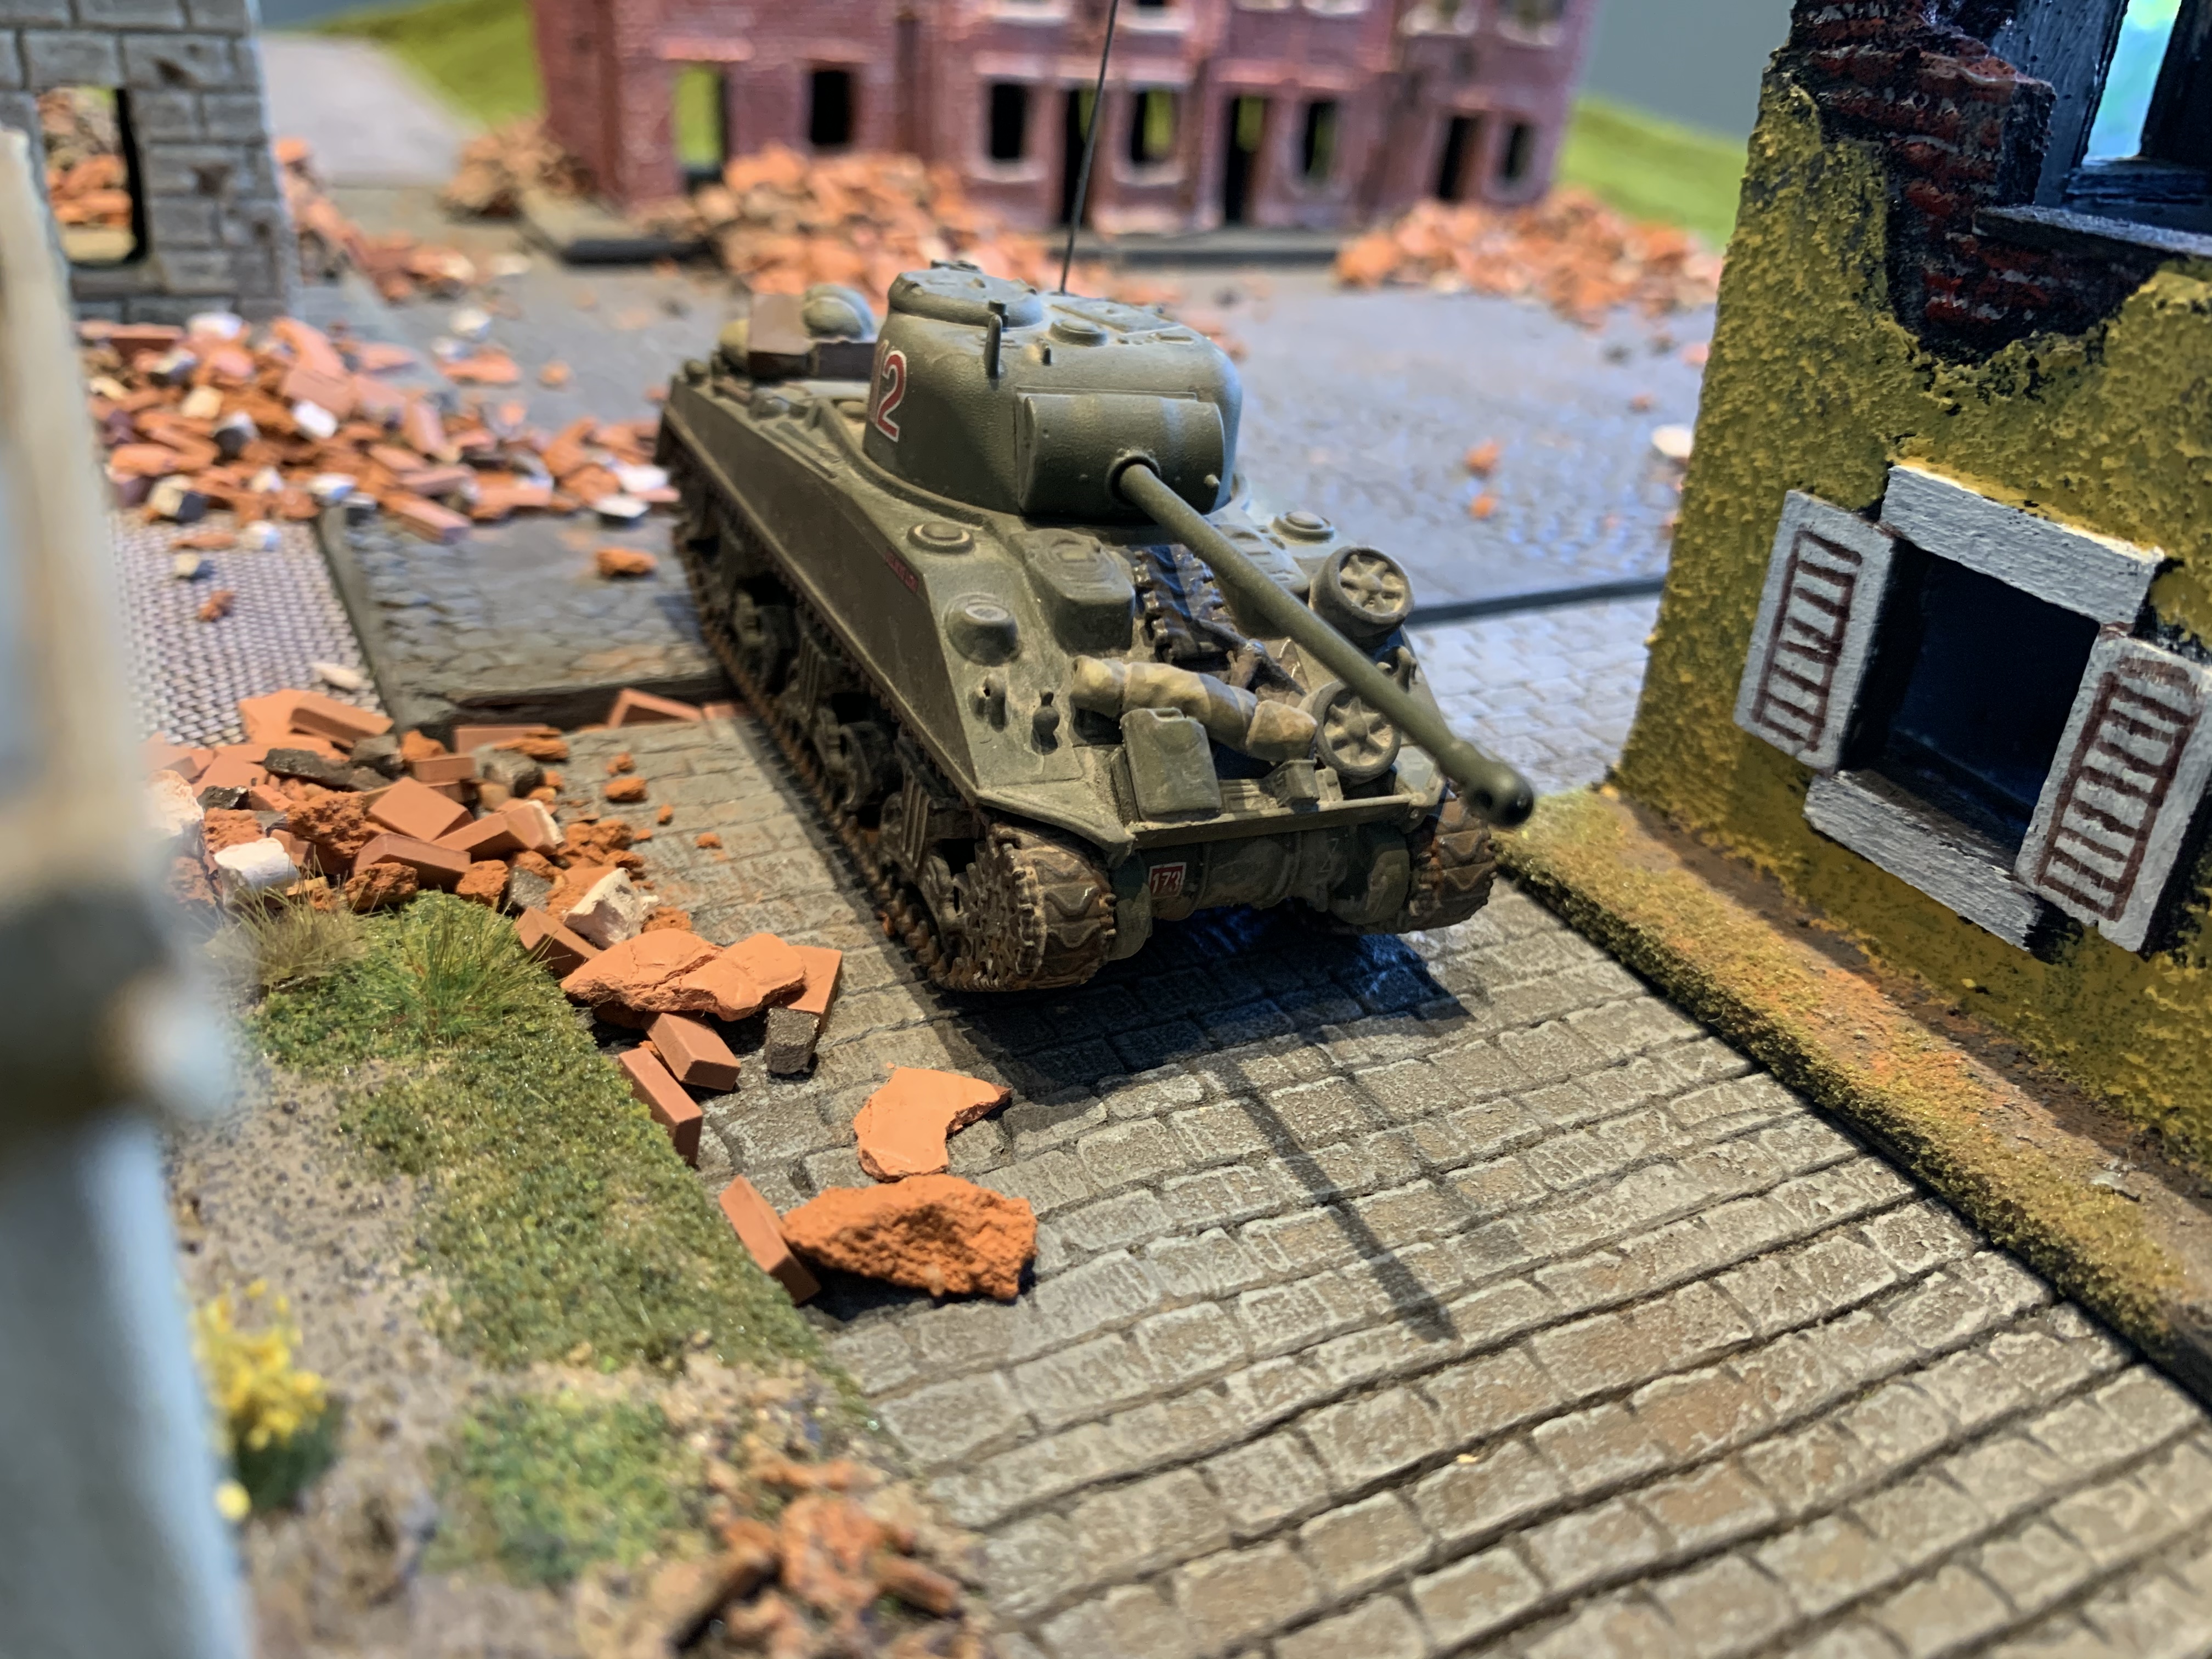
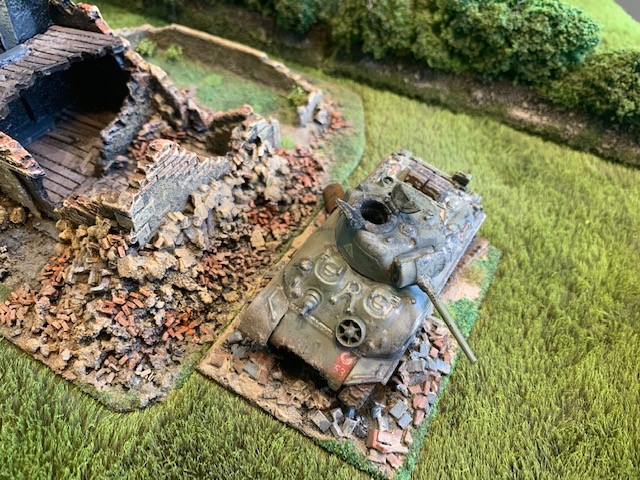
My additions were just some stowage and an aerial. Nice decals provided too. Building Airfix kits is always nostalgic but it was a nice surprise to find a new one on the market. Instant nostalgia!!! Here is my new Firefly hunting through some ruins you have seen before.
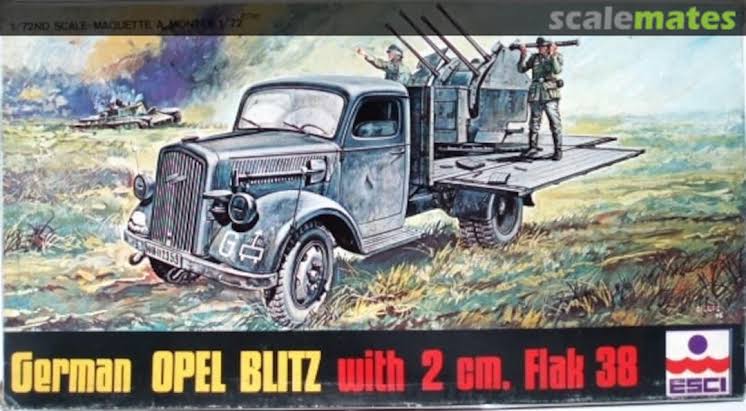
Another great vintage kit I found on eBay for a few pennies. Nicely worn cardboard smelt twenty years old, and the decals had long since passed into browny, crispy bits. As i have found with some of these older kits they really stand up even being twenty years old or more. This one was good fun to build and quite straight forward.
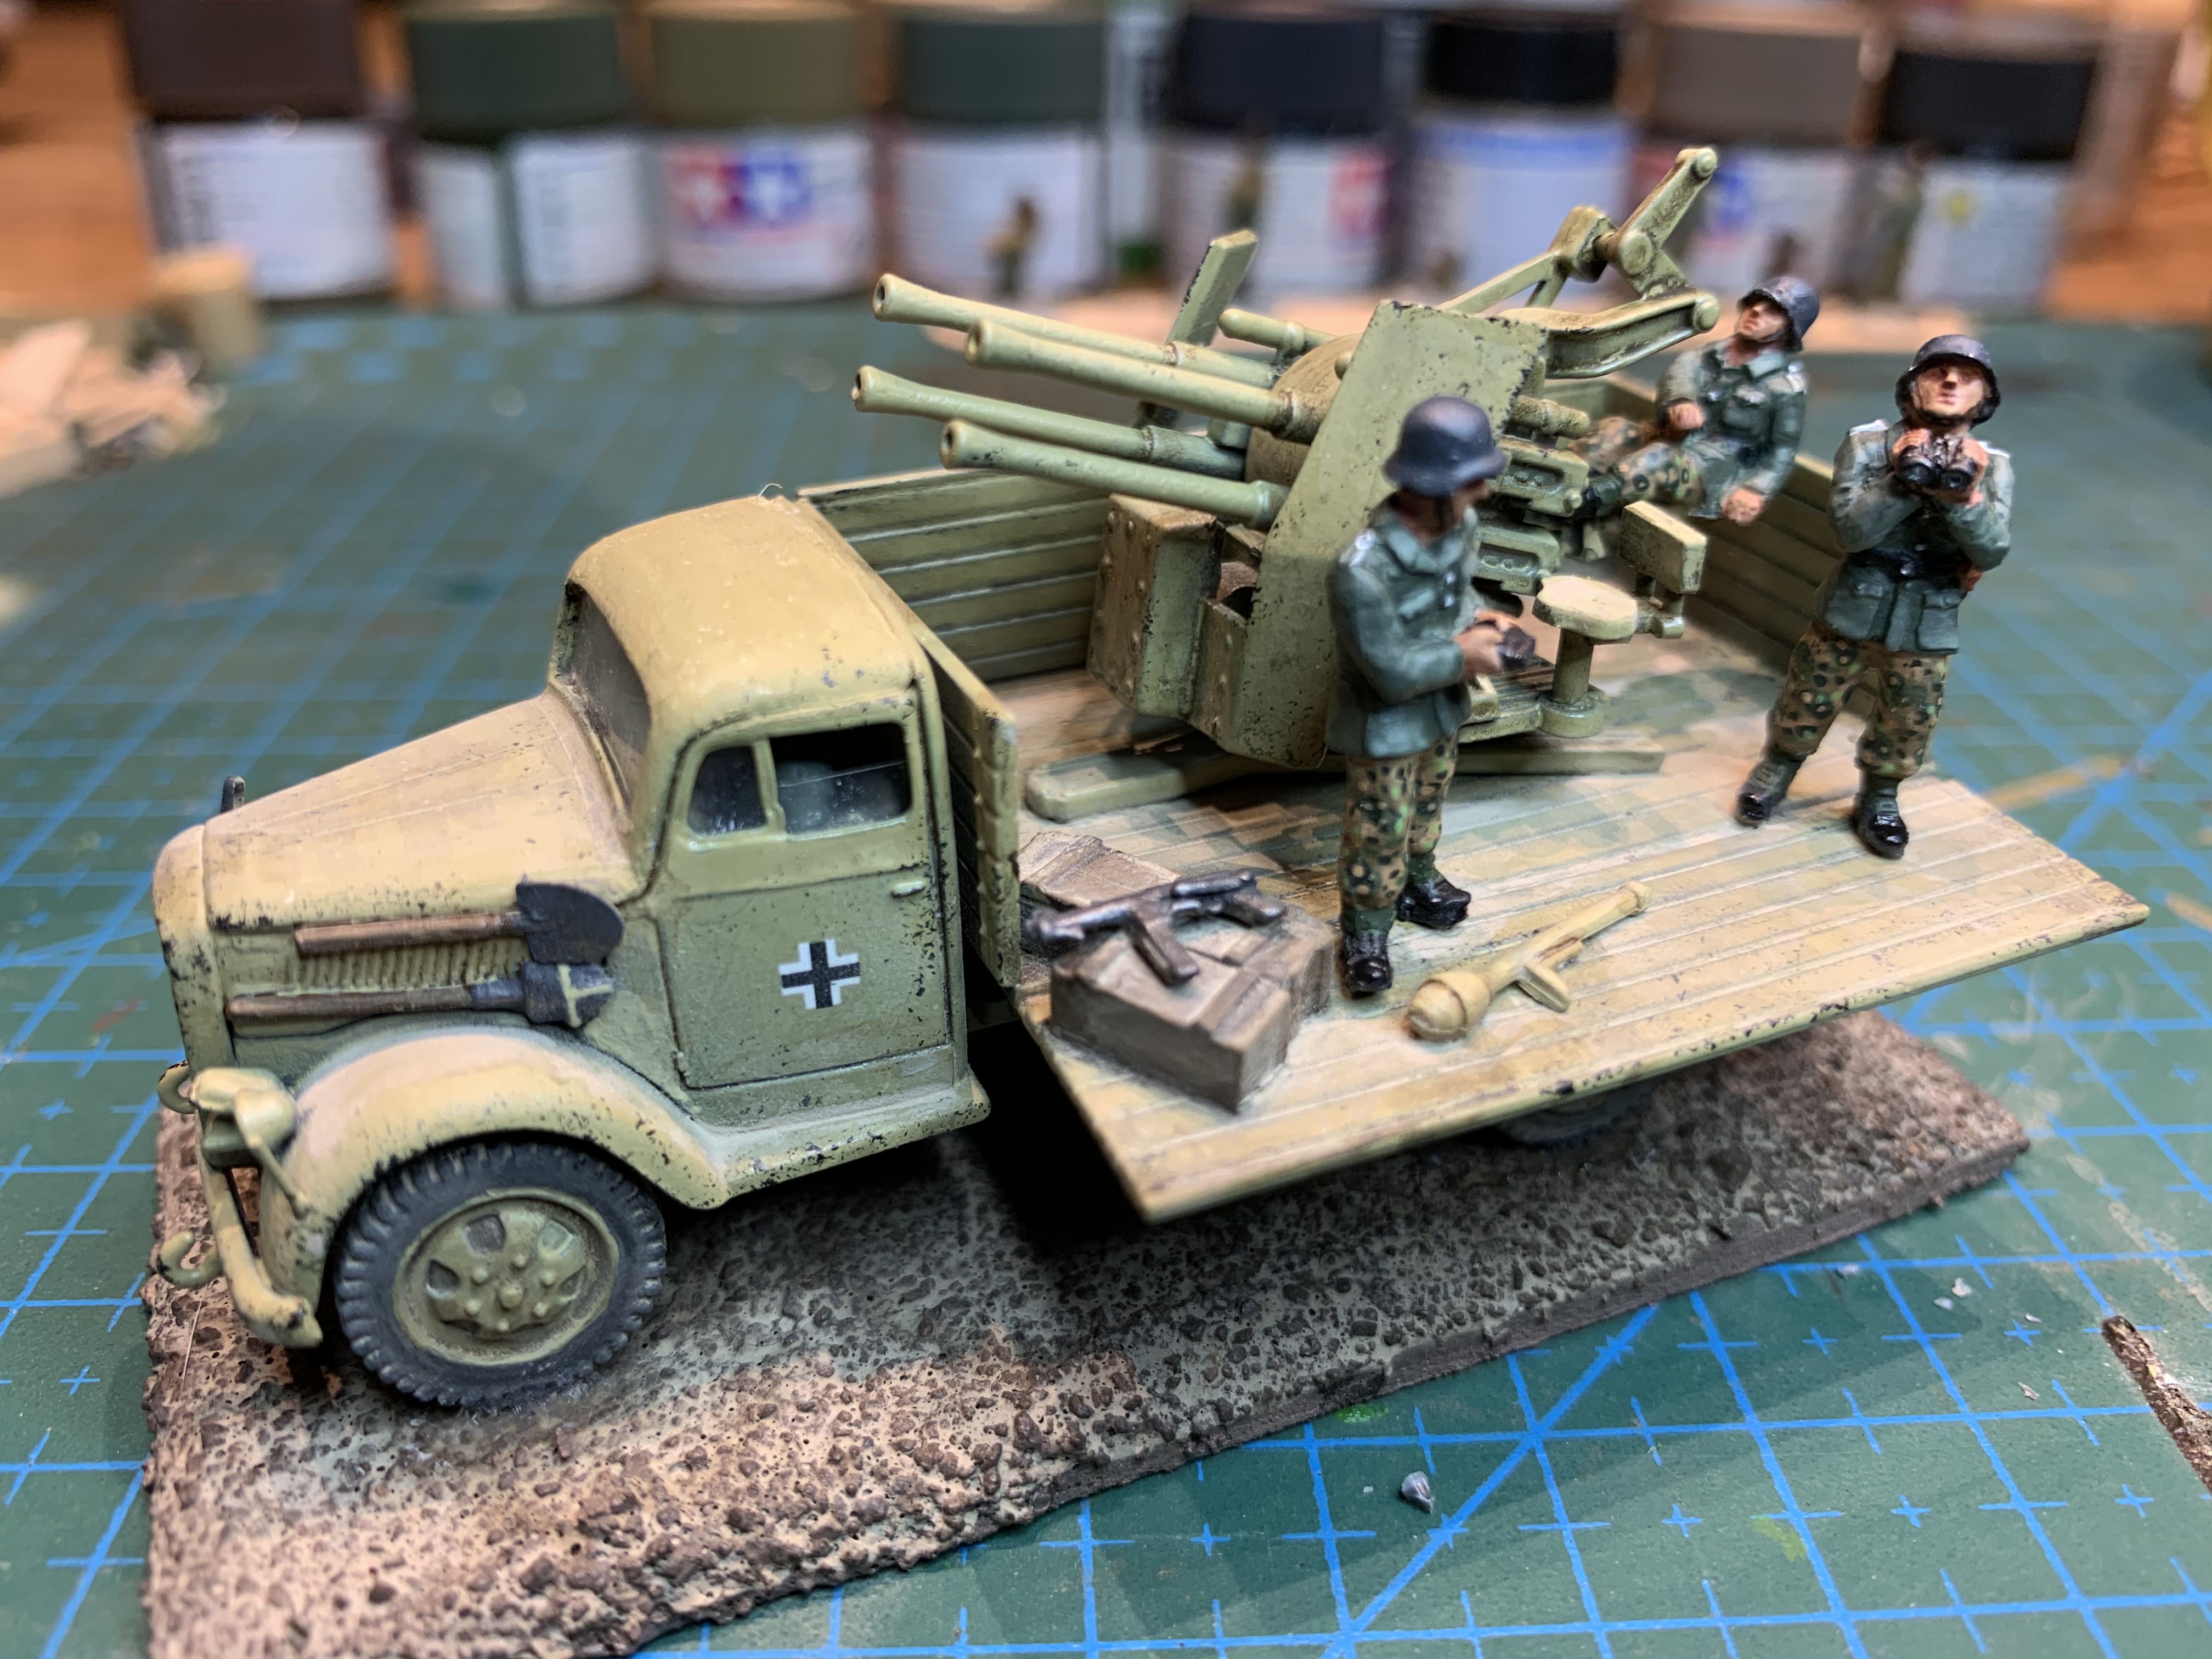
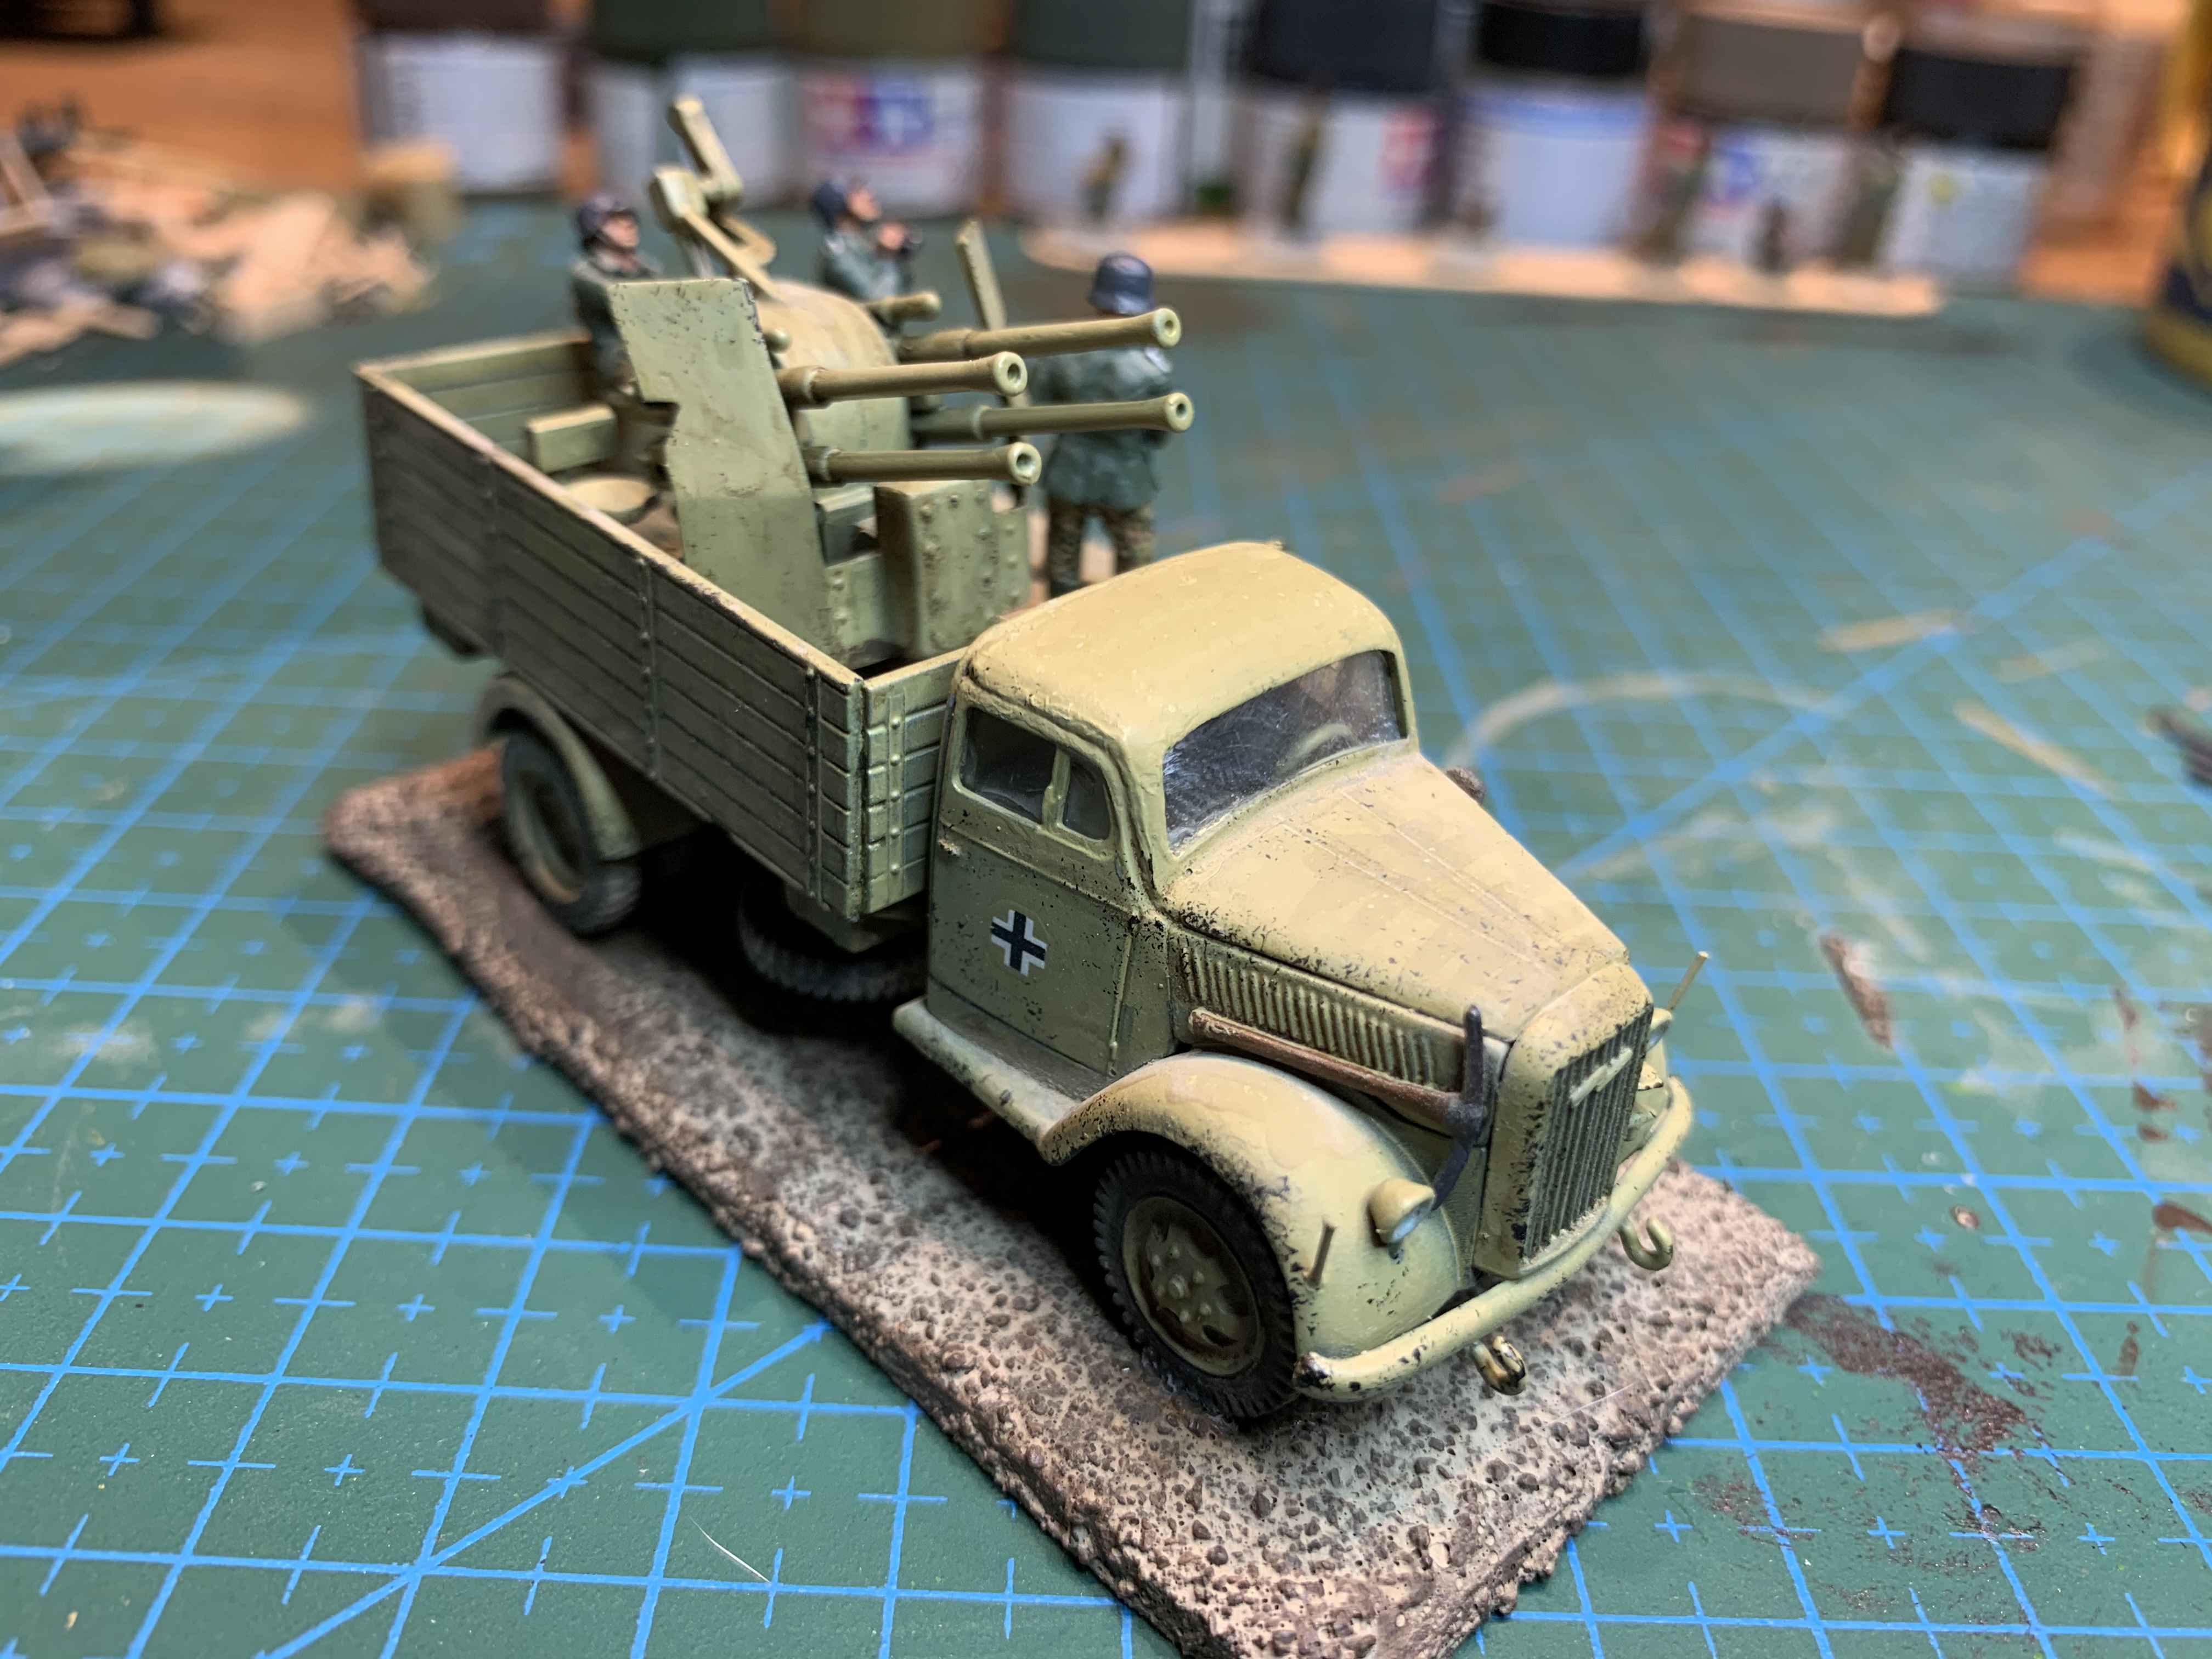
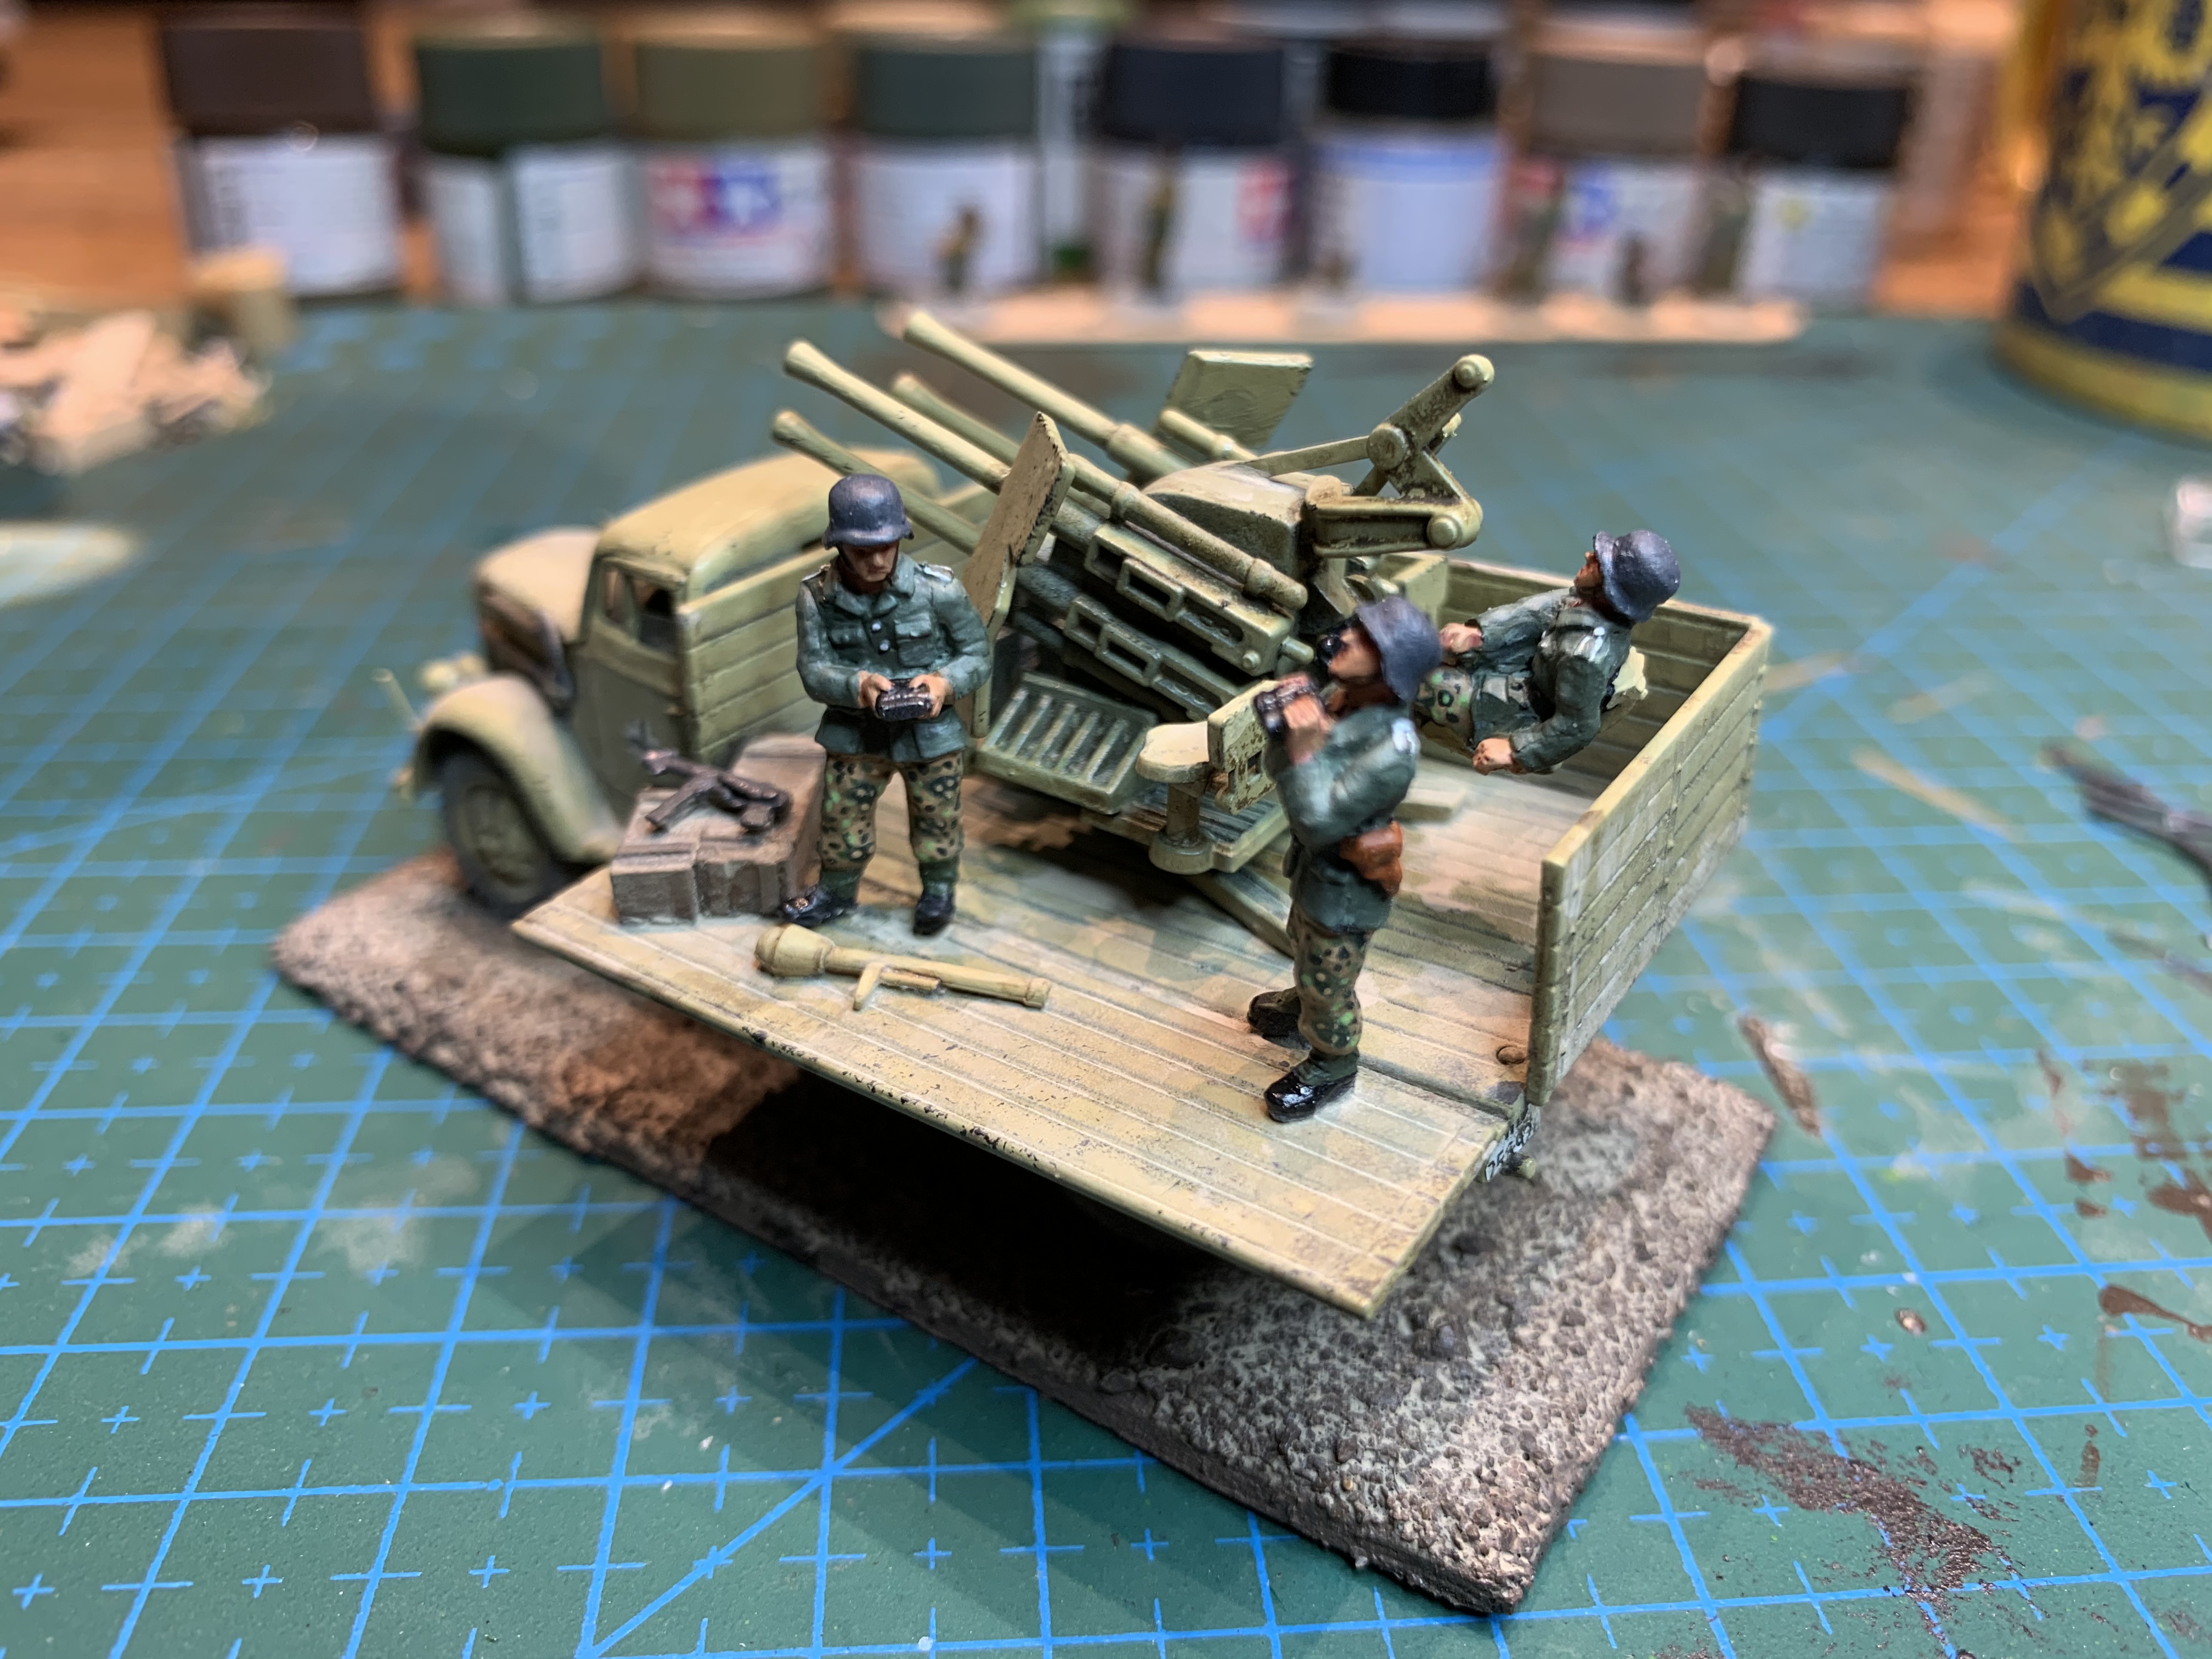
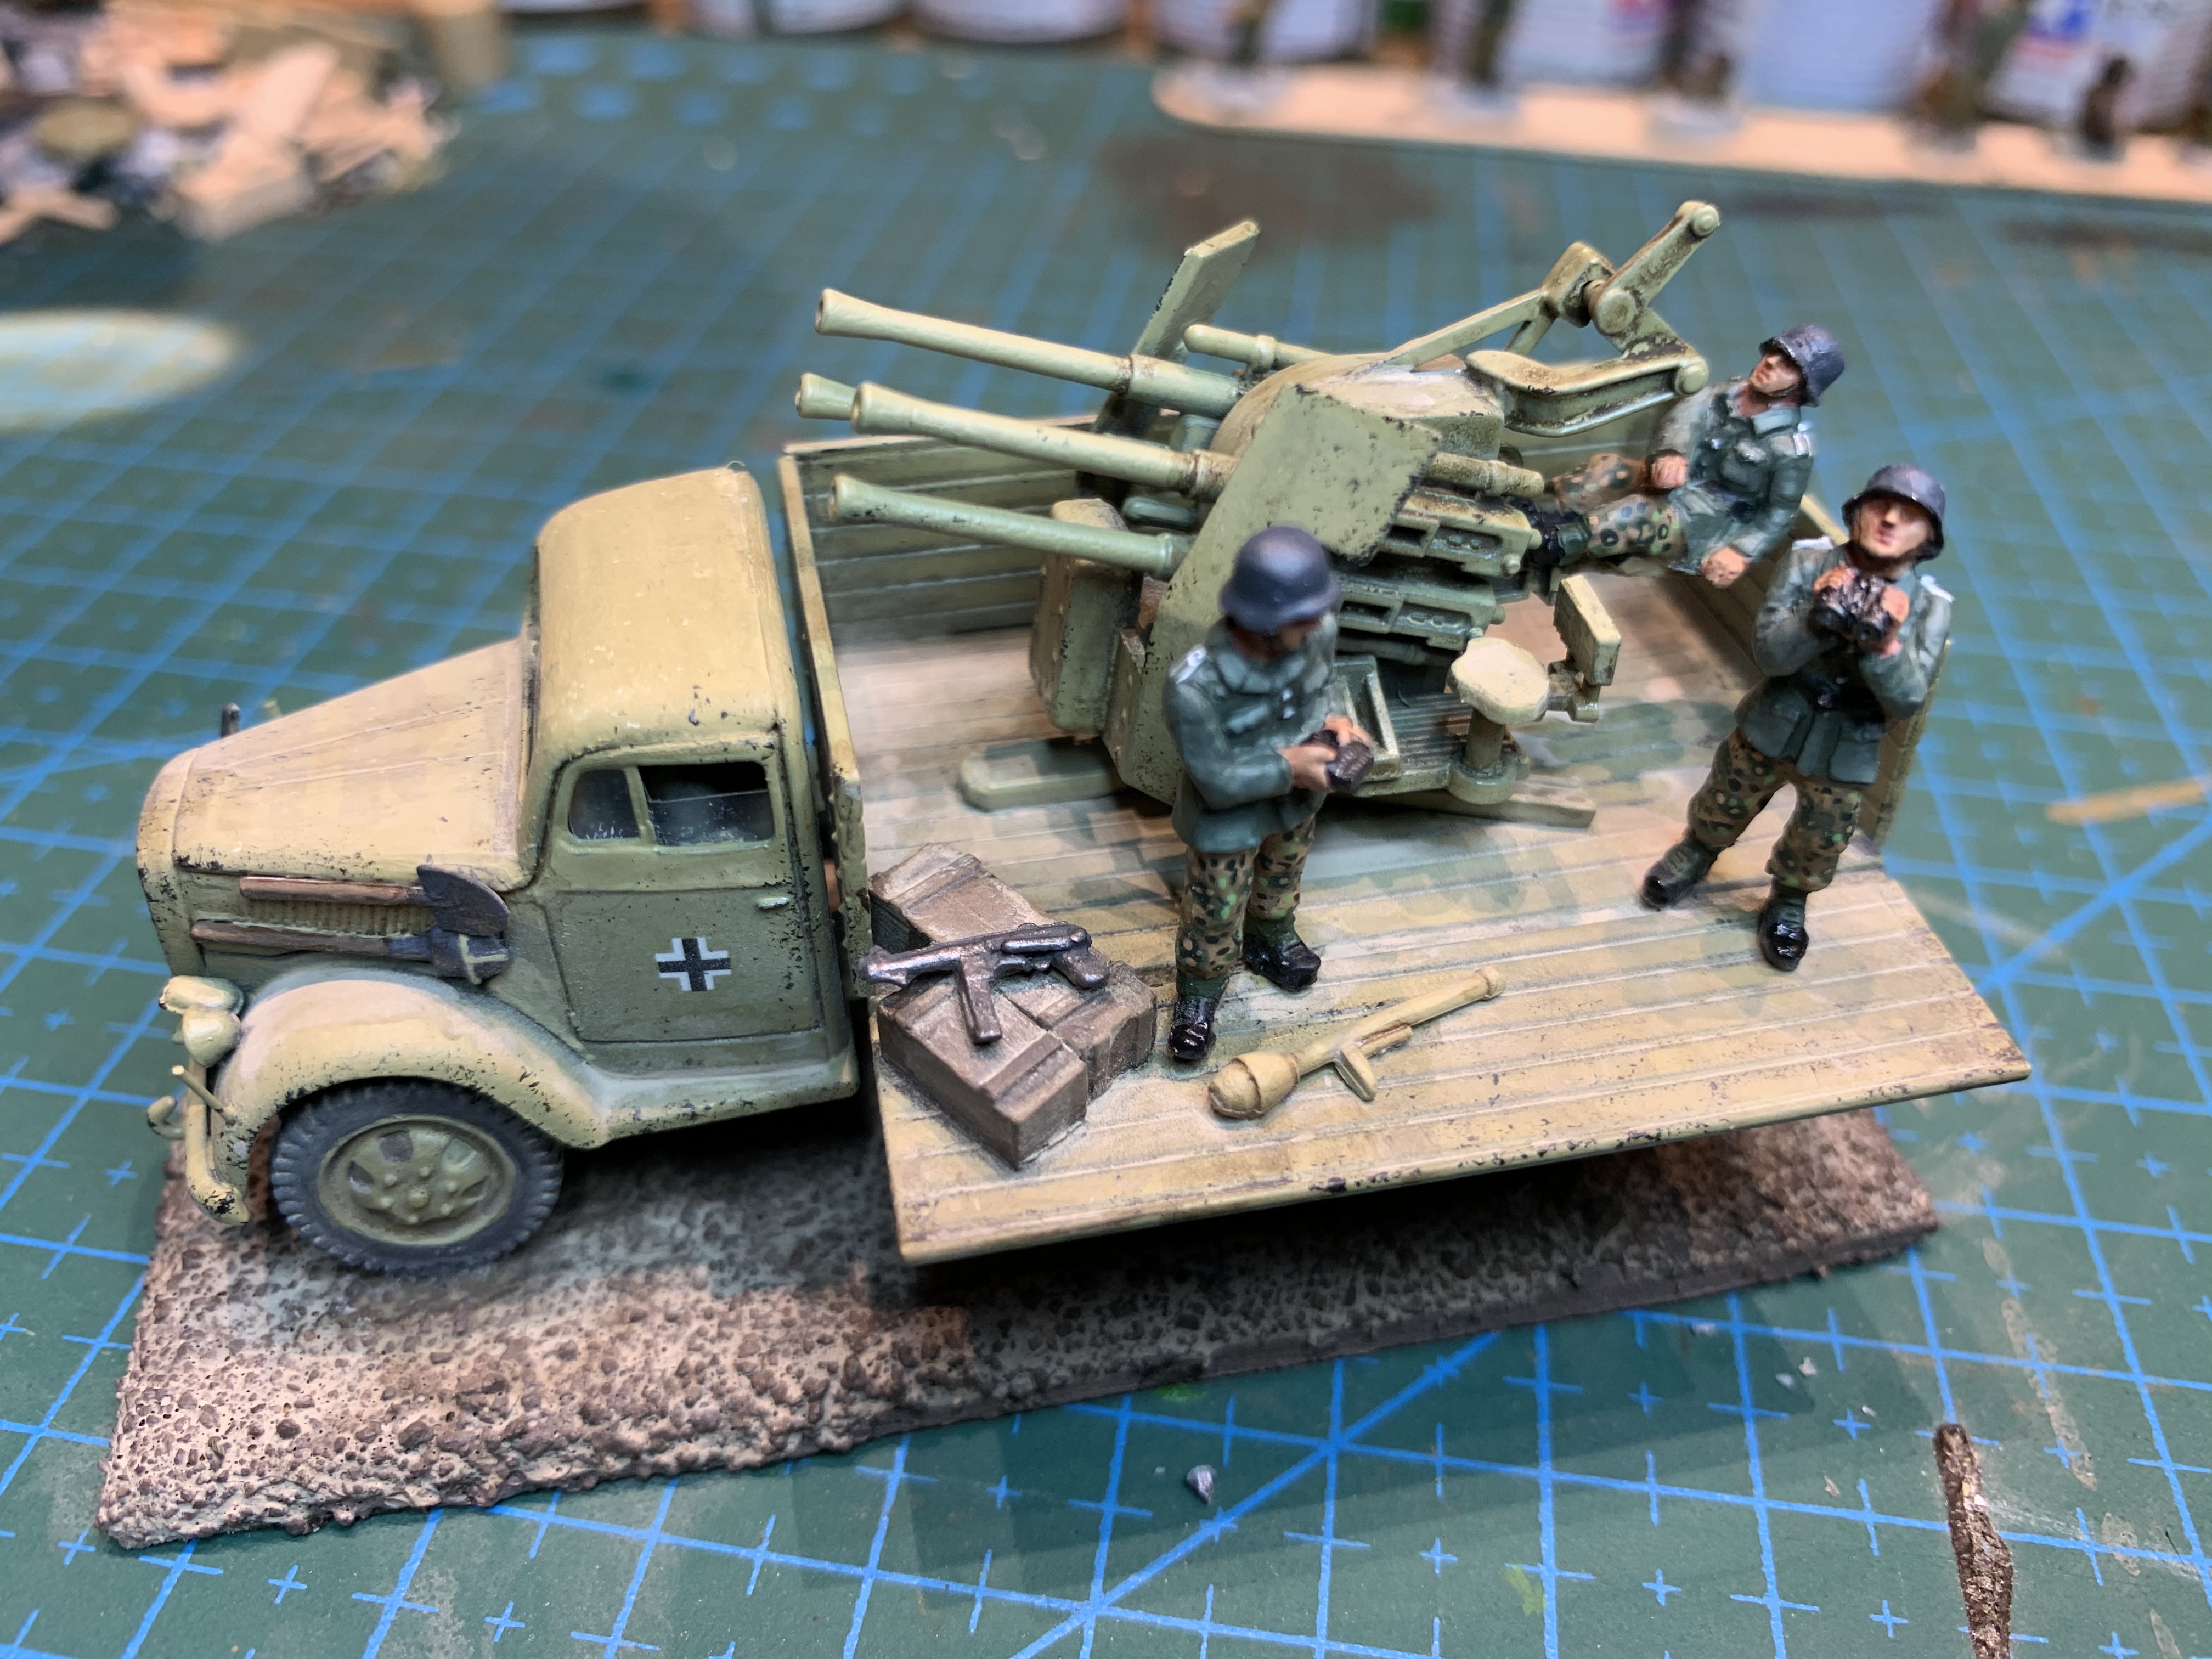
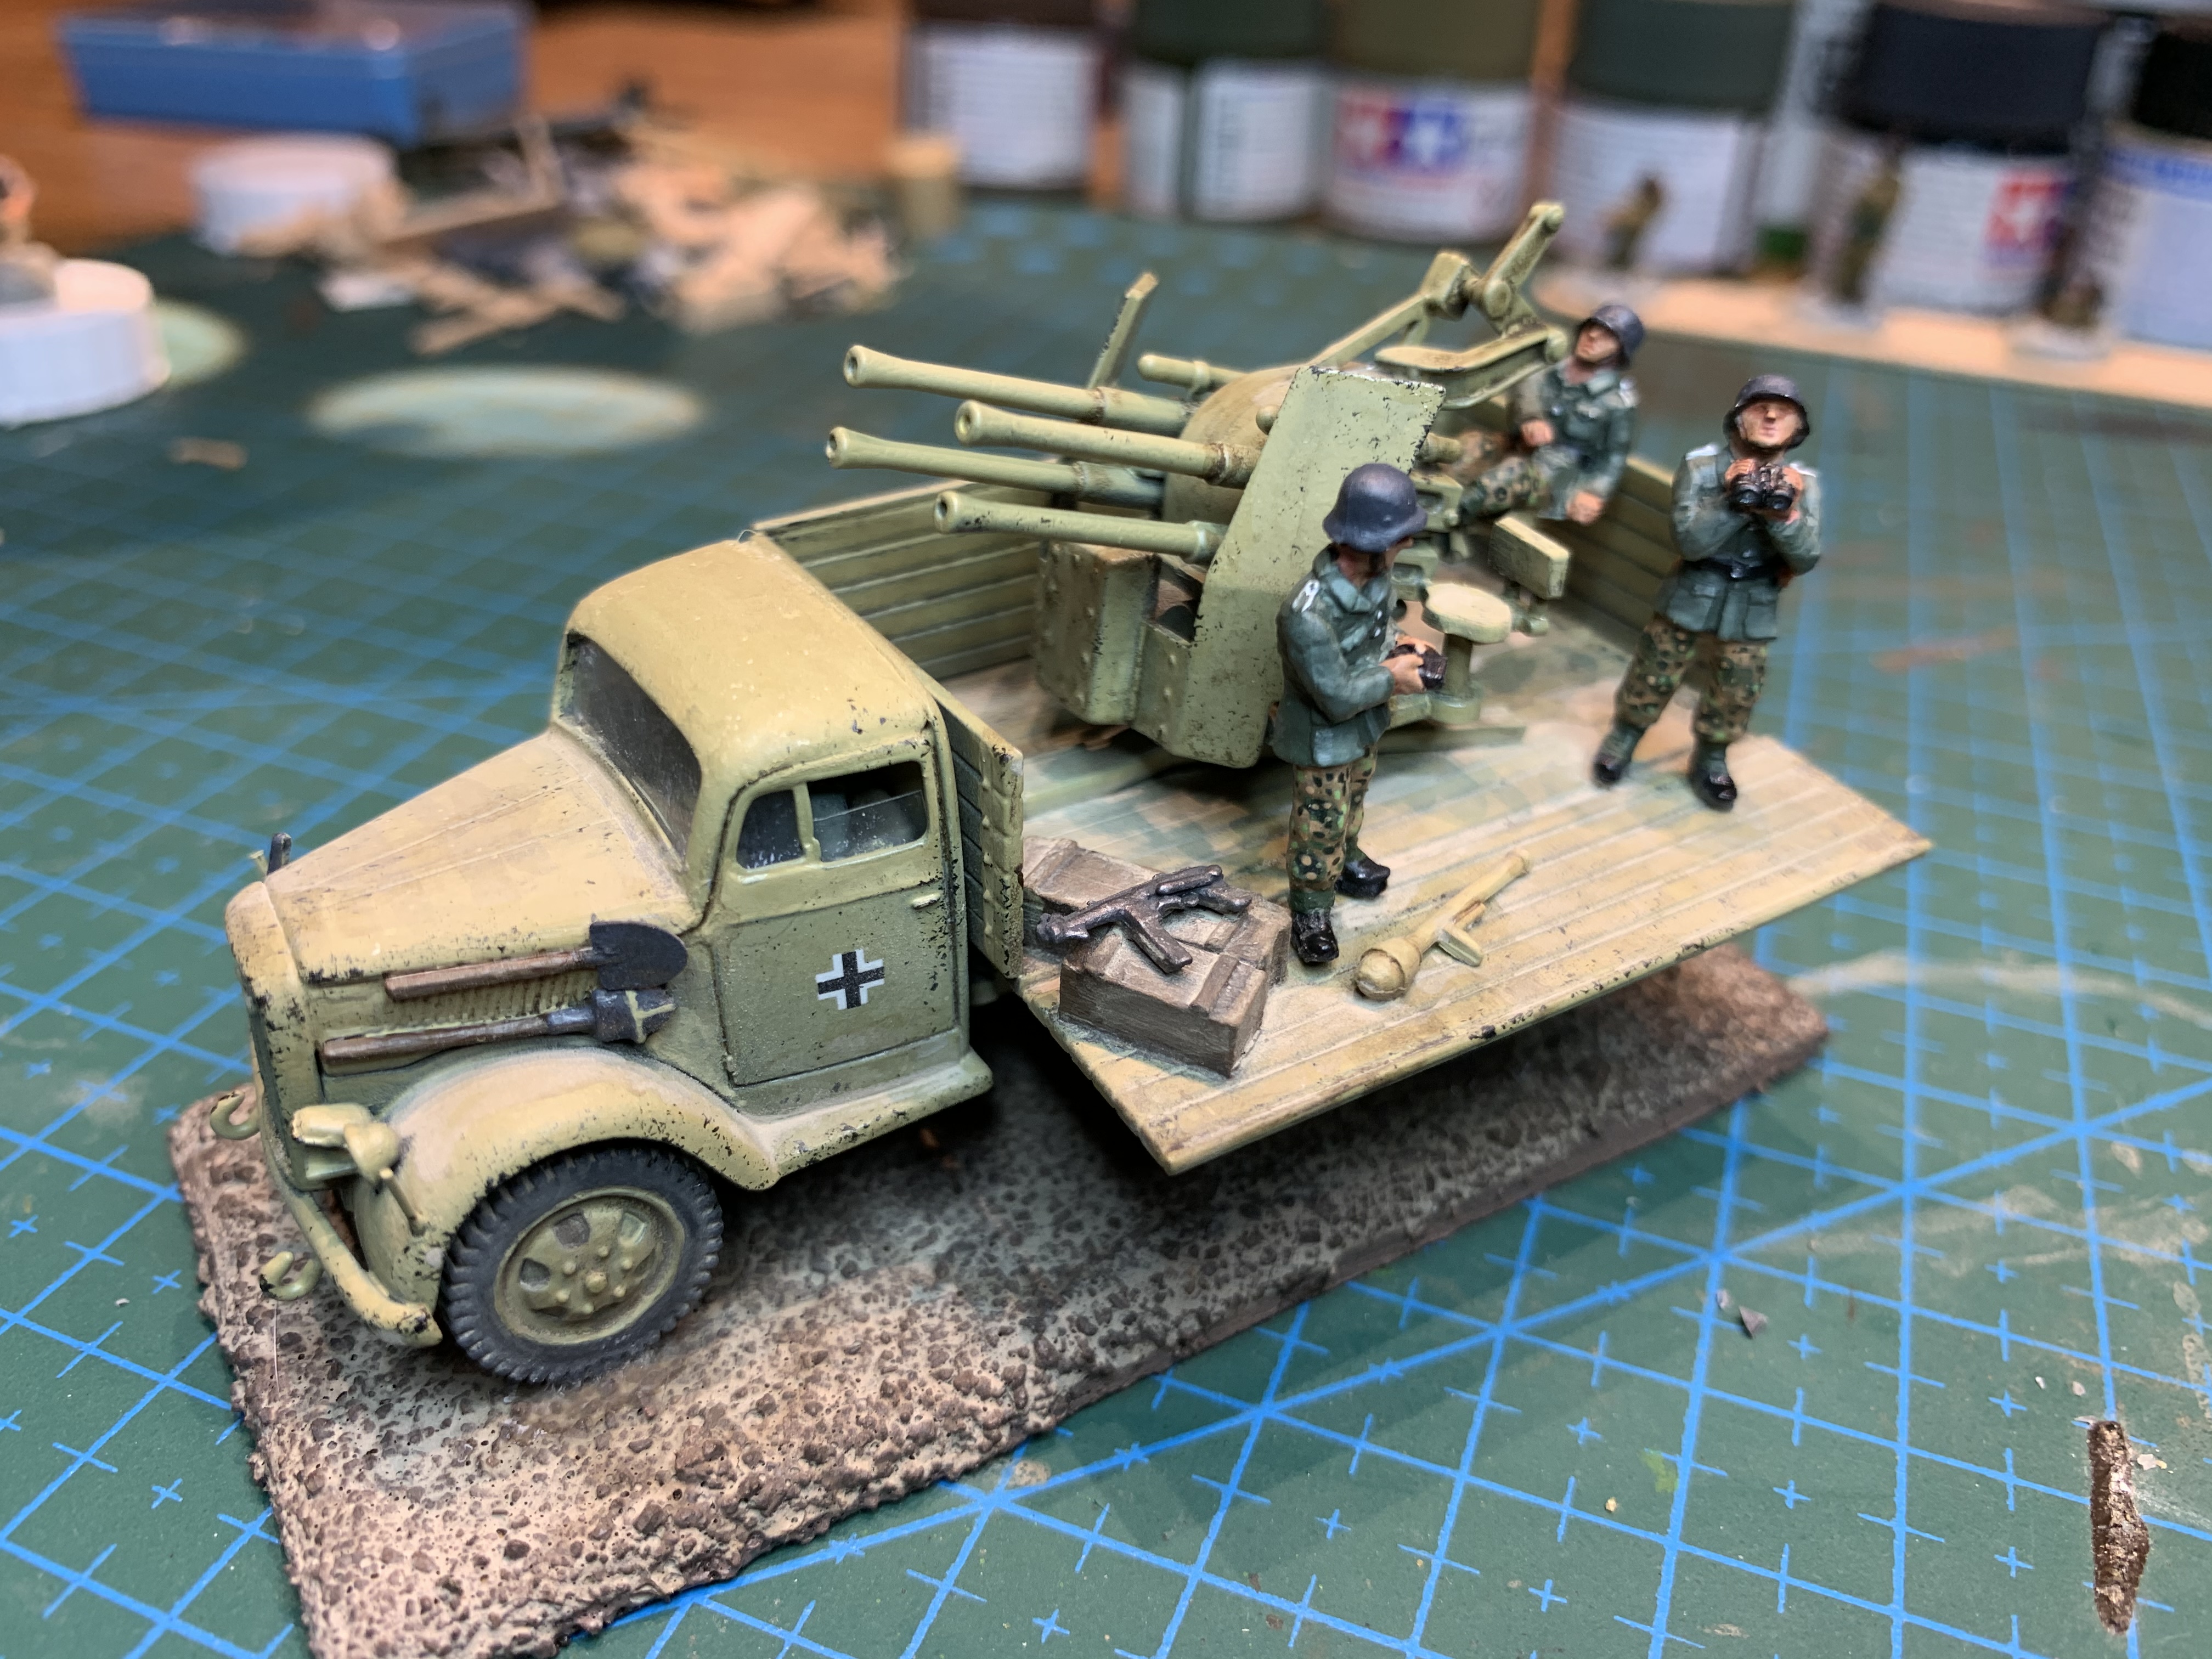
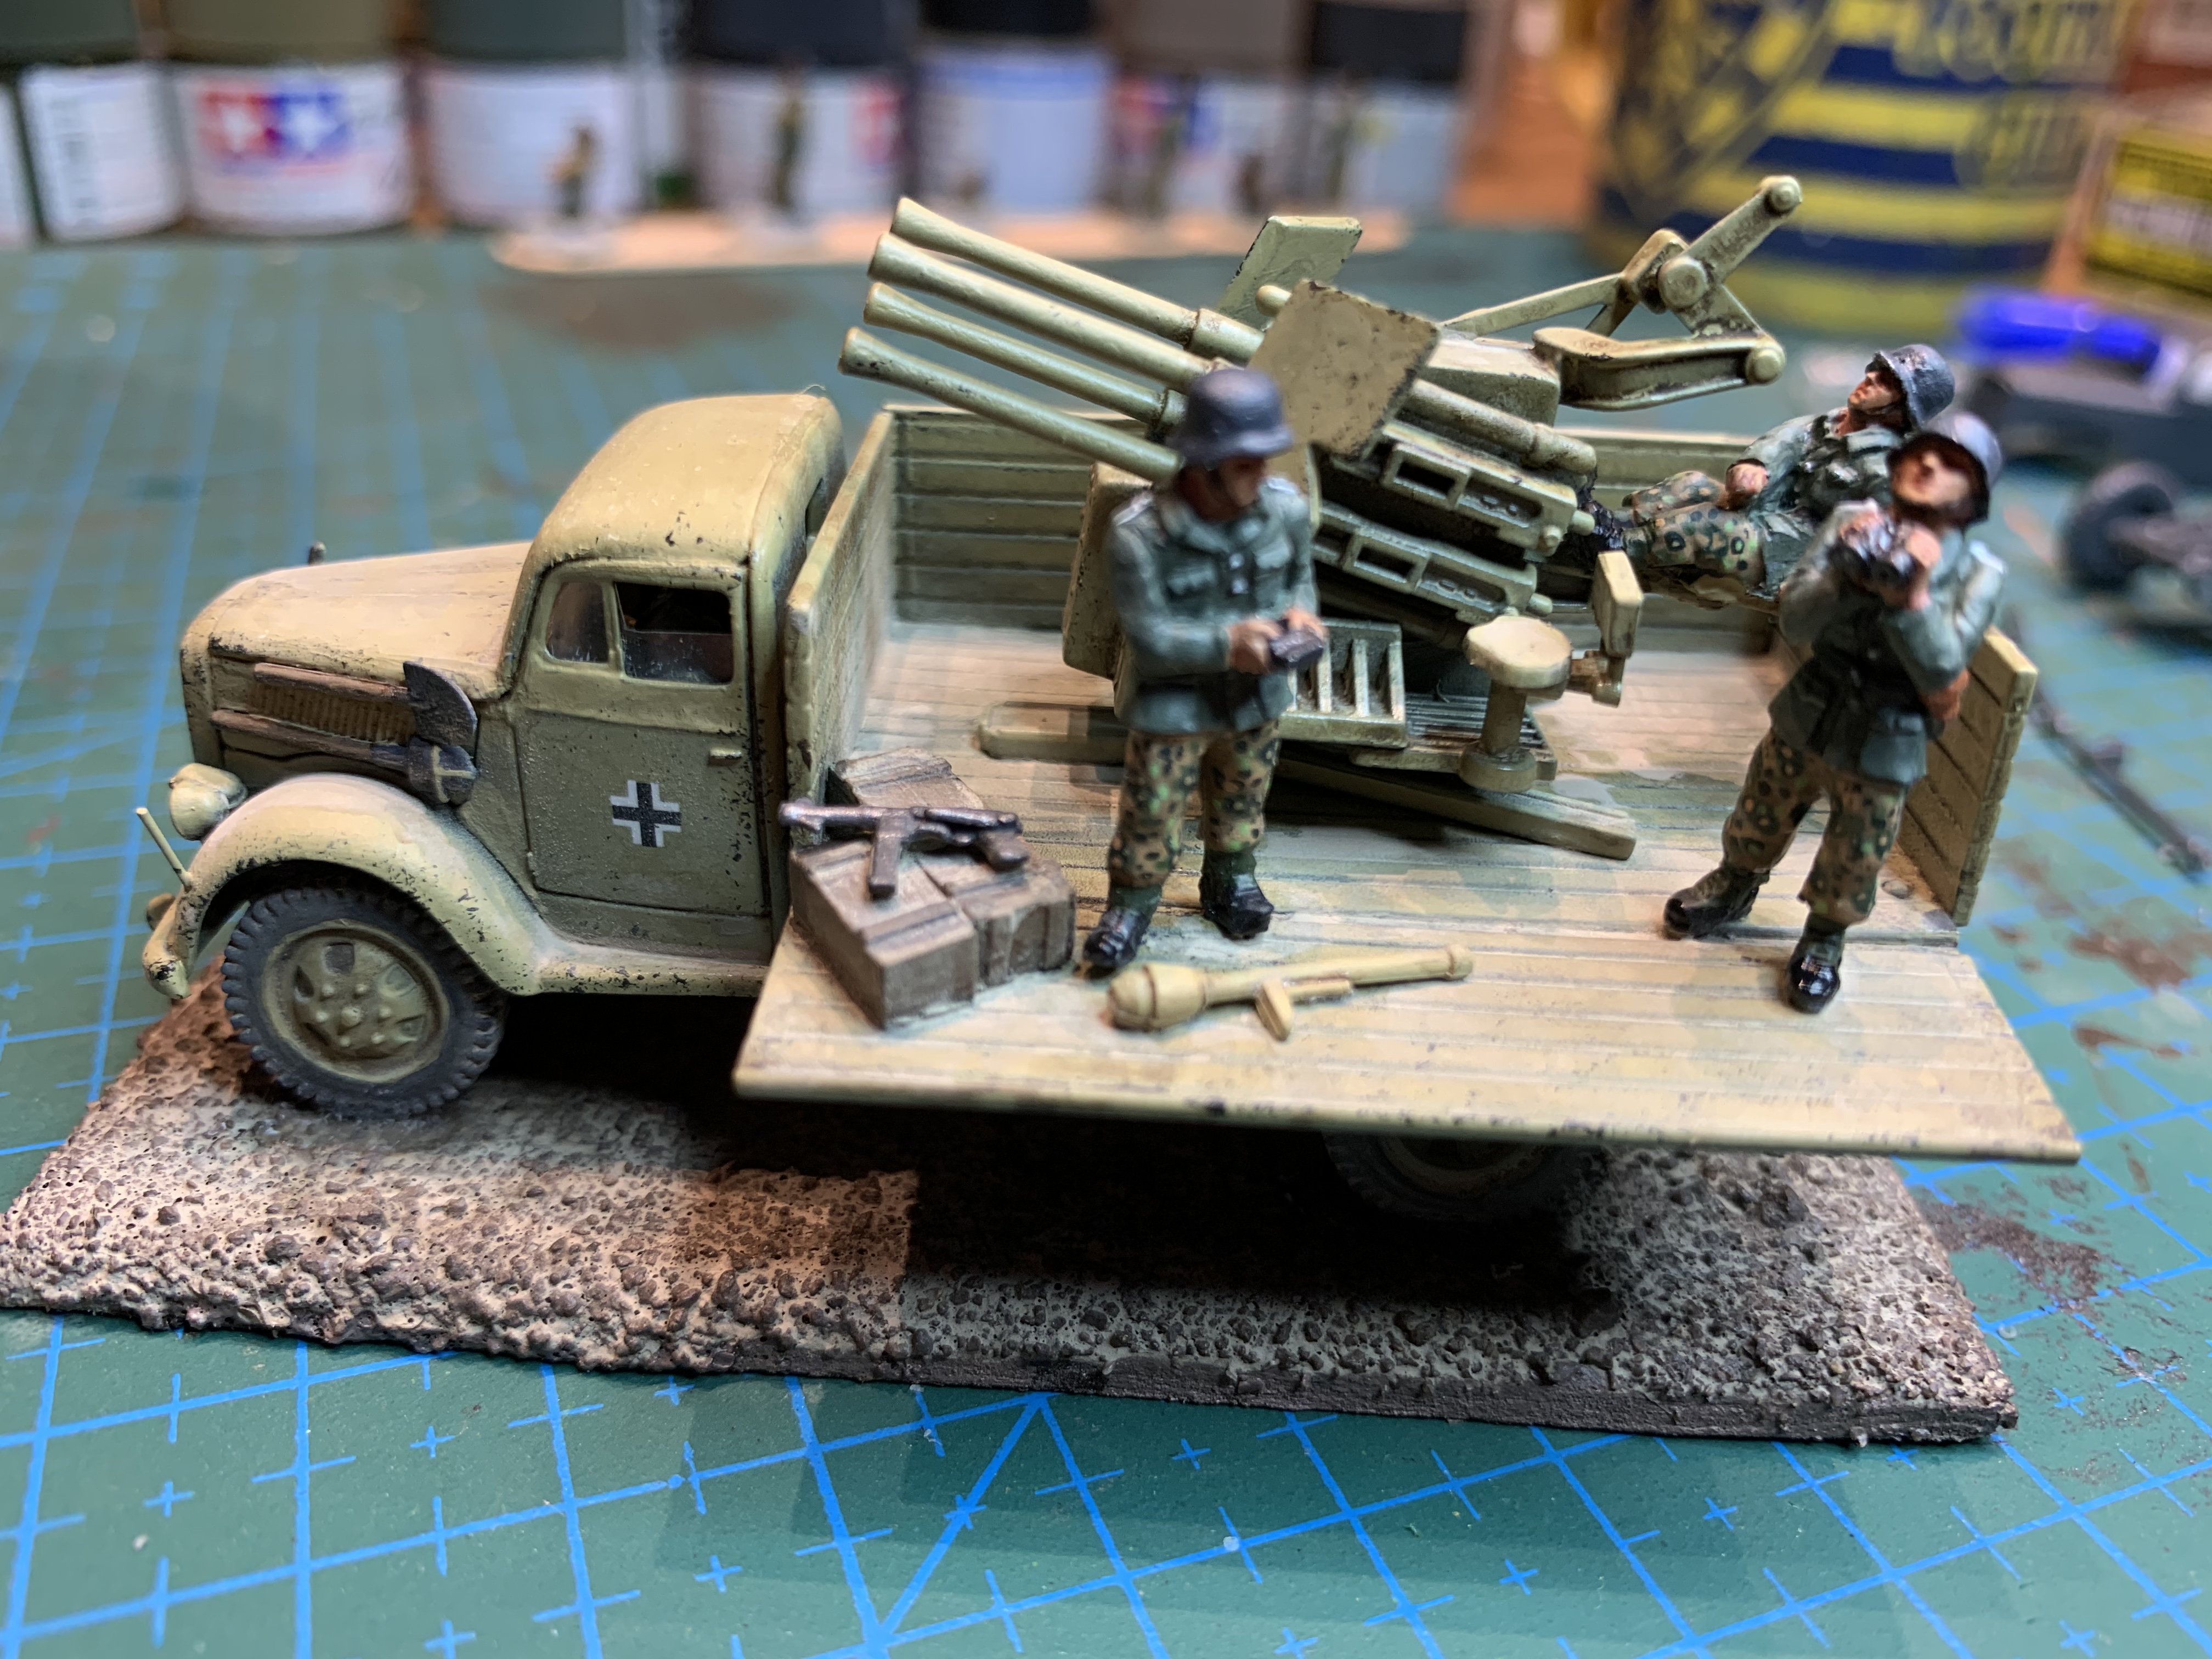
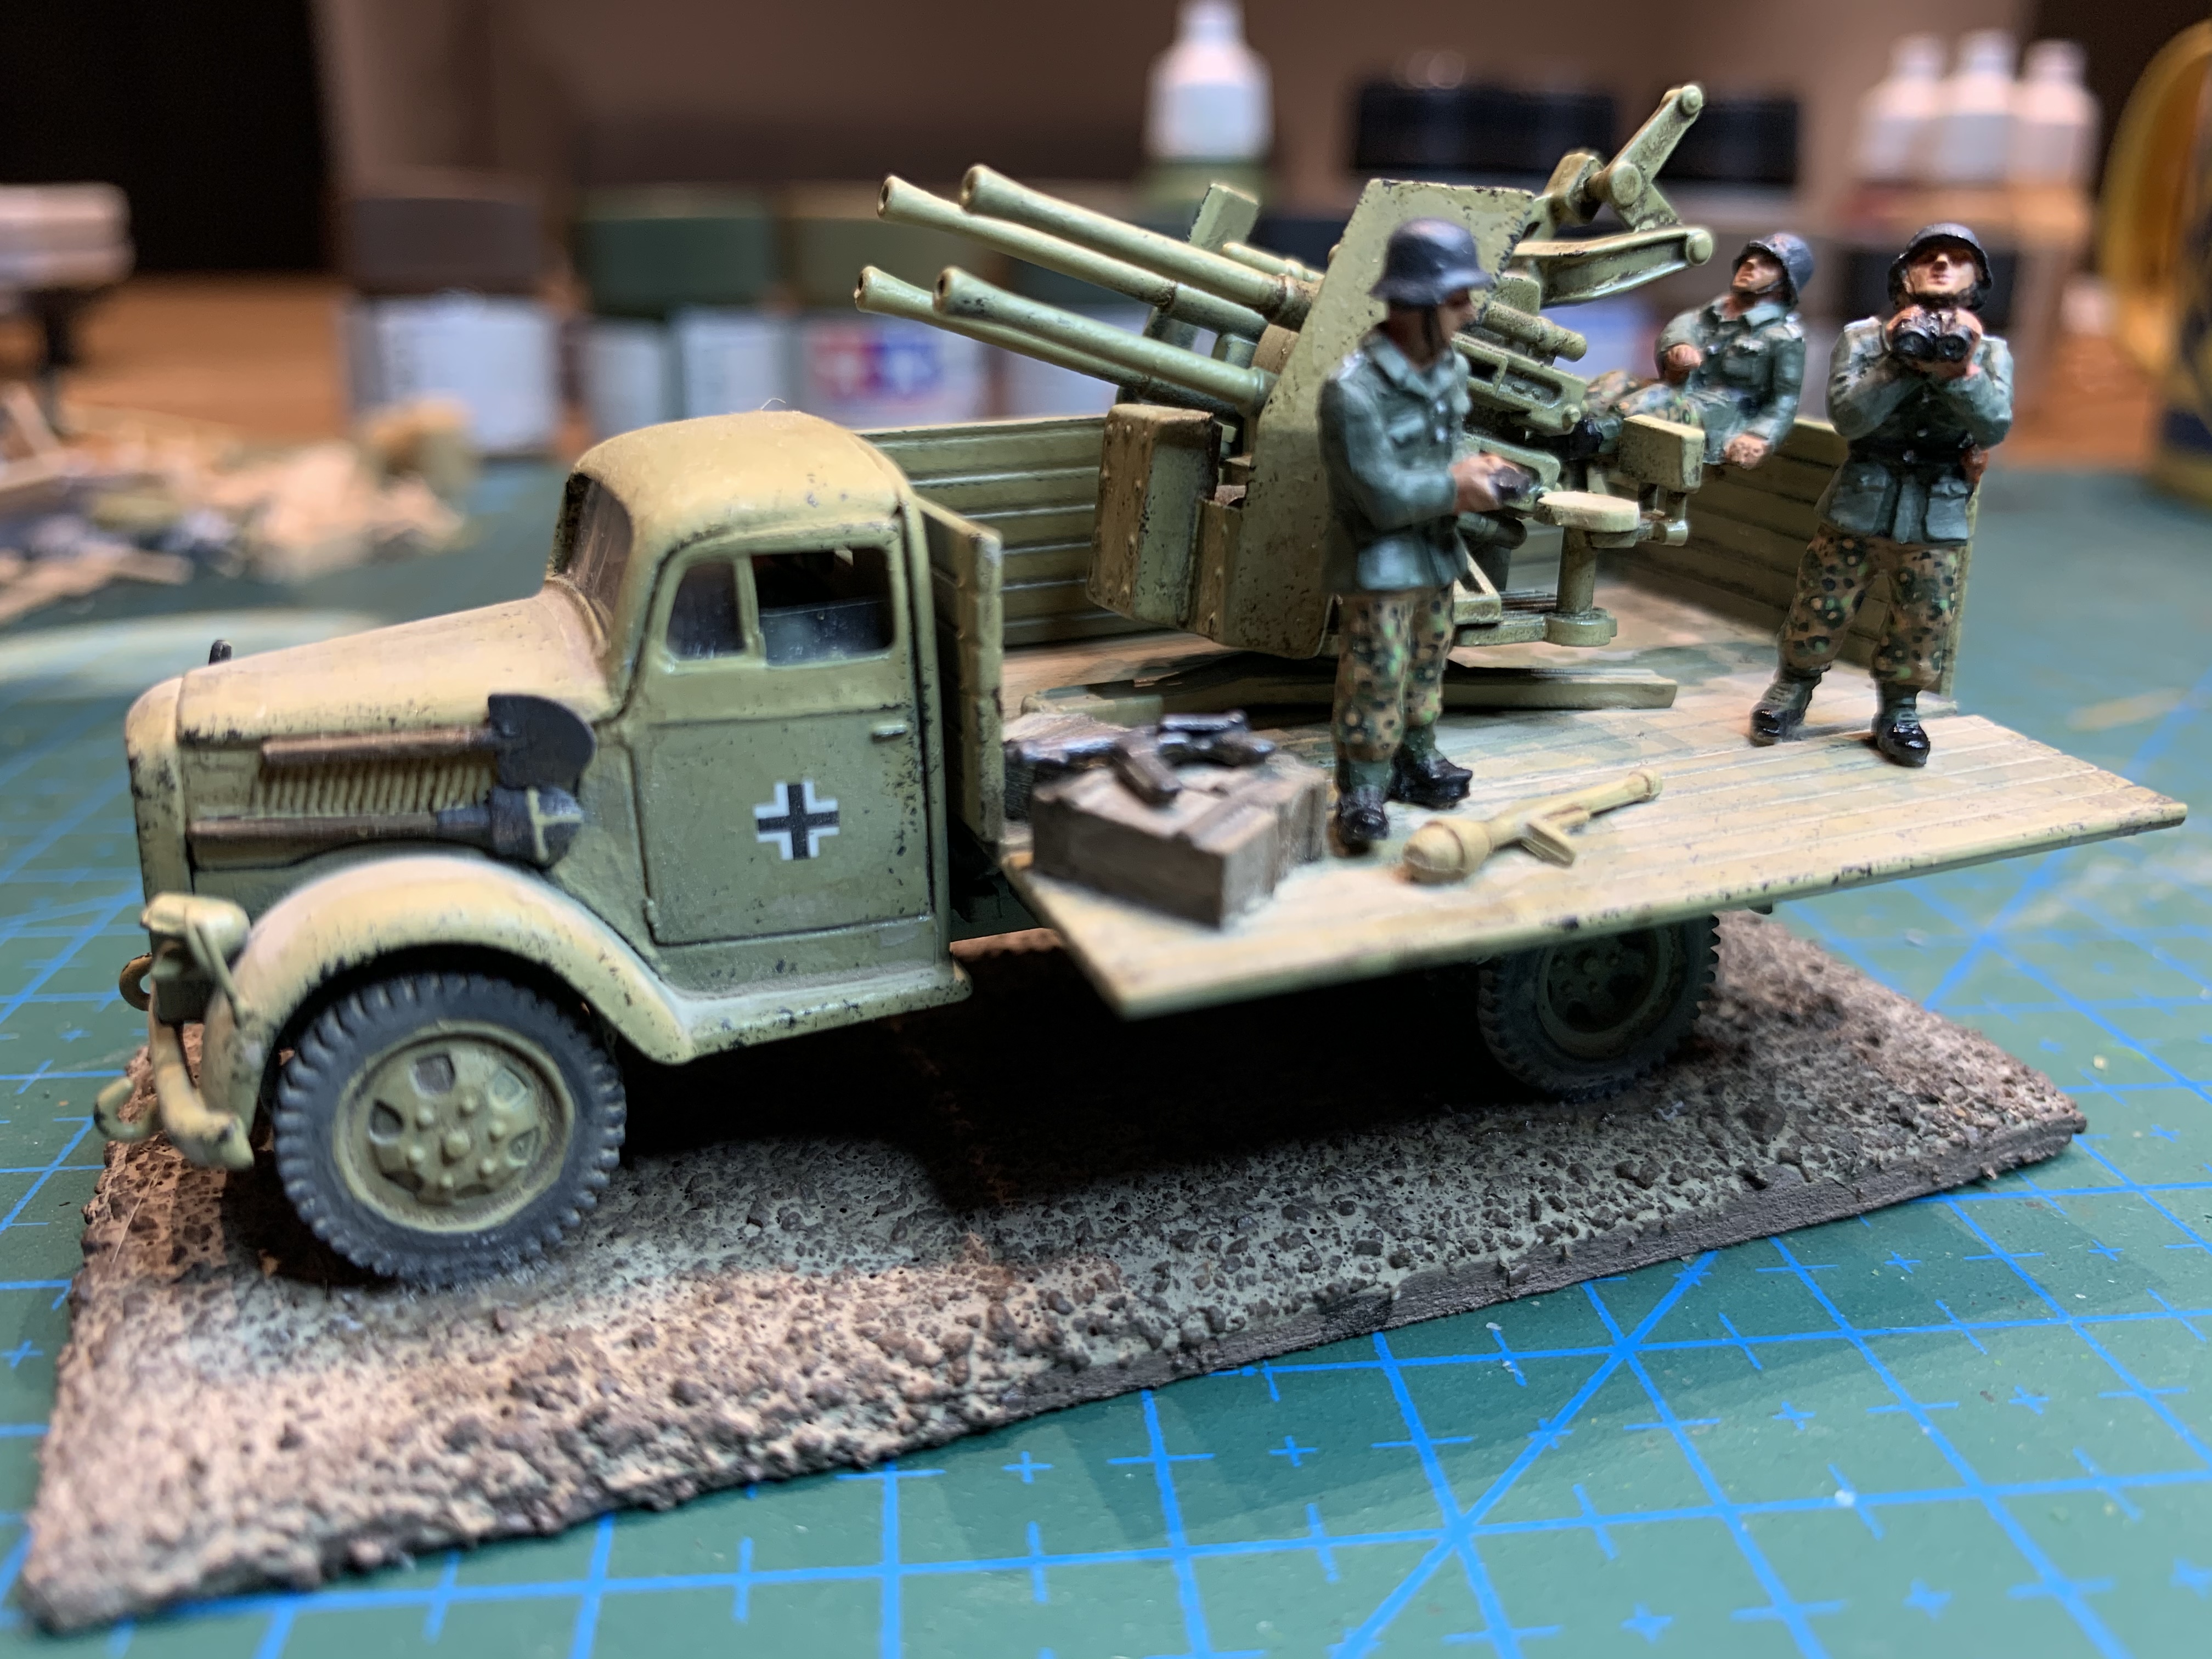
i made some adjustments mainly adding my own clear plastic windshield and also a driver who you cannot see anyway. I did manage to make a pigs ear of attaching the bonnet and had to cover my error with an extra shovel. Looks OK for a cover up. I decided the crew were setting up ready for action so i only dropped one side of the back. The decals came from my pile of spares. The crew are the excellent AB figures who i gave field grey jackets and pea dot camo pants. I did have to remove the back seat of the flak gun as the seated AB dude had his seat welded to his backside. I added a box or two, a panzerfaust and an SMG for some extra protection.
It’s my first bit of anti aircraft equipment for the Germans, but not the last as i have a heap of MACO kits i am saving up for a rainy day!
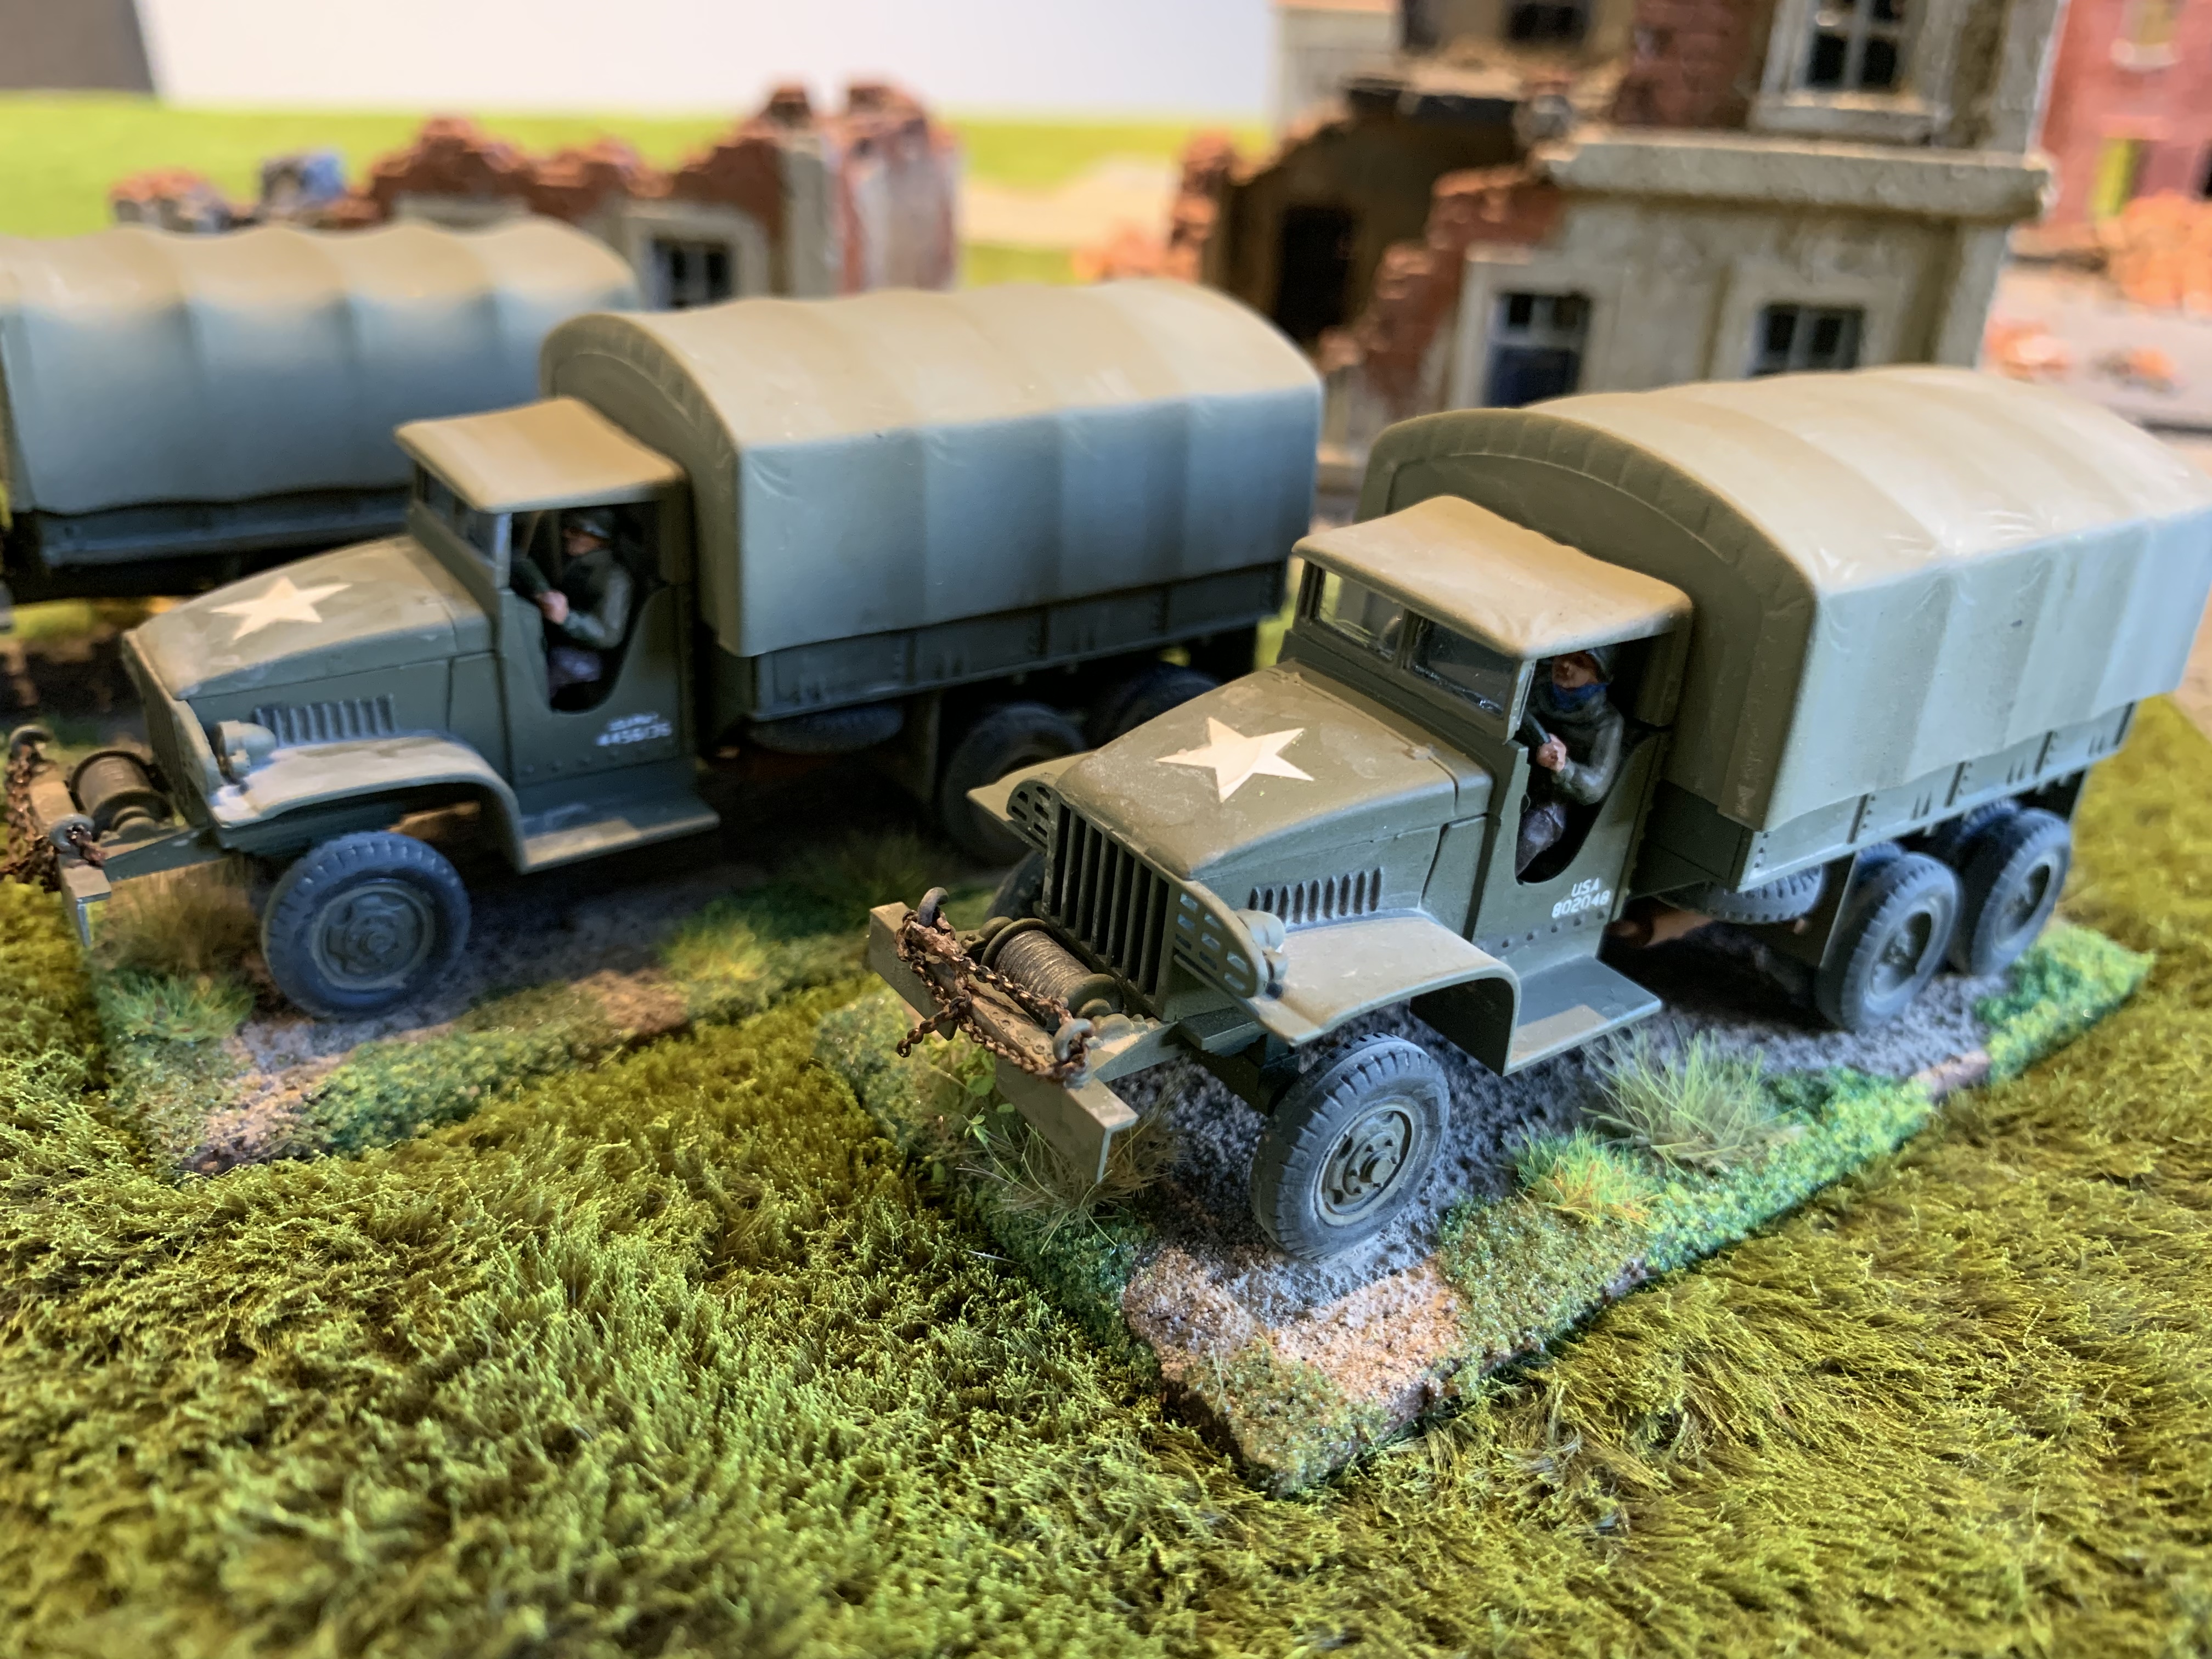
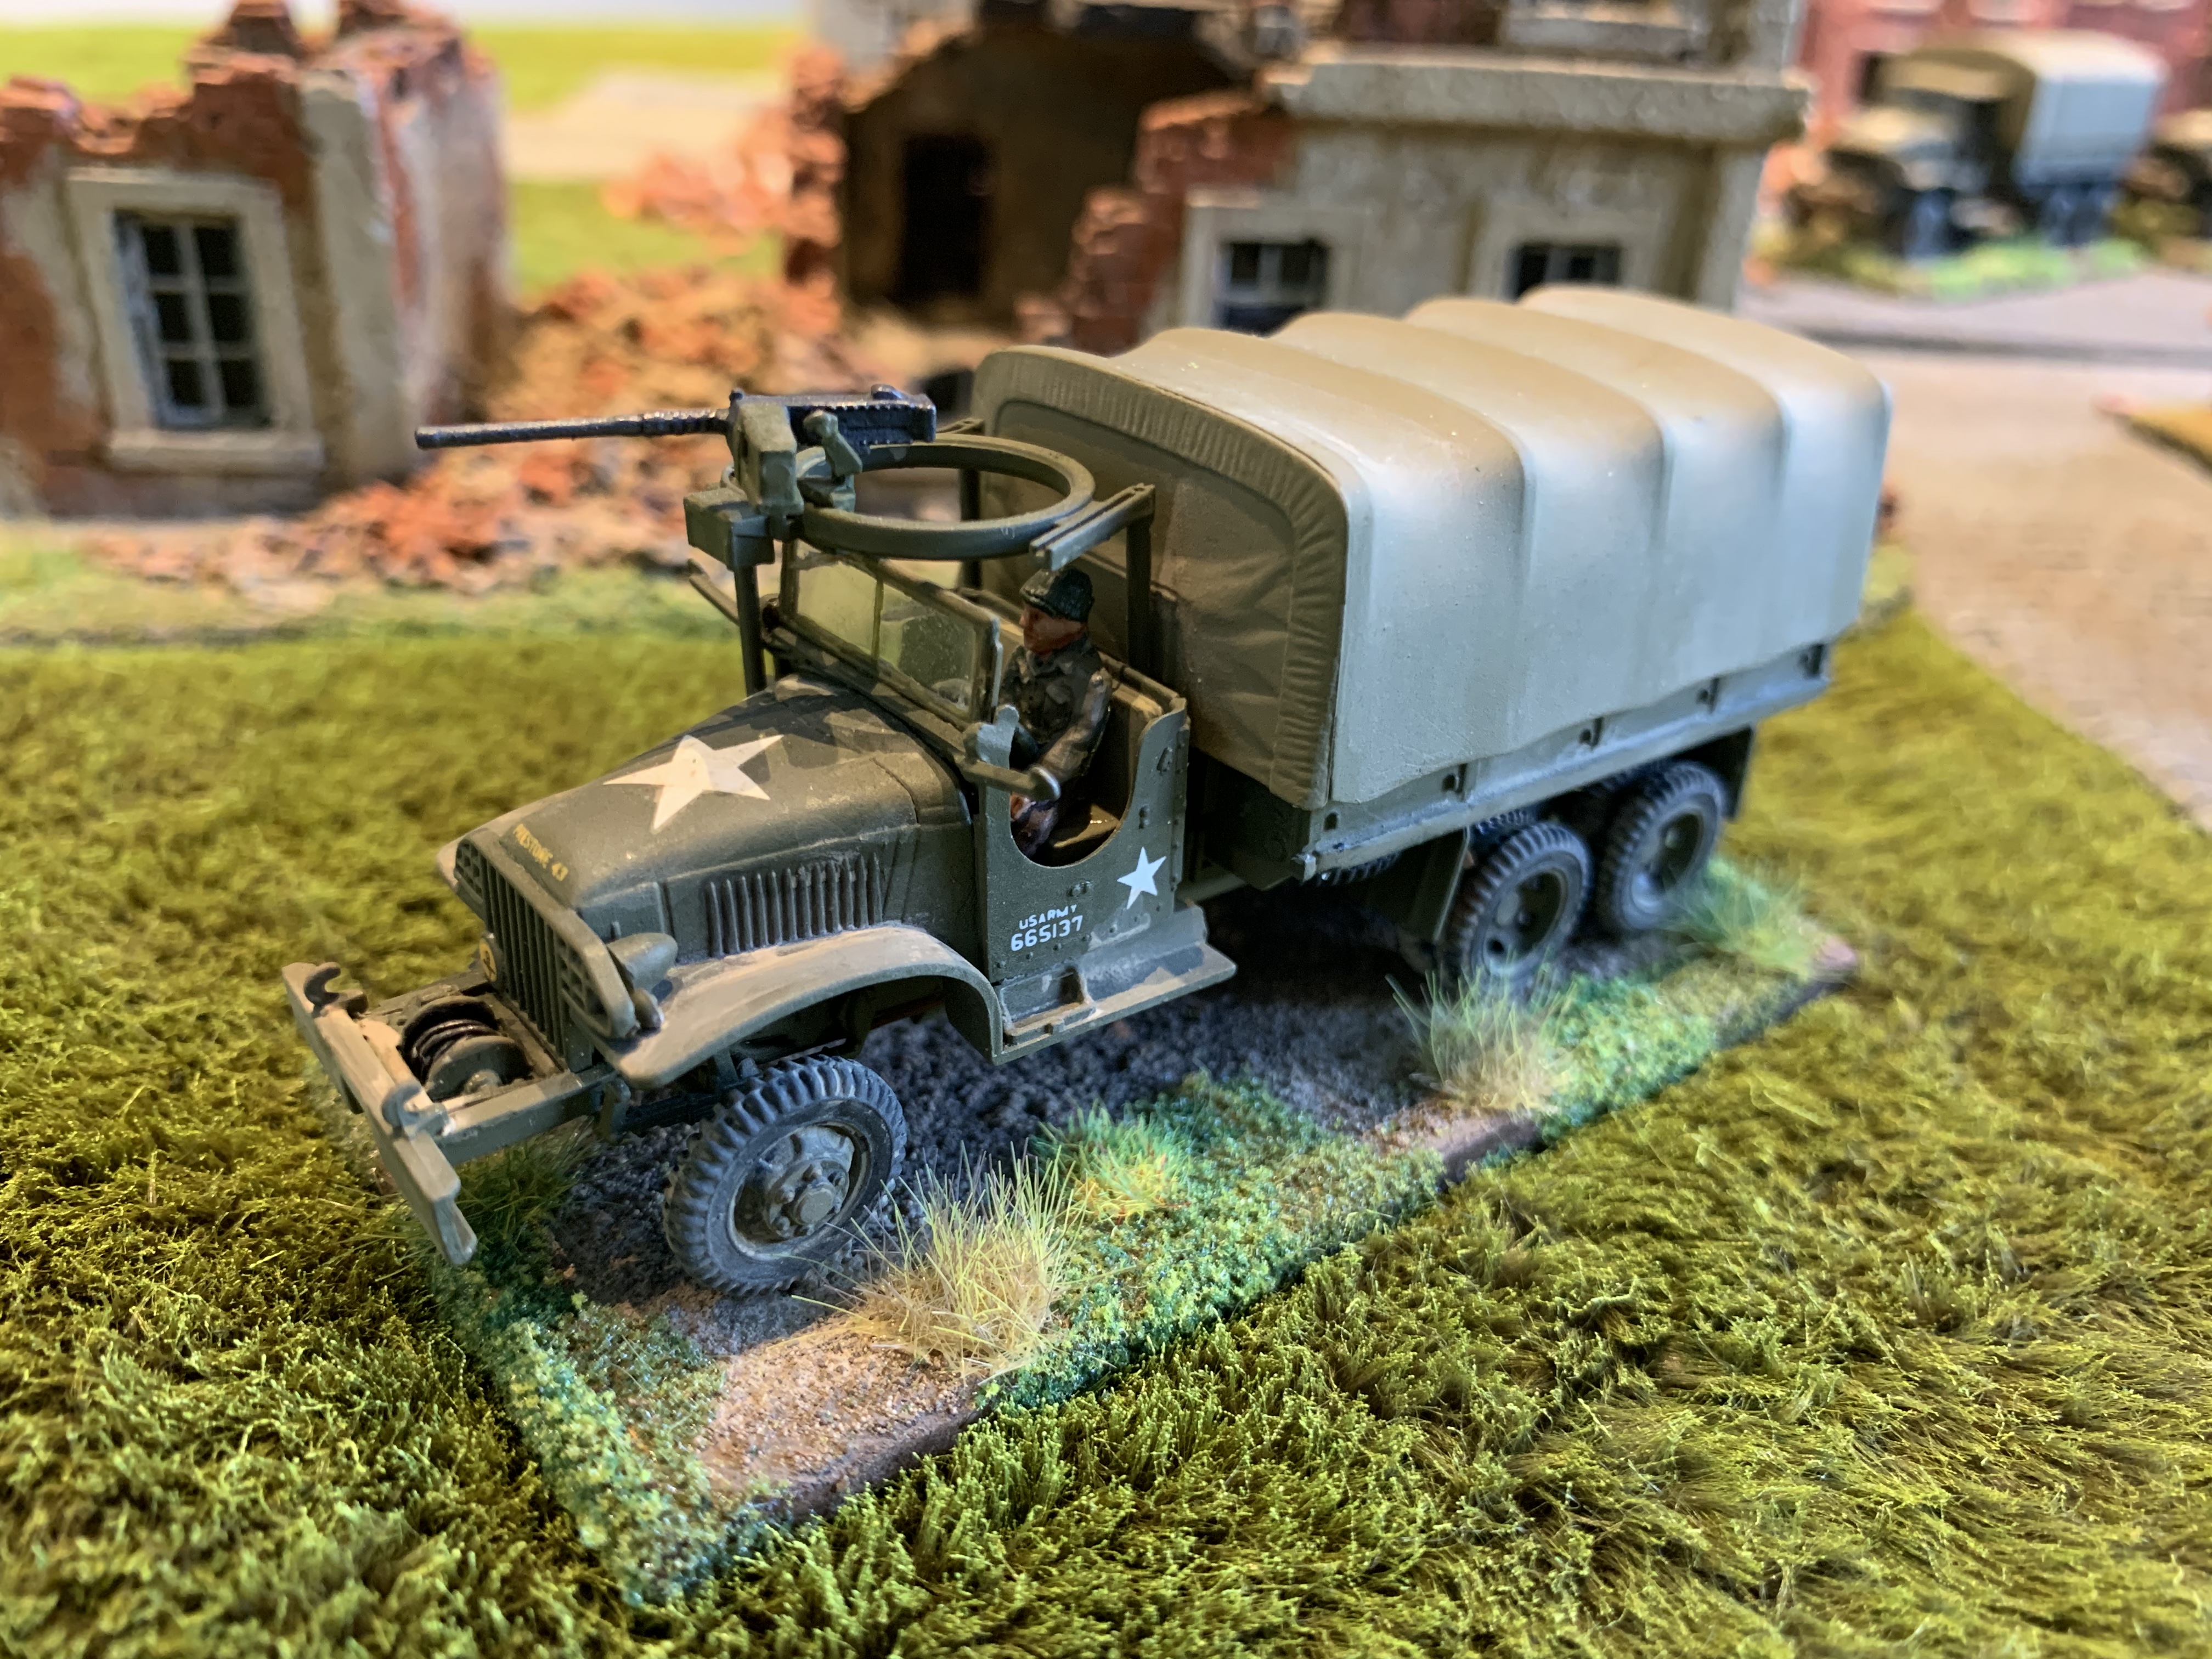
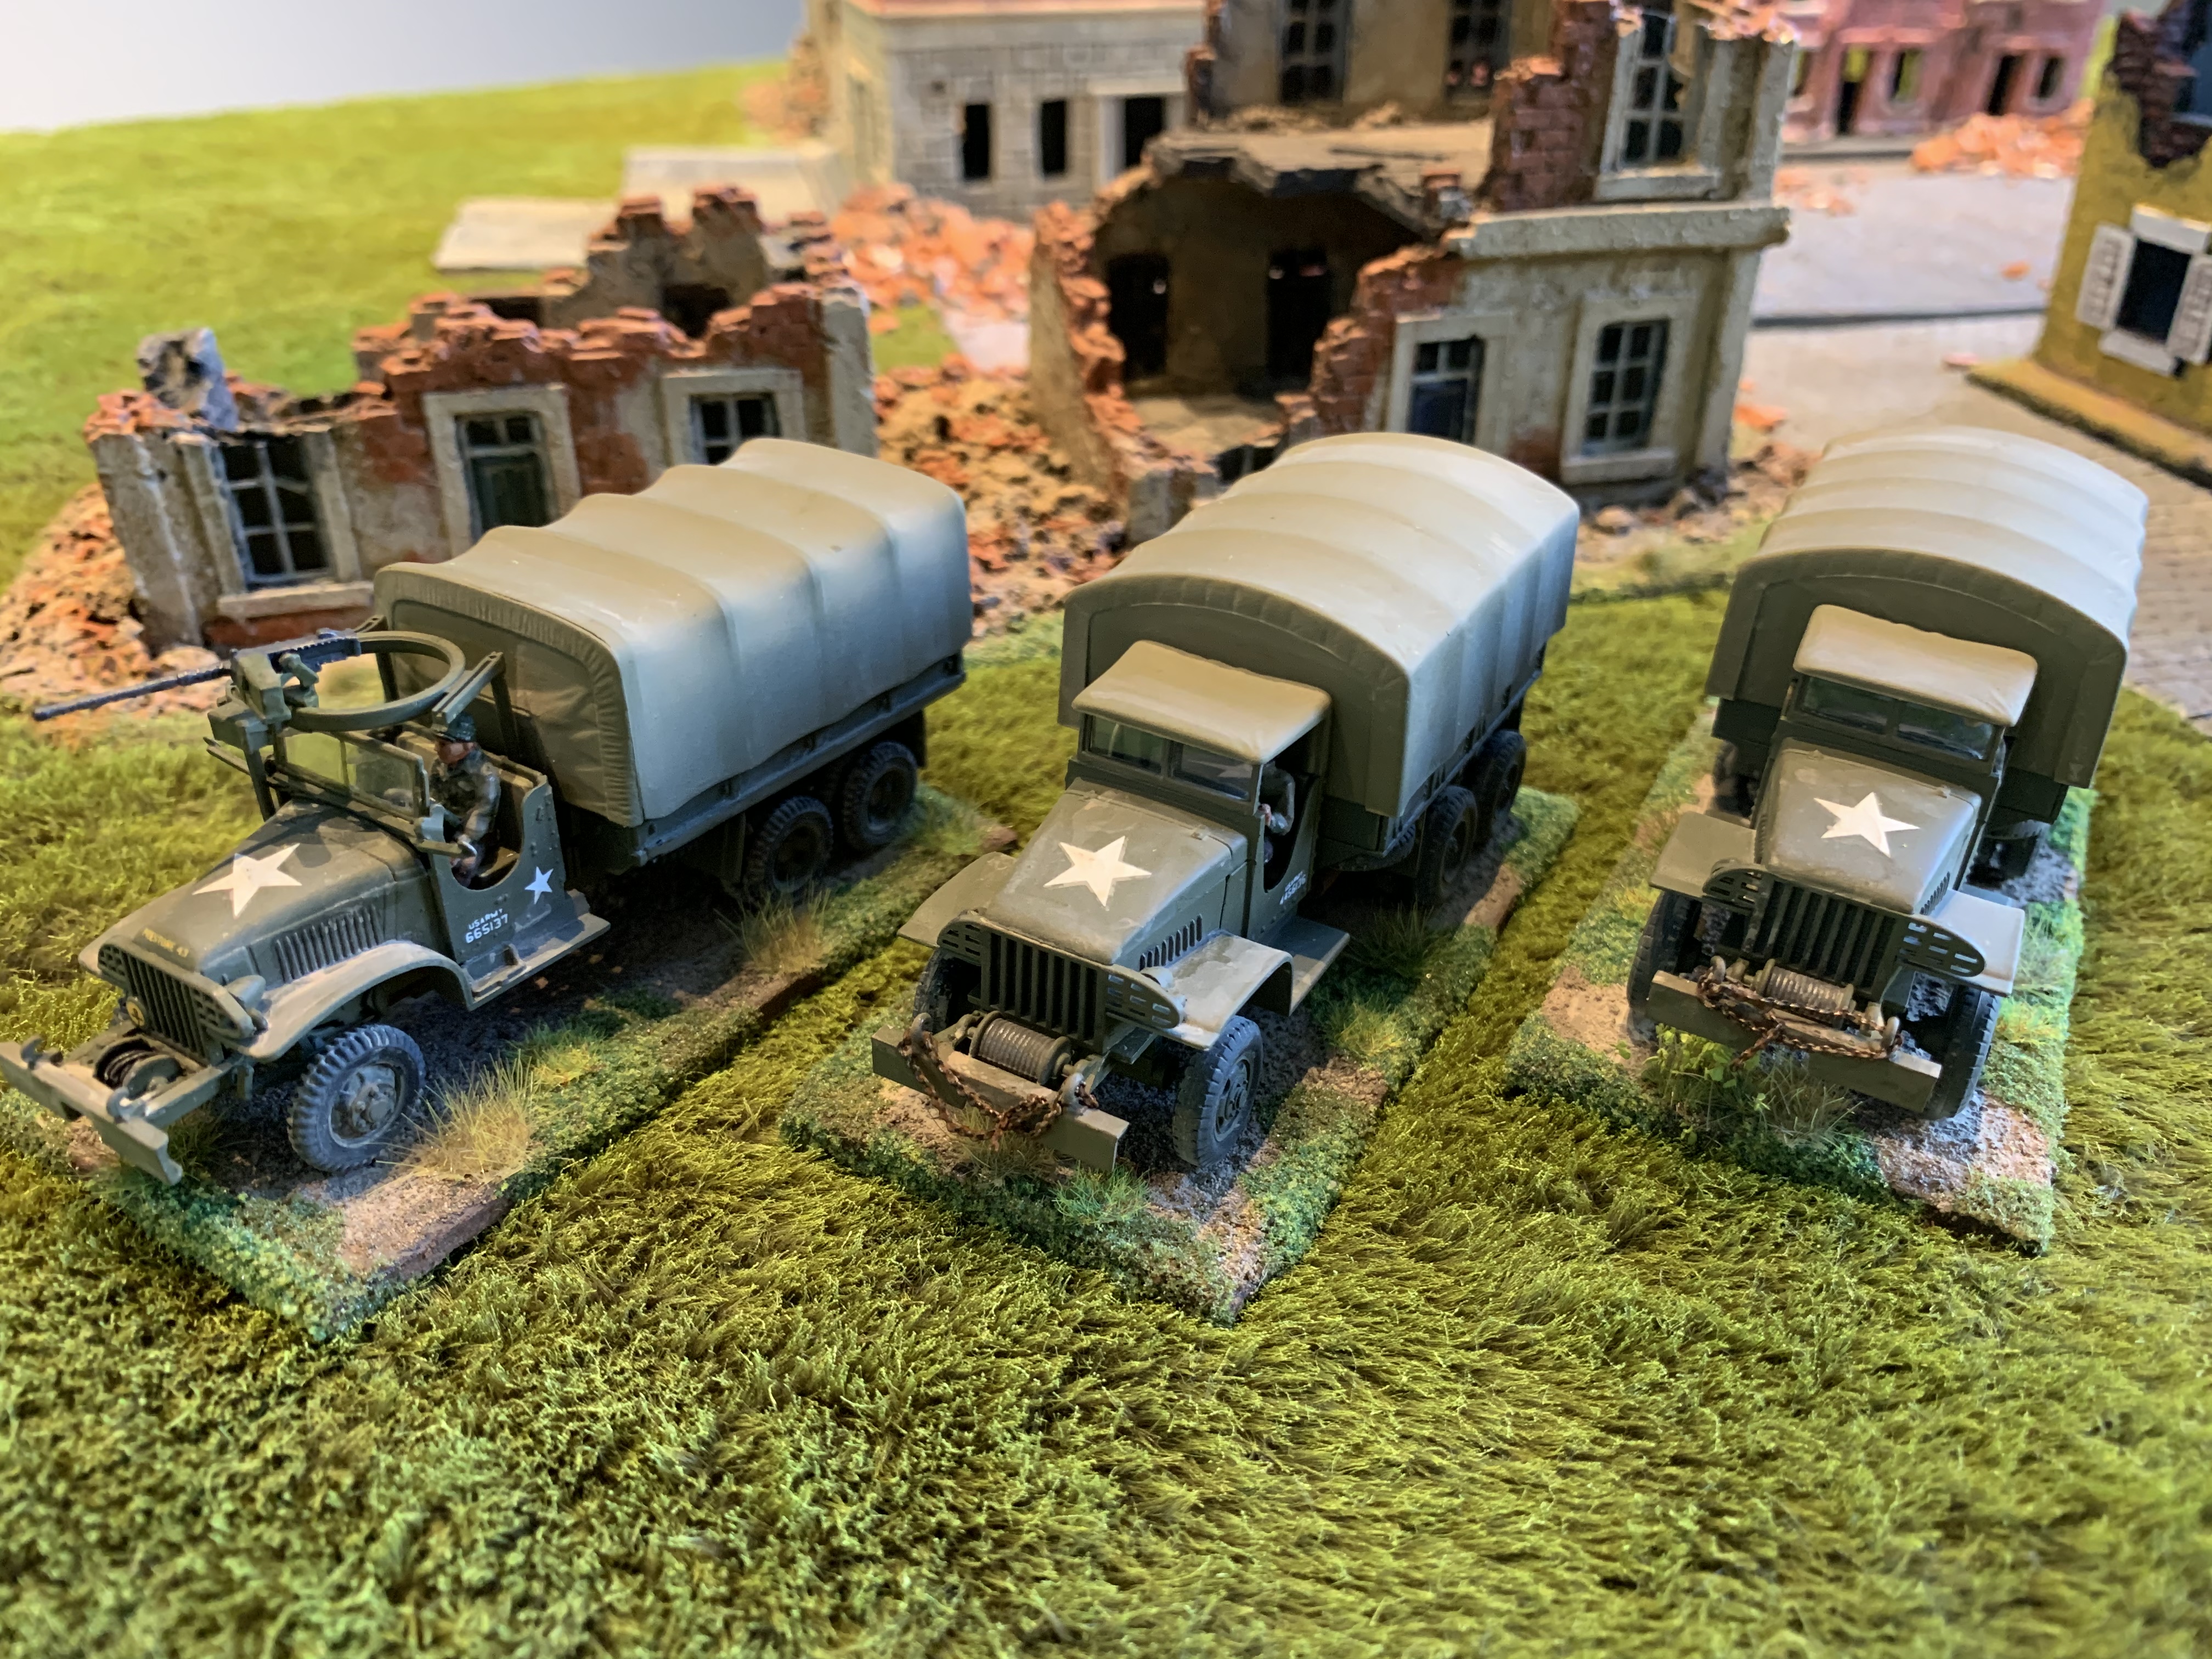
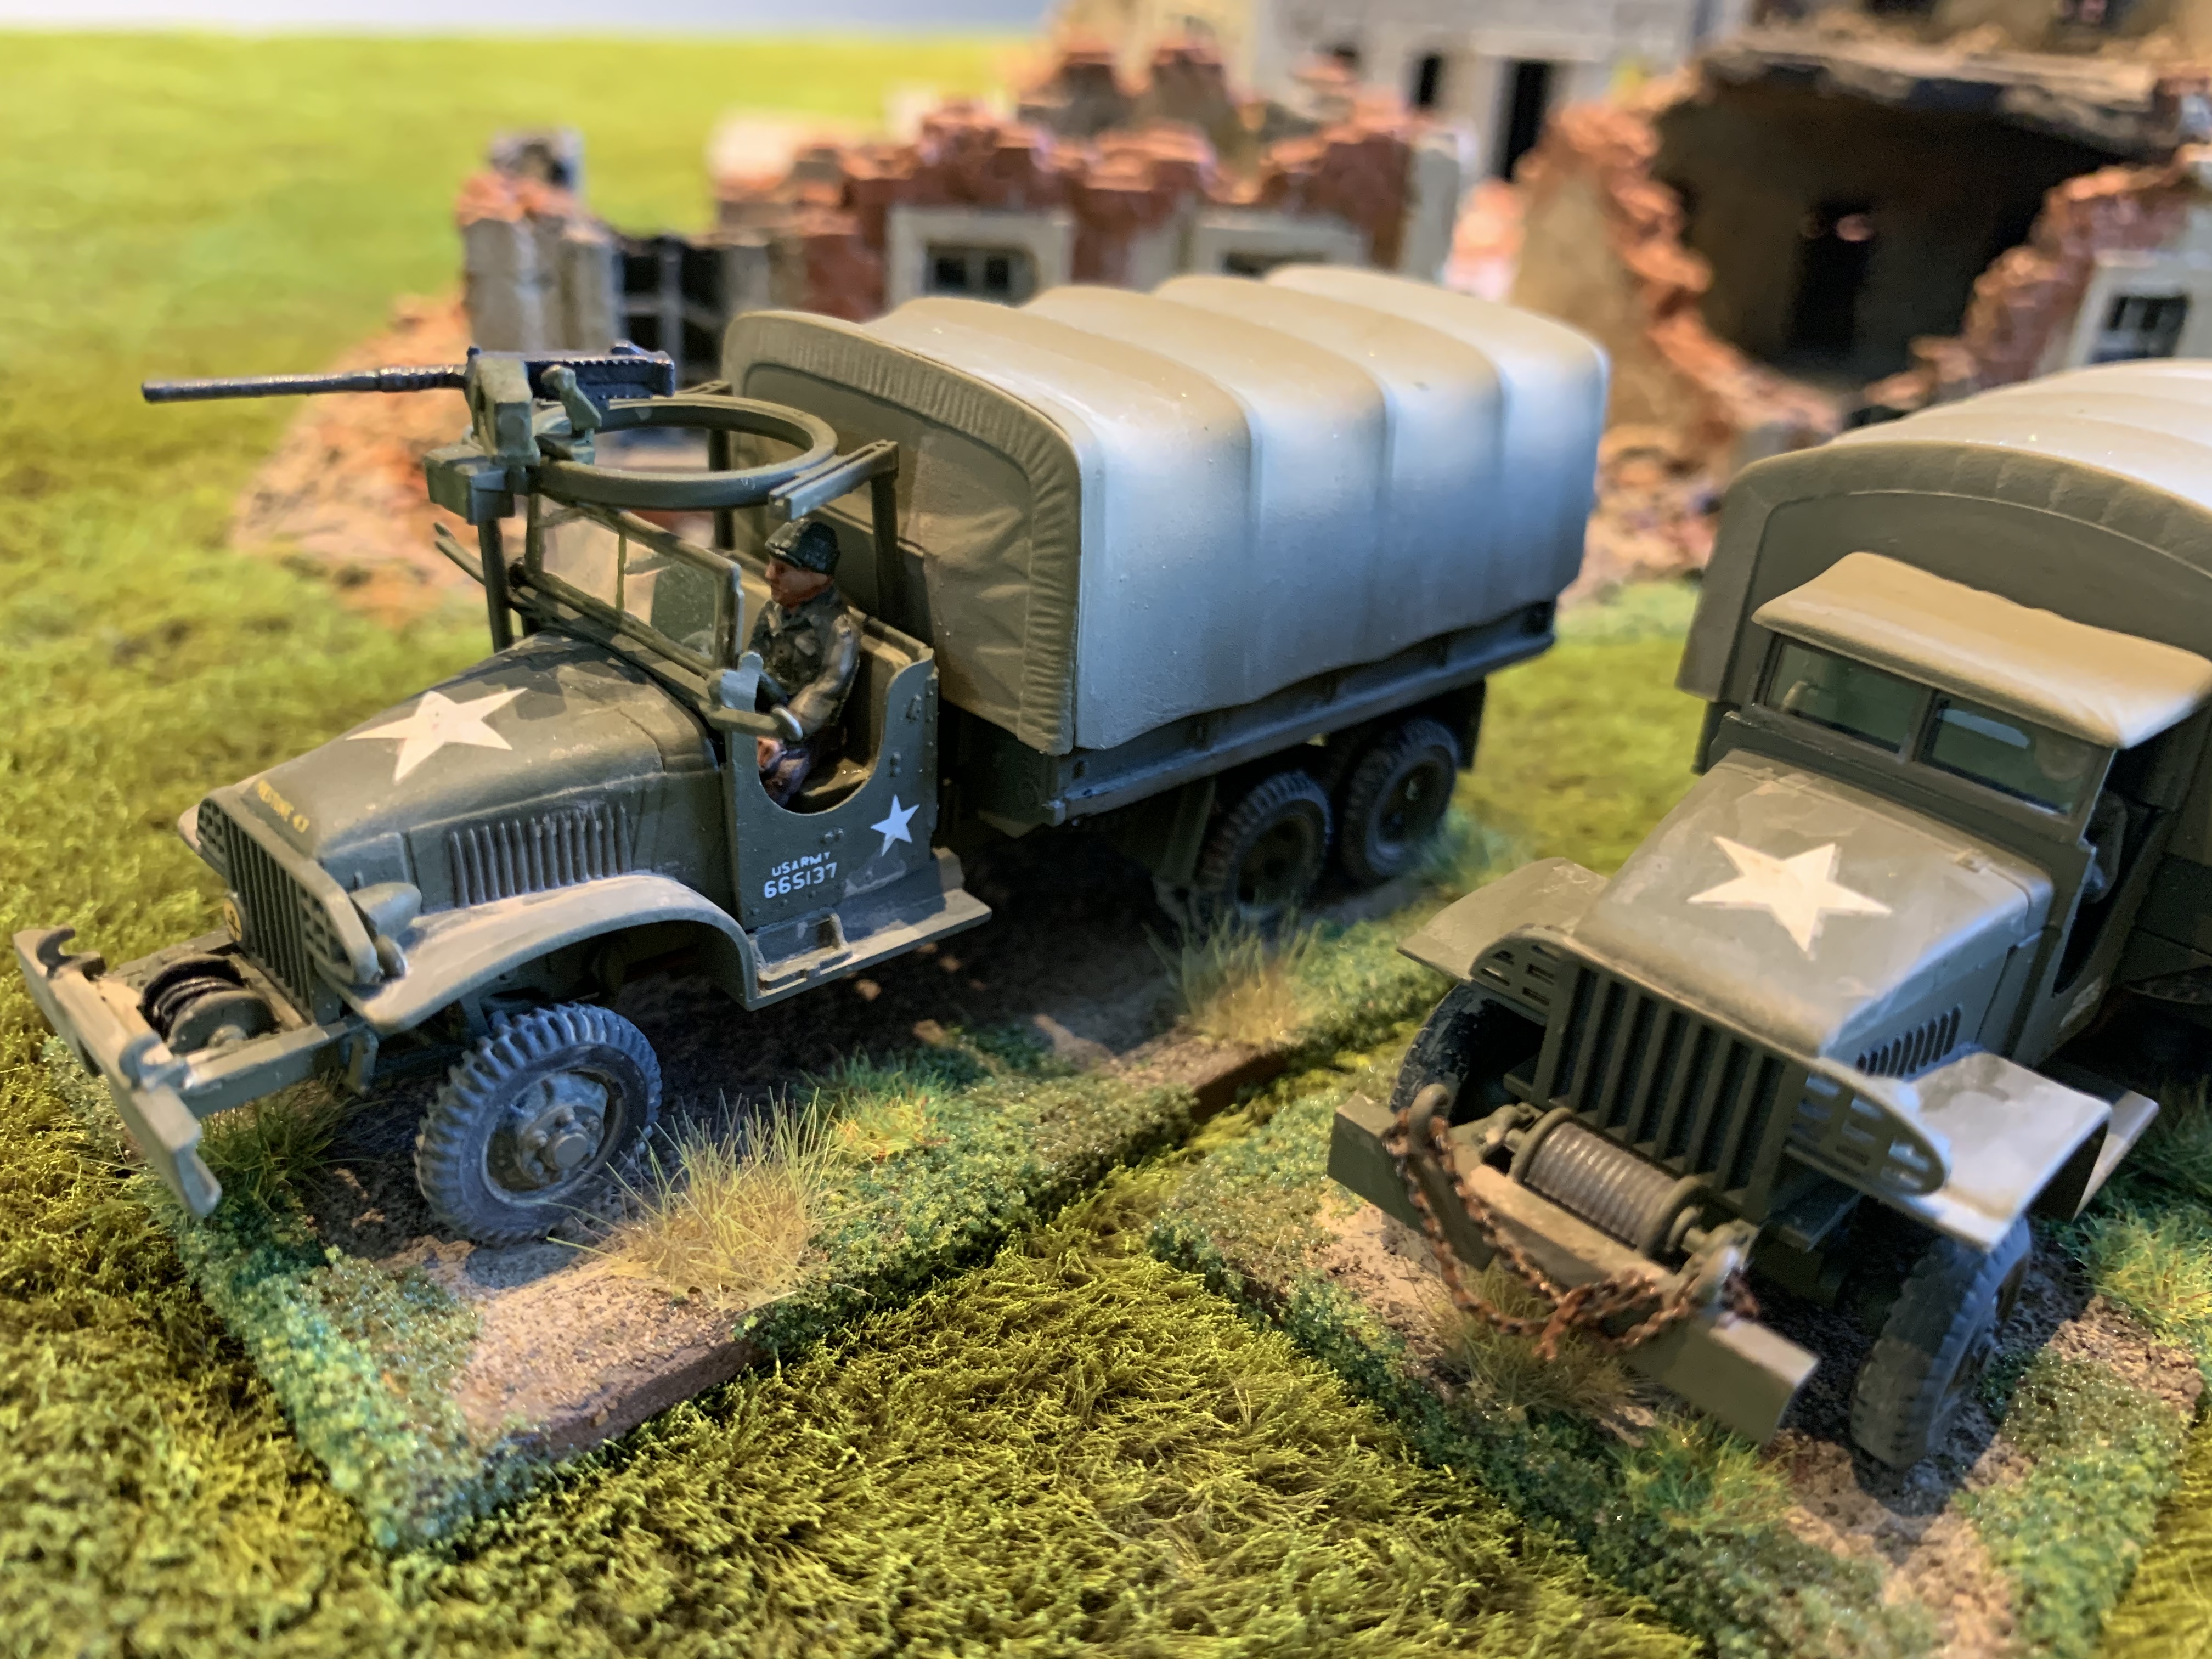
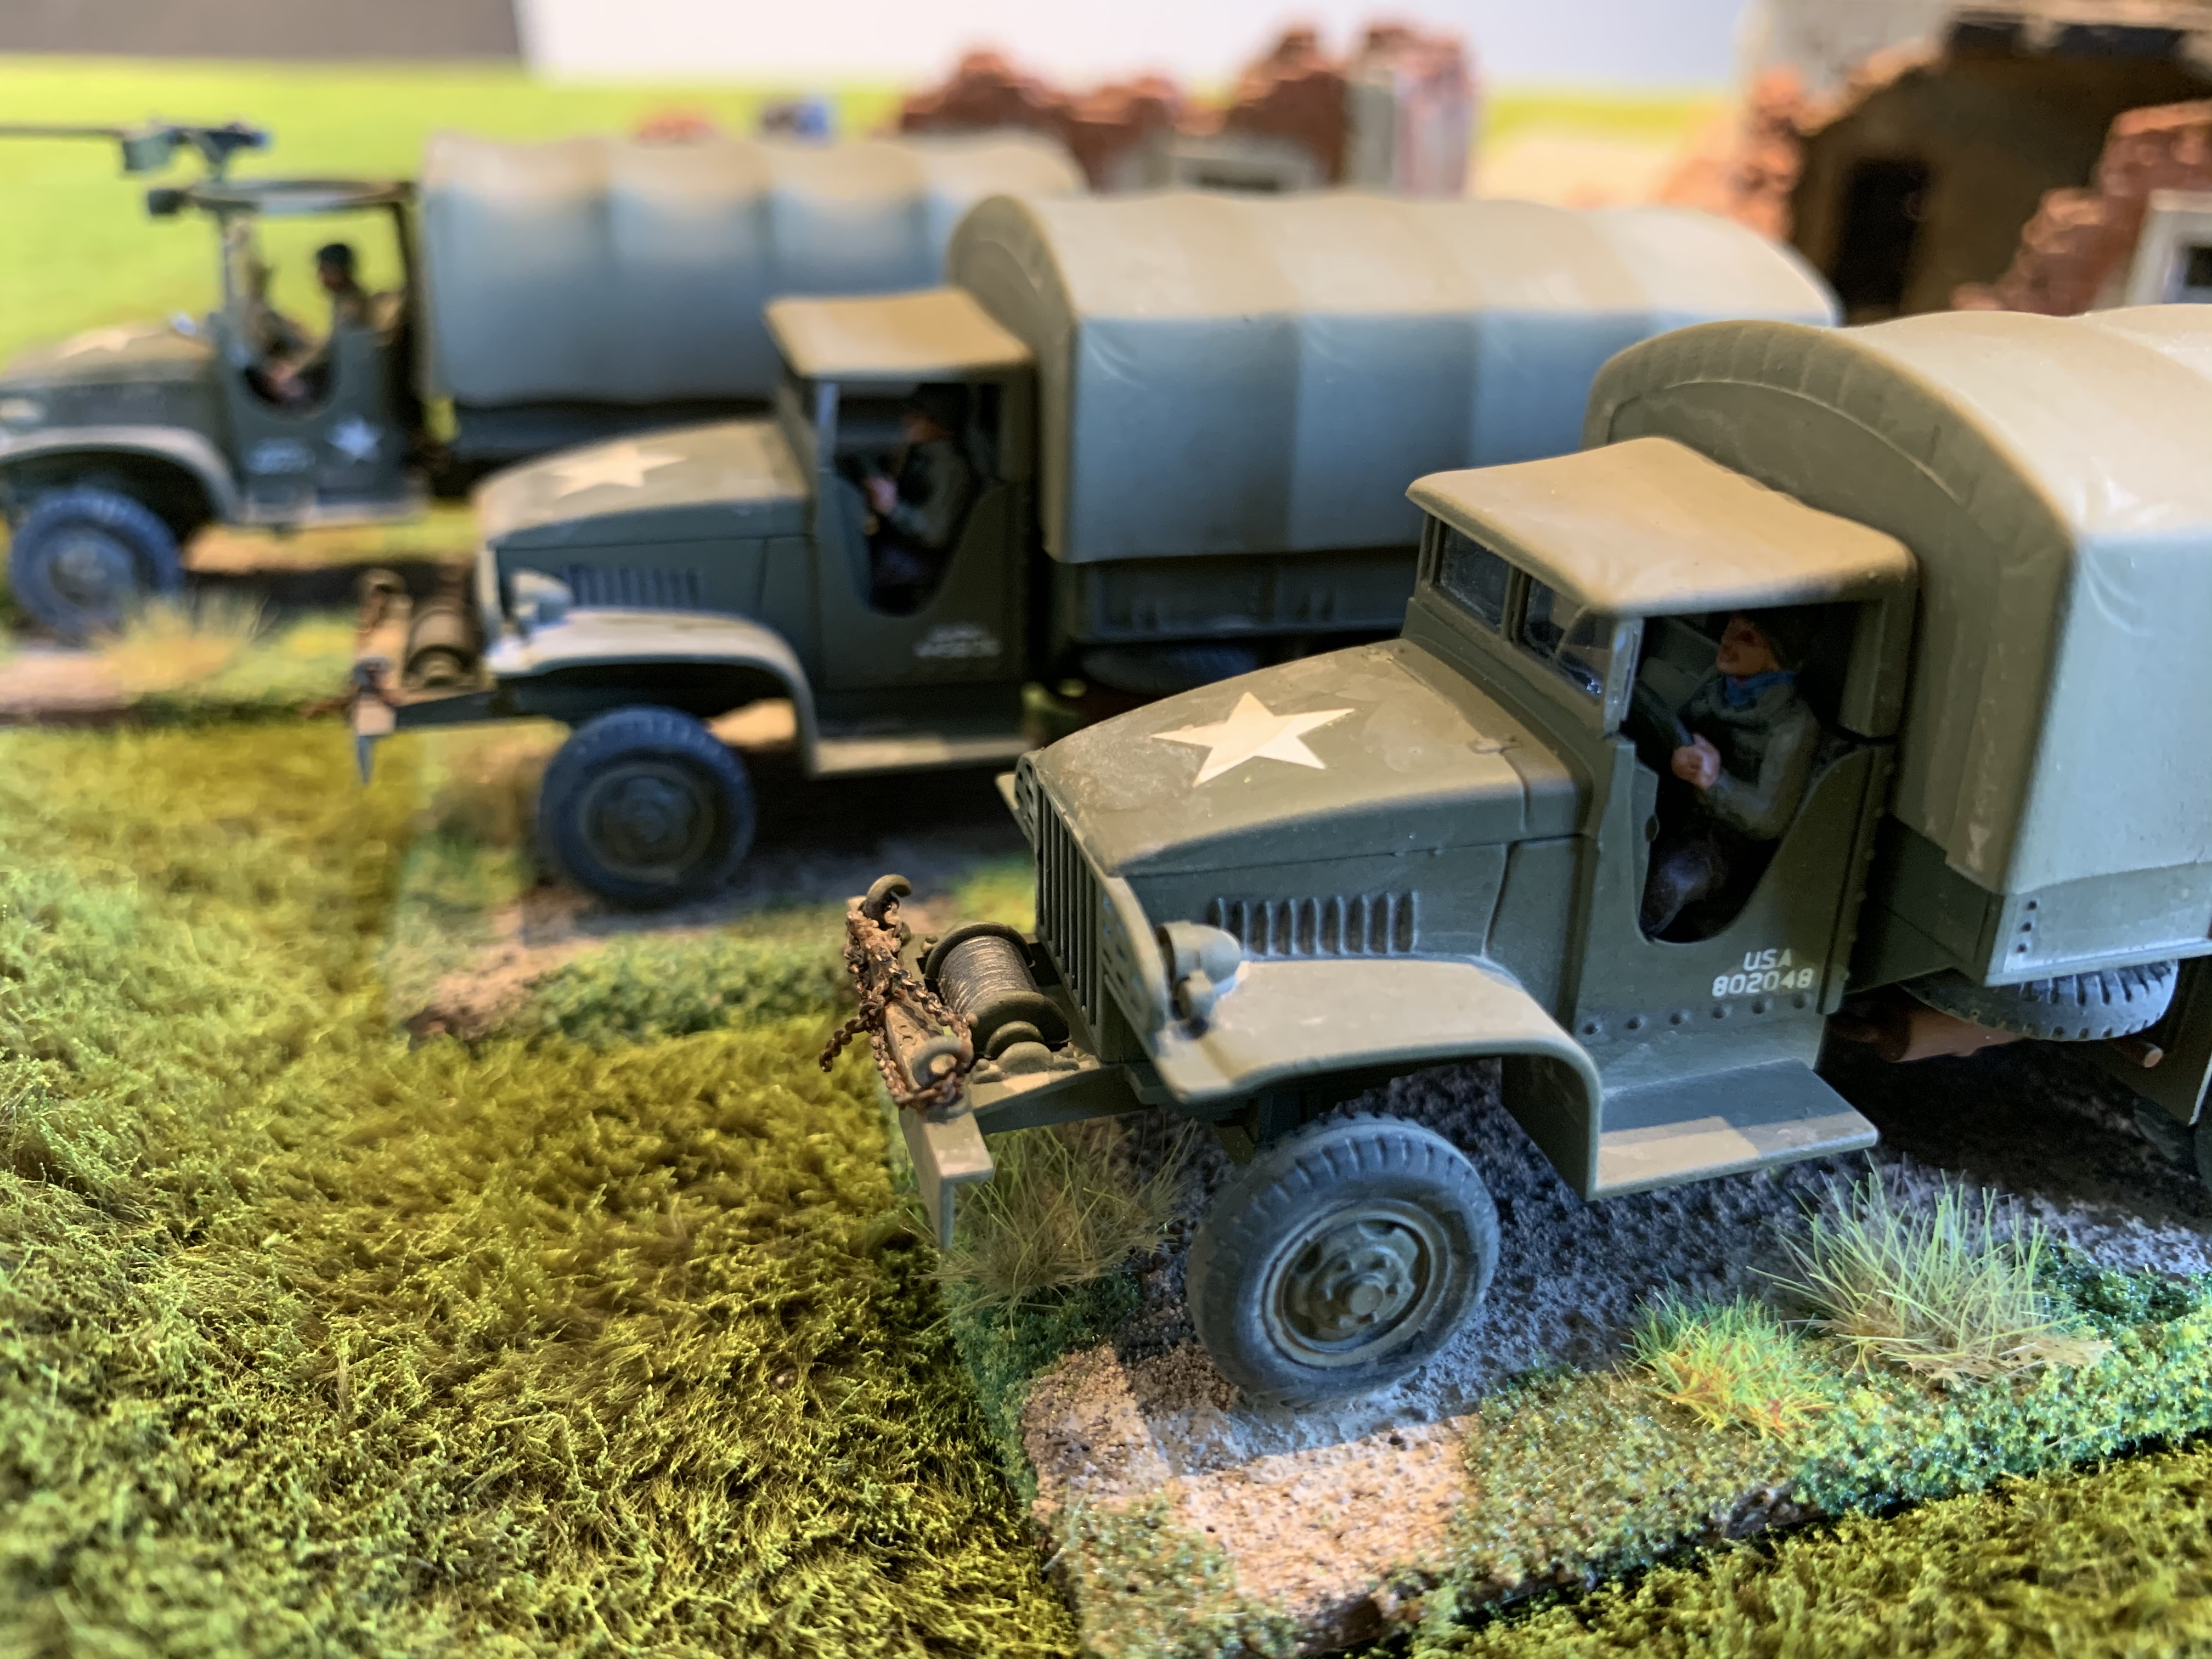
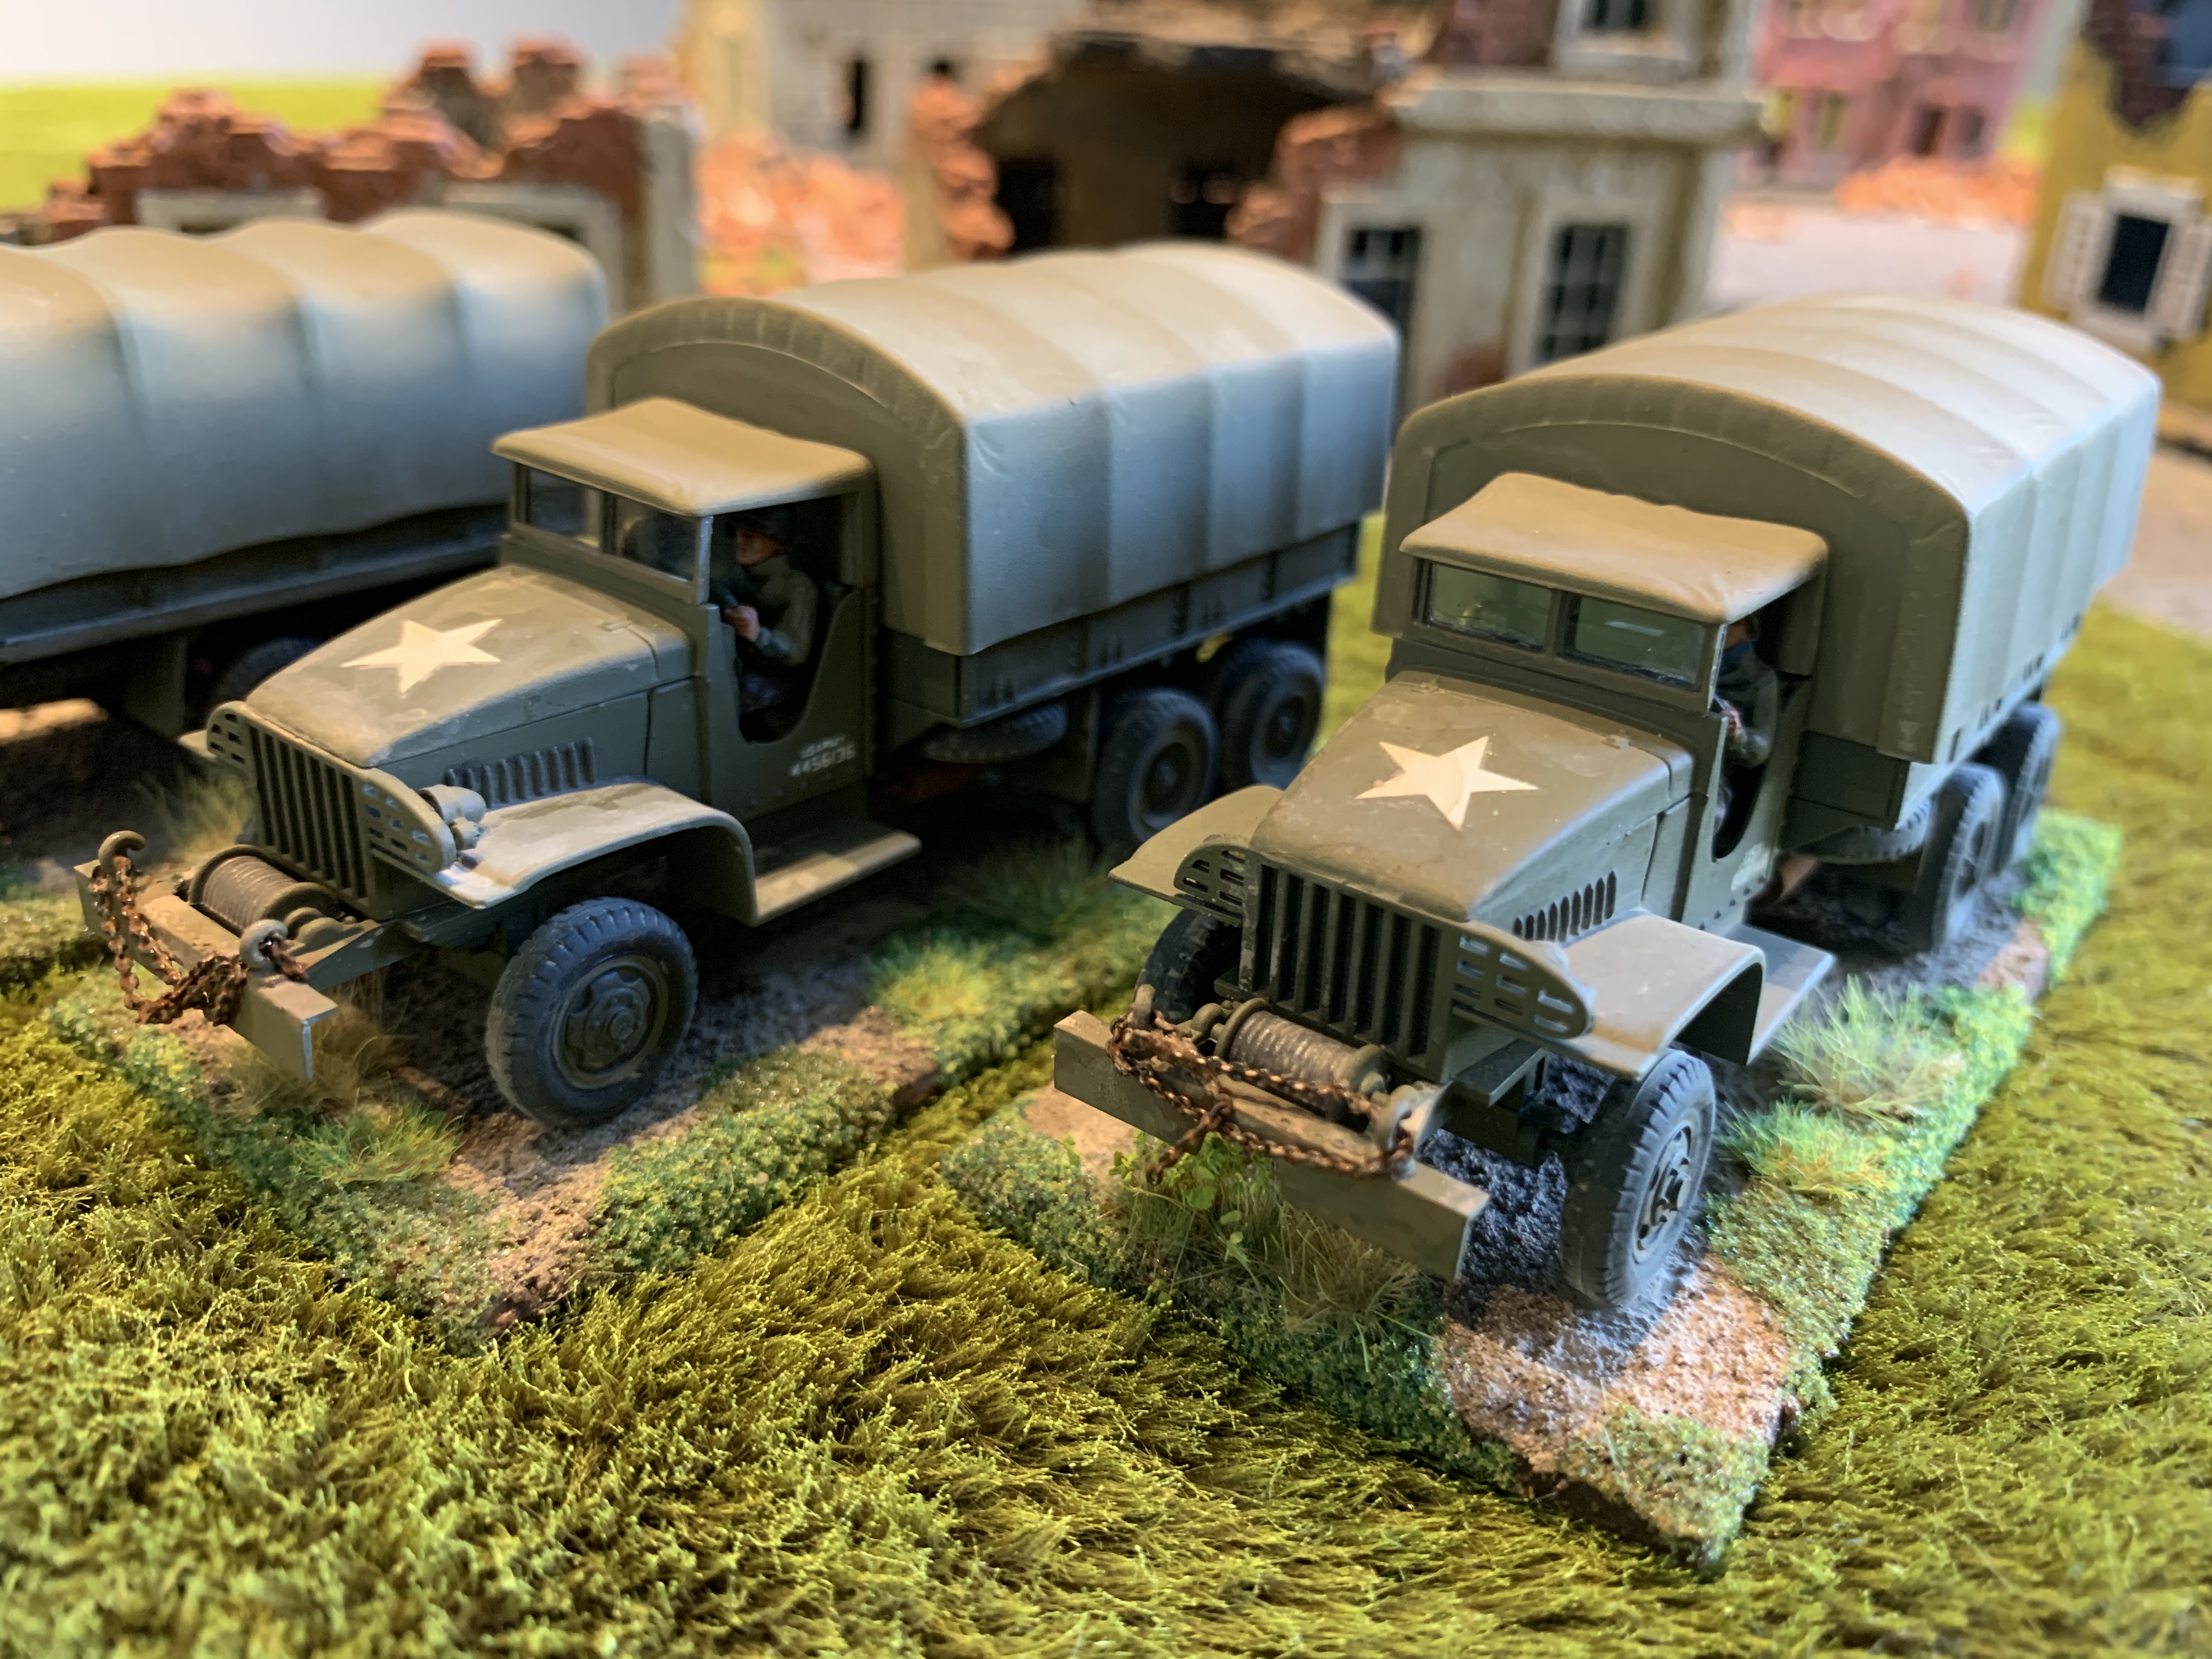
I am slowly building up some US forces and I really like building trucks. Especially these super cool US GMC trucks. I cannot help myself as far as trucks and armoured cars go. These guys come from Heller (Airfix) and Hasegawa. The Heller kit has finer detail and is more delicate. It comes with an excellent gun ring on the roof, and its dimensions are longer and thinner than the Hasegawa kits. The Japanese kits are very solid and chunky and very quick to build. You can get them super cheap direct from Japan. They do have weird metal axels which need super gluing otherwise the wheels rotate. I added windshields with plastic and also added some thin chains on the front fender as i had seen photos of this somewhere. My drivers are all AB Figures as usual. They are such cool trucks. I have an IBG Diamond Cargo Truck just arrived in tbe post which I am now itching to make!
Another great British Armoured Car I picked up from the best place for Hasegawa kits – my friends in Japan https://www.1999.co.jp/eng/plamo/
From Australia these Hasegawa kits only cost 810 yen which i think is about 7-8 USD, and postage for three kits is about the same. So a pretty good deal and way better value than buying these kits from any other retailer. I really liked the Humber Armoured Car kit they make, and needed a couple of Daimlers for sure. This kit is in the usual grey plastic which is really easy to work with. Not too many pieces either which always makes these Hasegawa kits perfect for an evening of easy model making. Most importantly for me is that everything fits together and instructions are clear and easy to follow. Plenty of good detail in this scale and easily enough for my purpose of putting them on my table top.
My Daimler had a couple of additions, including an aerial, a pickaxe on the front and a hatchet on the back. Also some stowage items added on the back and sides. He received an olive drab paint job as usual, but I don’t think I bothered with a brown wash this time. I do a gloss varnish coat where I am placing my decals and also use a decal softener which does help with blending the decals into the paint work. As with all my wheeled vehicles I like to base them on MDF bases to prevent any damage. Some European earth weathering powder makes Mr Daimler look well used. I still do not bother with any chipping or other effects on green vehicles as i am not sure it really adds much. I really enjoyed making this kit and next up have a Staghound Armoured Car from a company called RPM which is new to me. Hopefully it’s just as good!
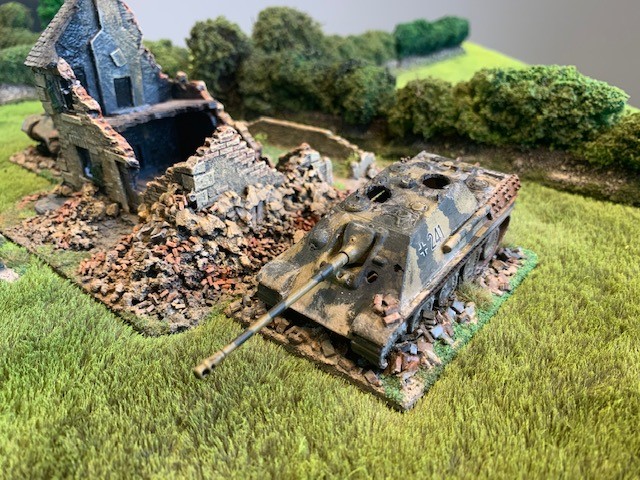
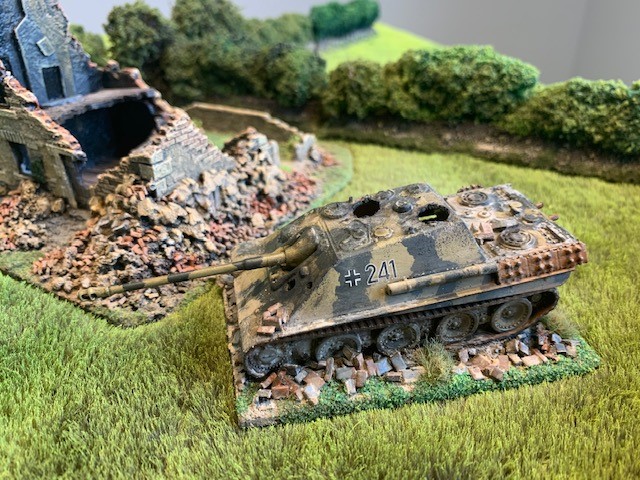
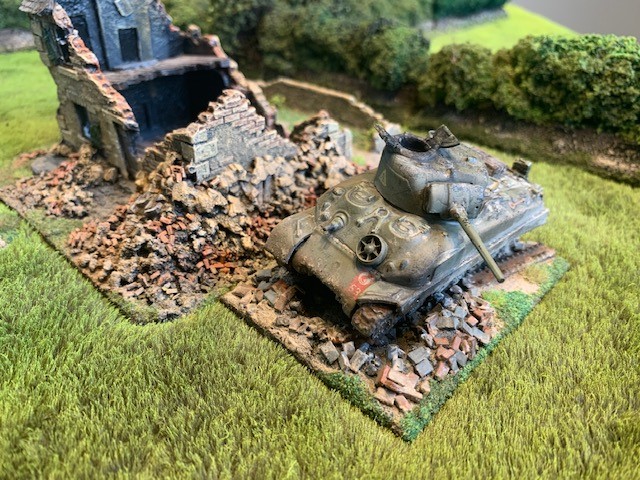
I wanted to create some wrecked vehicle markers, both as nice looking scenery and bits of cover, as well as potentially actual wrecked tanks to replace vehicles destroyed during proceedings. I thought that having a few actual wrecked models would add to the variety rather than the usual plumes of cotton wool smoke.
These two are a Plastic Soldier Soldier Company Sherman and an Armourfast Jagdpanther. Neither model I was particularly impressed with. The Sherman was very big and chunky and I found many better offerings from Trumpeter, Esci, Dragon etc. Same for the Jagdpanther who was since replaced with much finer model kits from Zvezda and Trumpeter again. SO i got to it ripping off bits, hatches, tracks and punching holes in the hulls with pins and drills. I placed them on bases at funny angles which helps with the drunken wrecked look. I added lots of homemade rubble and stuff and other bits and pieces of debris. Always good to have an old oil drum kicking around. I used a heavy brown wash followed by lots of dust and dirt powders and some charcoal to show the burnt out bits. They look good just as extra scenery cover near some blown out buildings. I am looking forward to Christmas and hope to get some more work finished so I can post more pictures!
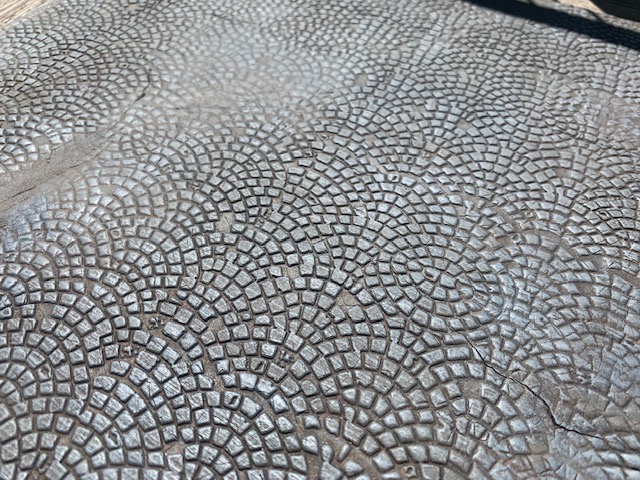
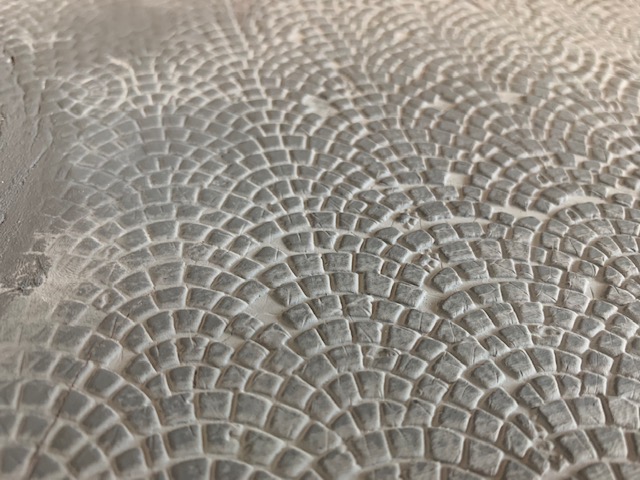
I have been struggling to make roads and town squares for a while using various different methods. Hand scribing cobble stones onto a thin layer of plaster on MDF looks great, but it is wildly time consuming. Textured card glued to MDF or wood also works, but looks a bit flat and a bit fake for my liking. The best method I have now settled on is a textured rolling pin from a company called Greenstuff World at www.greenstuffworld.com
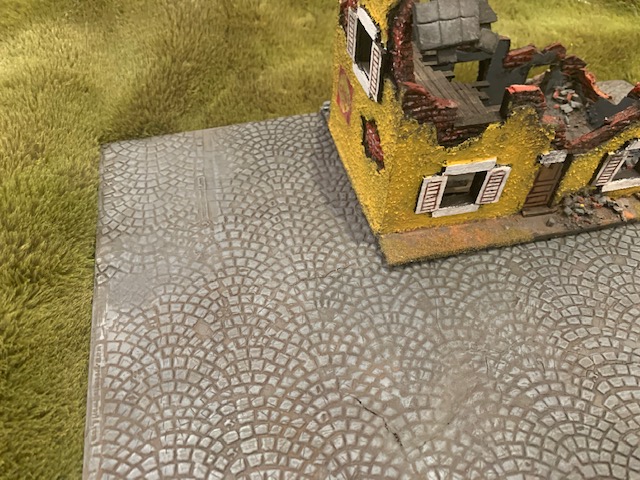
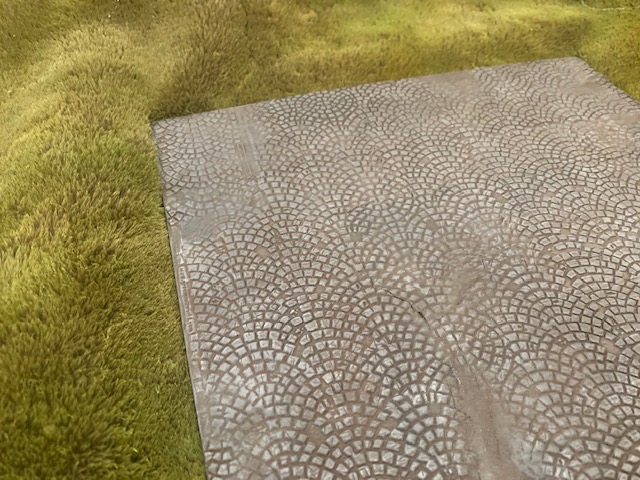
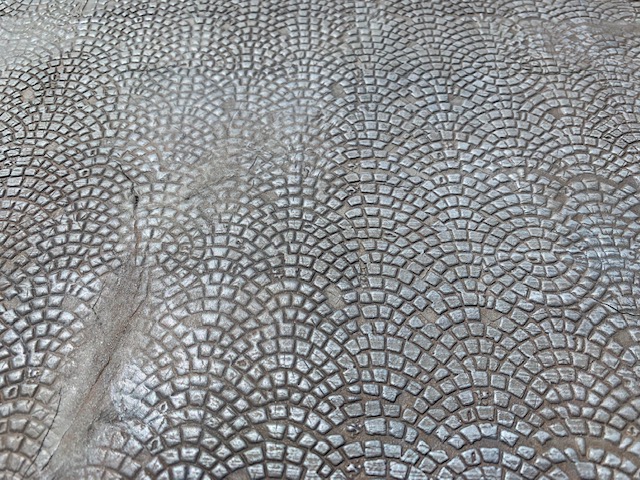
They produce a big range of interesting things for the modeler. I picked up some of their textured rolling pins. I found the 28mm scale one of cobblestones which is about 25cm long works really well for 1/72 scale cobbled town squares and roads. The detail stands out better than the smaller roller means for 15mm scale. I decided that I wanted to just make larger cobbled squares and put them together to make a large town area. Then the buildings would stand on top of the town area and the cobbled roads would be formed in between the buildings. Using MDF i cut a roughly 25 x 25cm square and then rolled out DAS clay nice and thin to the same size with a bit of an overlap. You then carefully and firmly roll the textured rolling pin over the clay in one direction making an imprint. I left this to dry, glued it to the MDF and then trimmed the edges.
I gave it a base in a grey spray primer and then used some brown and black washes and a whole heap of dry brushing lighter shades of grey. Check them out. When I have made a few I will set up a town scene to show the effect.
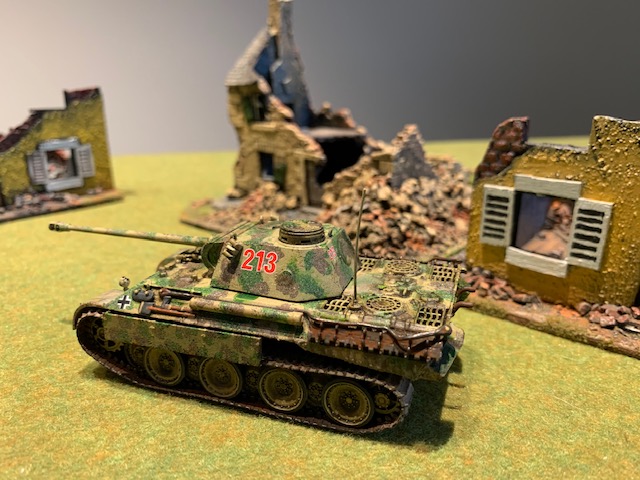
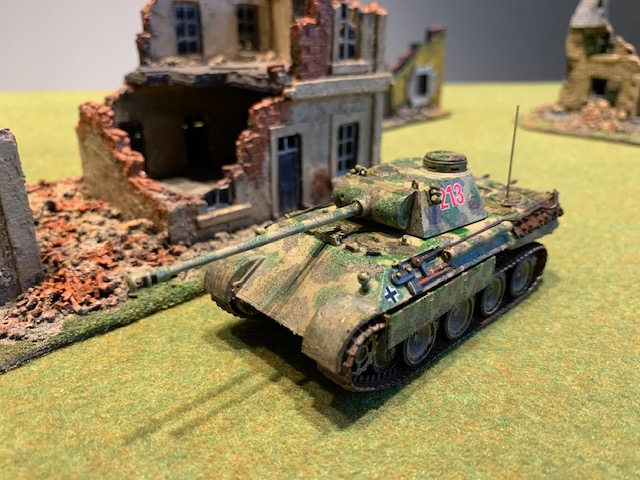
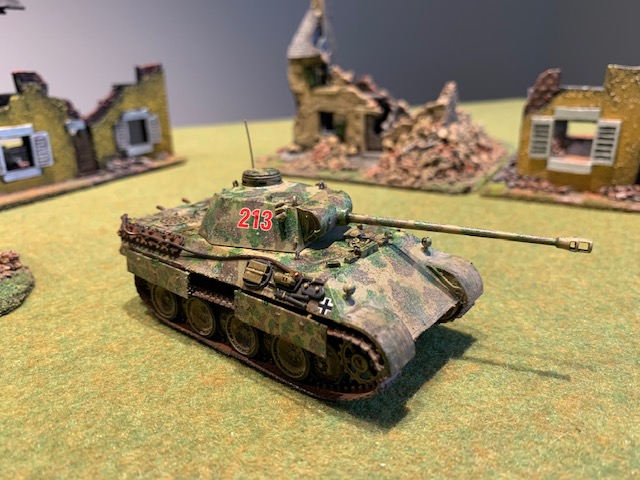
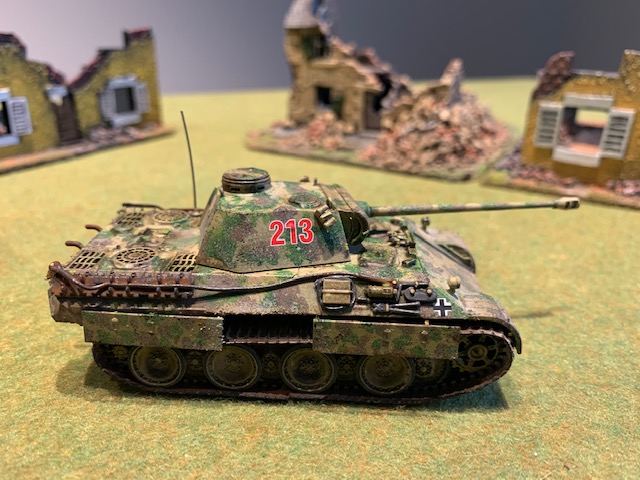
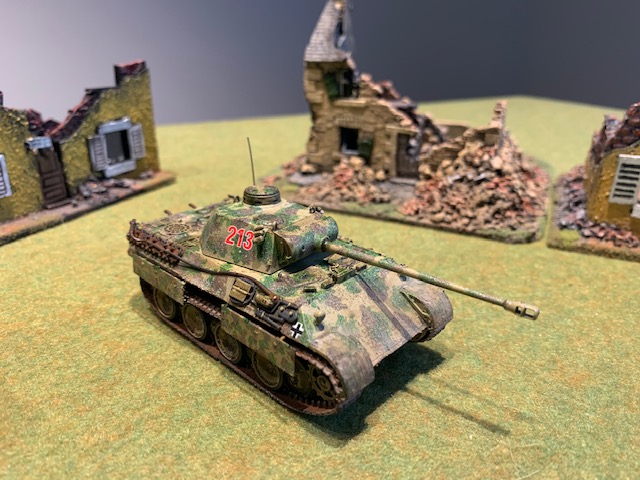
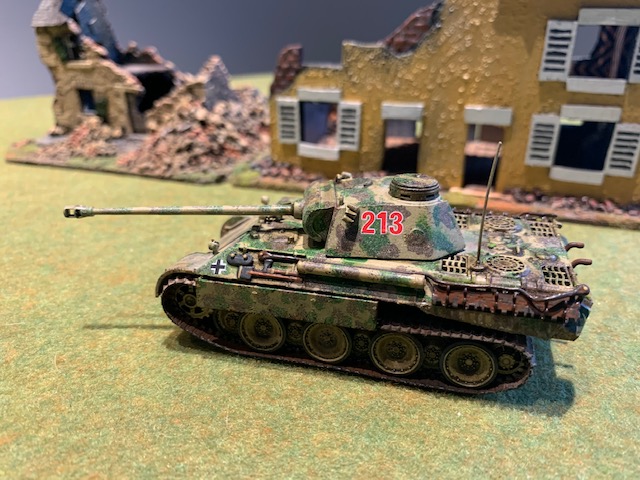
I still needed a couple more panthers to get up to three troops of three tanks, so I picked up a Zvezda Panther on eBay. I have made one of these before and also a few of the Panzer IVs and also a Tiger so I know what I am in for. These kits are advertised as snap together which really only means some of it is snap together, but if you are like me you are going to be gluing it all together anyway. Zvezda kits are generally really good. The detail is excellent and parts go together very nicely. Also they are great value for money, especially if you buy them from Eastern Europe where they are made. I don’t think this cost me much more than $10–12AUD.
My only criticisms would be as follows. The hatches are all moulded shut, so if you like placing extra figures in the tank, like I do, you cannot, unless you are brave and feel like doing some surgery.
Due to the snap fit design some bits are tricky to get together, like the rear of the top hull fitting into the bottom. I had to cut off a couple of small lugs that were just bending rather than fitting. Also there was a gap at the front where the hulls meet and i had to do some filling and sanding with my magic putty.
The track design is great, you wrap around the flexible tracks and then fit them onto pegs in between the wheels. This can also get tricky as its a tight fit, and you need to be very careful not to apply too much force and break any of the sprocket wheels. I made this mistake before on the Tiger so I was extra cautious this time.
My paint job was a patchy camouflage scheme and some dark washes, plus plenty of dirt and dust to finish him off. I added an aerial and half destroyed the side skirts for some interest. I used some excellent decals from the Revell panther i finished next which gave more options than this kit.
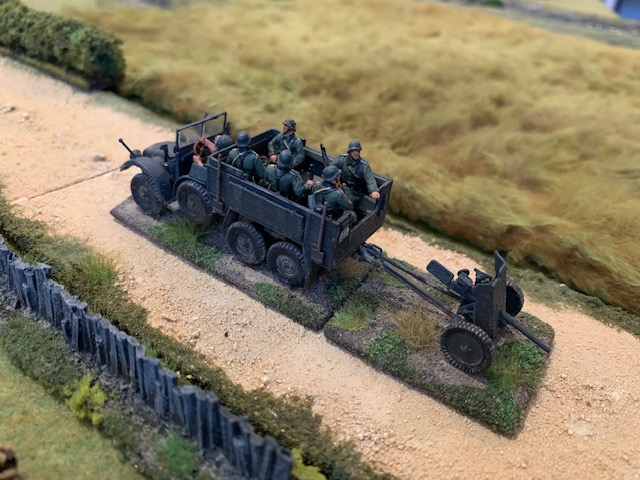
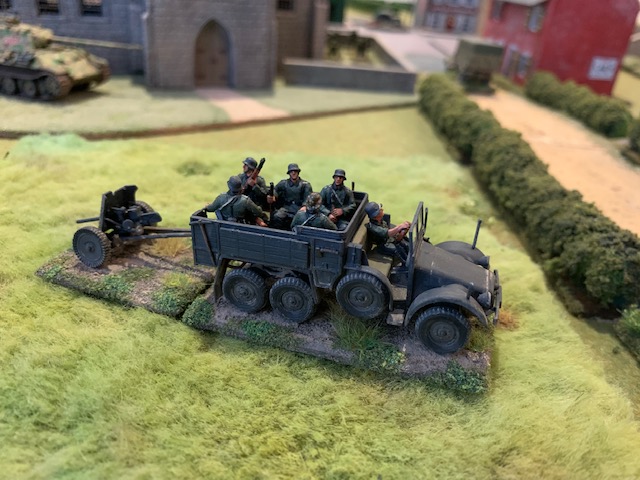
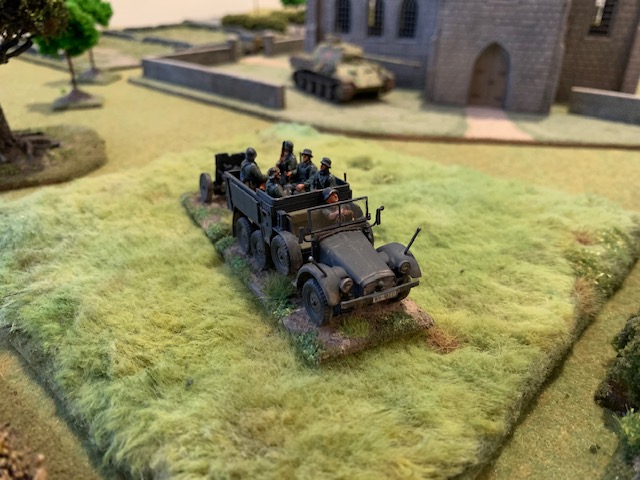
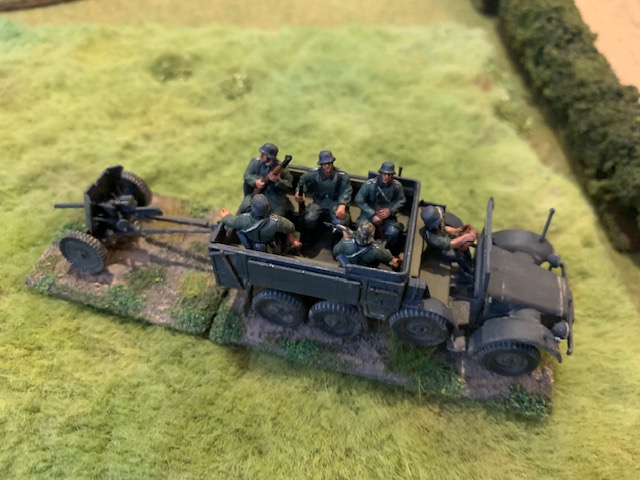
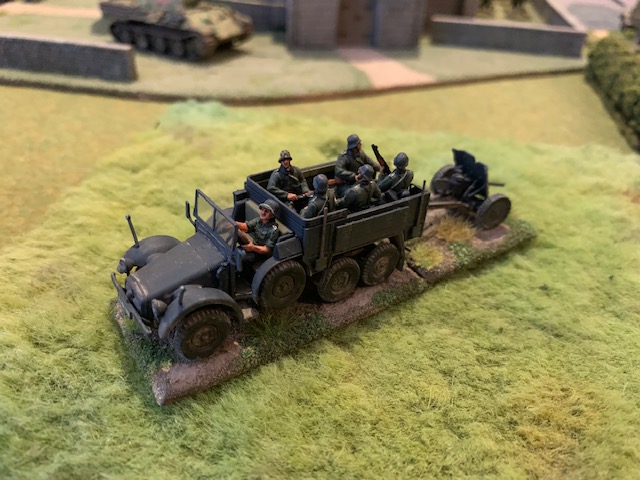
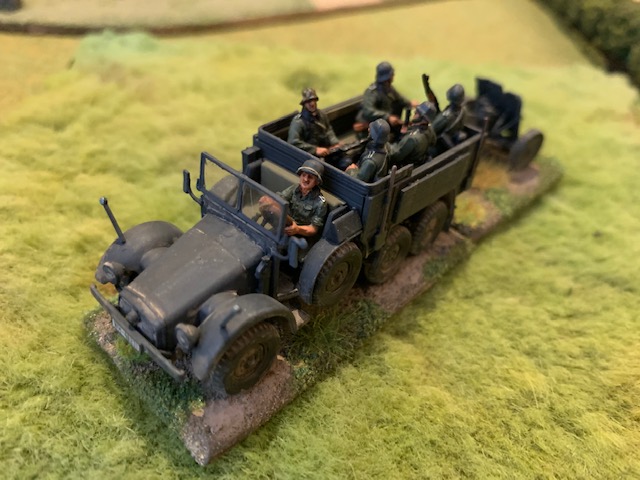
Another great kit from Dragon Models. It is a Krupp six wheeled heavy car towing a Pak 36 anti tank gun. I really like Dragon Models, they make the best kits. Great detail, clear instructions, and everything fits together nicely. I particularly like building trucks and vehicles right now, and luckily my time period of World War Two is full of interesting transports.
I always base my wheeled vehicles, and this one also has some fiddly bits that definitely need a base you can pick the model up with, rather than risking big hand damage. I painted this one an early war German grey and then lightened it with a second coat with some white added. My only gripe was that the anti tank gun is really fiddly and I nearly threw my toys with the teeny tiny bits. Driving the truck is a man from AB Figures and in the back are some greatcoat wearing seated dudes from Caesar Miniatures. I bought a box of these guys who are really cheap and handy for the back of any your trucks. It made a nice change to do a grey vehicle rather than my usual dunkelb and camo.
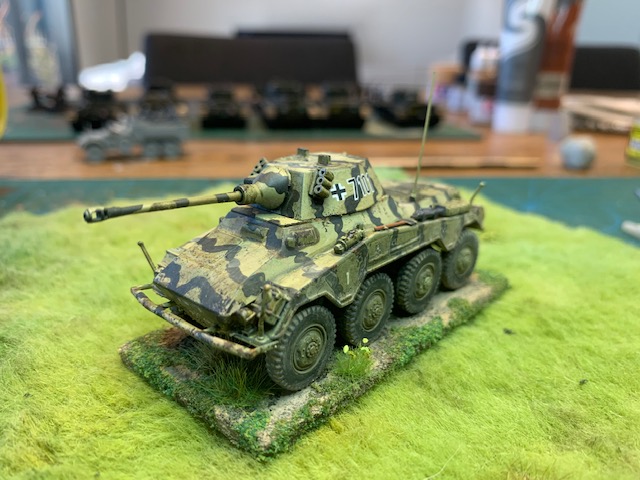
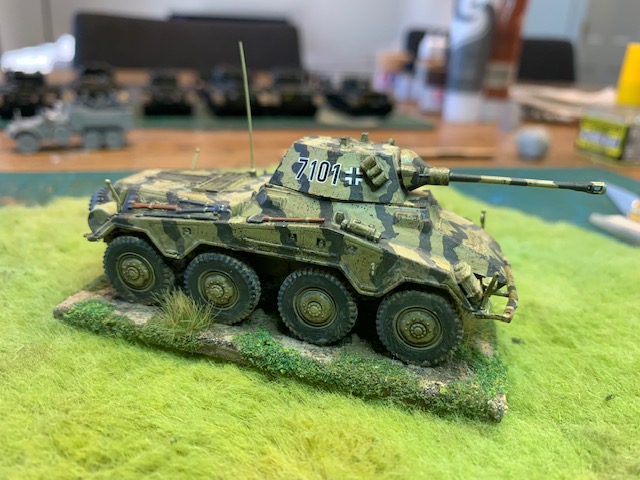
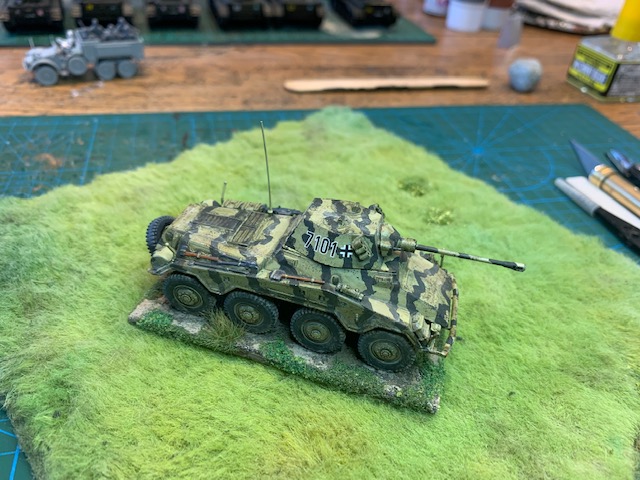
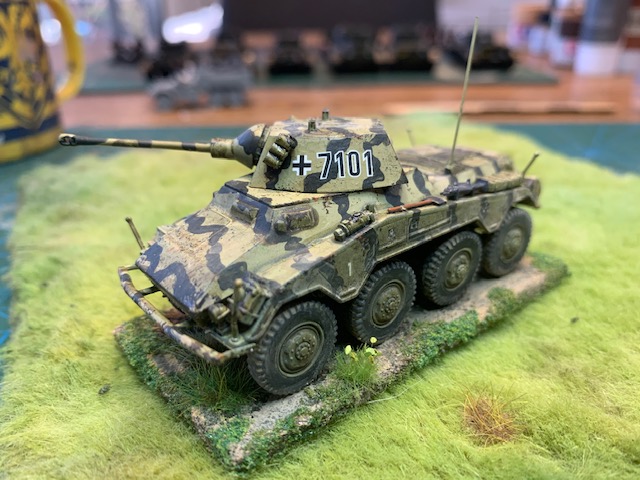
Another personal favourite of mine the Puma armoured car. This one is from Italeri and a great little kit. I have previously built the Hasagewa version of the Puma, which is also a very nice kit. The Italeri one is not quite as detailed and slightly bigger in all dimensions, but matches up pretty well. Unfortunately the hatches on the Italeri kit are moulded shut so you would need to do some surgery in order to open them up. I did not change much just added the usual aerial. I particularly liked how easy it was to align the eight wheels on this model, its a good design. Overall it was a fun kit to build, but I still prefer the Hasagewa version.
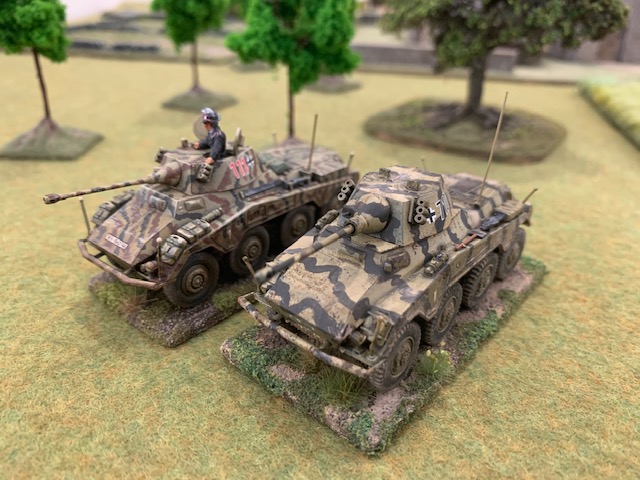
I did a dunkelb base and a dark green camo. Some chips with a sponge in dark brown and black. Oh and a dirty brown wash. Here is the finished model next to my other Puma for comparison.