ACE Dingo Armoured Car Part 2

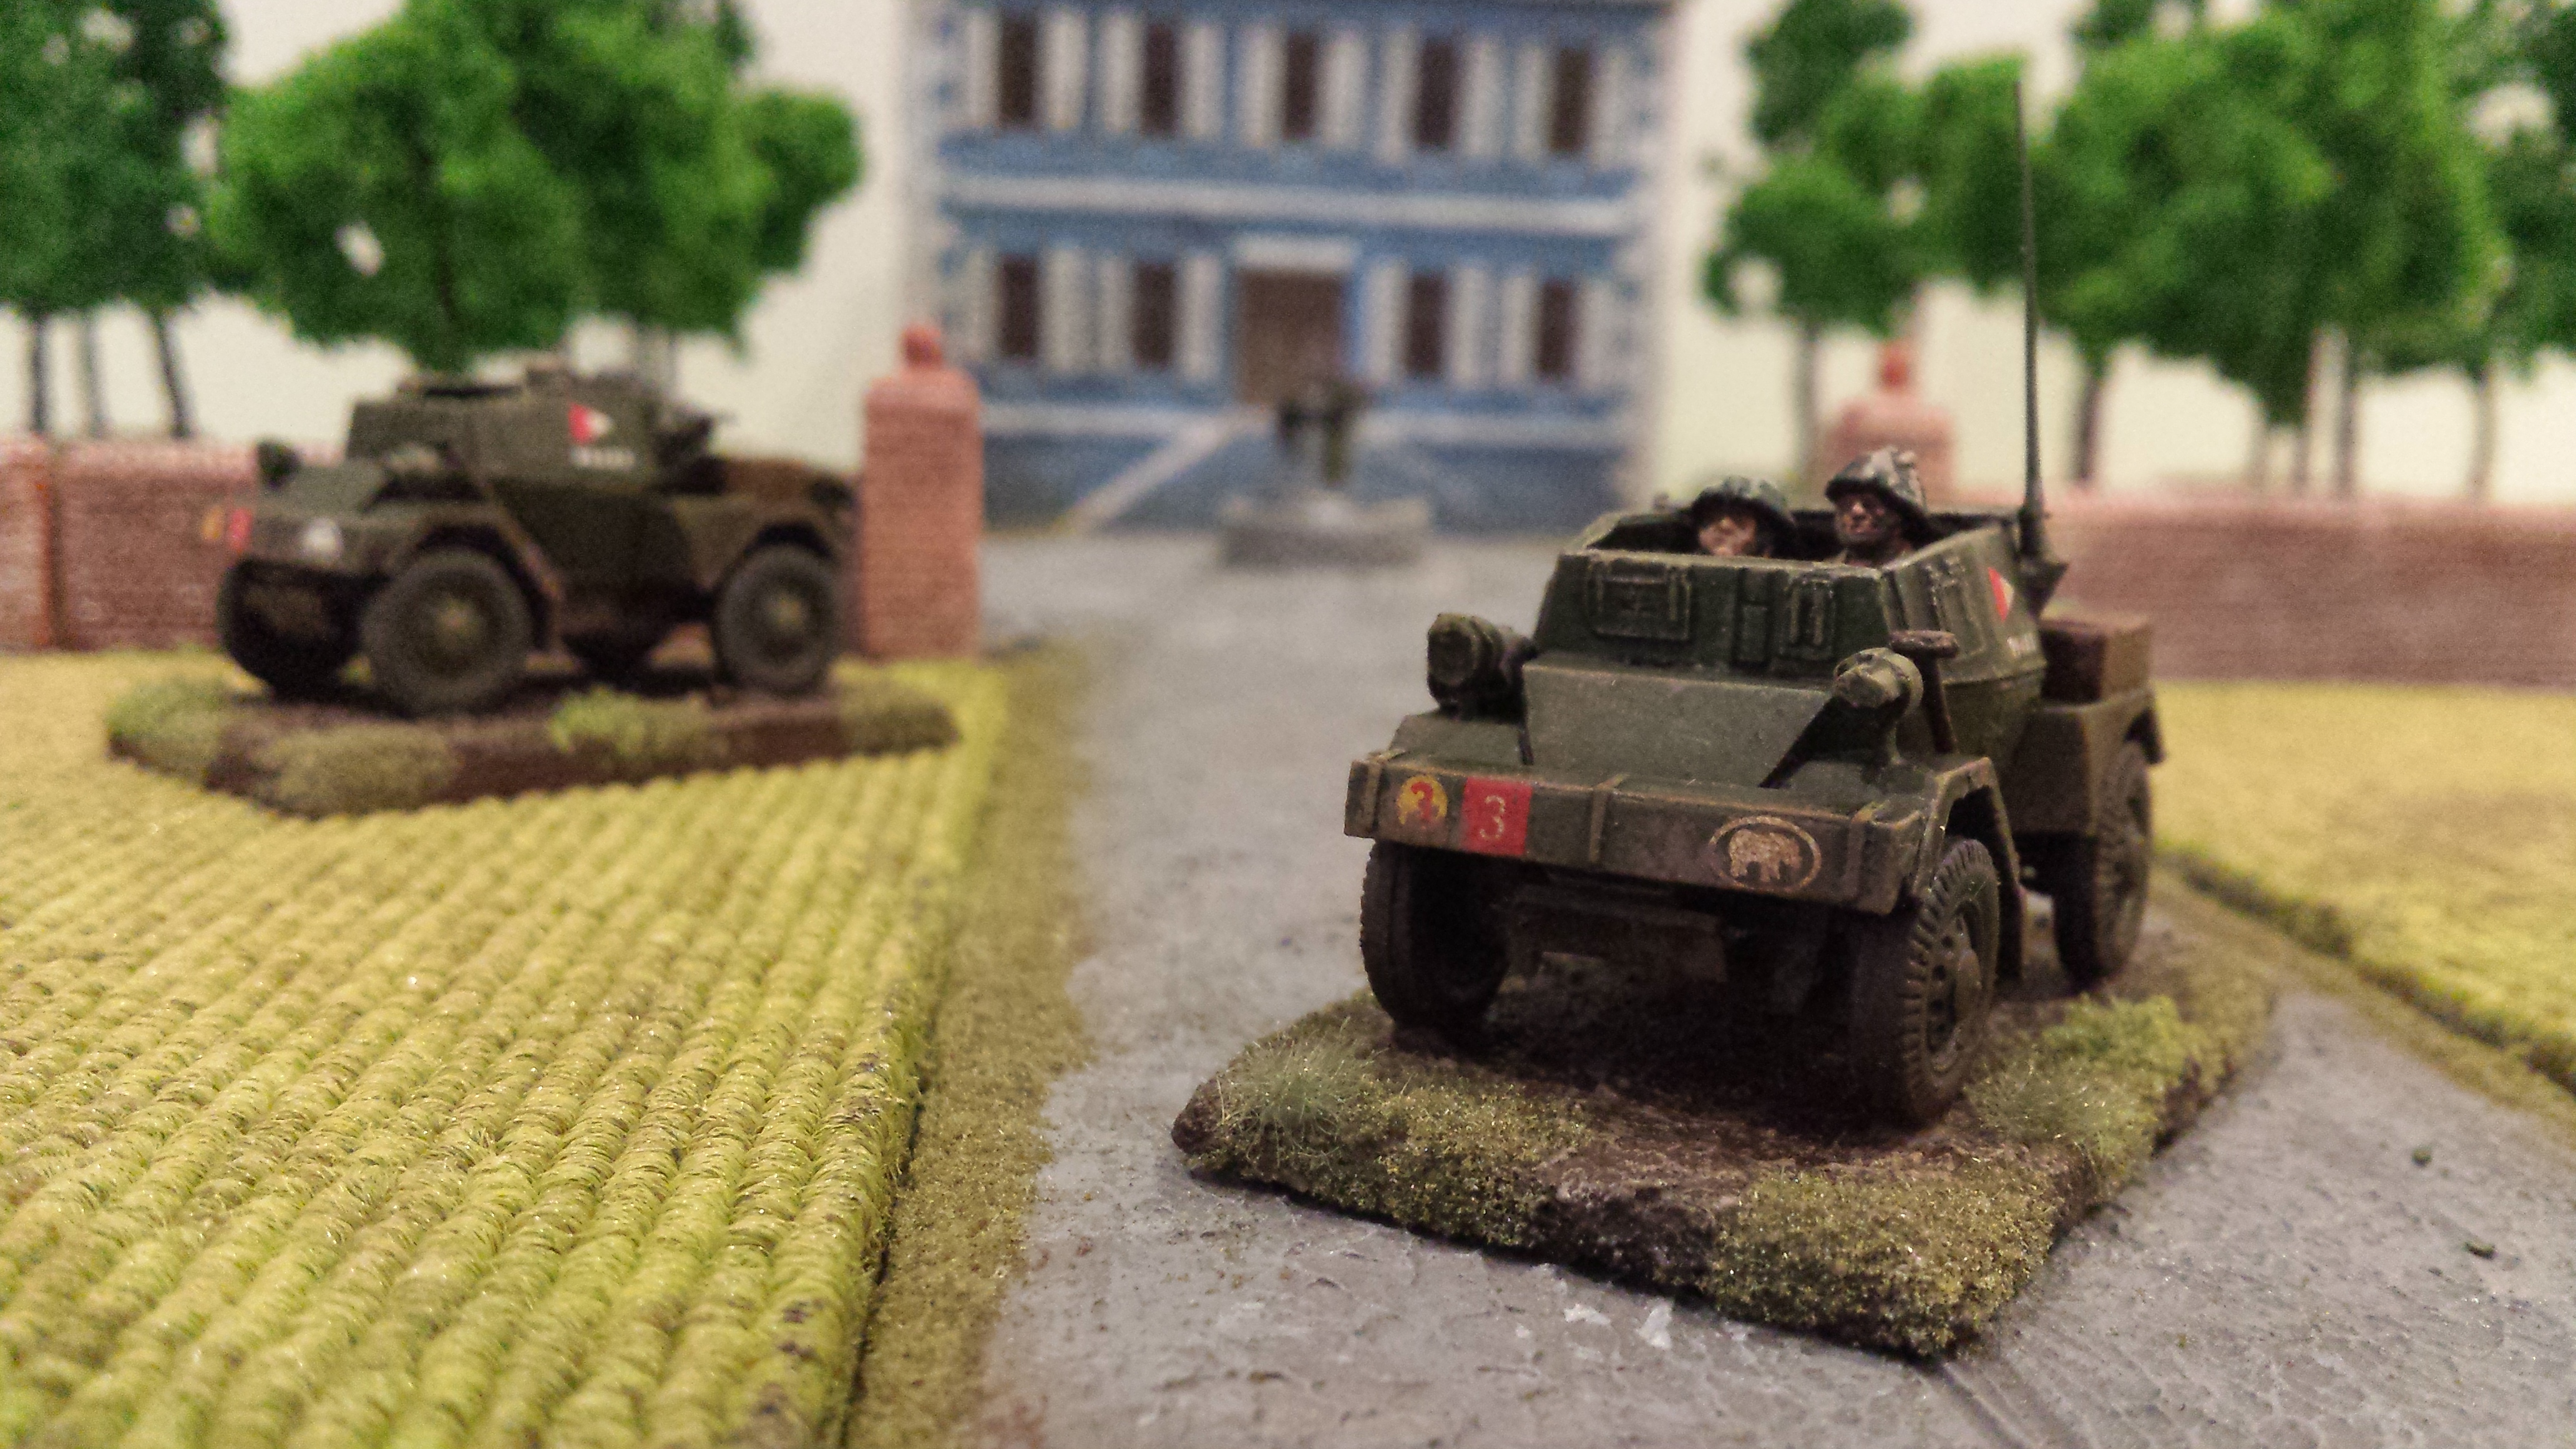
I built the second ACE Dingo i had in my kit box. This time i learned from my previous attempt and so the construction process was much smoother. It took plenty of extra plastic removal to make sure all the parts fitted without gaps. I was also able to get my wheel alignment much better by getting the suspension on early in the piece. Still i had to cover some dodgy bits with stowage items. A definite improvement on the first attempt at this kit, but i would still try the S-Model Dingos rather than this ACE kit.

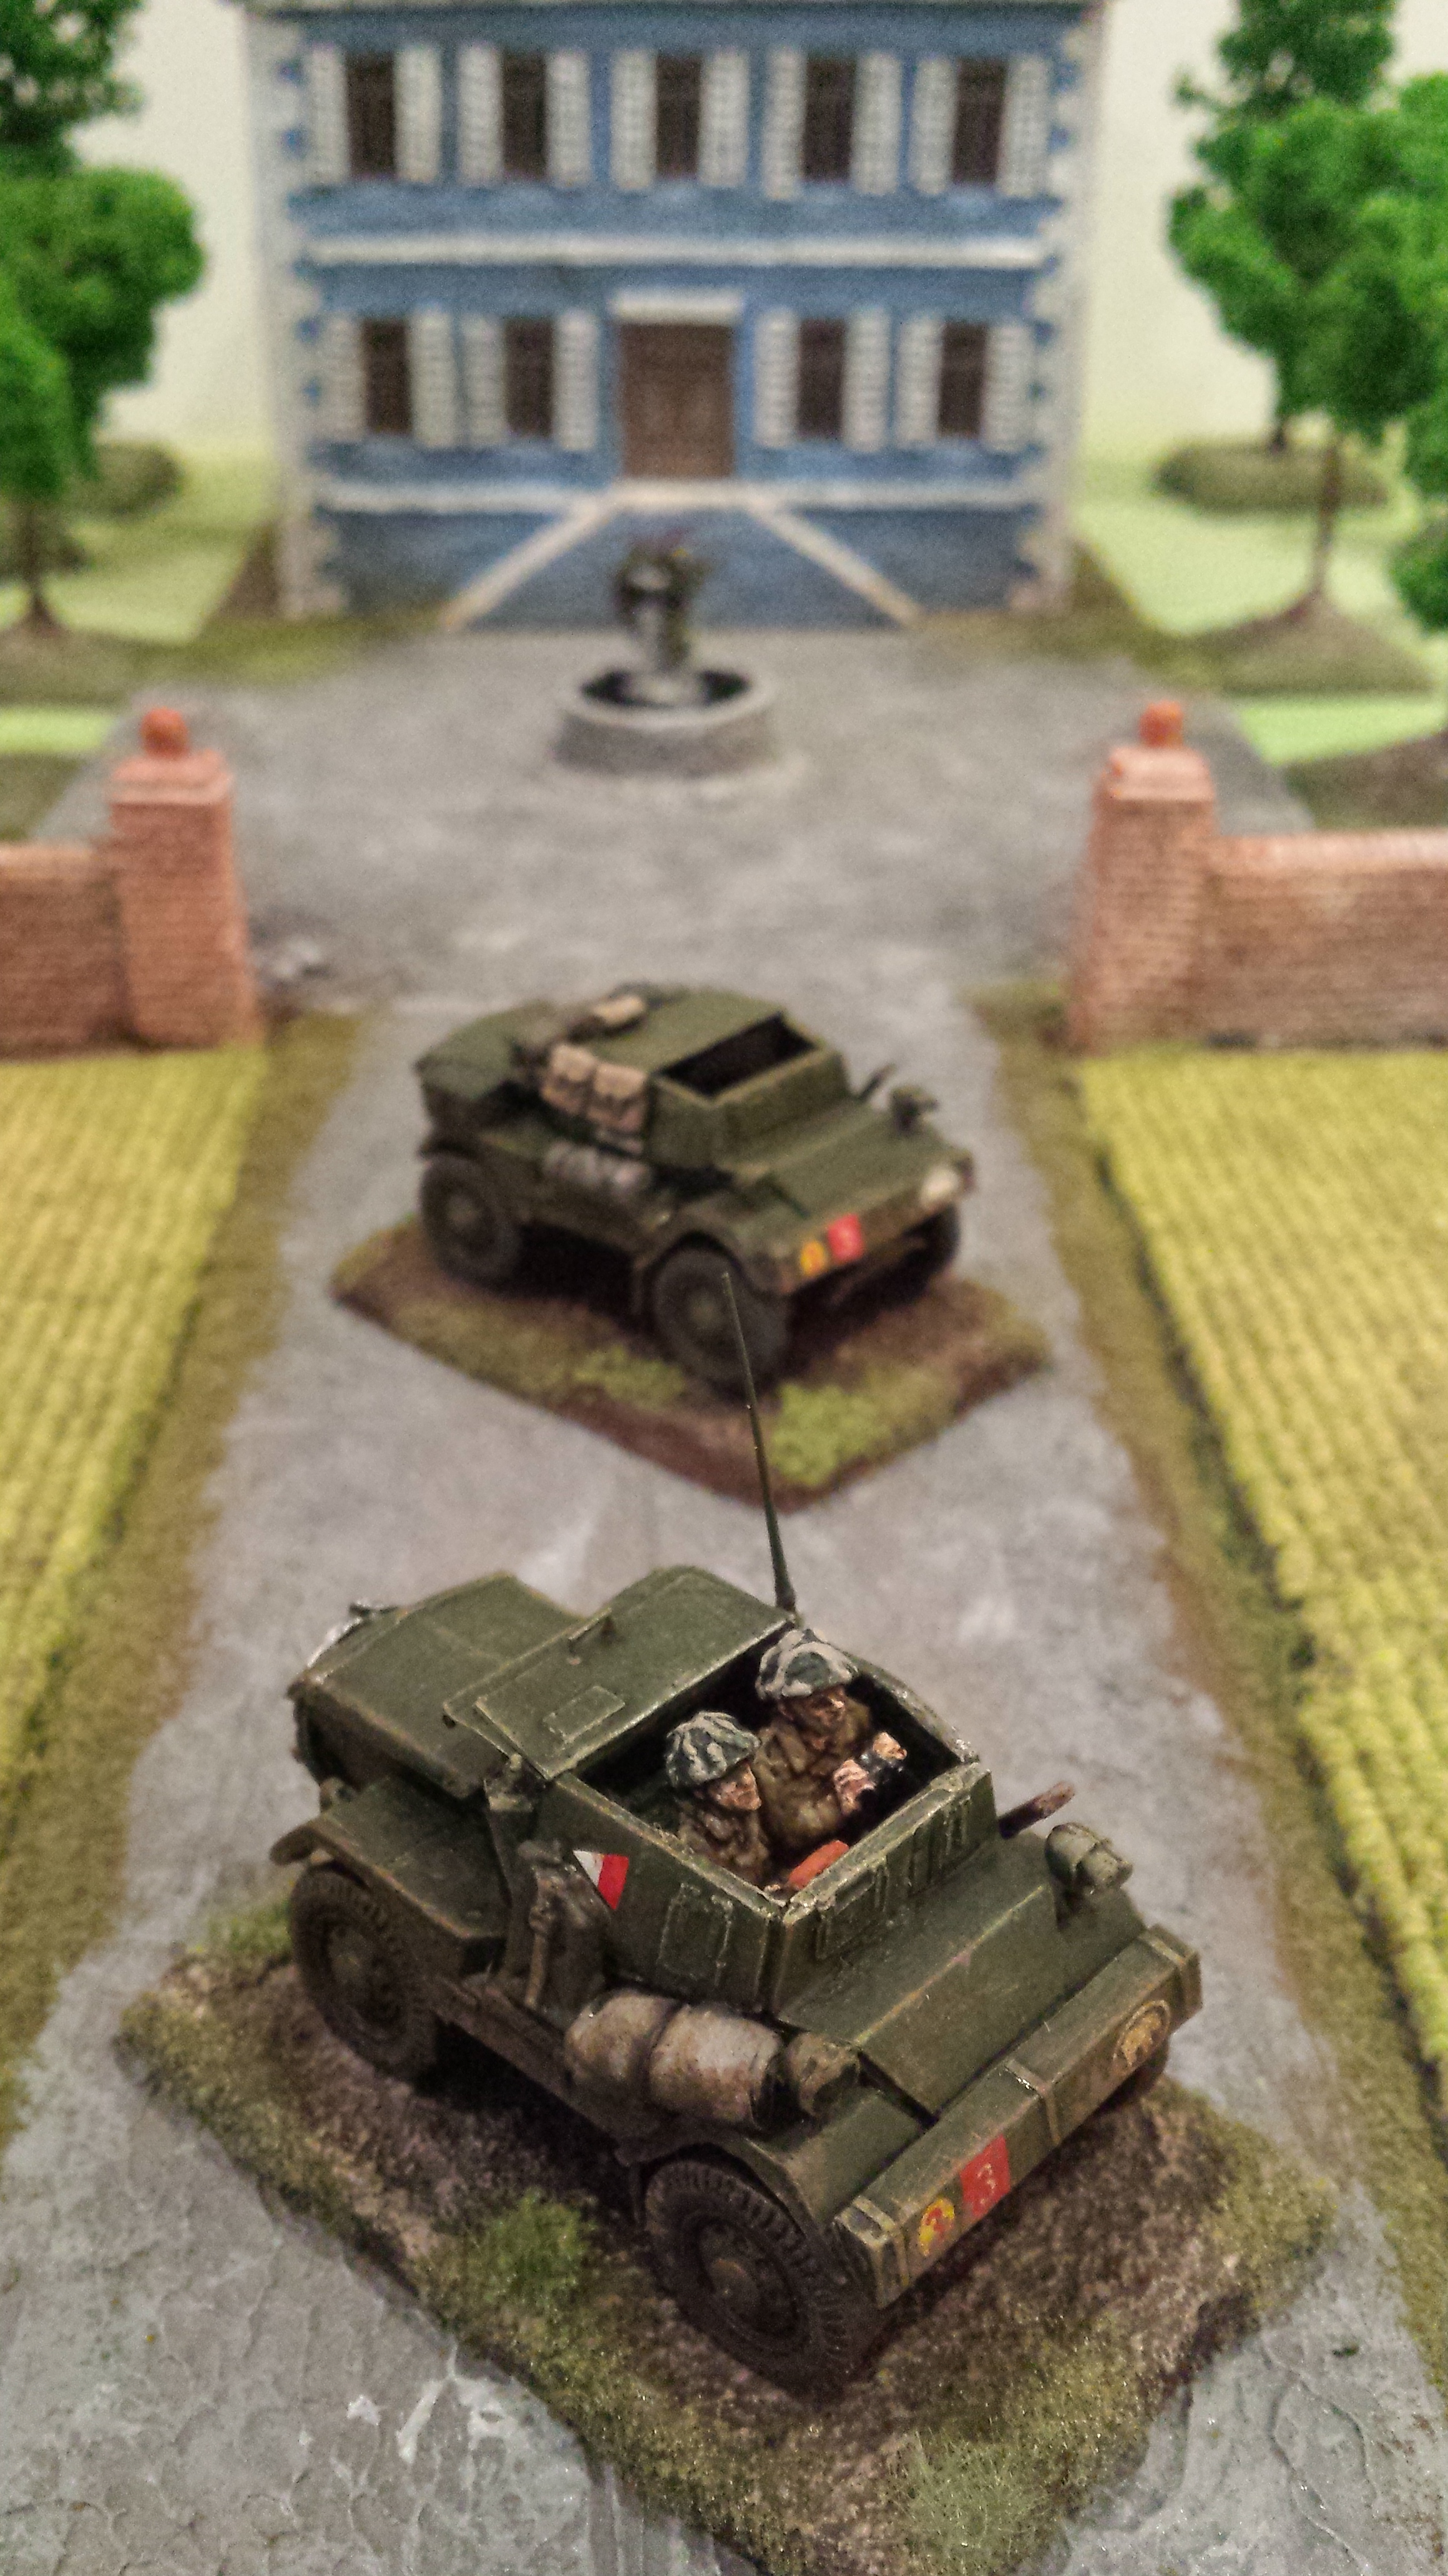
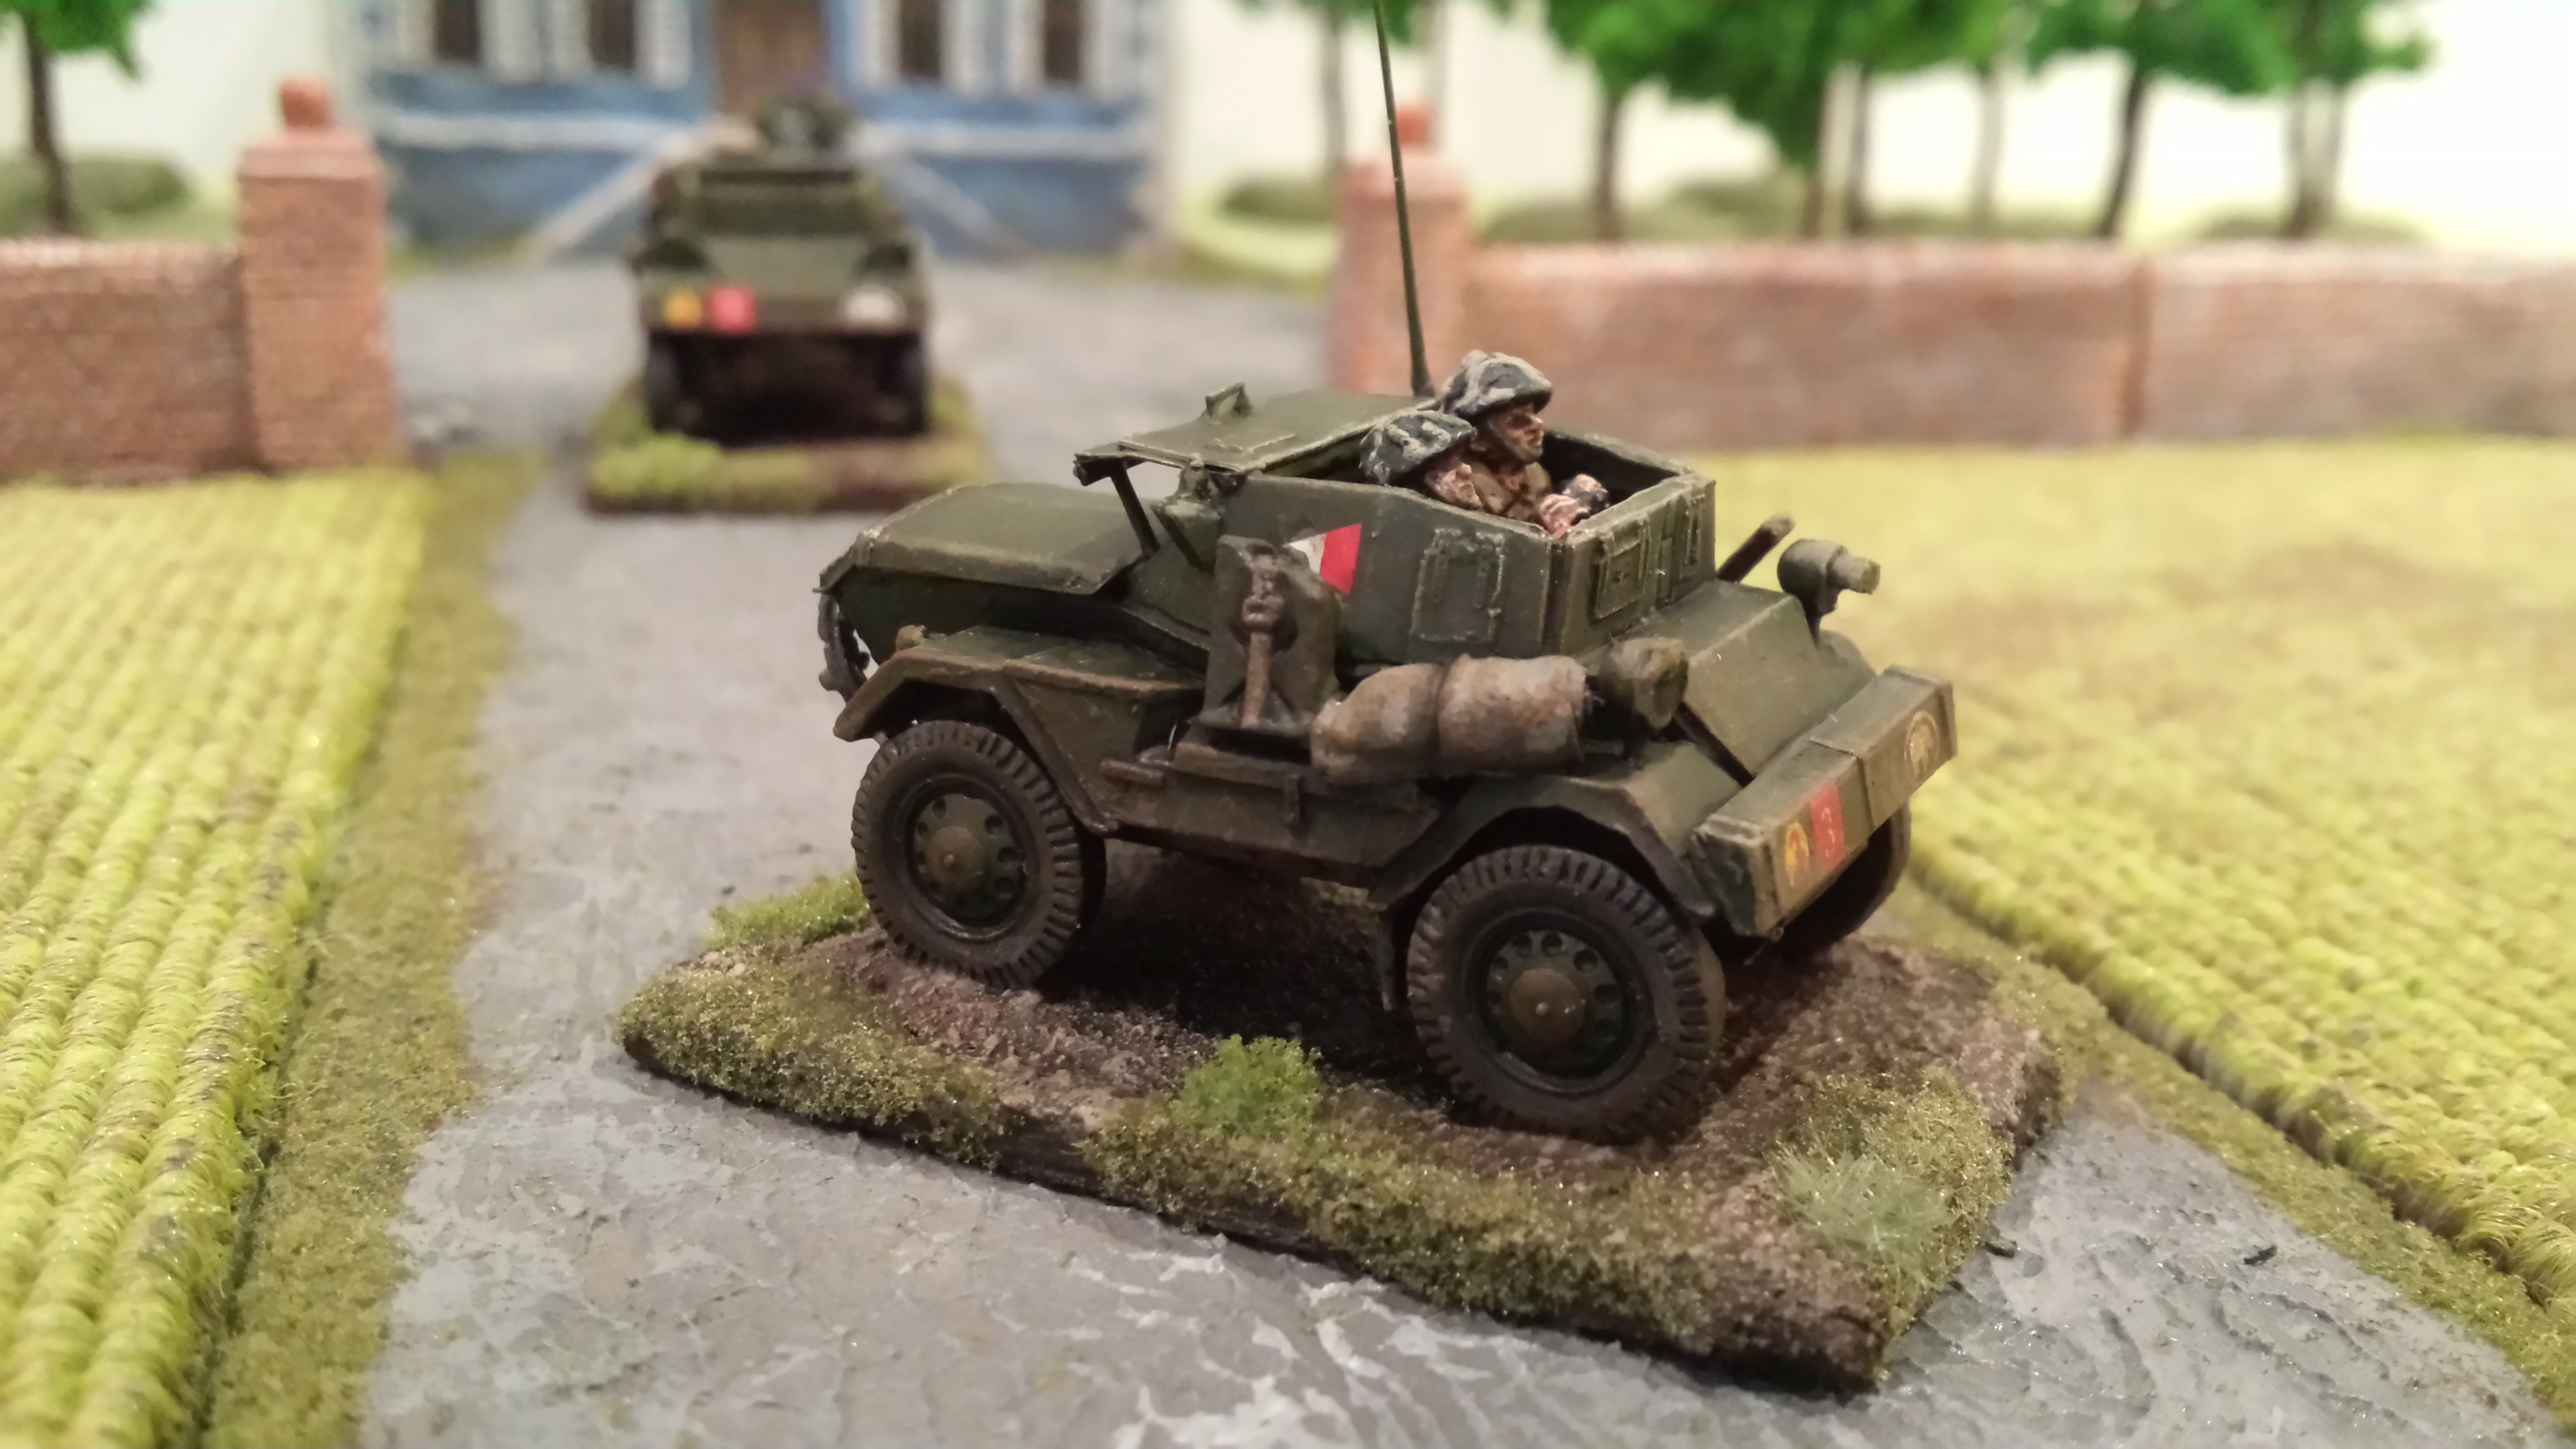
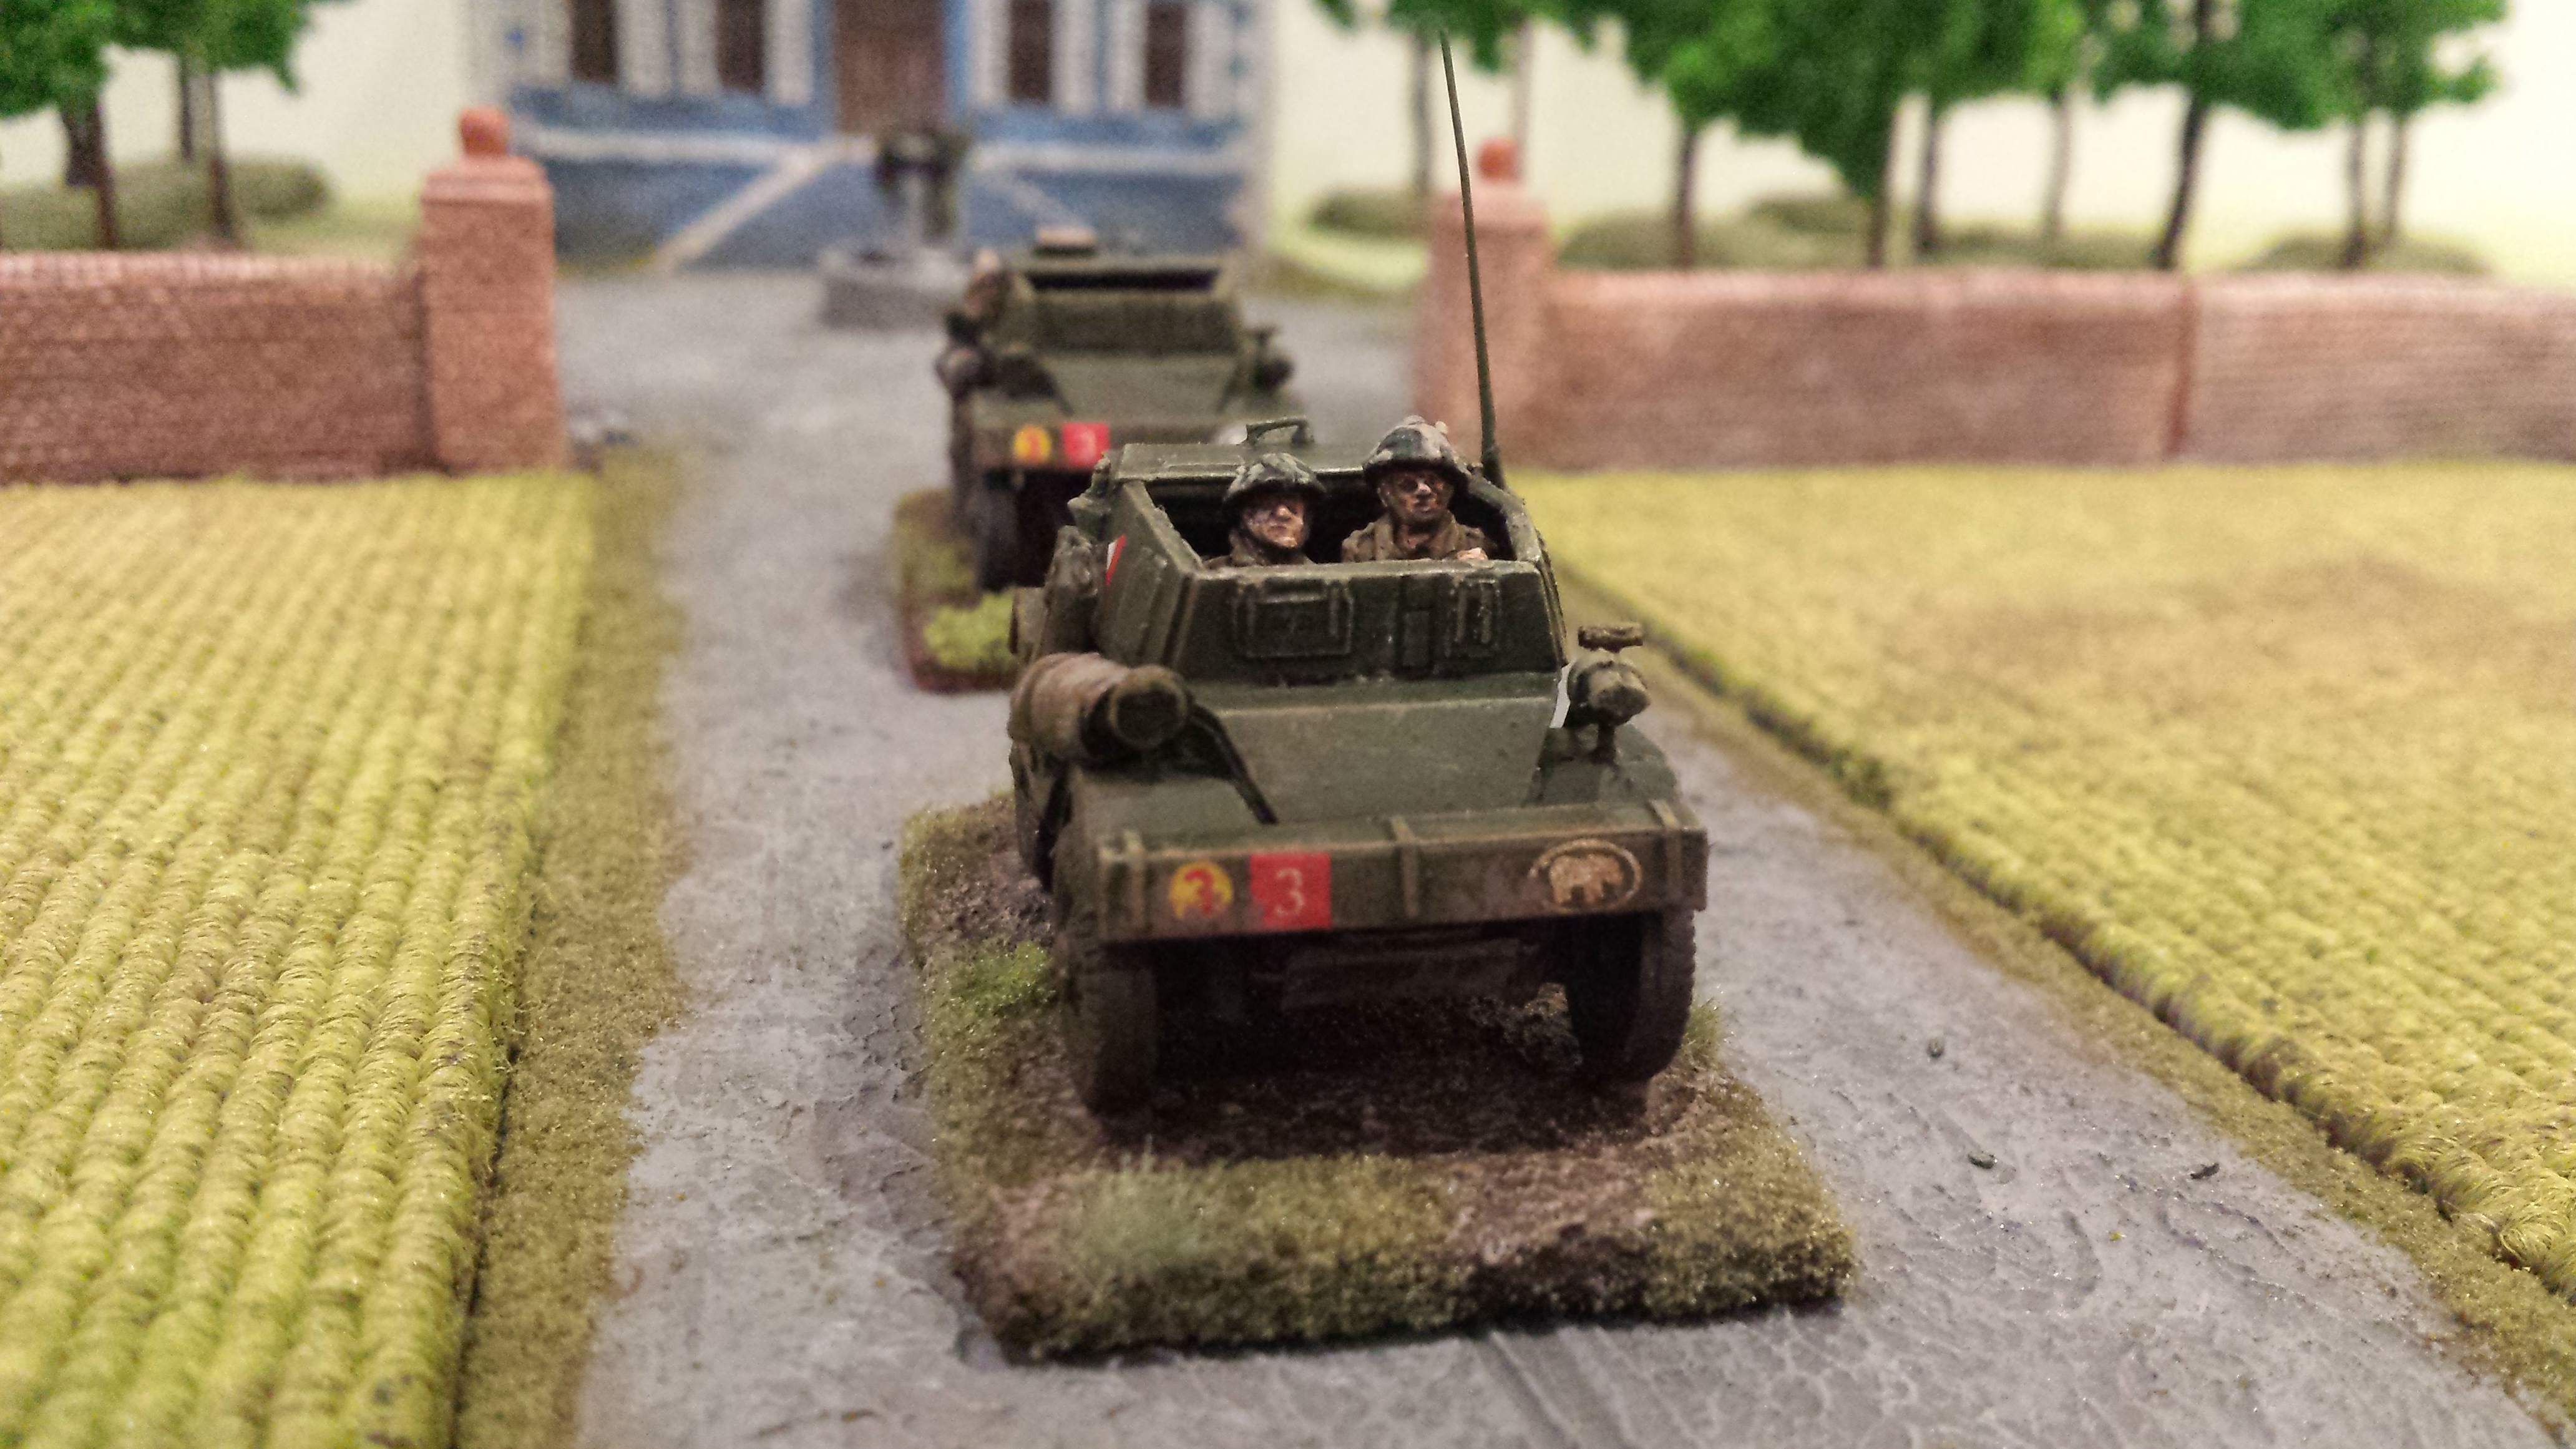
I added my AB Figures Dingo crew, one driver and one officer with binoculars. They were a tight fit but really make all the difference!

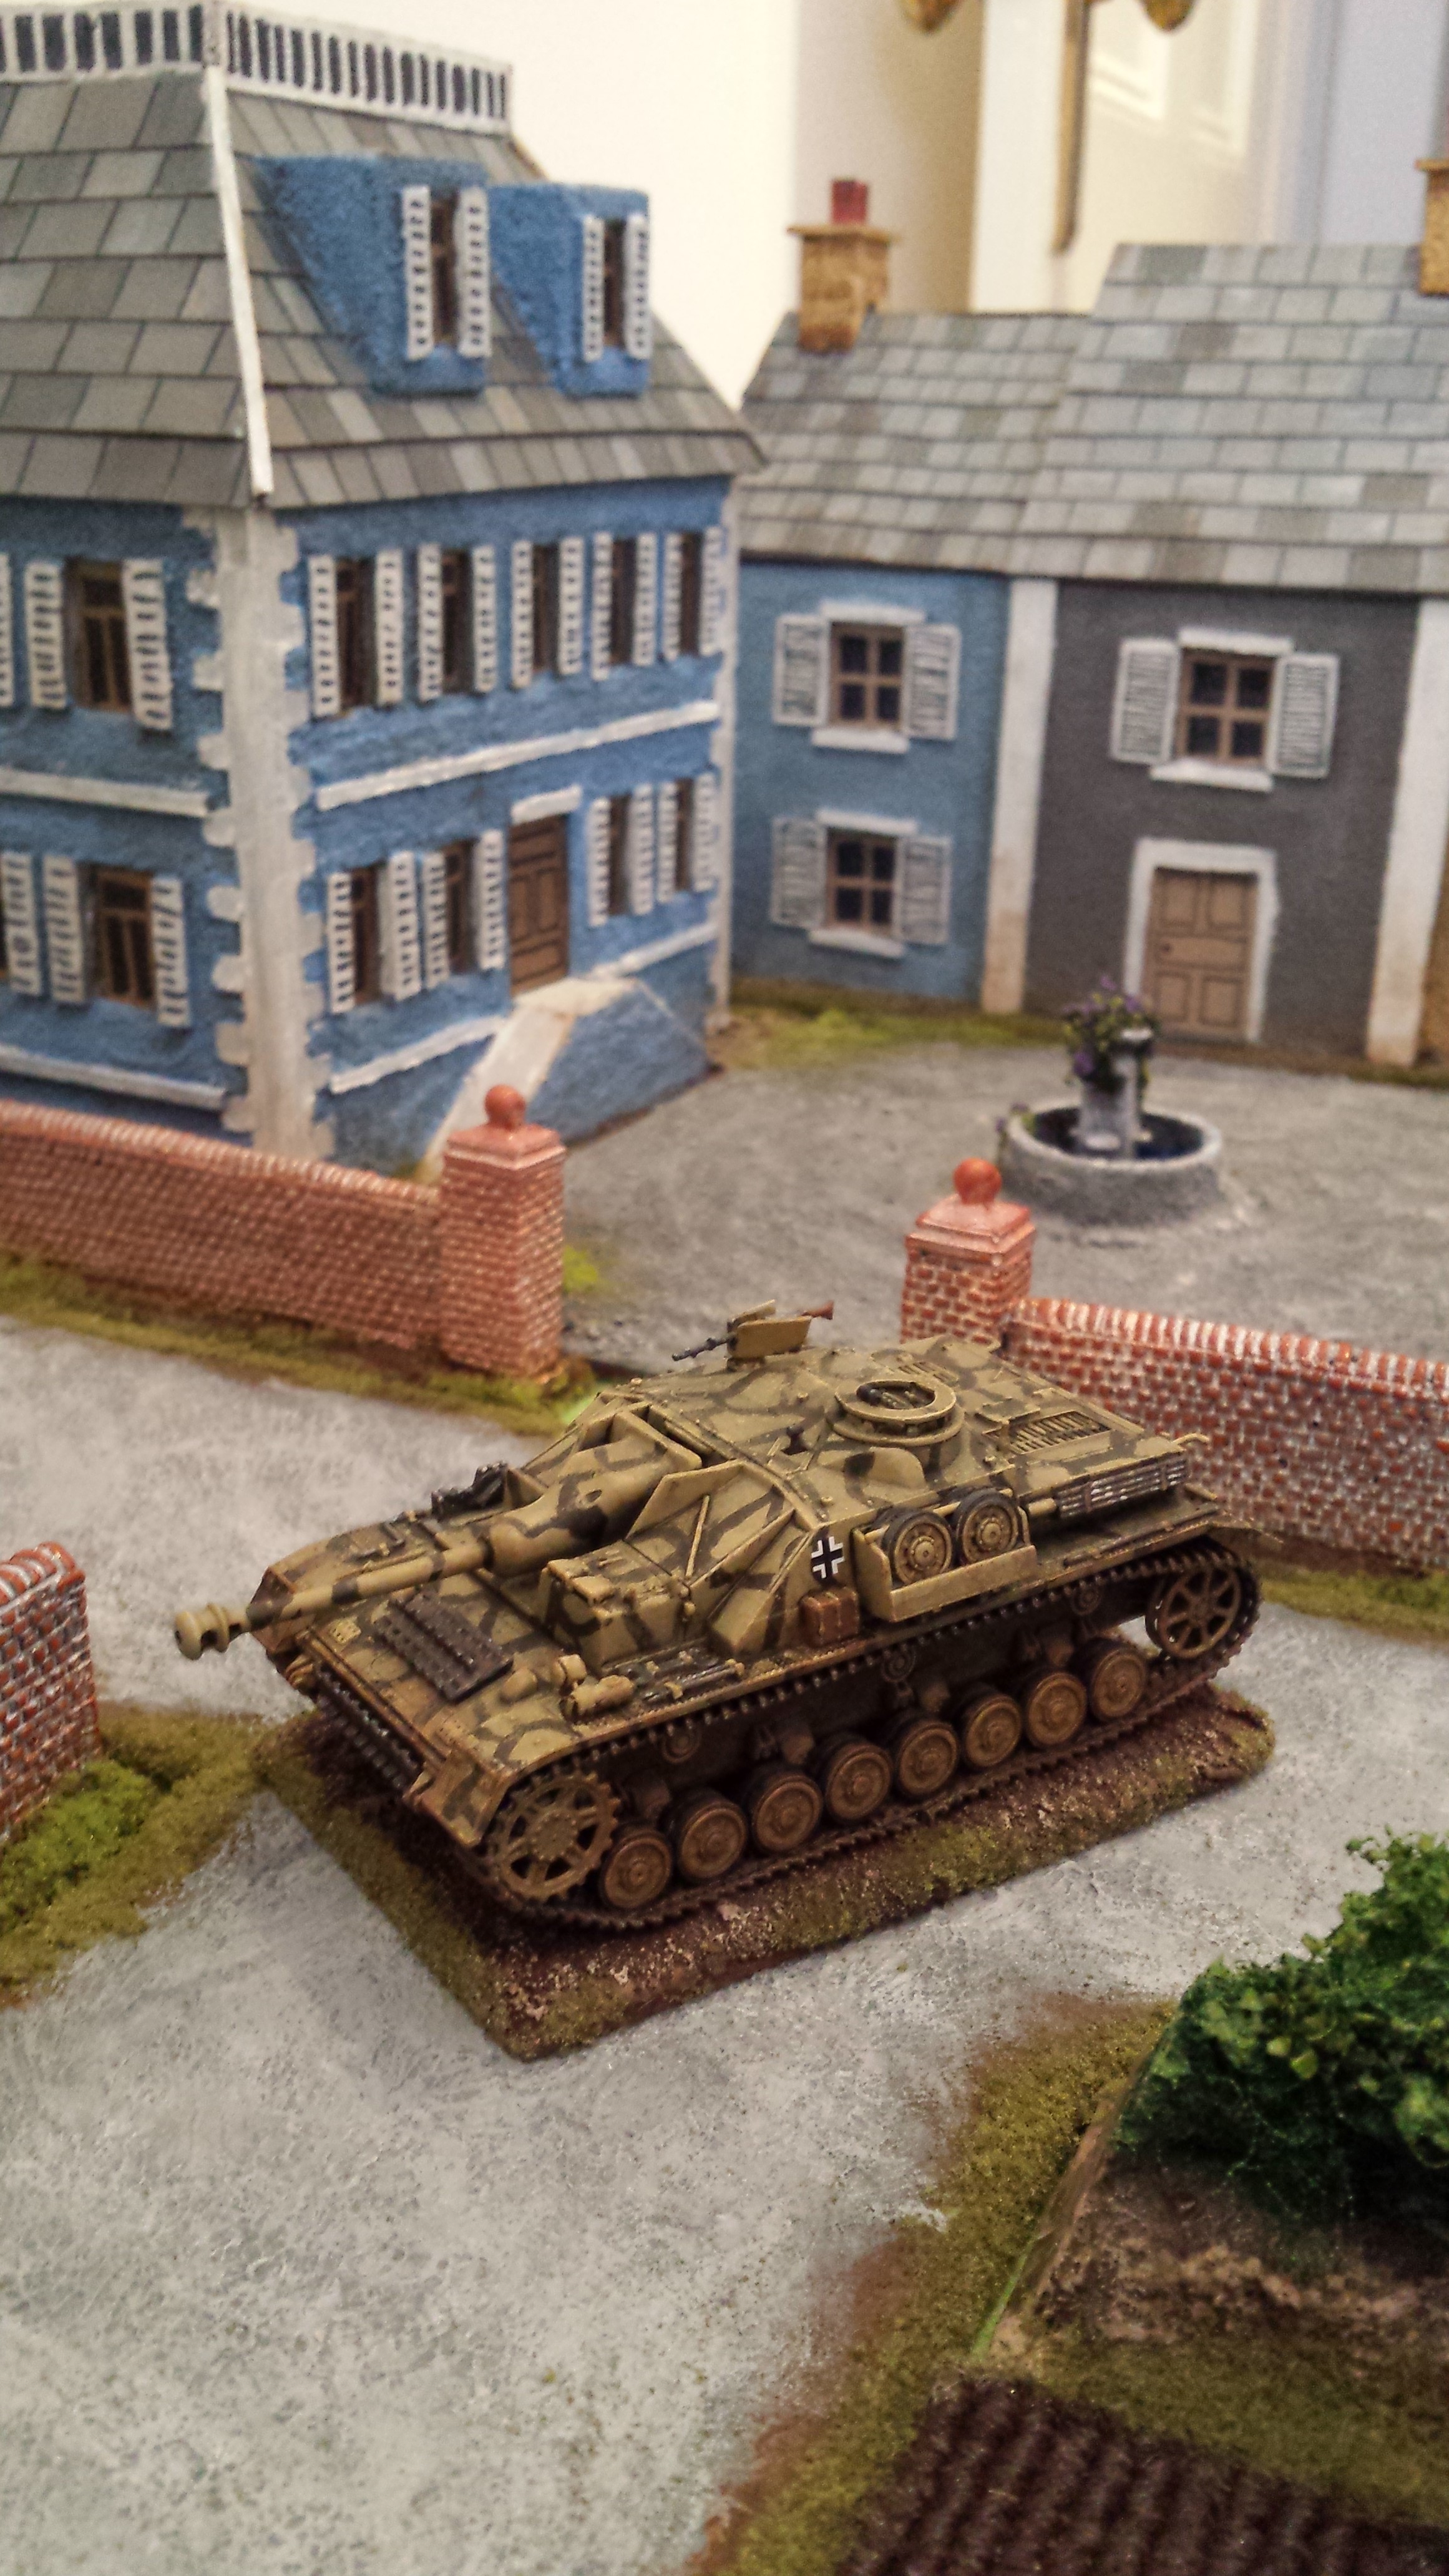
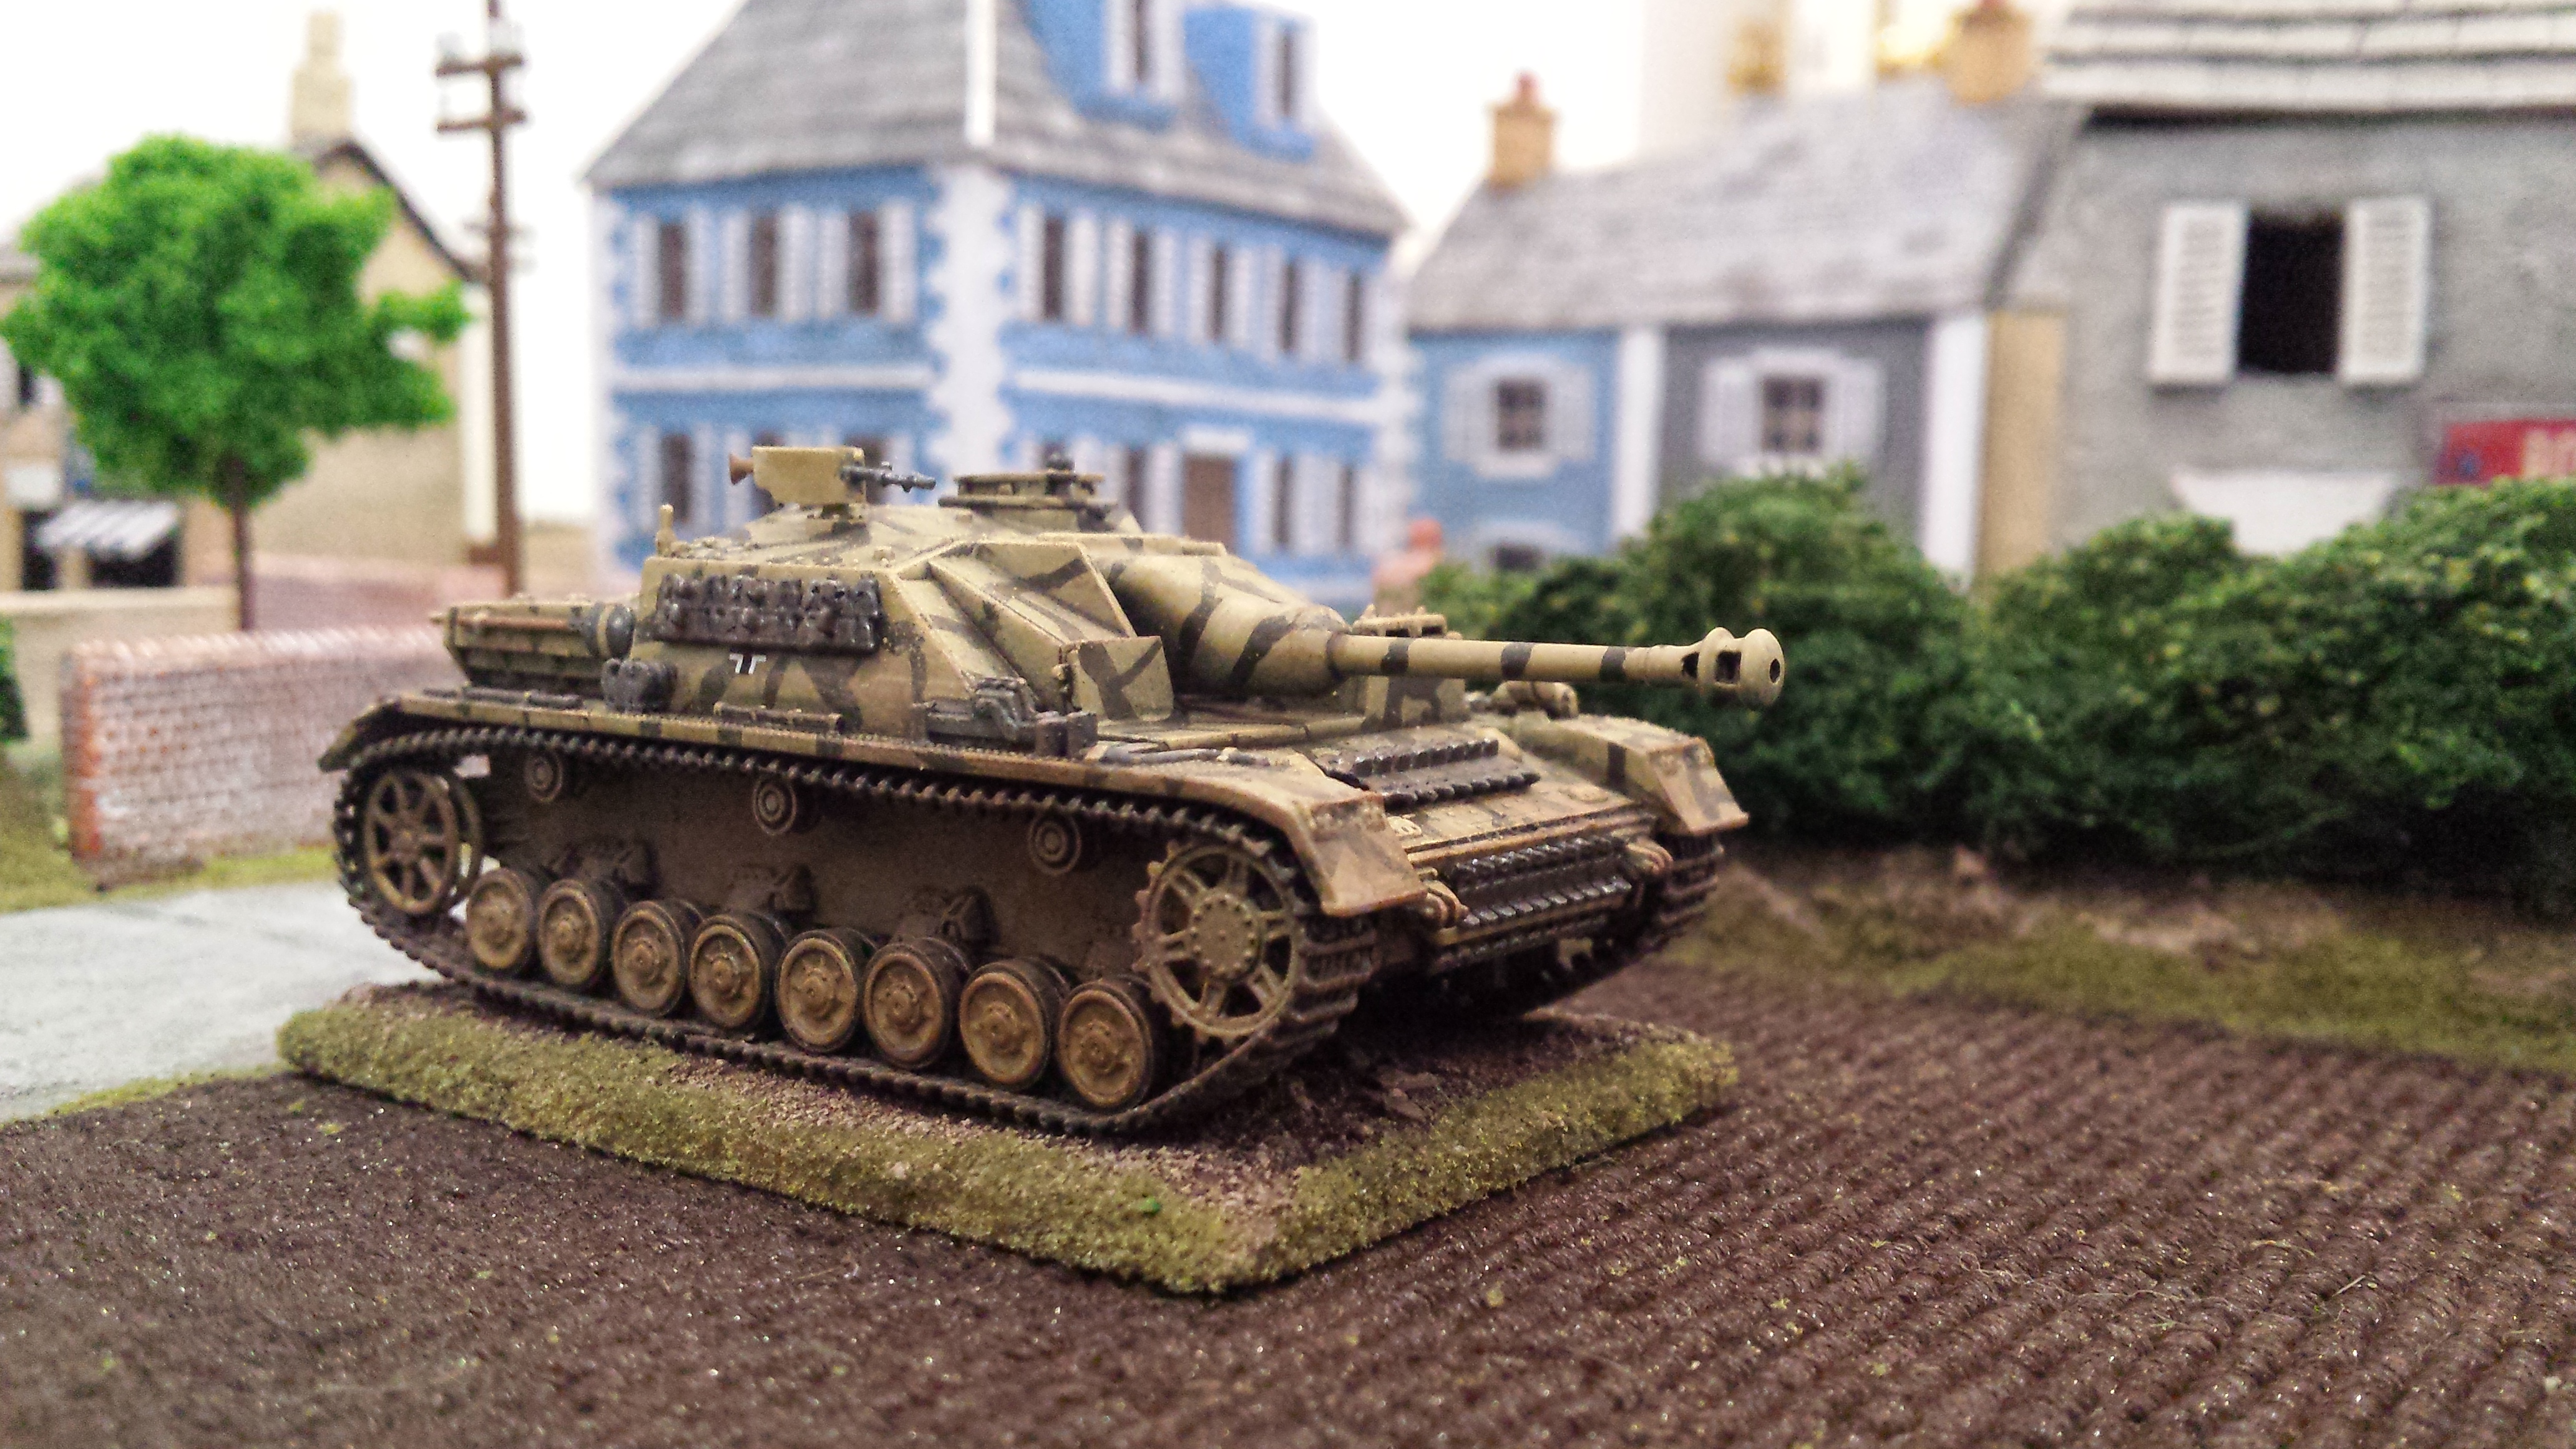
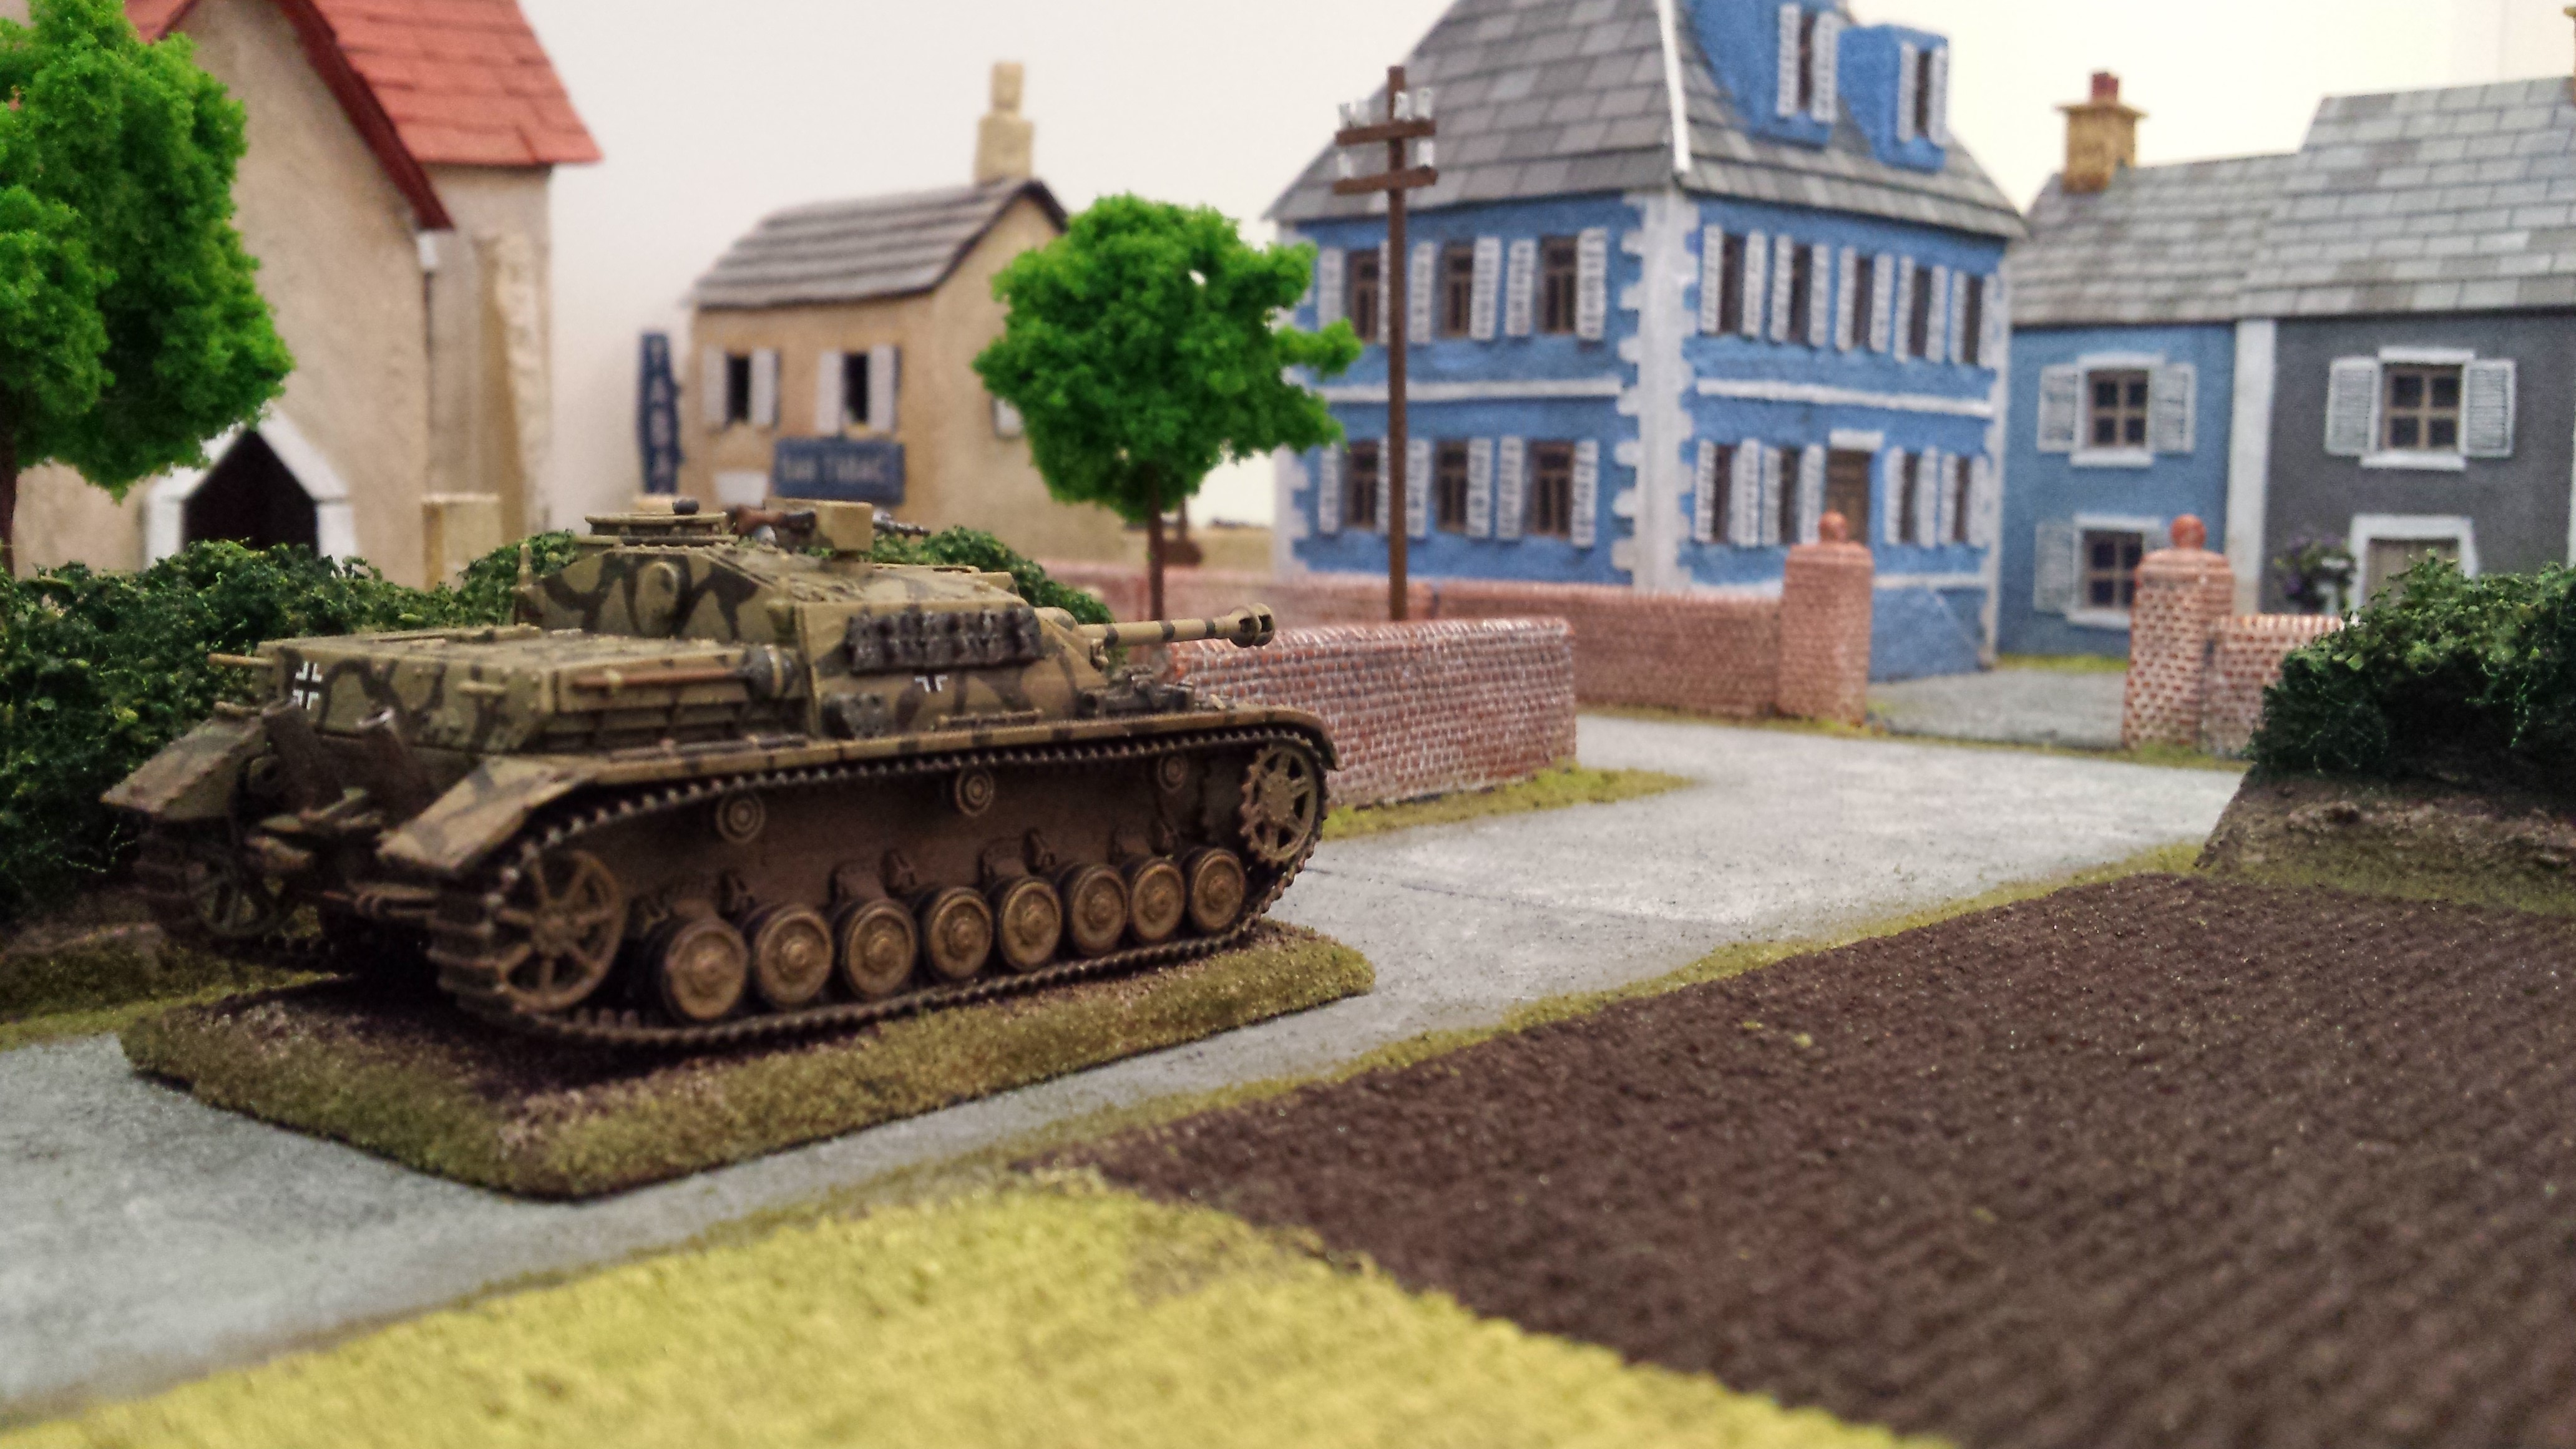
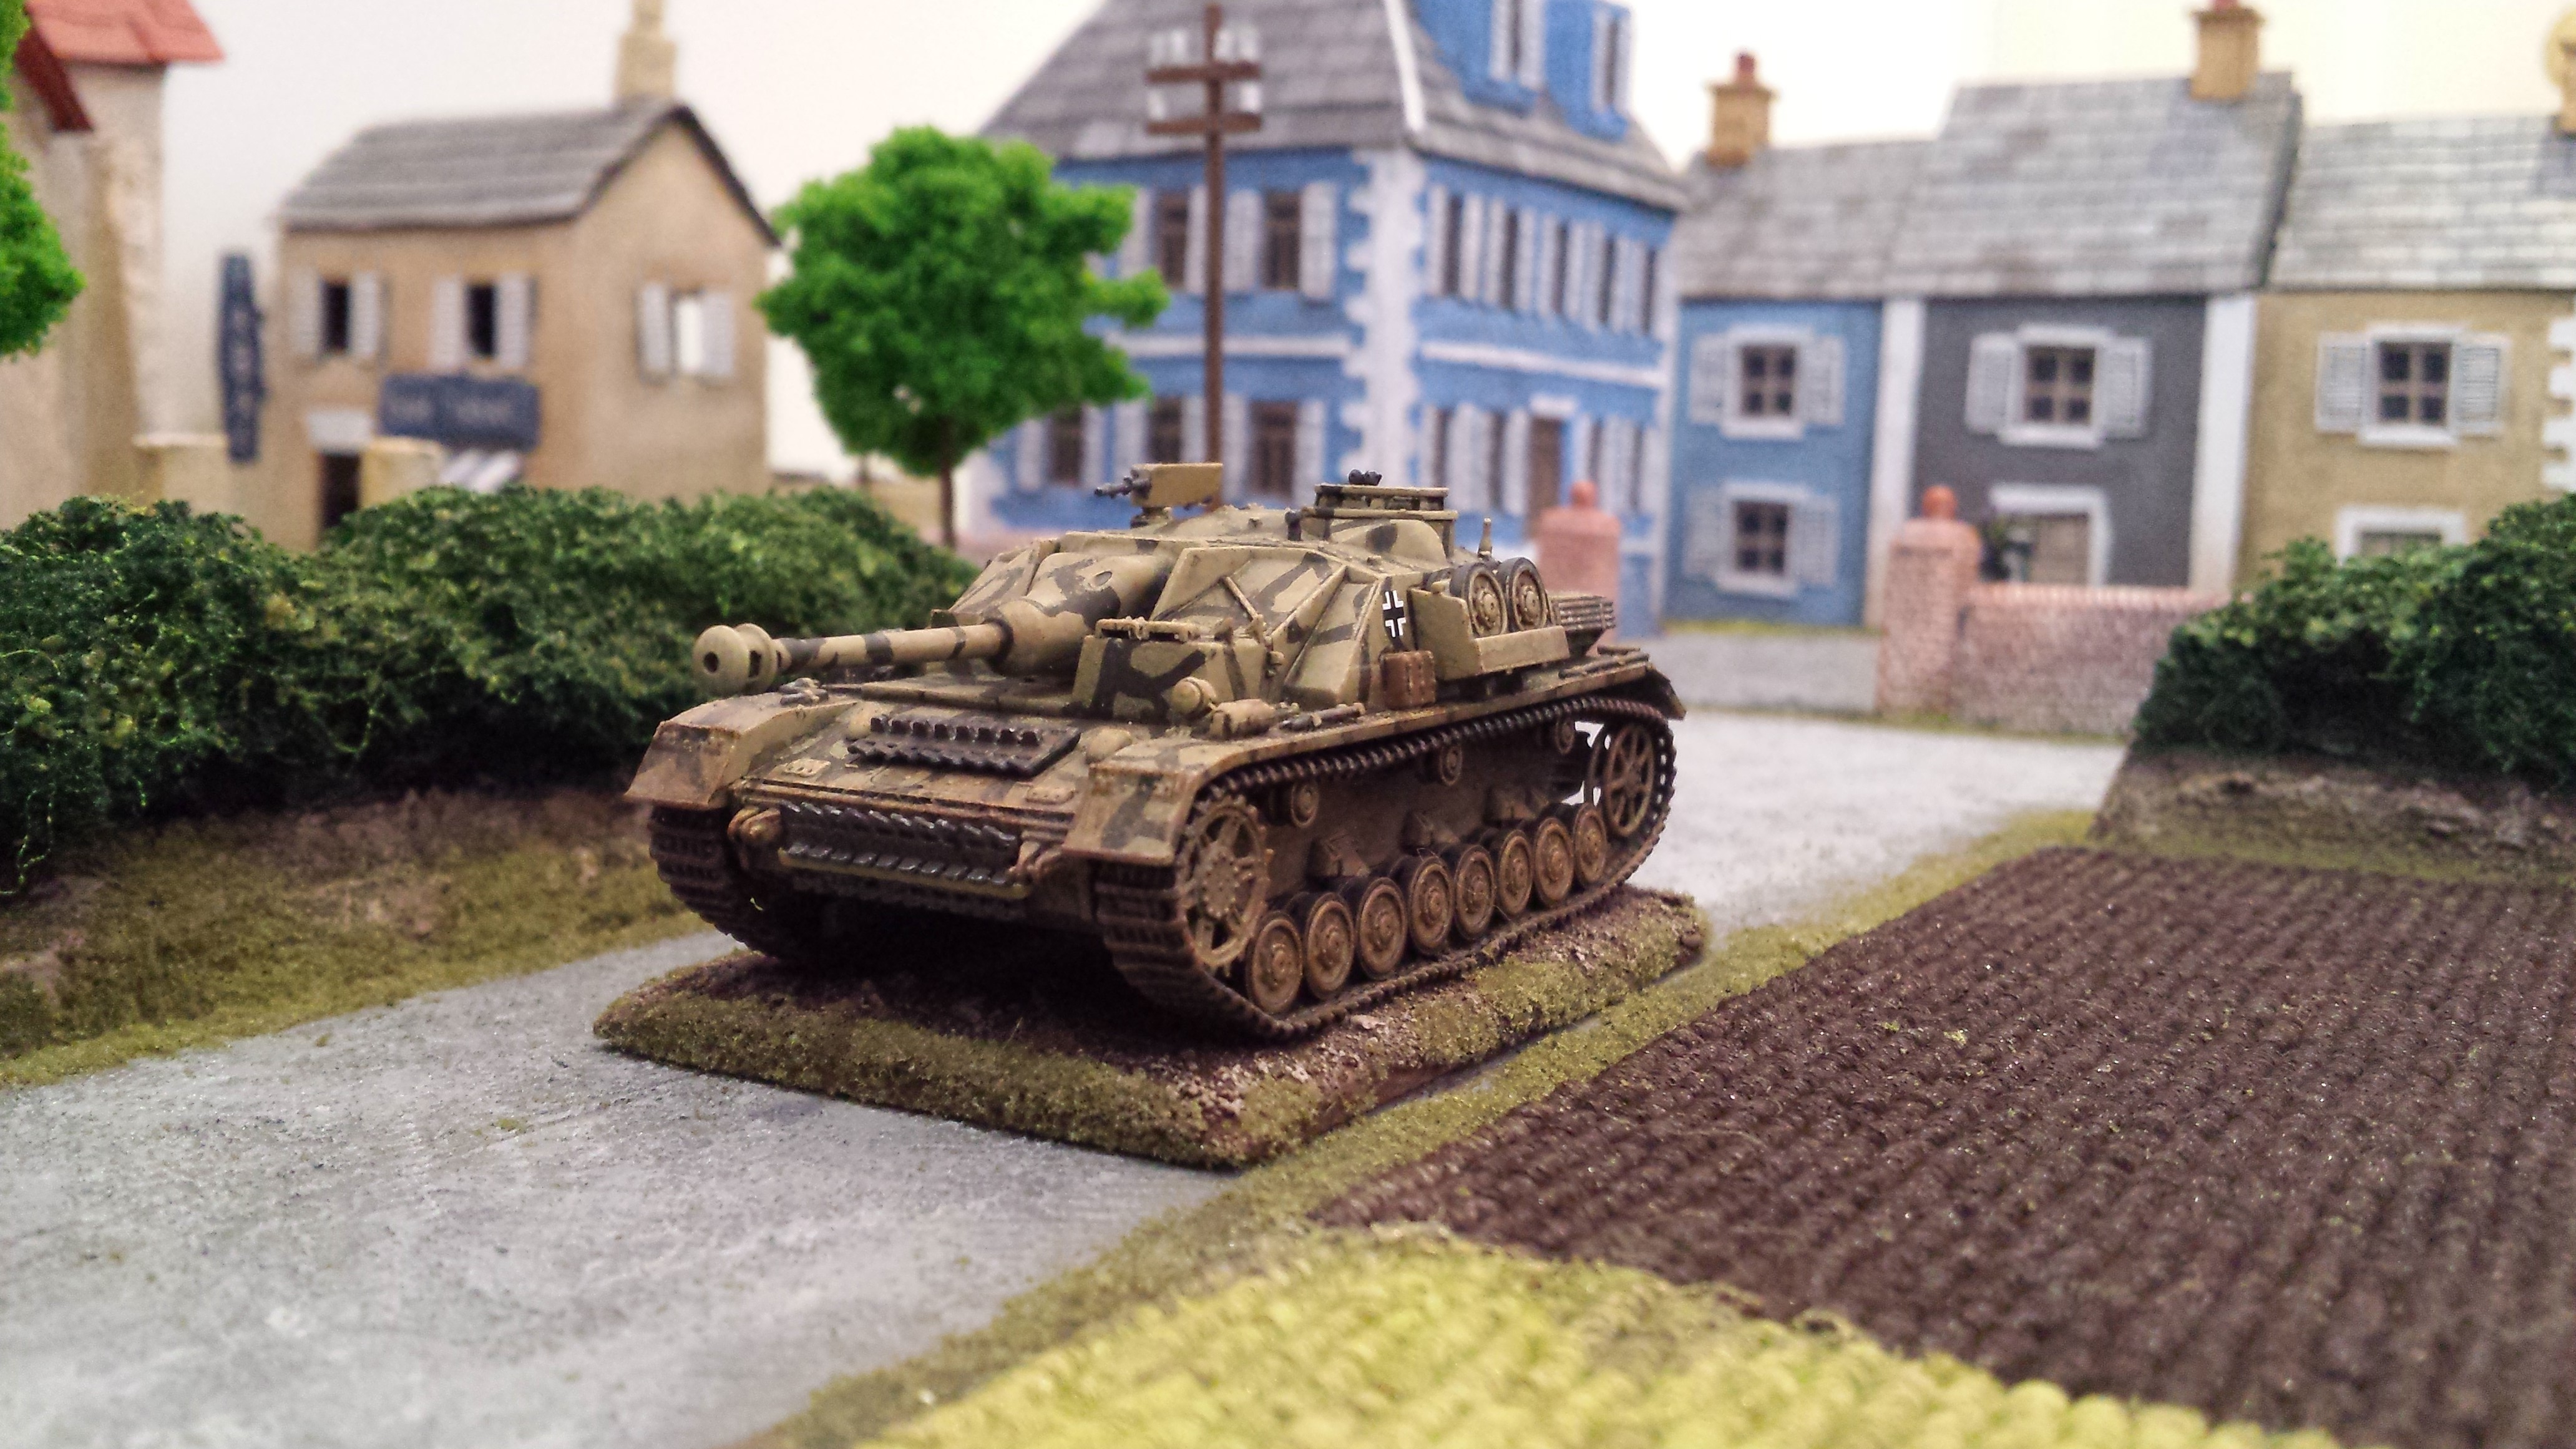
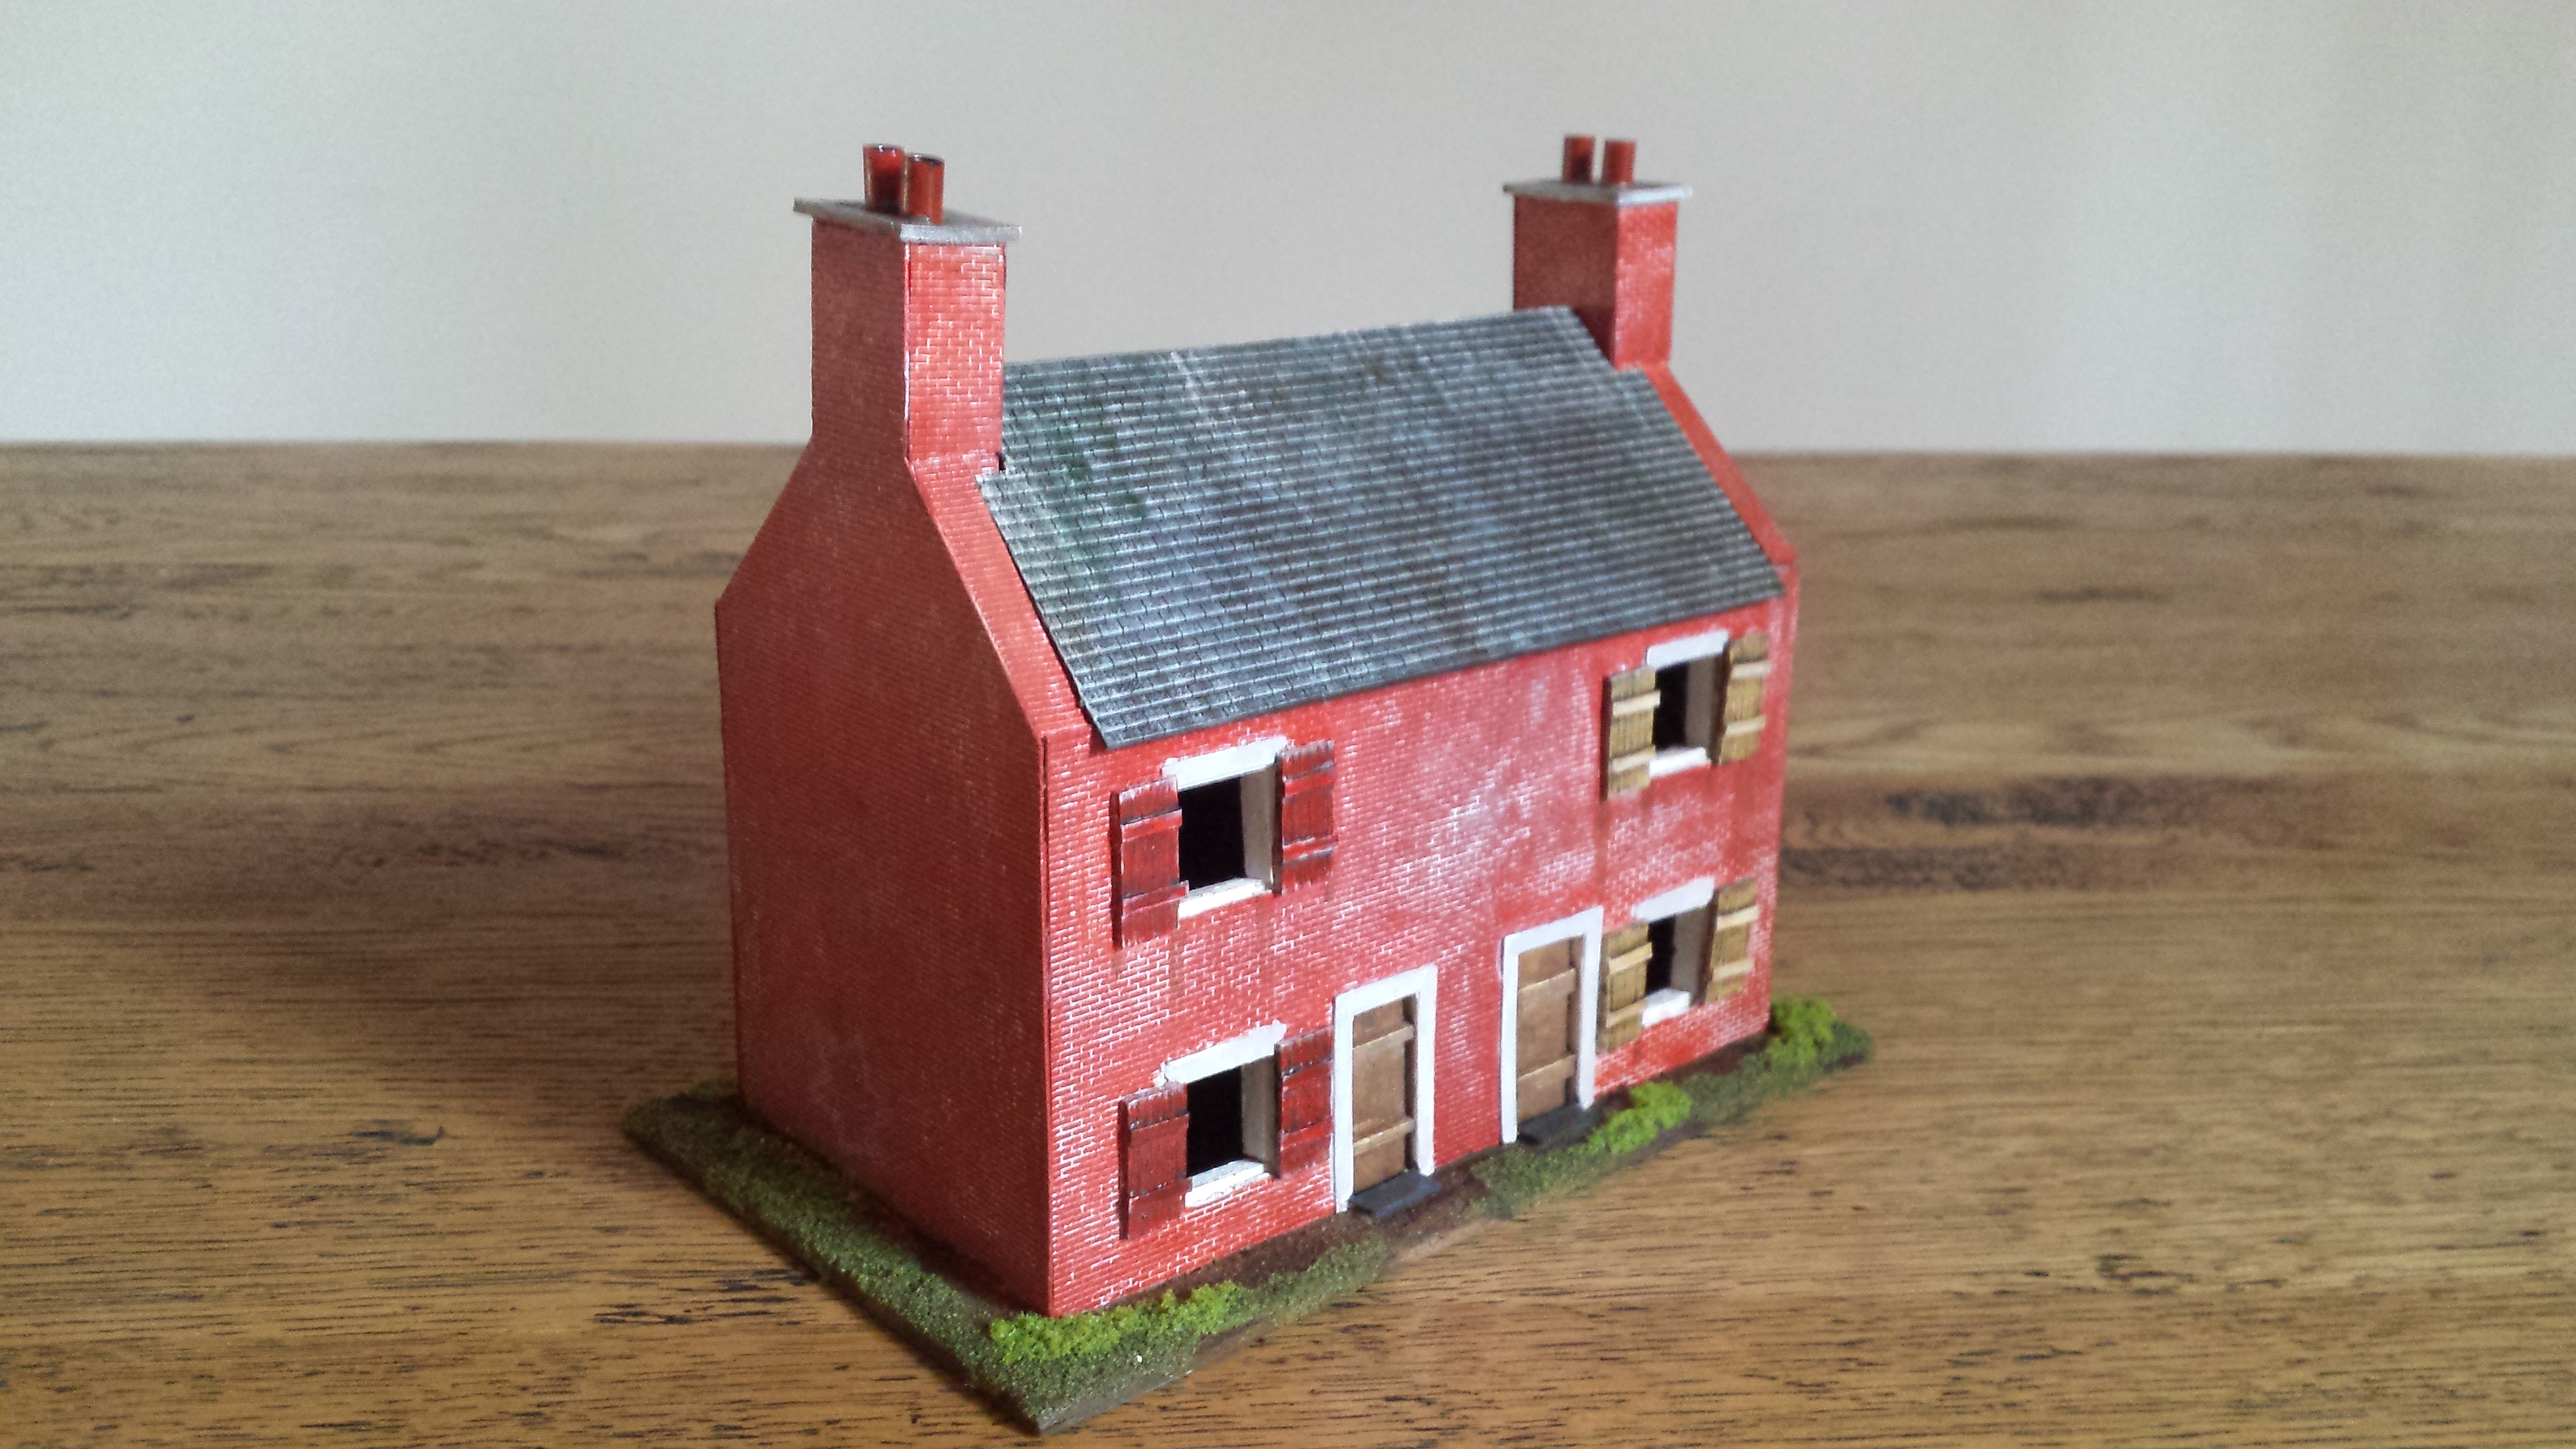
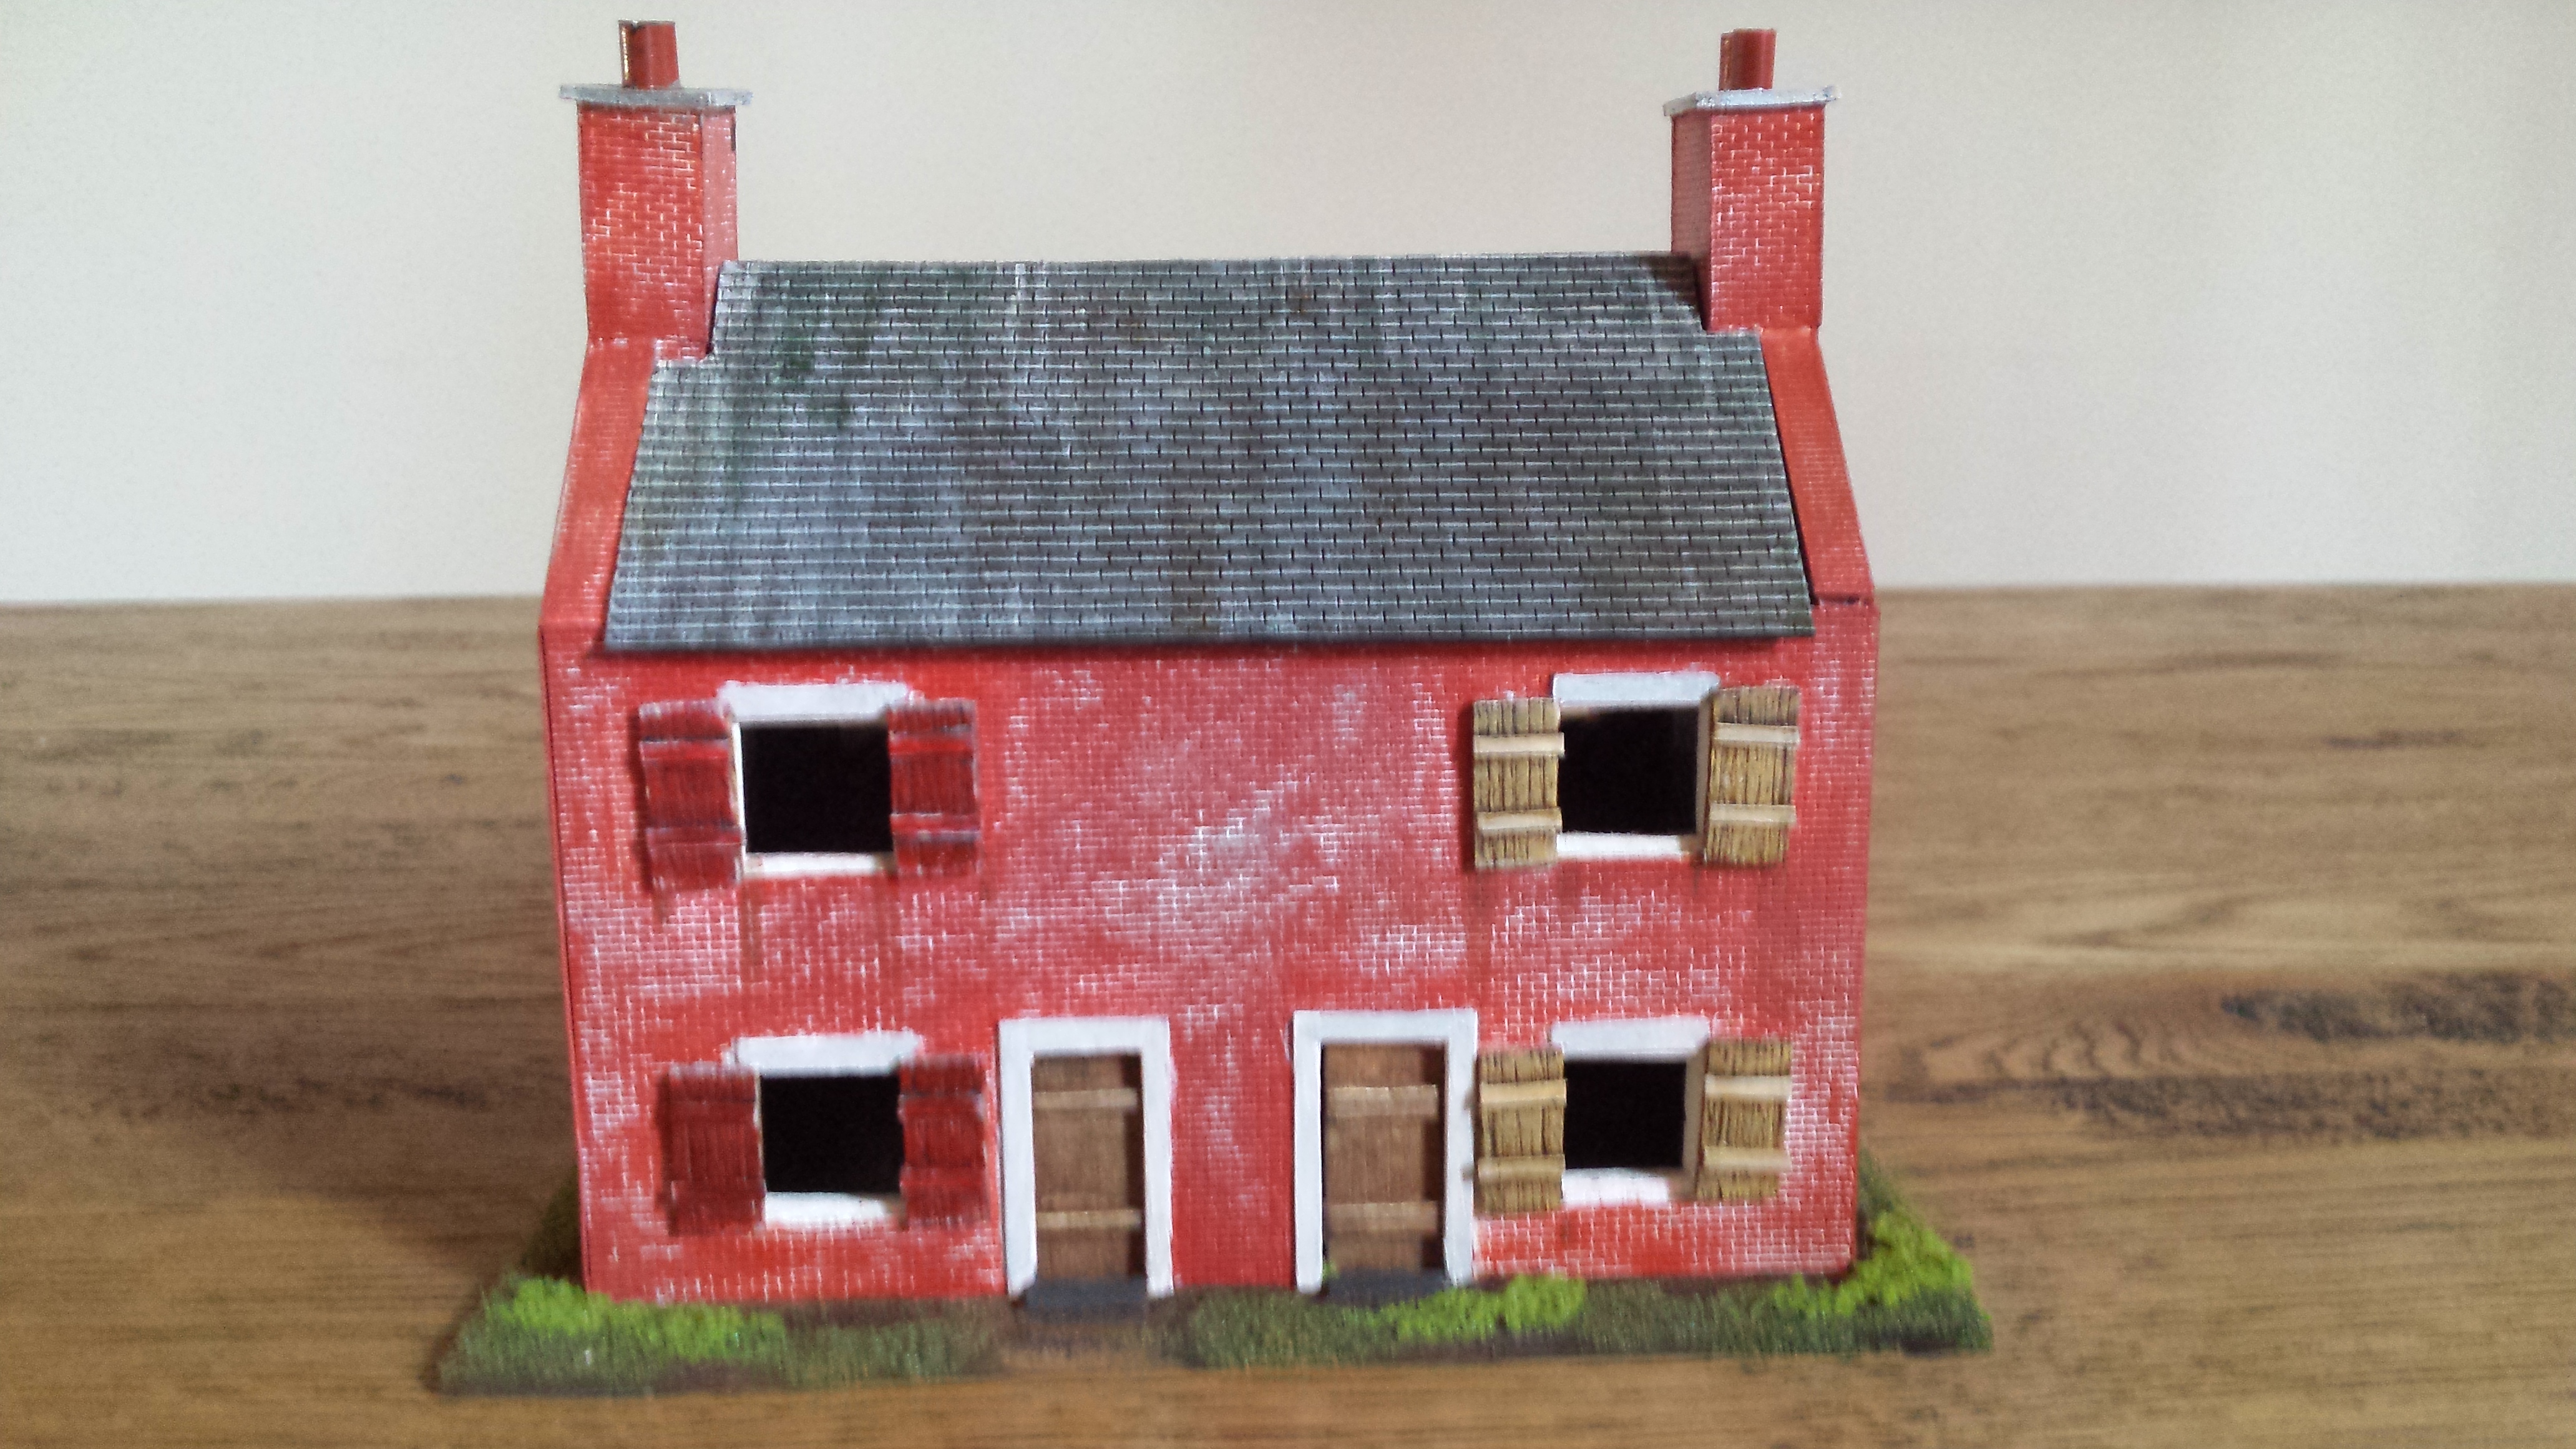
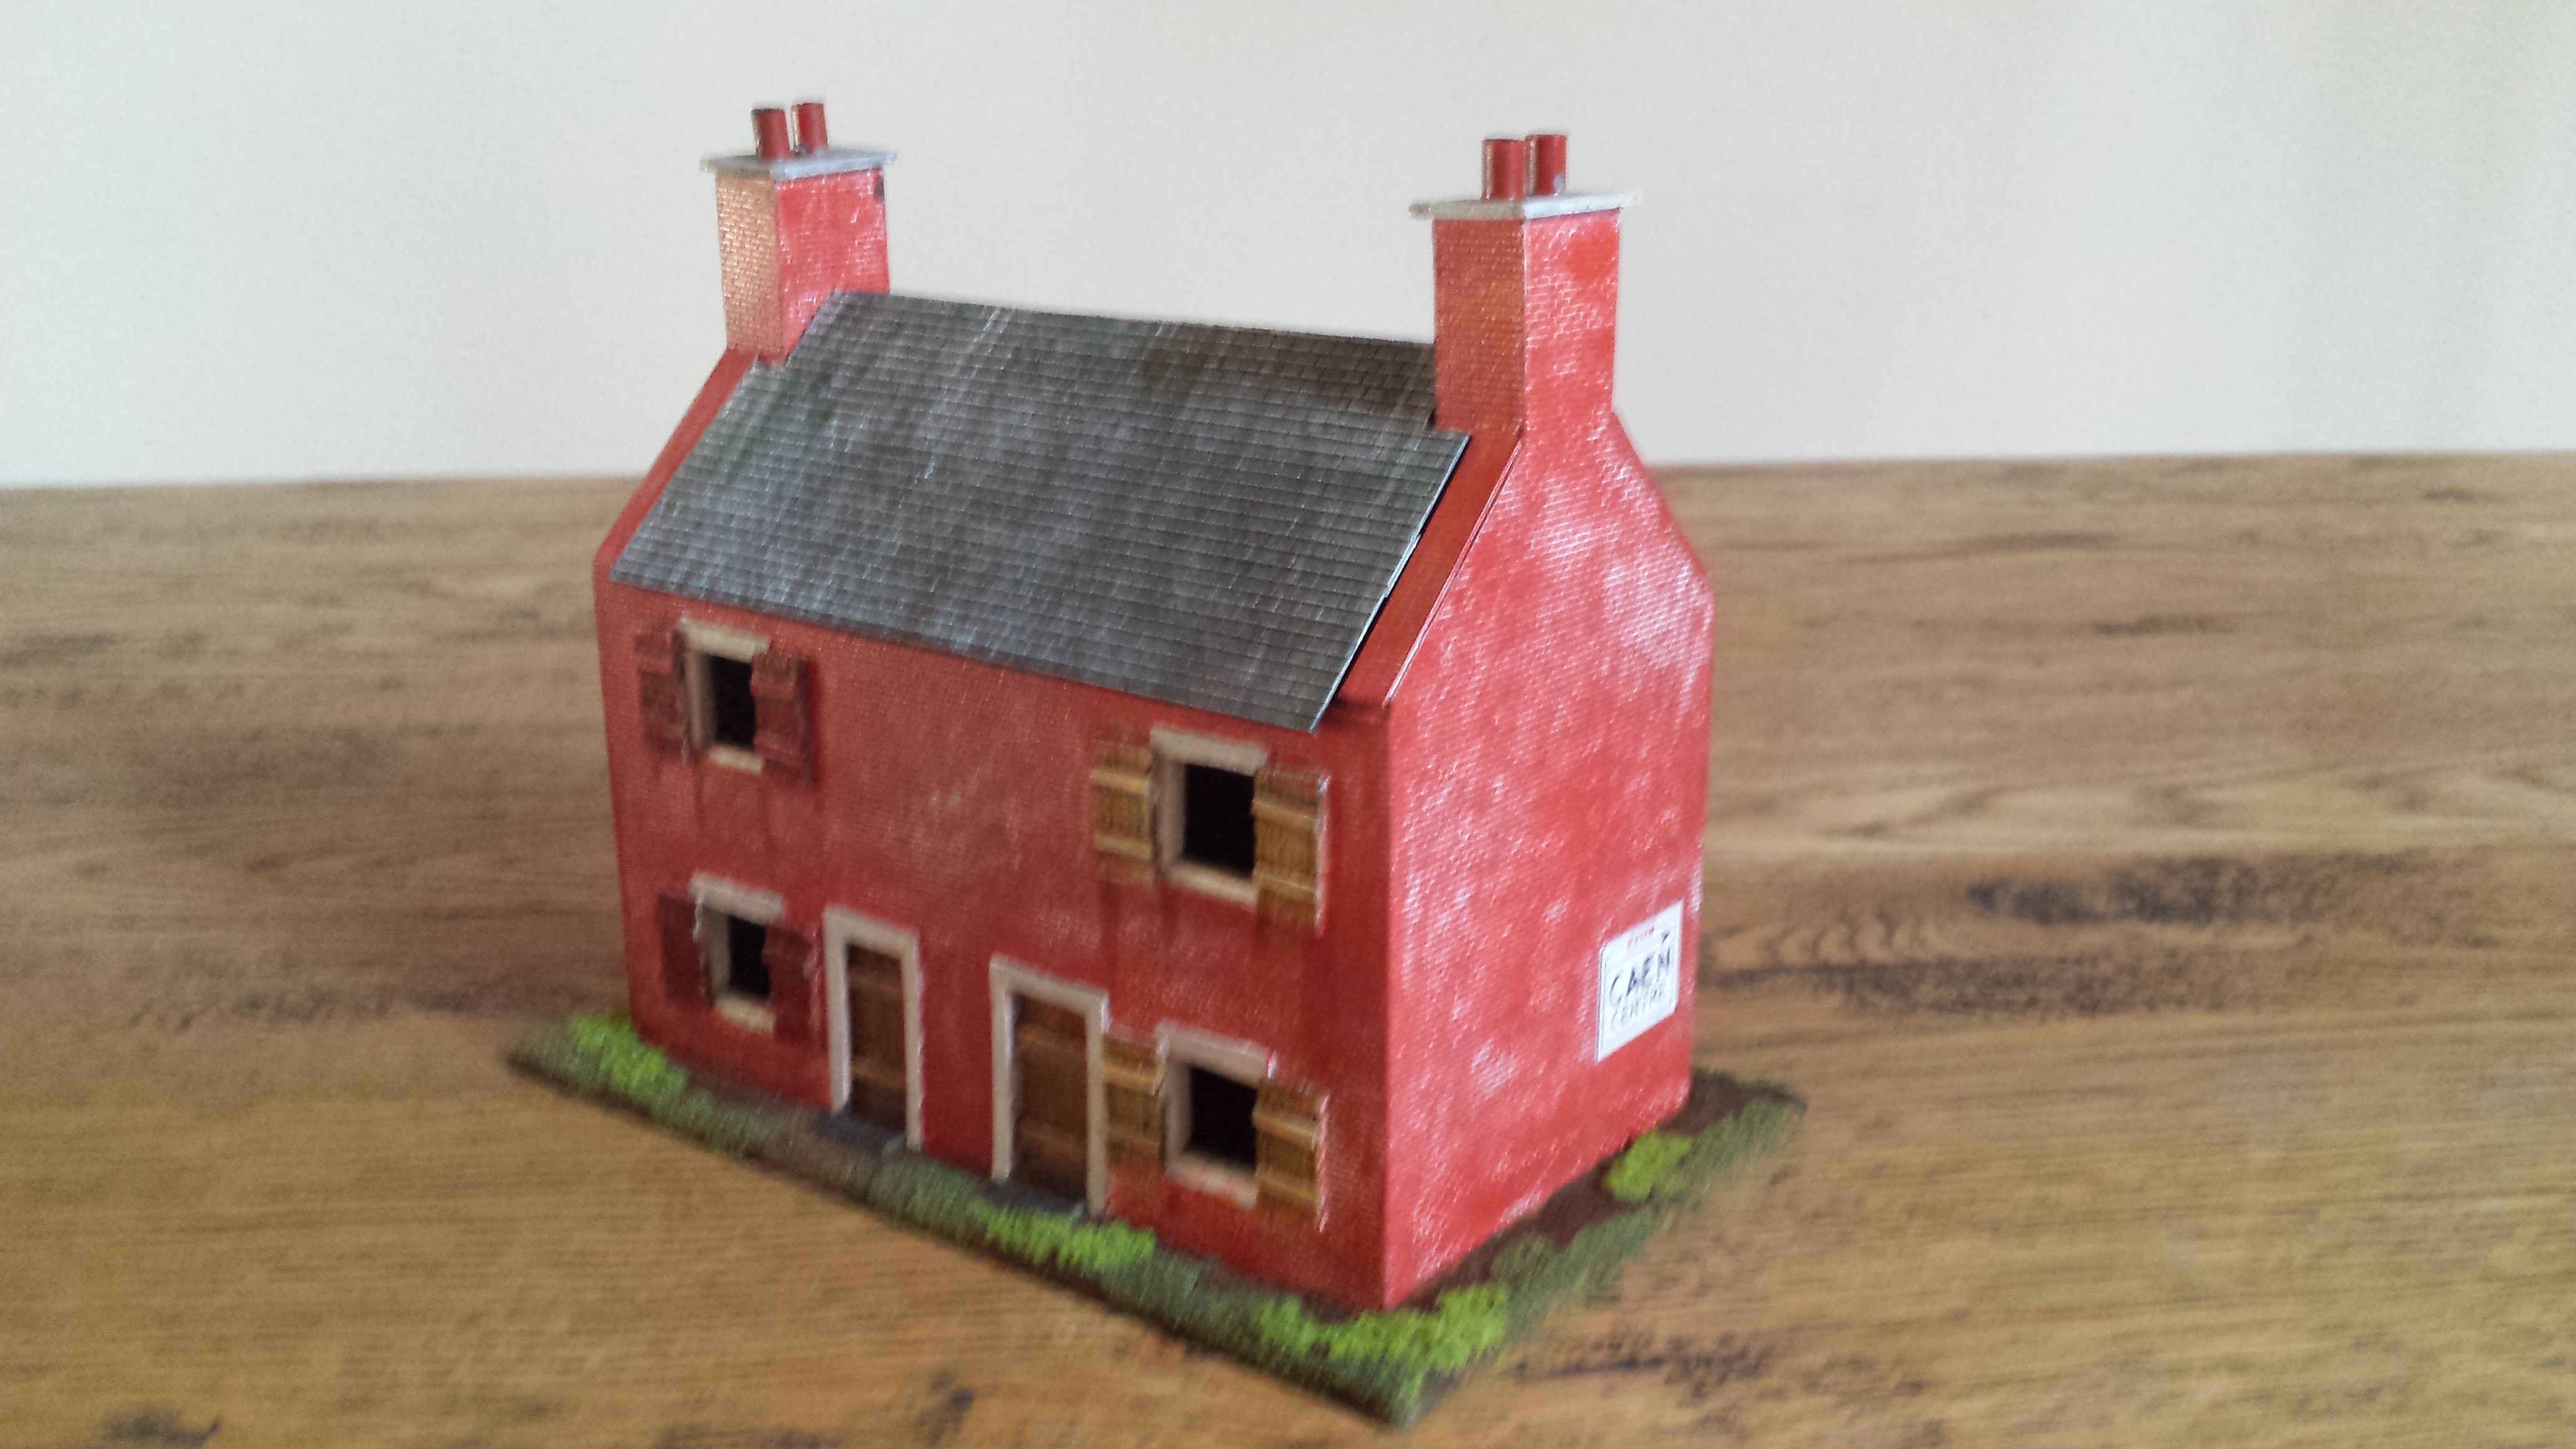
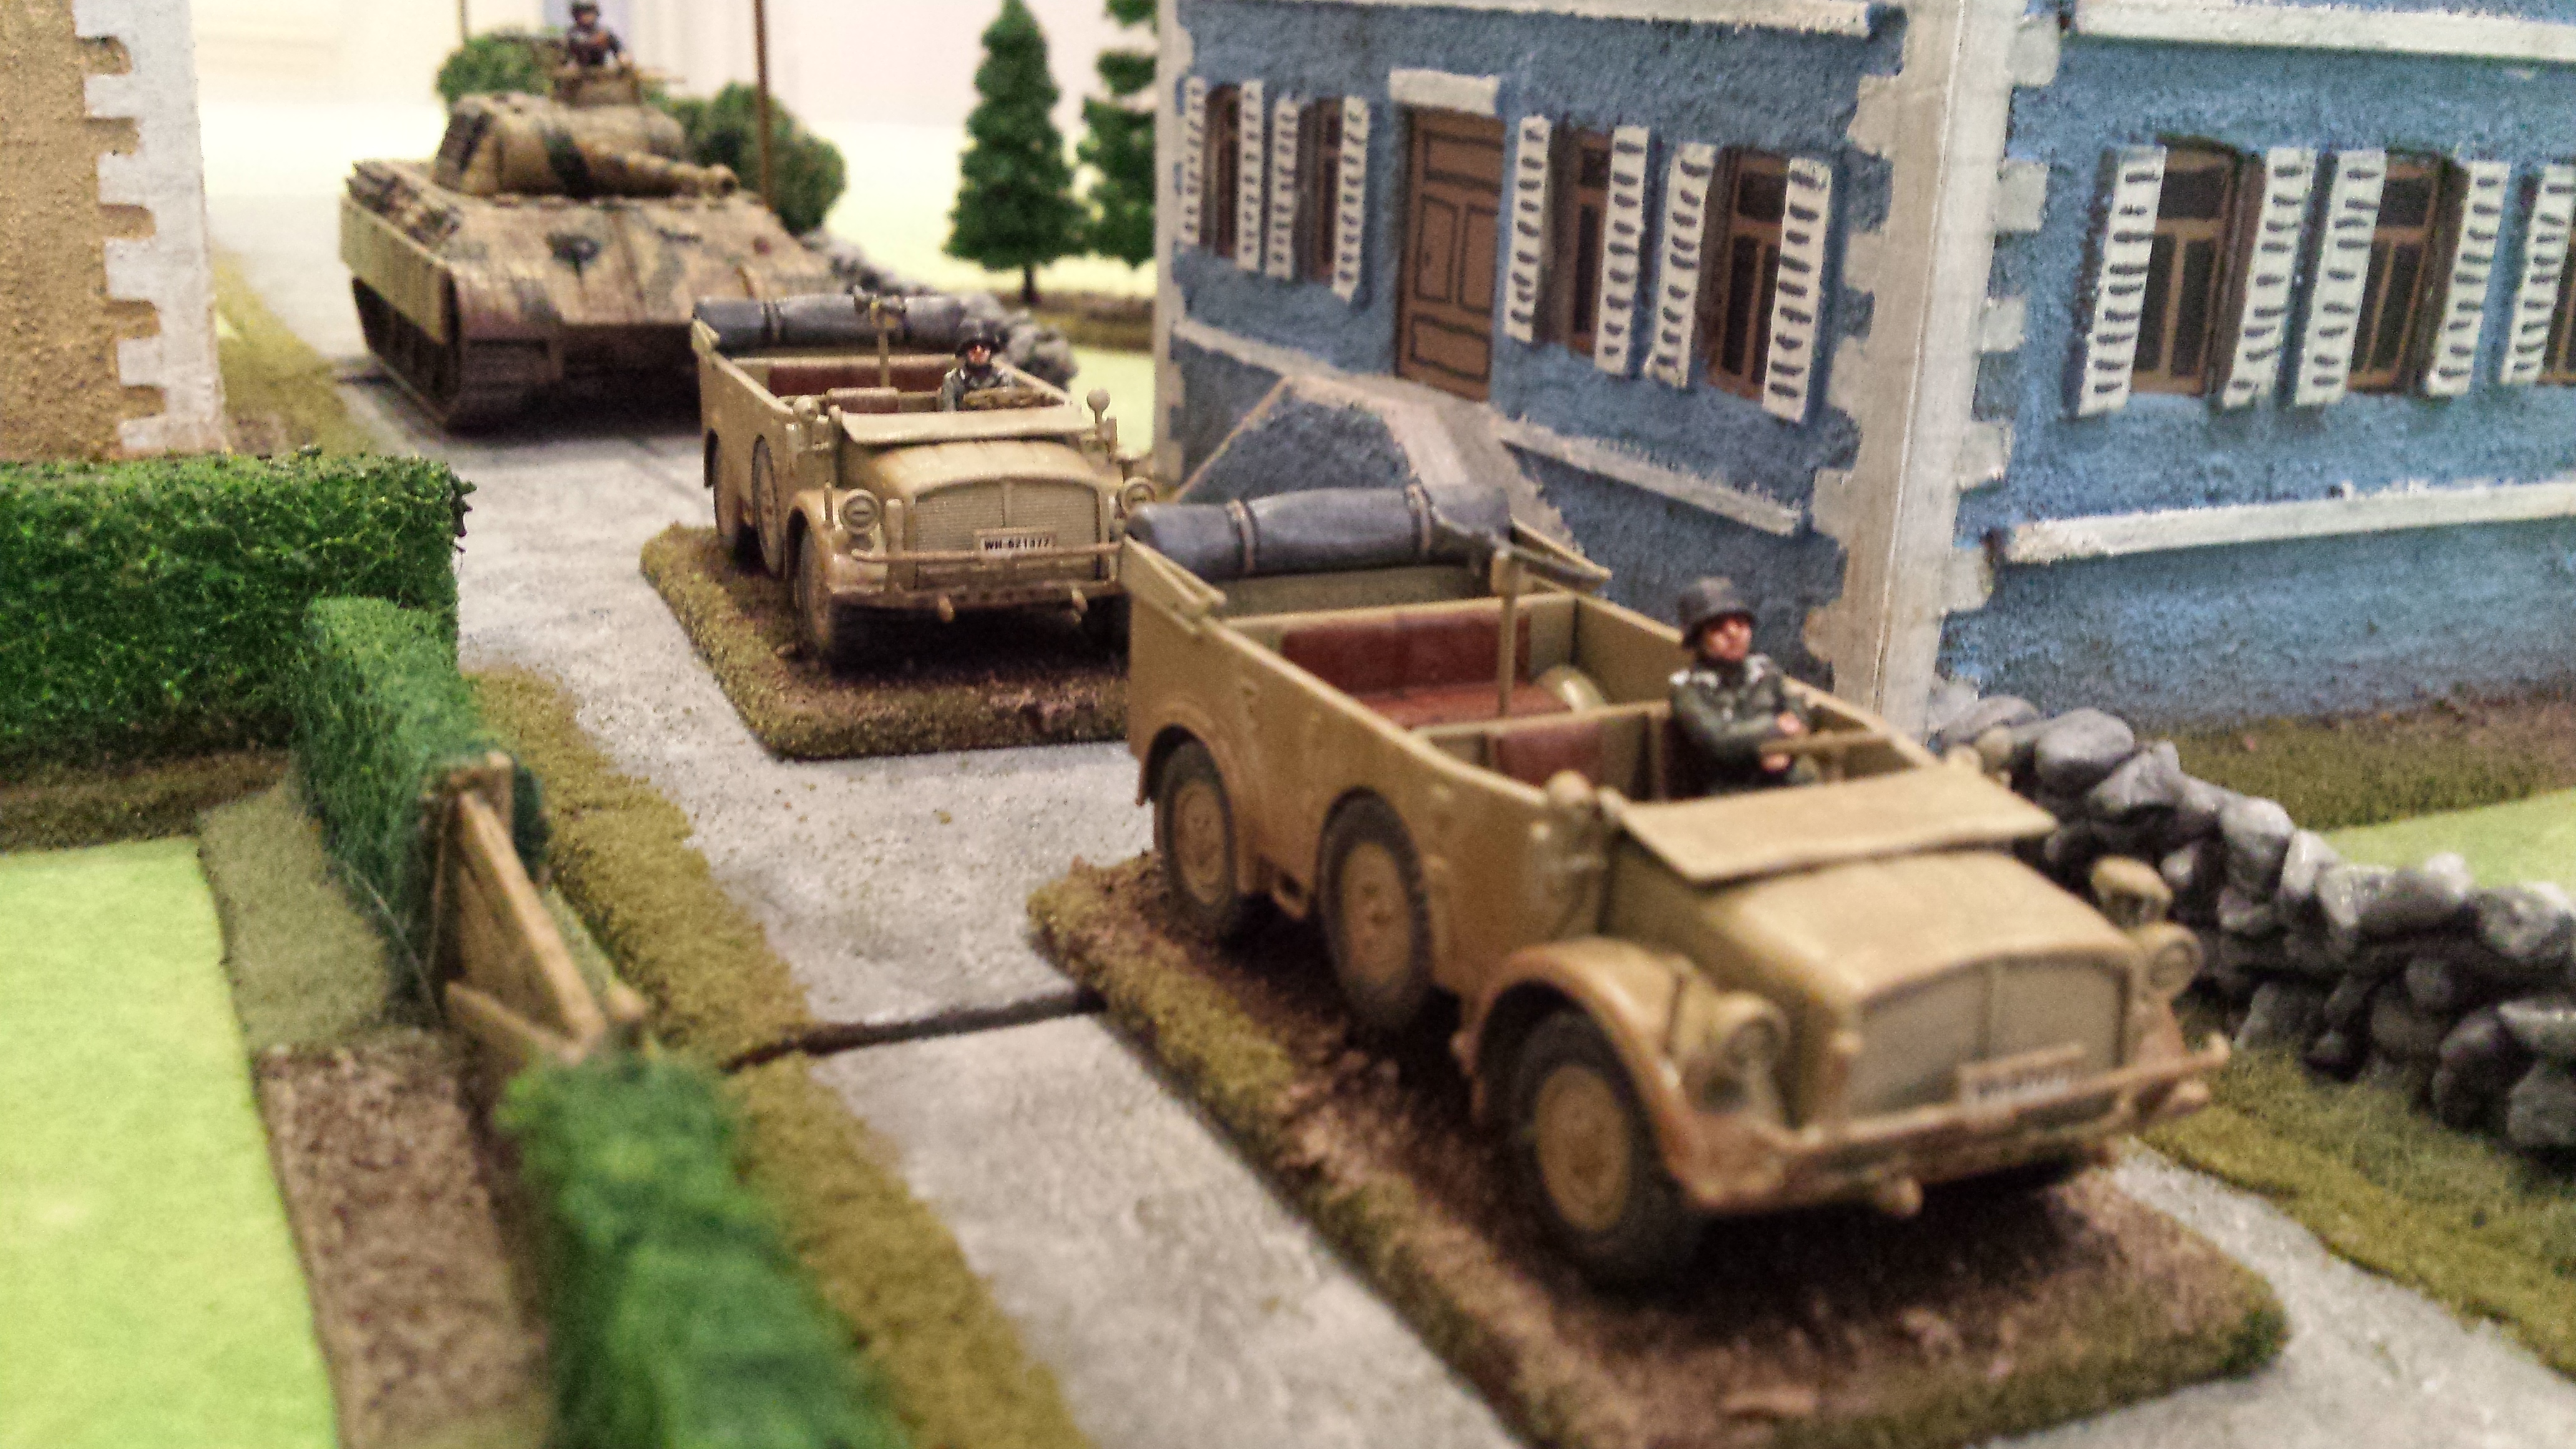
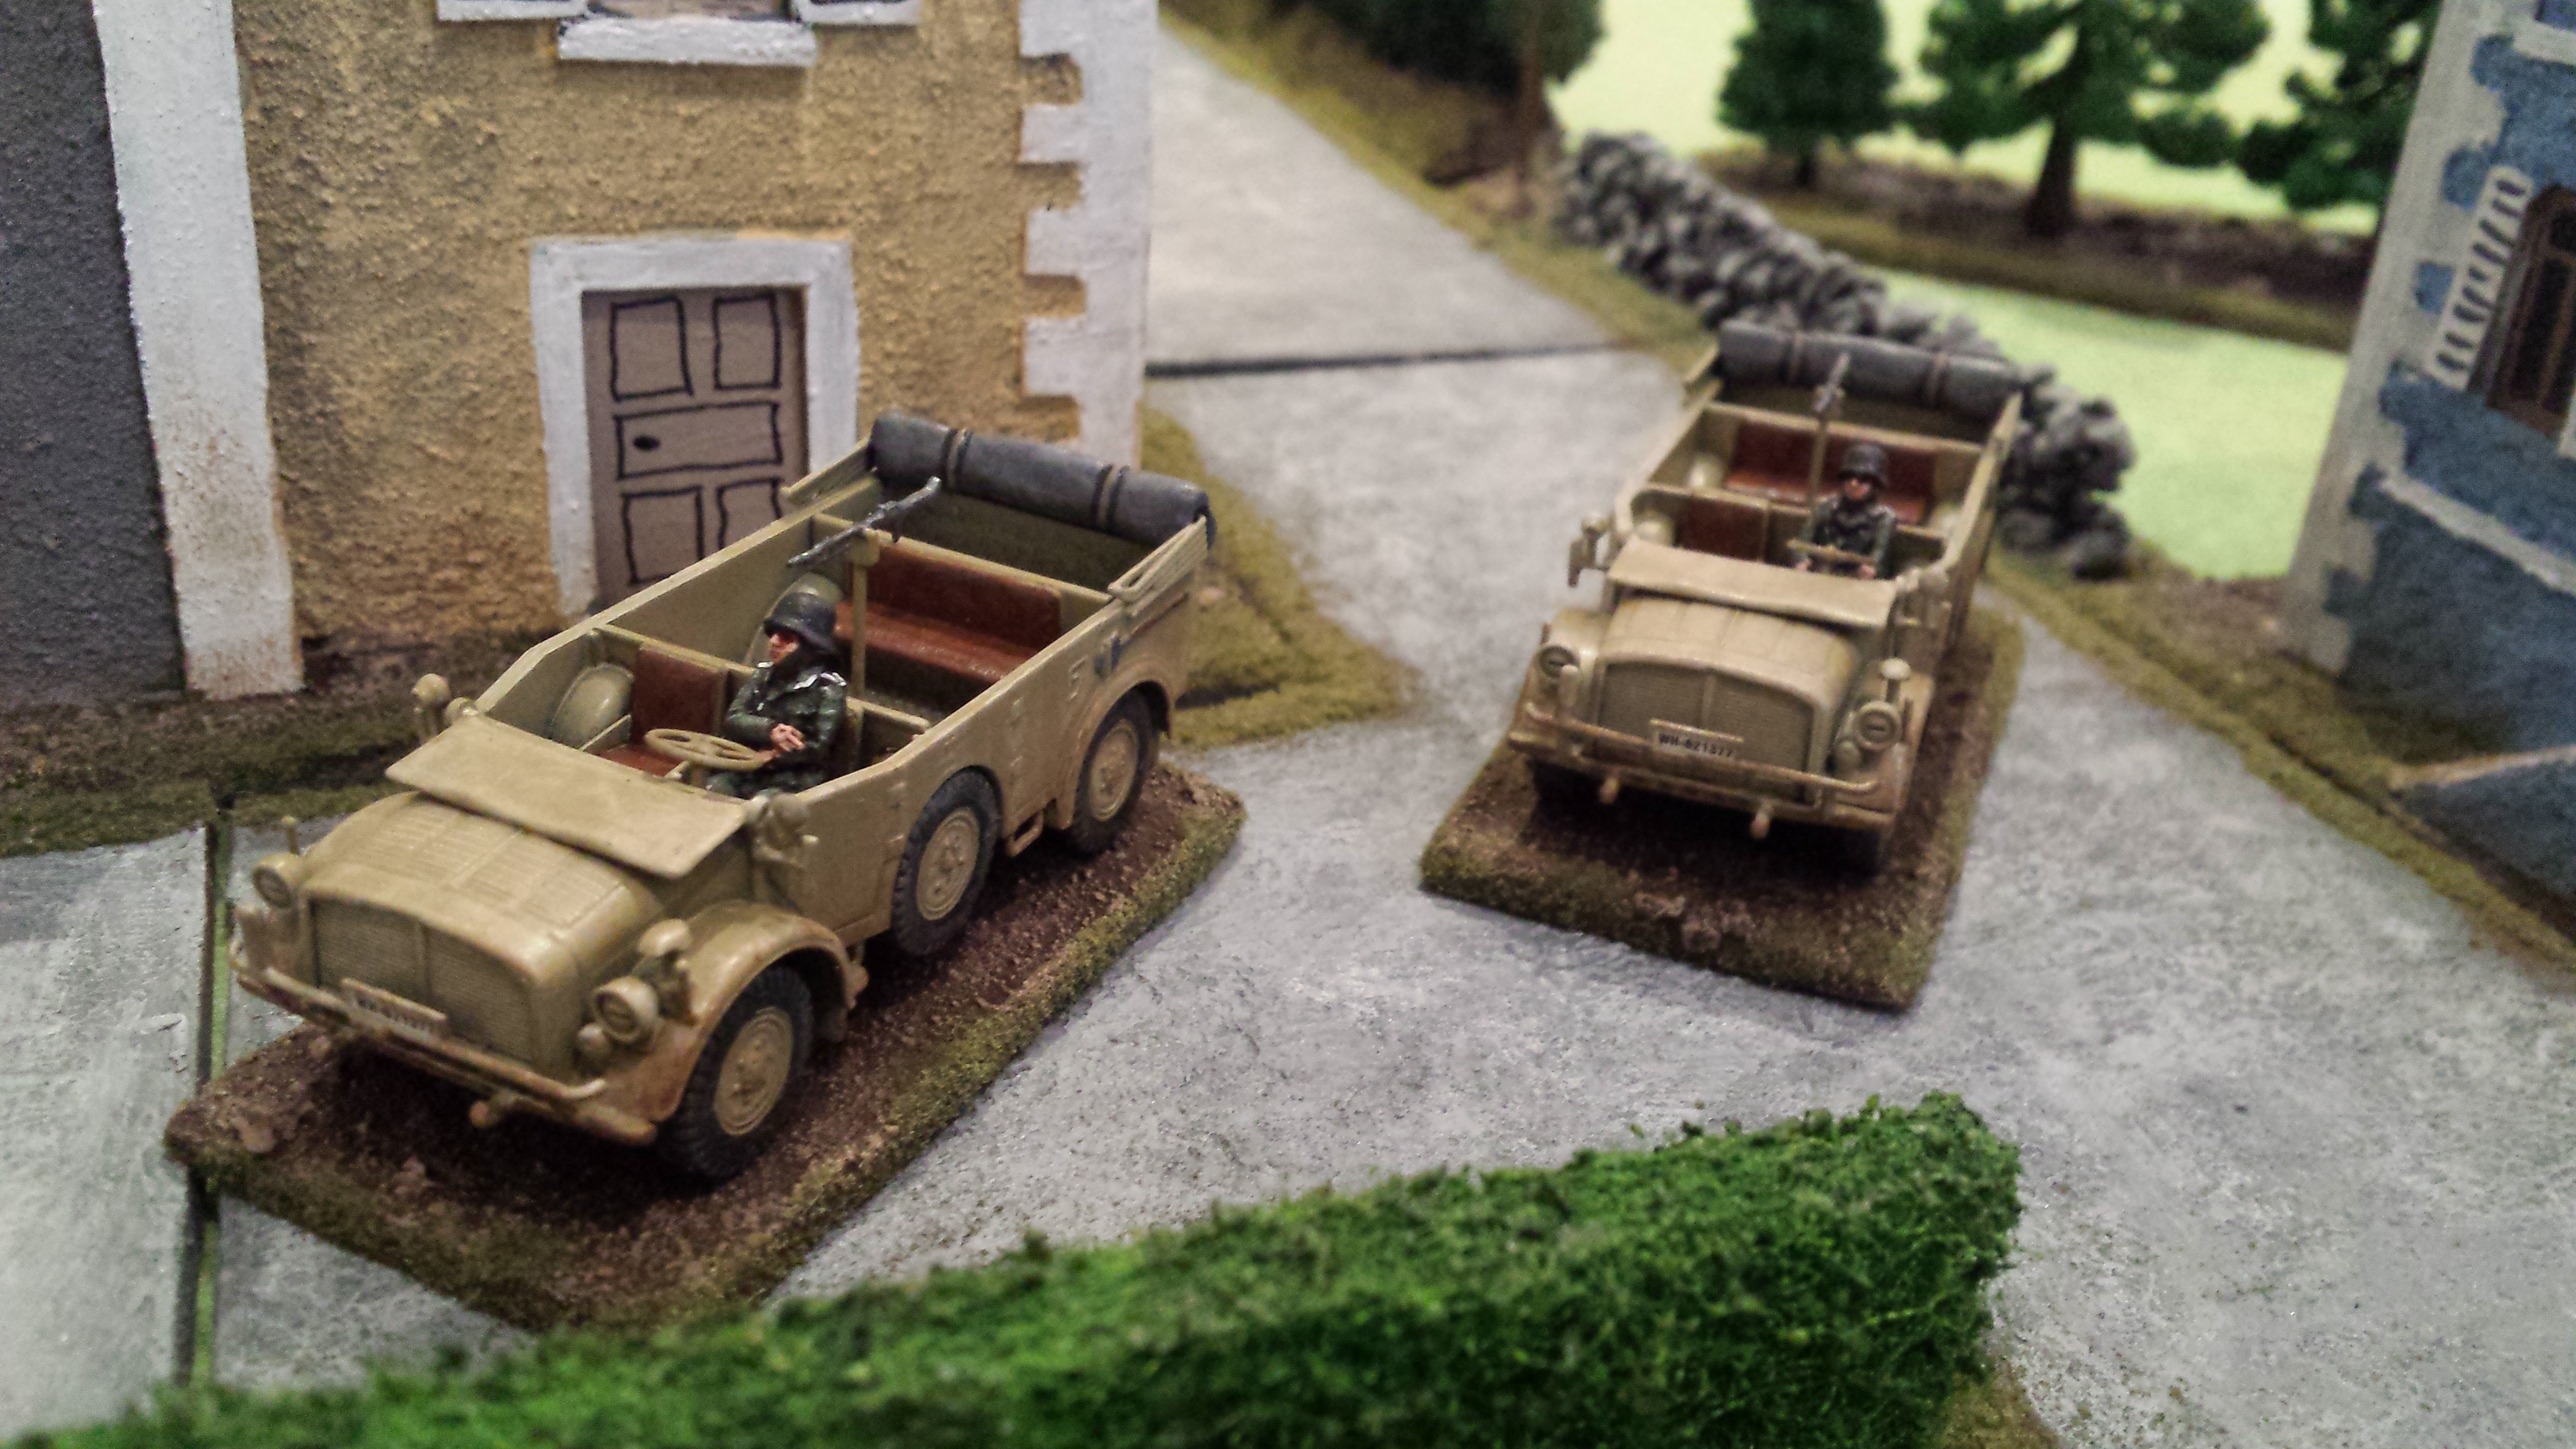
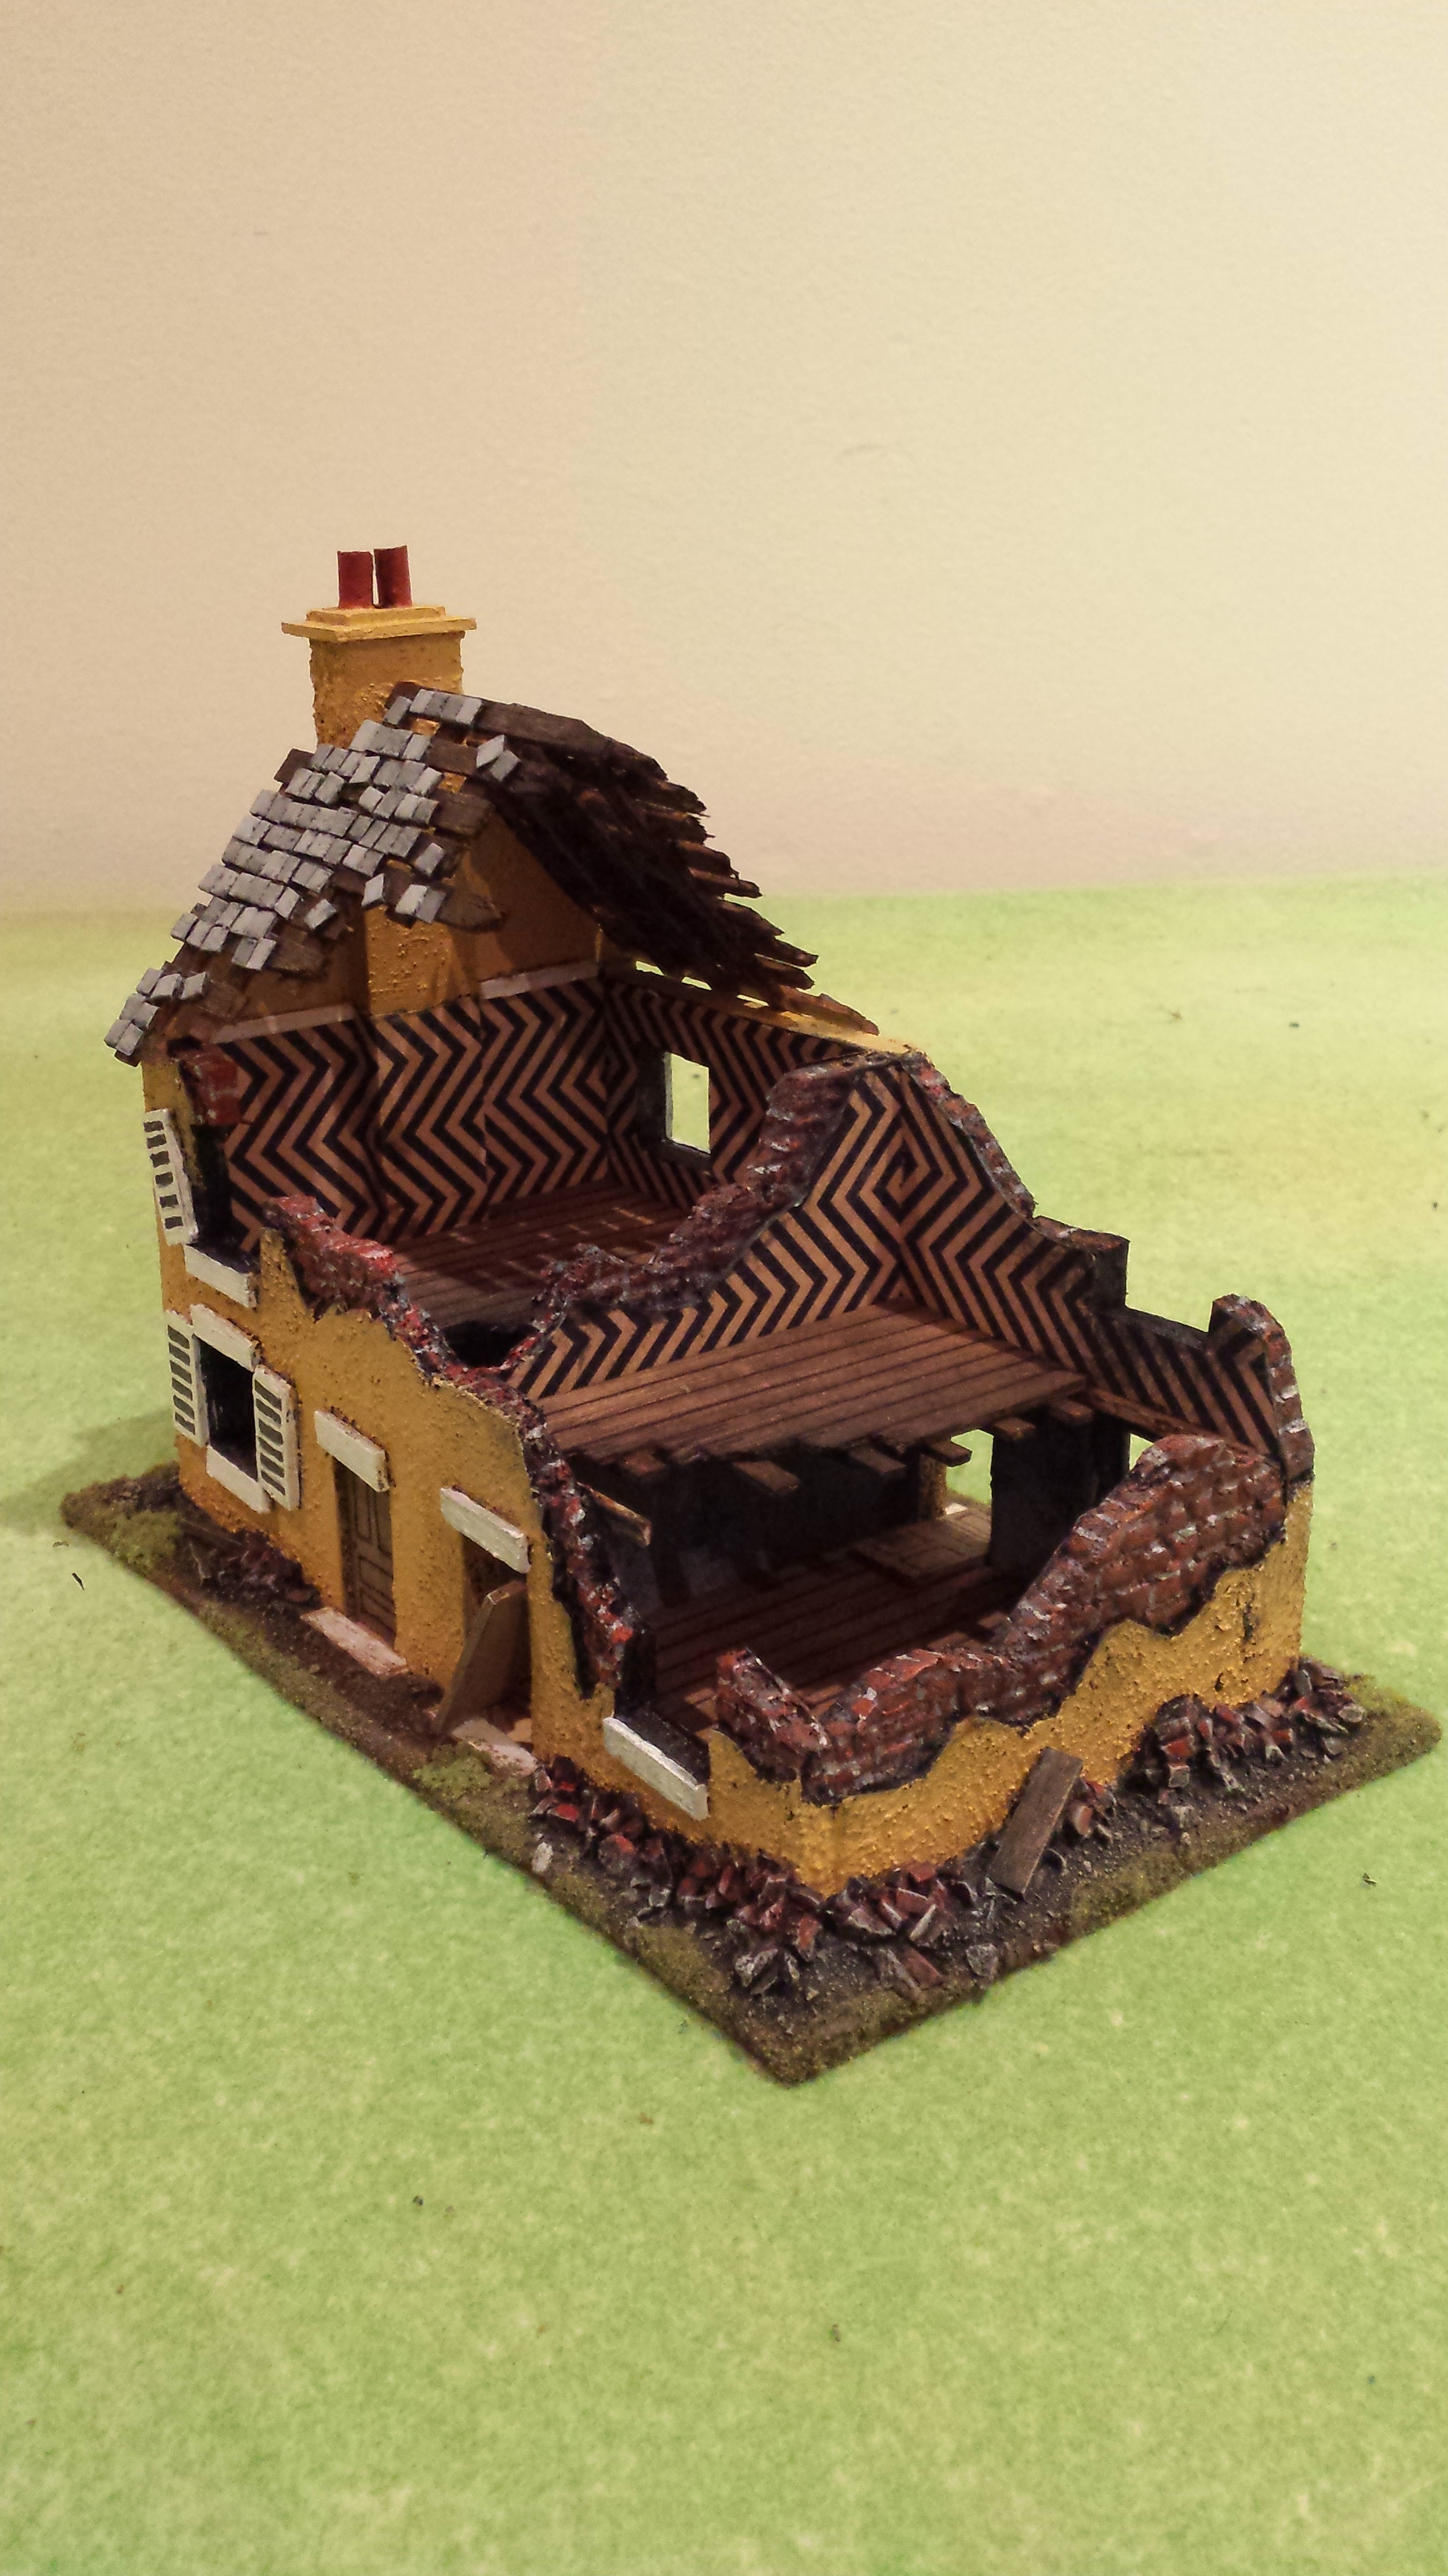
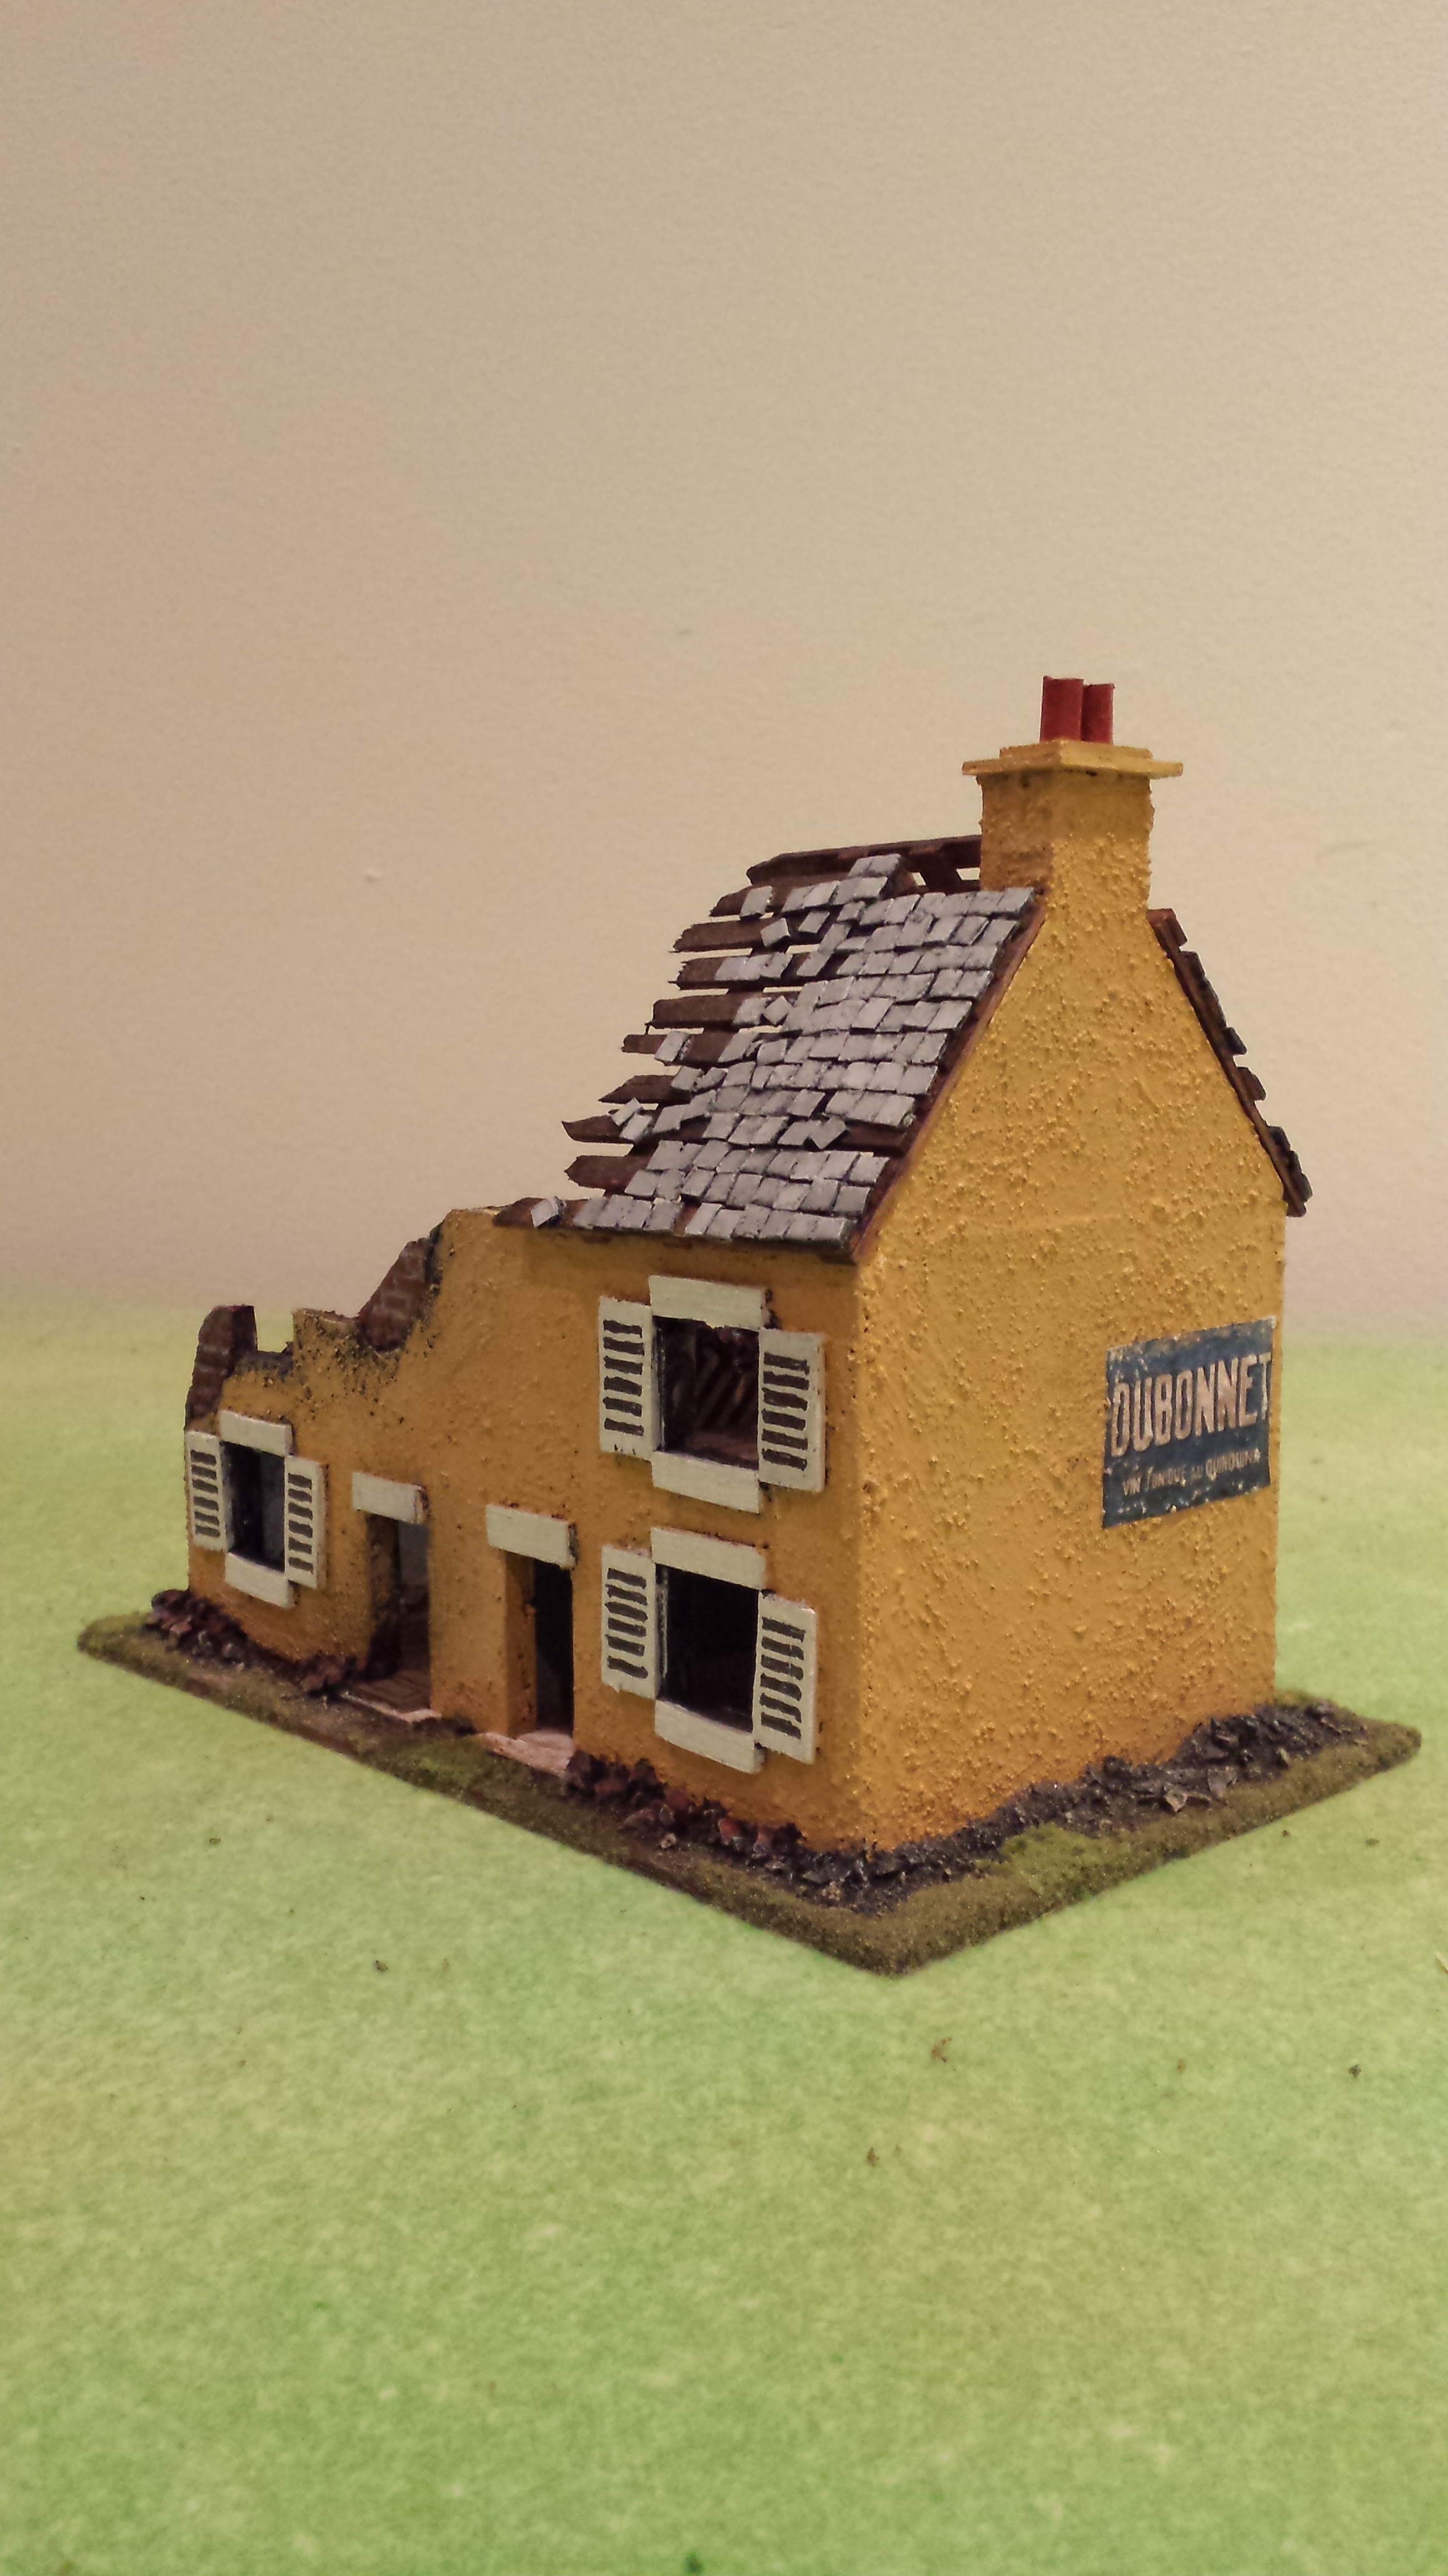
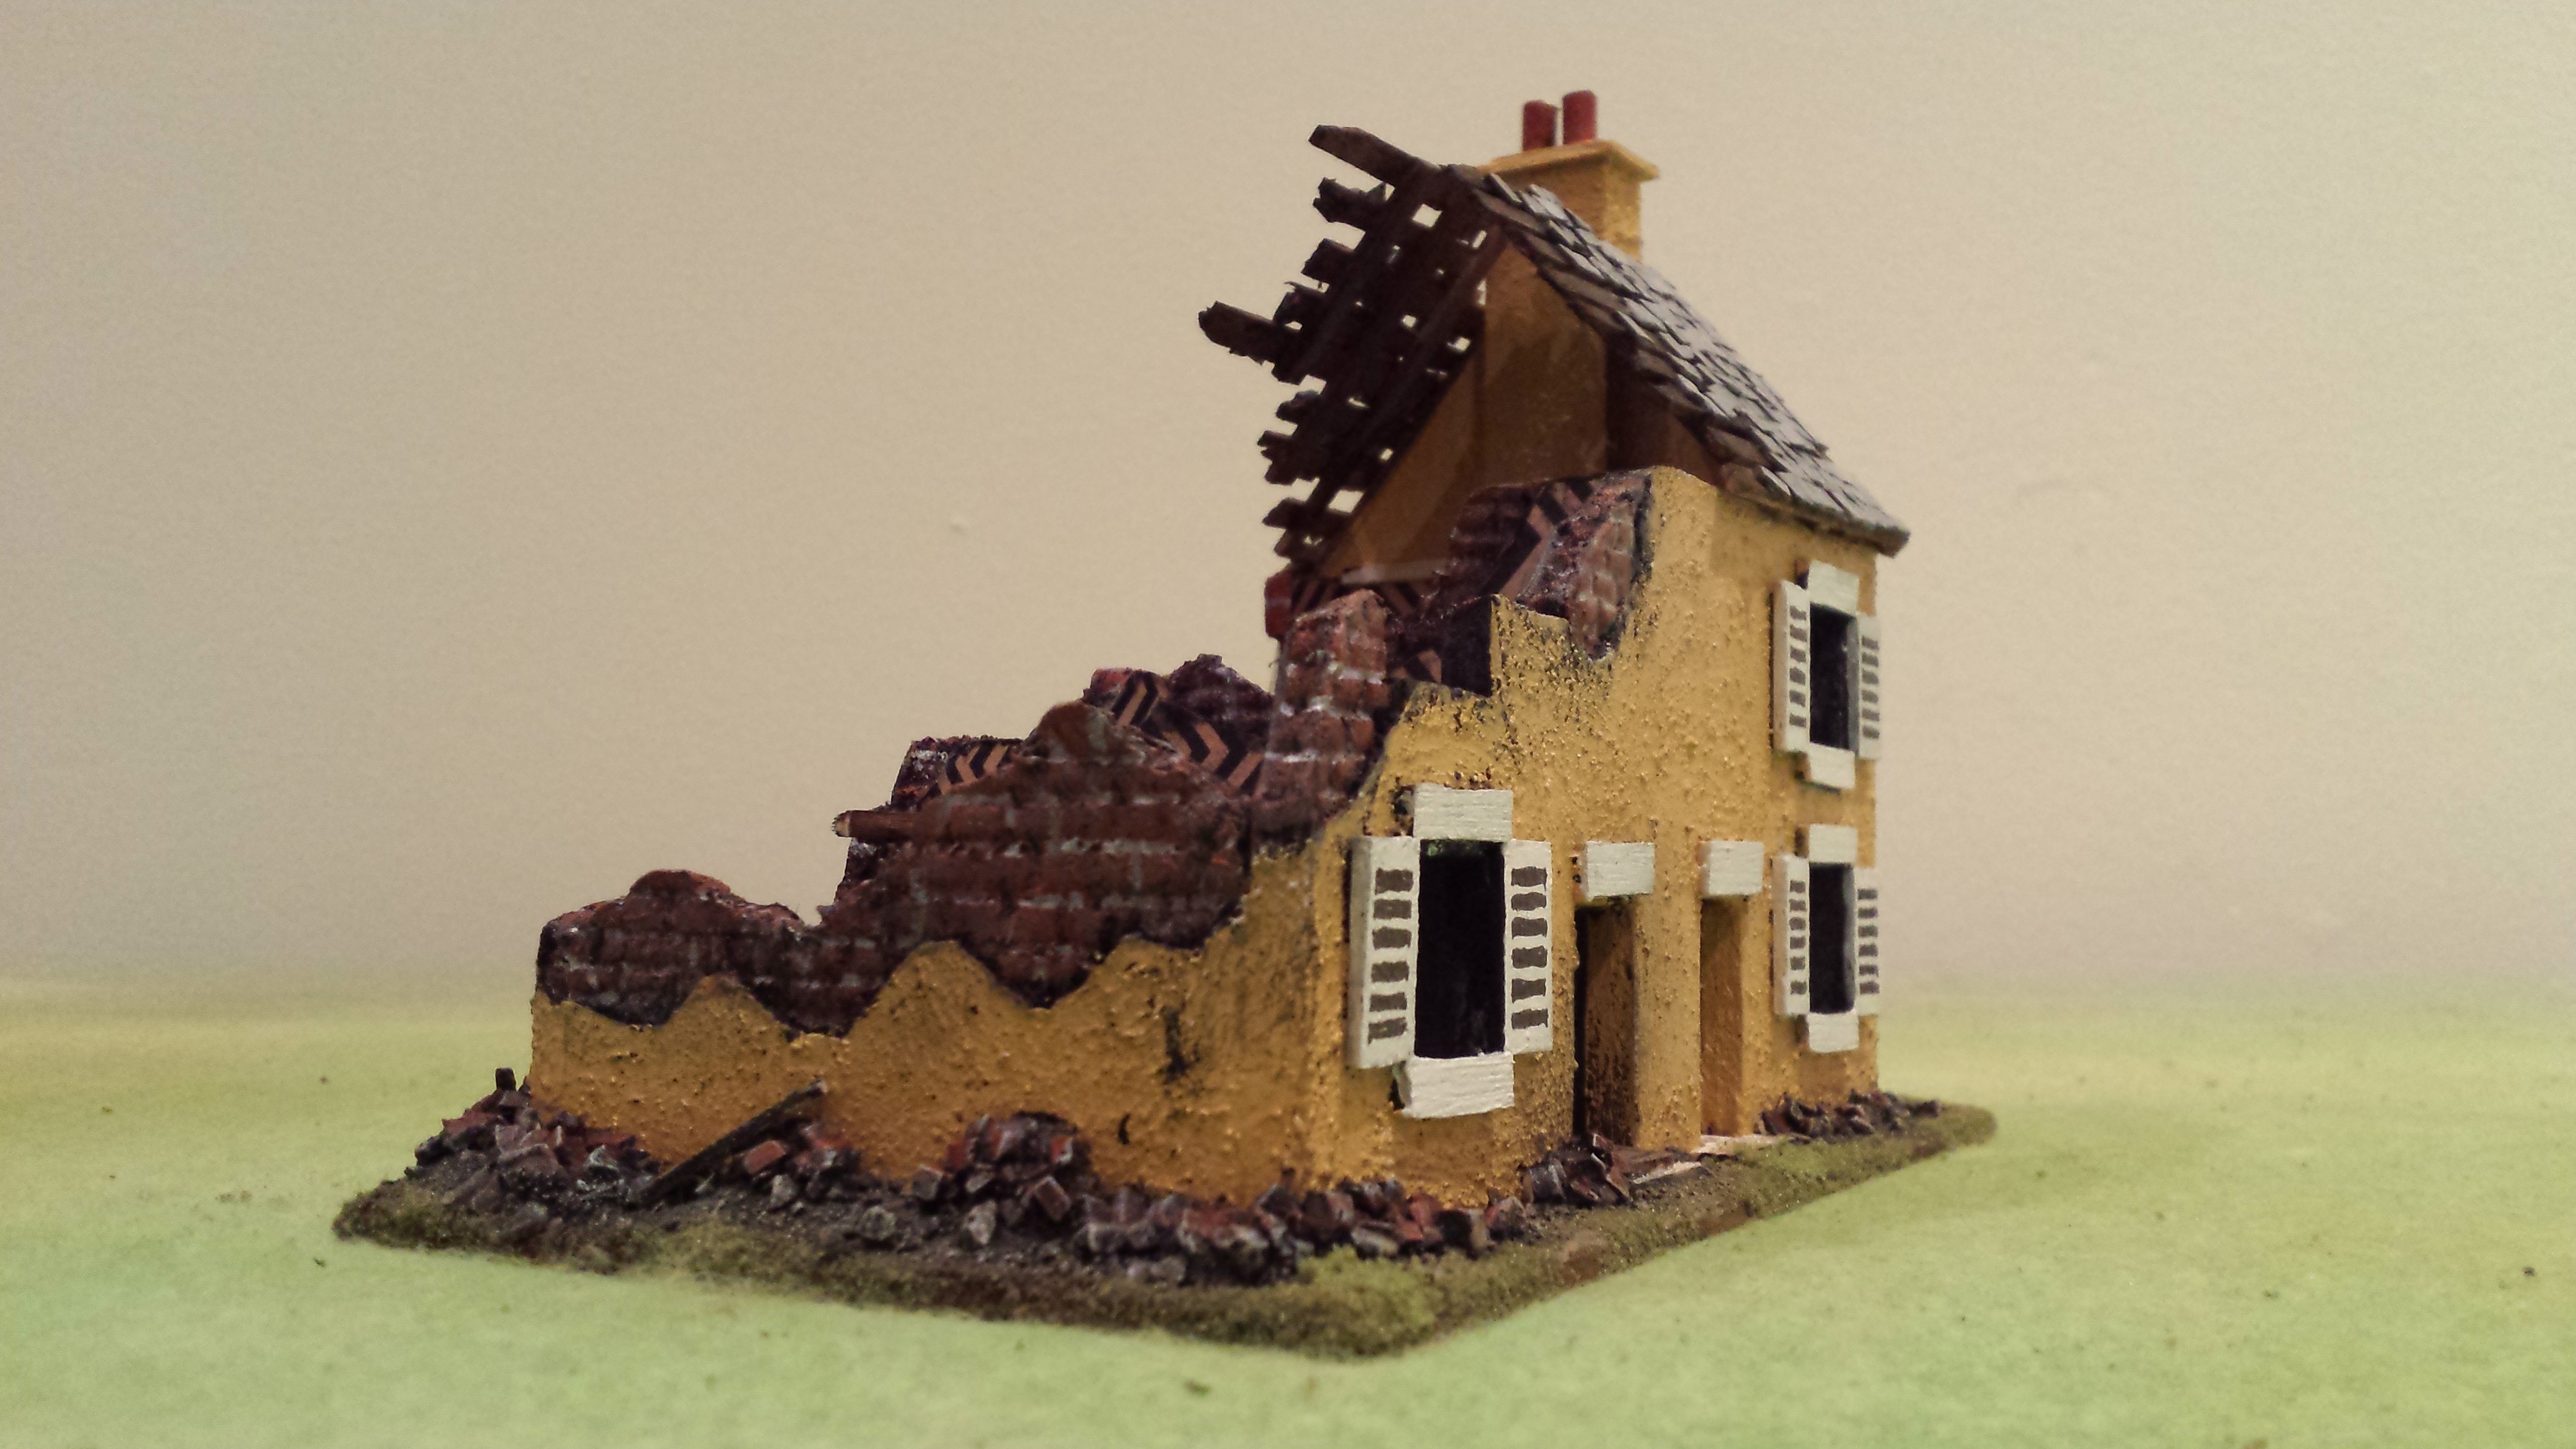
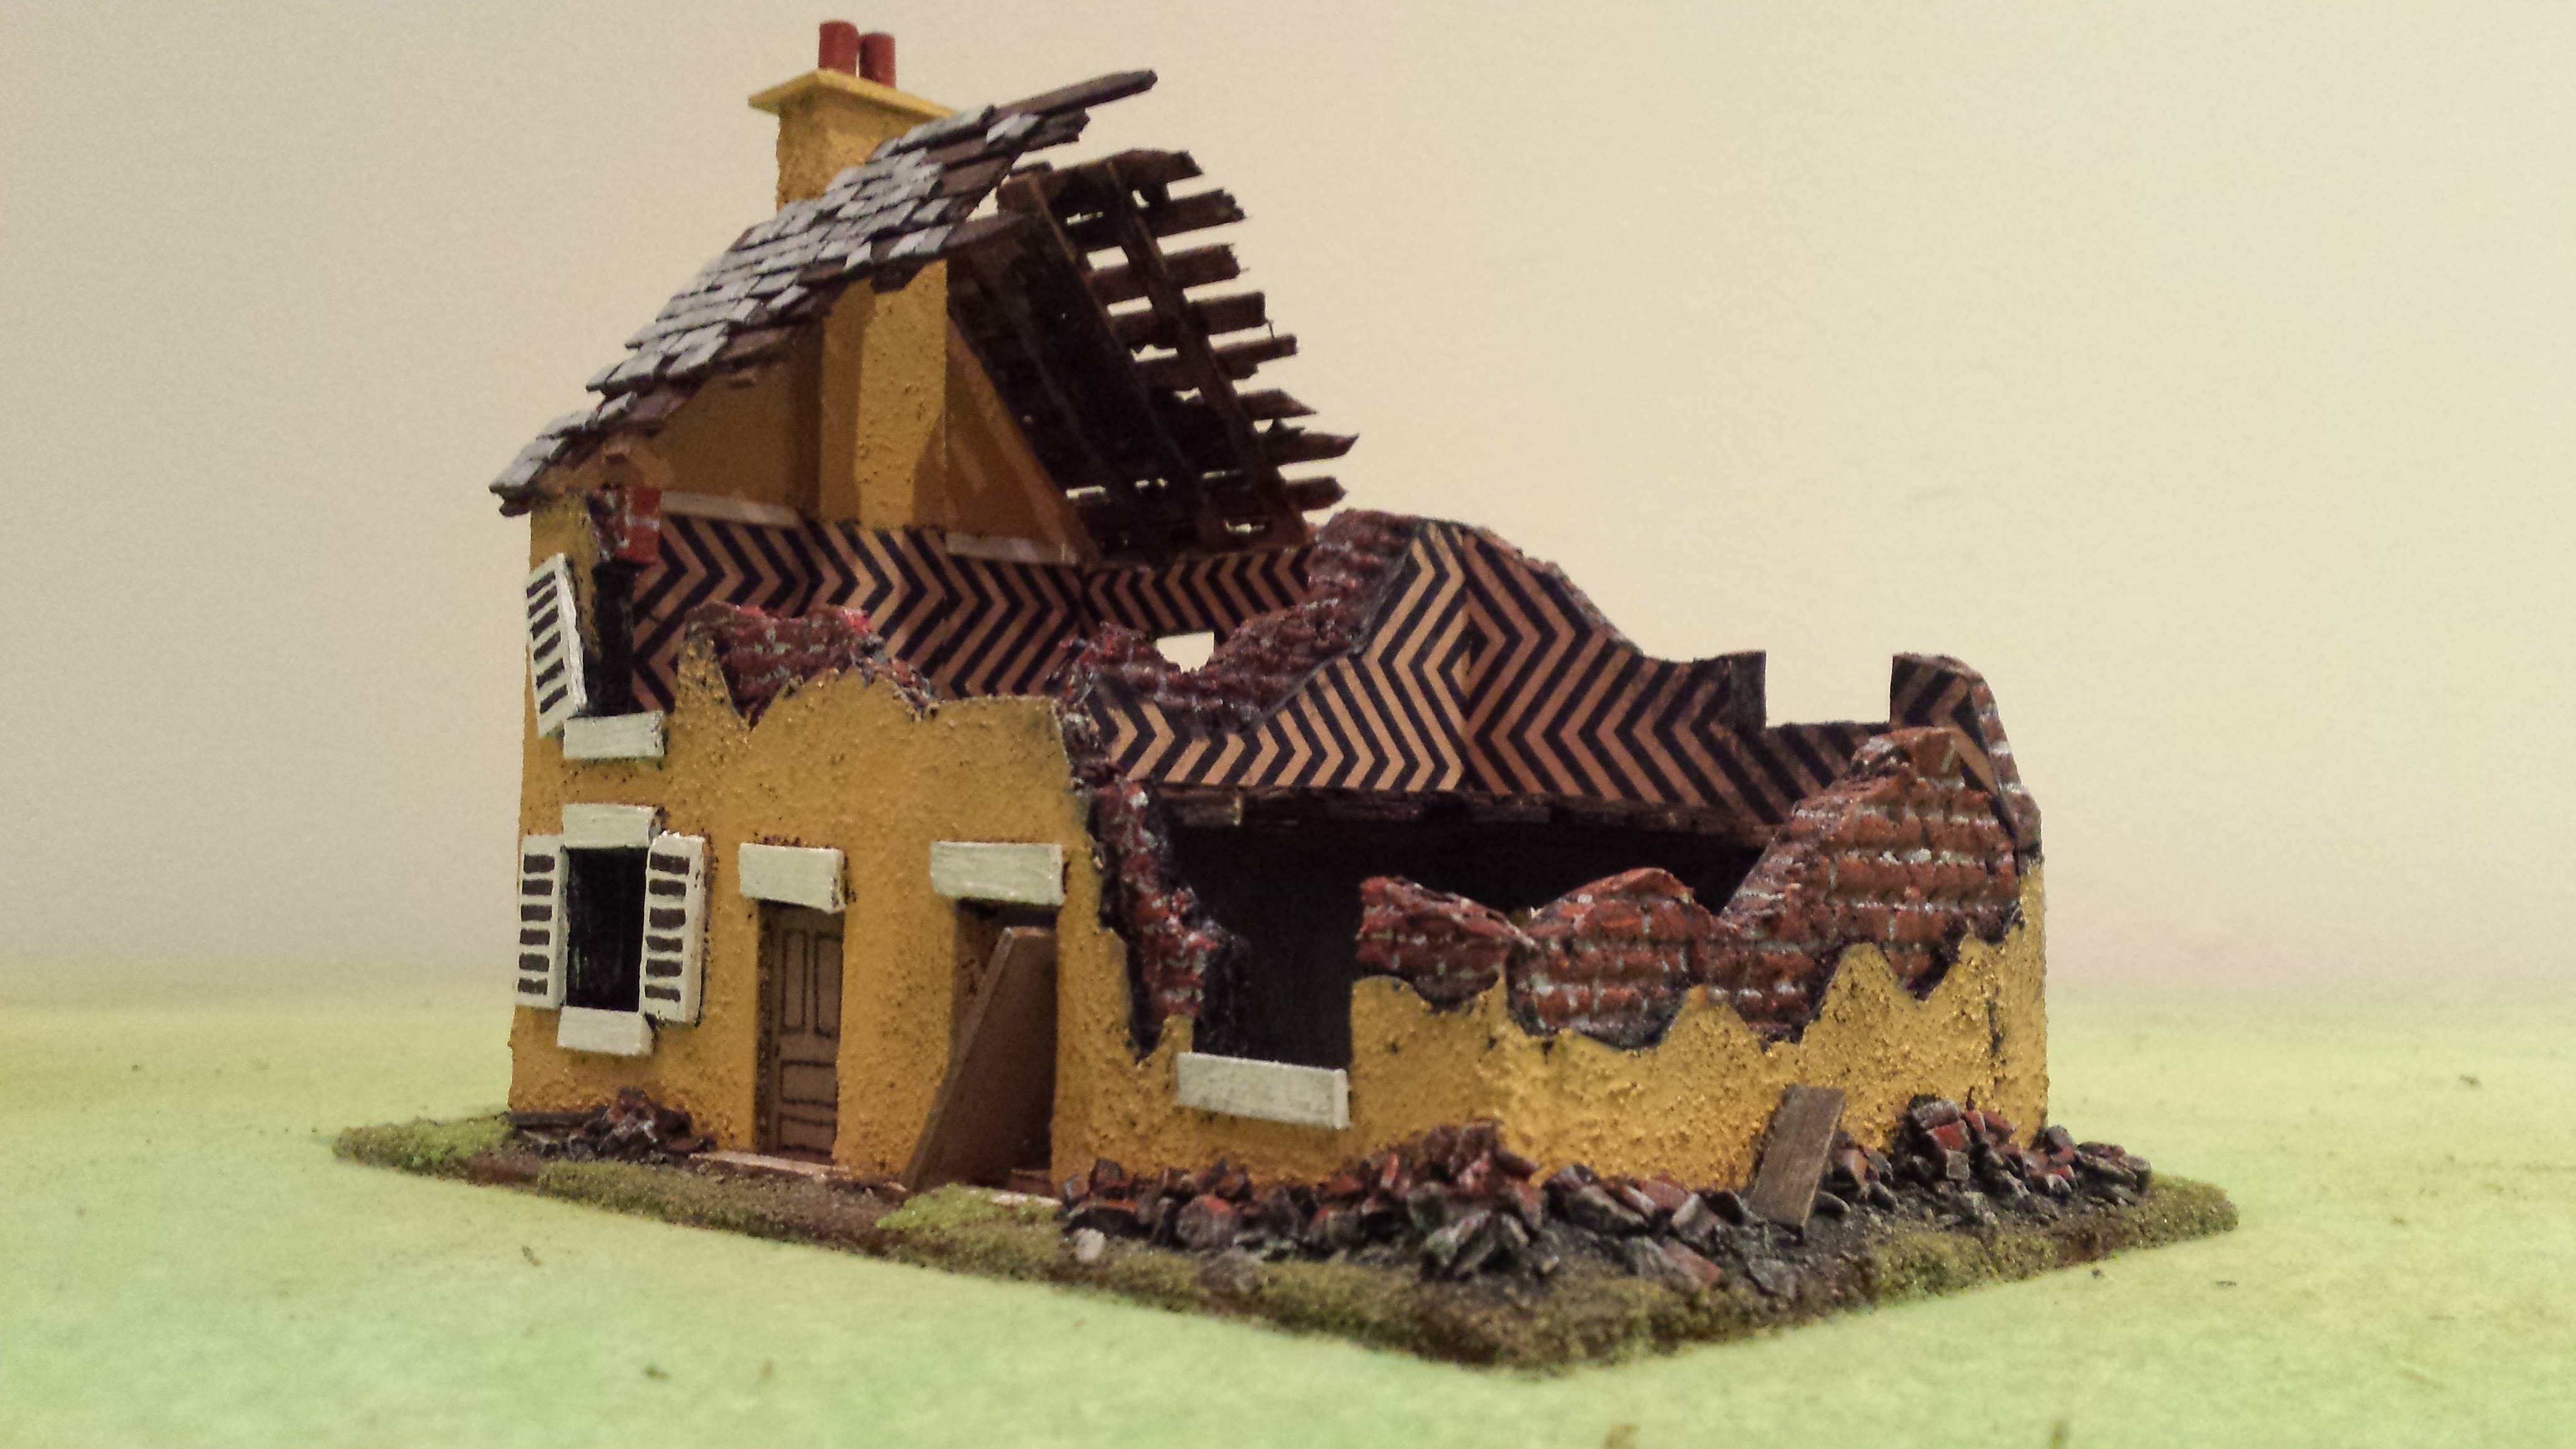
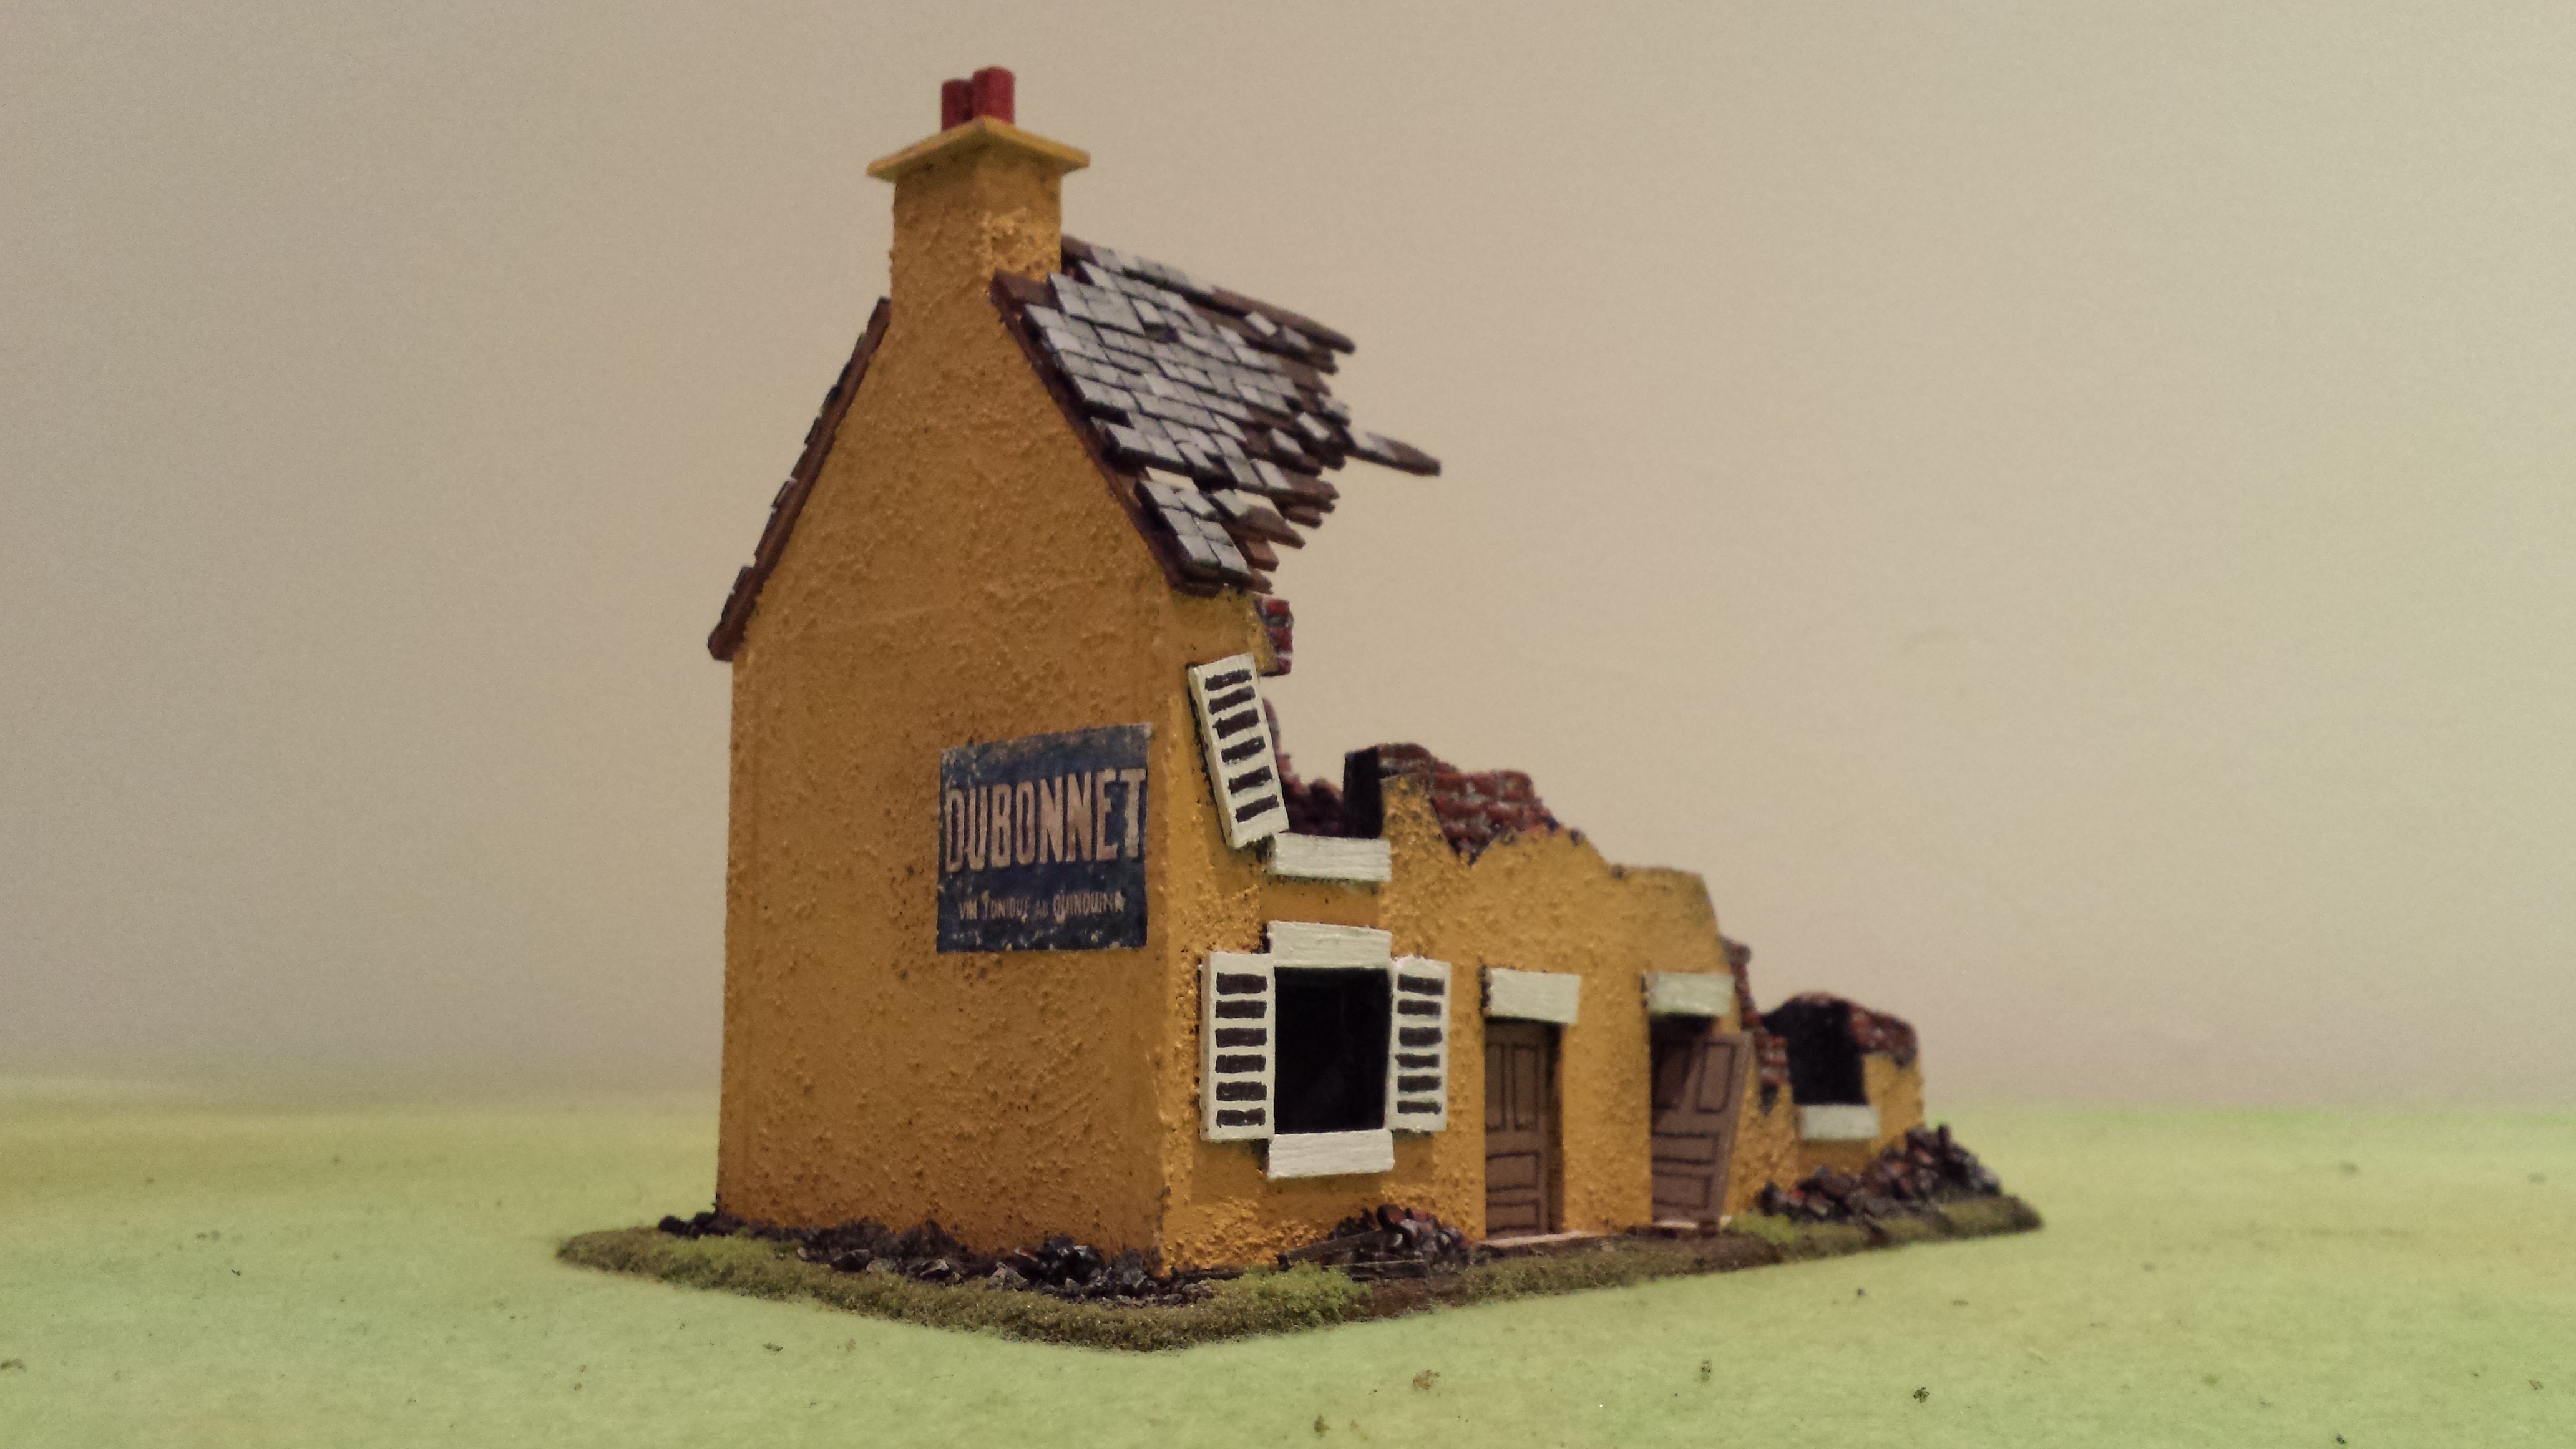
Here they are scouting out a very fancy French country house!

20151227_201901 20151227_201759 20151227_201657 20151227_201546


Dragon Stug IV Late in 1/72 scale

Picked up this little beauty at my local hobby store. Unfortunately these days you pay more at the store than on line. Retail shopping is a dying breed…….

Its official I love Dragon kits. Even if I have to pay a little bit more for them compared to other manufacturers, its worth the money. This little Stug was a pleasure to build. Starting with the wheels which are moulded separately making it super easy to paint the outer tyre part black and the inner hub dark yellow, before fitting them together. The tracks themselves are one piece flexible plastic/rubber which I much prefer to the really fiddly multiple part tracks I have struggled with on other kits. I didn’t quite manage to get the sagging weight effect of the top tracks – something I need to investigate further next time.

The top section is excellent and full of detail. Some hatches can be modelled opened or closed, so next time I will add a commander and crew. Everything fitted together perfectly with no issues. I primed and painted the bottom section before gluing on my pre-painted wheels. Then the tracks went on, before I glued the top and bottom together.

I went with a dark green on yellow camouflage scheme, and a dirty brown wash to blend him into the base. I couldn’t recommend this Dragon kit more highly, and will buying a couple of more of these to make up a troop.

Check him snooping around a Normandy village in the following photos.

20151217_171521 20151217_171600  20151217_171806 20151217_172016 20151217_172108 20151217_172155

Hasegawa 88mm and half track 1/72 scale

After finishing my Zvezda 88mm with AB crew, I needed to make sure I had some transportation for the gun to get around. I didn’t want to have my gun and crew base trailing a halftrack round the board so I decided to get hold of a second gun in the limbered position. The two Hasegawa kits, 88mm gun and heavy halftrack, were just the ticket. Bought direct from my favourite Japanese web site these kits are way cheaper than buying Hasegawa from any other source. At under USD 9 each they are such a bargain. If you buy Hasegawa from other foreign web sites they are probably double the price.

The kits are easy to build and I can highly recommend them. Check out the below pictures. I gave them my usual dunkelb treatment, plus added drivers from AB figures. All that is missing is the gun crew sitting in the back seats. I think I will add them at a later stage.

20150906_153040 20150906_153004 20150906_152737

Zvezda 88mm Gun & Crew

I needed some heavier anti tank weapons for my German Army in Normandy and you cant really be without one of these famous 88mms. I don’t think Zvezda call it an 88mm, its something like a heavy flak gun or similar. Anyway the Zvezda kit is an awesome model and very easy to put together. I picked it up at around USD 5.50 from the Ukraine, so pretty reasonably priced. It goes together very easily and has good detail, perfect for my needs. I think on a par with the Hasegawa 88mm (which I will show in another post sometime). The Zvezda gun comes with a base and crew, but I wanted something a bit more exciting. So I made a square MDF base that would fit the gun plus some room for the crew. This was textured with PVA glue and sandy dirt from my front garden. I replaced the Zvezda crew with a much better crew from AB Figures, except for the gunner who was part of the original crew. I glued the crew onto the base in some modelling clay to blend them in, and also added some shell casings and live ammo boxes to add to the scene. The crew were painted in my usual peadot plane tree whatever SS camo scheme, which is getting better, and more time consuming, the more I do it. The 88mm gun was primed black, sprayed dark yellow and then given a wash in chocolate brown/black. After a highlighting in a lighter sand yellow the gun was glued onto the base with the crew. I found it much easier to place and paint the crew once they were attached to the base, and then add the gun afterwards. I added some green flock to the base and hey presto we are ready to rock and roll.

20151124_18194020151124_18202820151124_18260620151124_18222520151124_18220720151124_18215020151124_18200520151124_18204520151124_182113

Red Brick House

Finished my latest Normandy house this week. This nice little red brick number will add some more residential addresses for my Normandy villages and some good hiding spots for house to house action.

My semi-detached two storey house is scratch built from a simple plan I drew up. Starting with foam board walls which I covered with plastic sheet embossed with a brick pattern. WIndows are framed with balsa wood, plus shutters, doors, lintels, doorsteps all done with 1mm balsa wood from Bunnings. Its all mounted on 3mm MDF for strength. Chimney pots are made from some hard plastic tubing I got from somewhere, can’t remember where, just cut into short 6mm sections and glued on.

The interior has some wall paper (wrapping paper) and a removable 1st floor with attached wall so you can have men on the ground floor and first floor. The roof is also detachable, and I made this out of some plastic sheet I bought that is embossed with a roof tile pattern.

The whole thing was painted a mix of red oxide and bright red, then I rubbed ground up white chalk pastel into the surface. This created the effect of white mortar between the bricks. Window frames and other details done in white, and the shutters red and yellow for a bit of a change.

The base was covered in sand then painted dark brown and flocked in a couple of grassy colours. Pictures below!!!

20151120_071258 20151120_071333 20151120_071348 20151120_071421 20151120_071434 20151120_071451 20151120_071510

Dragon Horch Heavy Cars in 1/72 Scale

I needed some more transport for my German squads to get them smoothly and quickly round those little Normandy lanes. These Horch cars from Dragon Models came up, and at two kits in a box for less than $20 from BNA Models, I could not miss the opportunity. As usual with Dragon kits I found them really nice to build, with enough details to make things interesting, but not too fiddly to be annoying. Everything fitted together perfectly, and I would highly recommend this kit. I am on the look out for maybe a halftrack or two from their range.

I added my usual drivers from AB Figures and painted them up in the finest dunkelb. All ready to go. Photos below show them in convoy with a Panther and just posing in a country lane.
20150725_13295420150725_132601  20150725_133059 20150725_133125

Pont De La Croix

Like many other wargamers out there I grew up with Gavin Lyalls “Operation Warboard” and endlessly reading his excellent battle of Pont De La Croix. I have seen a few posts on various blogs and in magazines about recreating this battle again. So 30 years on from when I first fought it on our ping pong table, my brother and I are going to refight an old favourite.

Below is the original map from the book followed by my interpretation on my 6′ x 4′ foot board at home. All the terrain and scenery is scratch built. Except for the trees that come from Hong Kong somewhere at less than 50cents each. This made me realise that I need a bigger table, my church is a little big for such a village, and I need to get something better than my bleached and sprayed felt ground sheet. The ground does not look quite right for me, needs to look more textured and natural. Let battle commence!

20151104_210746 Point De La Croix

Waffen SS Set 1 by Pegasus

I thought I would post some pictures of a couple of squads of troops I painted from the Pegasus Waffen SS Set 1 figures that I picked up from Hannants a while back. Its an awesome box of forty or so German infantry. Plenty of rifles to make up your squads in plenty of different poses. I think these are the best figures in plastic for 1/72 scale you can get. Great detail, great variety of poses, and really easy to paint. I have set 2 somewhere in my stash which I will get out and paint some time……..

In the background is another Pegasus offering, one of their Opel Blitz trucks. I think the best value Opel truck you can find in 1/72 scale on the market today. A box of two costs around 8 pounds. Simple models, but perfect for wargaming.

My painting of these guys is my own interpretation of German camouflage schemes, somewhere between peadot and oakleaf… I wasn’t too bothered which, but was happy how they turned out. I use a base of a bright olive green, then do adjacent patches of red brown and dark green. Then go back over with smaller dots of brown and dark green. Finally I put a bunch of tiny bright olive green dots across the whole thing. I do all the camo first so you can just paint the webbing and straps over the top. Pants were field grey from Tamiya paints. Painting German camo is a labour intensive job but I was happy the way things turned out with these lads. Some pictures below! Its hard taking photos of men compared to vehicles, I think I need a better camera. Or a better phone…….

20151028_193212 20151028_19295920151028_19334620151028_193547


20151028_19434120151028_194037 20151028_193911

Ruined Two Storey Normandy House

I spent the last week working on a two storey ruined building for my Normandy village. After struggling with various different materials and techniques it all finally came together after more research and trial and error. I roughly copied a design from a terrain manufacturer as some inspiration. My usual dimensions for a 1/72 scale building are 40mm per floor, or twice the height of a regular man at this scale. Then the roof section i make the same height. So a two storey house will be 120mm high. Doors i tend to go 30mm high and windows 20mm square. These measurements all seem to work out well. I use 3mm MDF for the base and 5mm foam core for the walls. Both products are so cheap it makes building houses a really good option compared to buying, if you have the time…..

Once i had the structure cut out i removed sections roughly to create the ruined look before i PVA glued the thing together. Foam core is great as you can remove the card carefully and carve brickwork into the exposed foam with a ball point pen. The render effect on the undamaged walls was made using regular sand from the playground across the street mixed with a paint thickener i found in my art cupboard. PVA glue and sand would do the same thing. Window and door lintels, shutters and doors were all made with balsa wood glued on. The roof was constructed from balsa strips, as were the removable floors. I used modelling clay to make a bunch of roof tiles and also little bricks to create piles of rubble around the edge of the house.

Oh yeah and i forgot the wall paper you can see on the second floor was wrapping paper i found in our house that had a real retro feel and made the whole thing a little more interesting. Check out the photos. There is even a lonely private from the Durham Light Infantry (AB Figures) hanging around in the smokey ruins…….

20151023_200547 20151023_200753 20151023_20082220151023_200155 20151023_200844   20151023_20140520151023_20104320151023_200909

Italeri Panzer 4

Another kit that arrived from Lucky Model was the Italeri Panzer IV. I think it was around USD 8.99 for the kit, which I thought was a good deal considering this kit is listed as over 8 pounds on most British web sites and Italeri wont ship to Australia…… I wanted some Panzer IV’s to go with my Panzer III’s, and Panthers. The Panzer IV at least gives my British Armour a fighting chance in a fist fight.

Anyway the kit looked pretty good out of the box, but after building the awesome S-Model Panzer III’s this was a disappointment. I found the tracks super fiddly and very difficult to get looking even respectable. I hadn’t built this style of individual links fitting into the sprocket wheels, and found it tricky and frustrating. My sprocket wheels were not 100% perpendicular to the hull and threw out the track alignment. Its a learning process so next time I need to be more careful. Also gluing one link of track at a time and waiting until its dry before adding the next is the only way to get a good result.

More frustrating were the schurzen plates on the sides and turret of the tank. The connecting struts are all incorrect lengths and do not fit with the top of the hull. I had to screw around with them, cutting bits off, so they would sit correctly on the vehicle. I like my stuff to fit nice and snug…… I guess this Panzer was always doomed after I had such a nice time making those S-Model kits.

So the only thing that could save my fudgy tracks and botched schurzen plates was a good coating of paint! Black undercoat, followed by a layer of Tamiya Yellow got things started. As I don’t plan on ever owning an airbrush I am still perfecting (or trying to perfect) my camouflage scheme painting by hand. Here you can see the simple dark green scheme. I paint on the pattern freehand then dry brush and scrub around with an old brush over the top in the dark yellow. This blends the pattern into the tank. I then do a usual lighter shade dry brush over the top. Luckily the side plates covered a lot of my poorly executed track work.

My next Panzer IV’s will be Plastic Soldier Company or Armourfast – I wouldn’t ask this Italeri kit on a second date that’s for sure.

20150906_153225 20150906_153248 20150906_153306 20150906_153327

Colonel Mustard