PST Studebaker Truck in 1/72 Scale

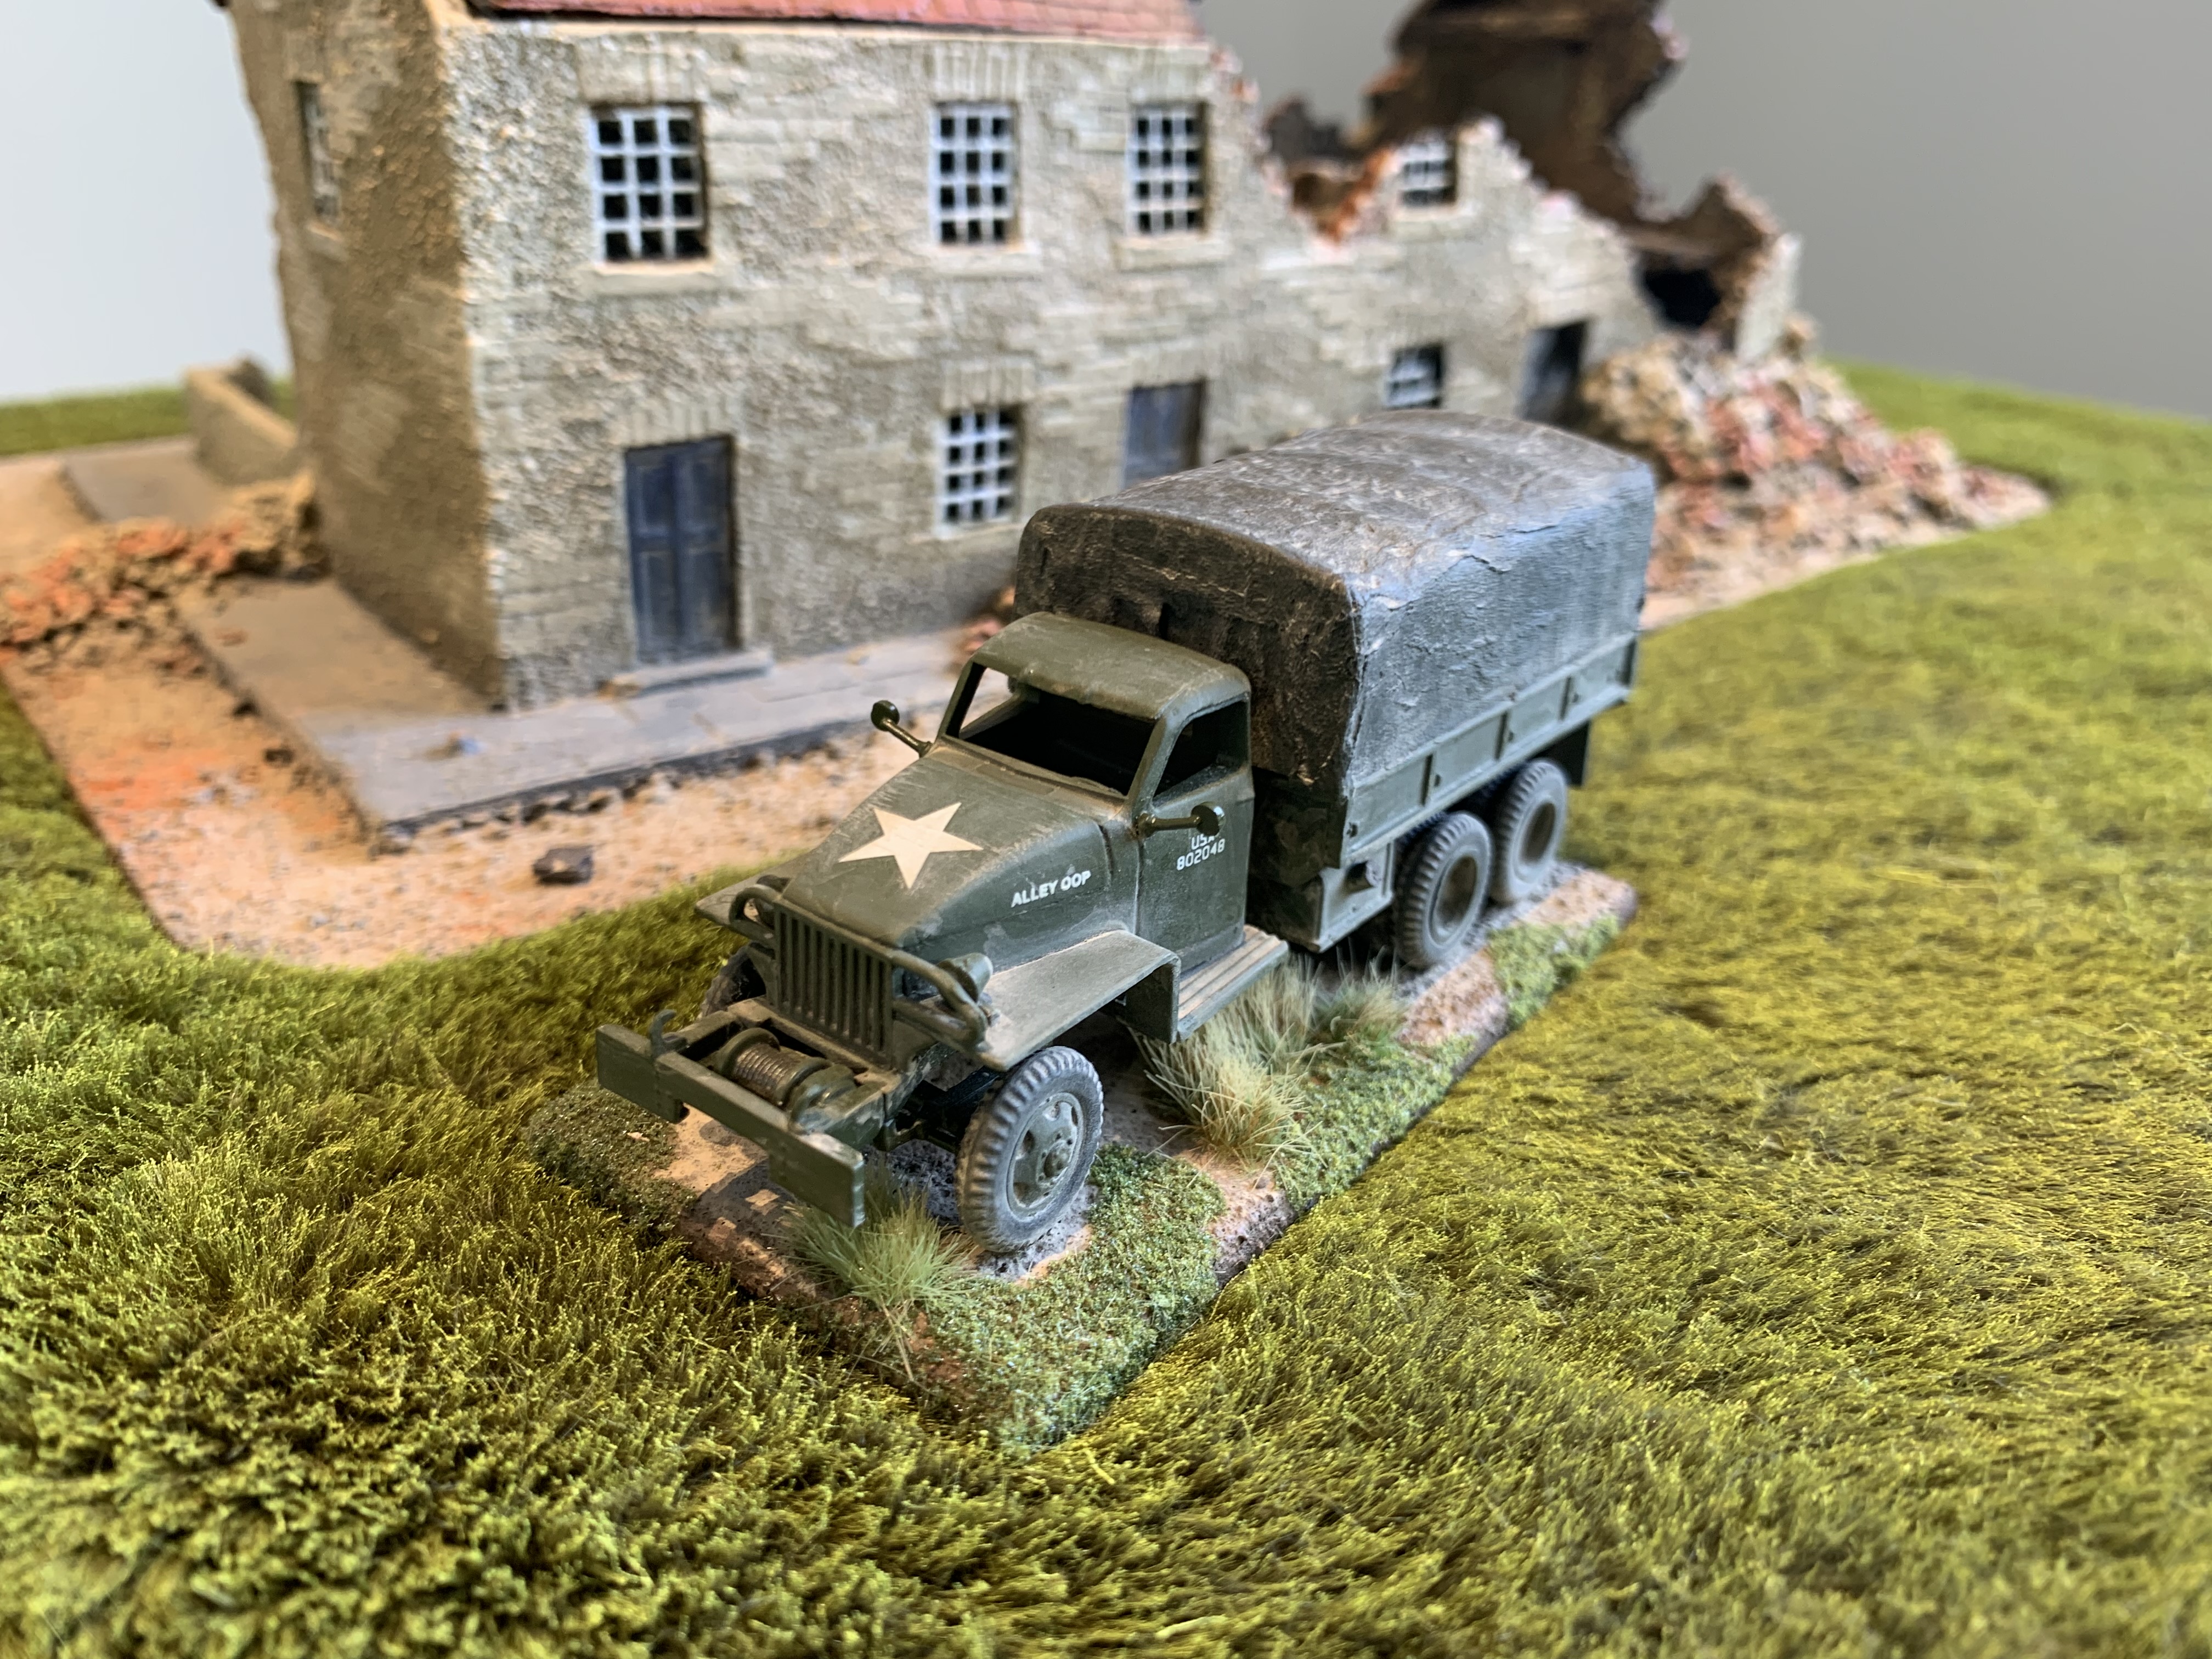
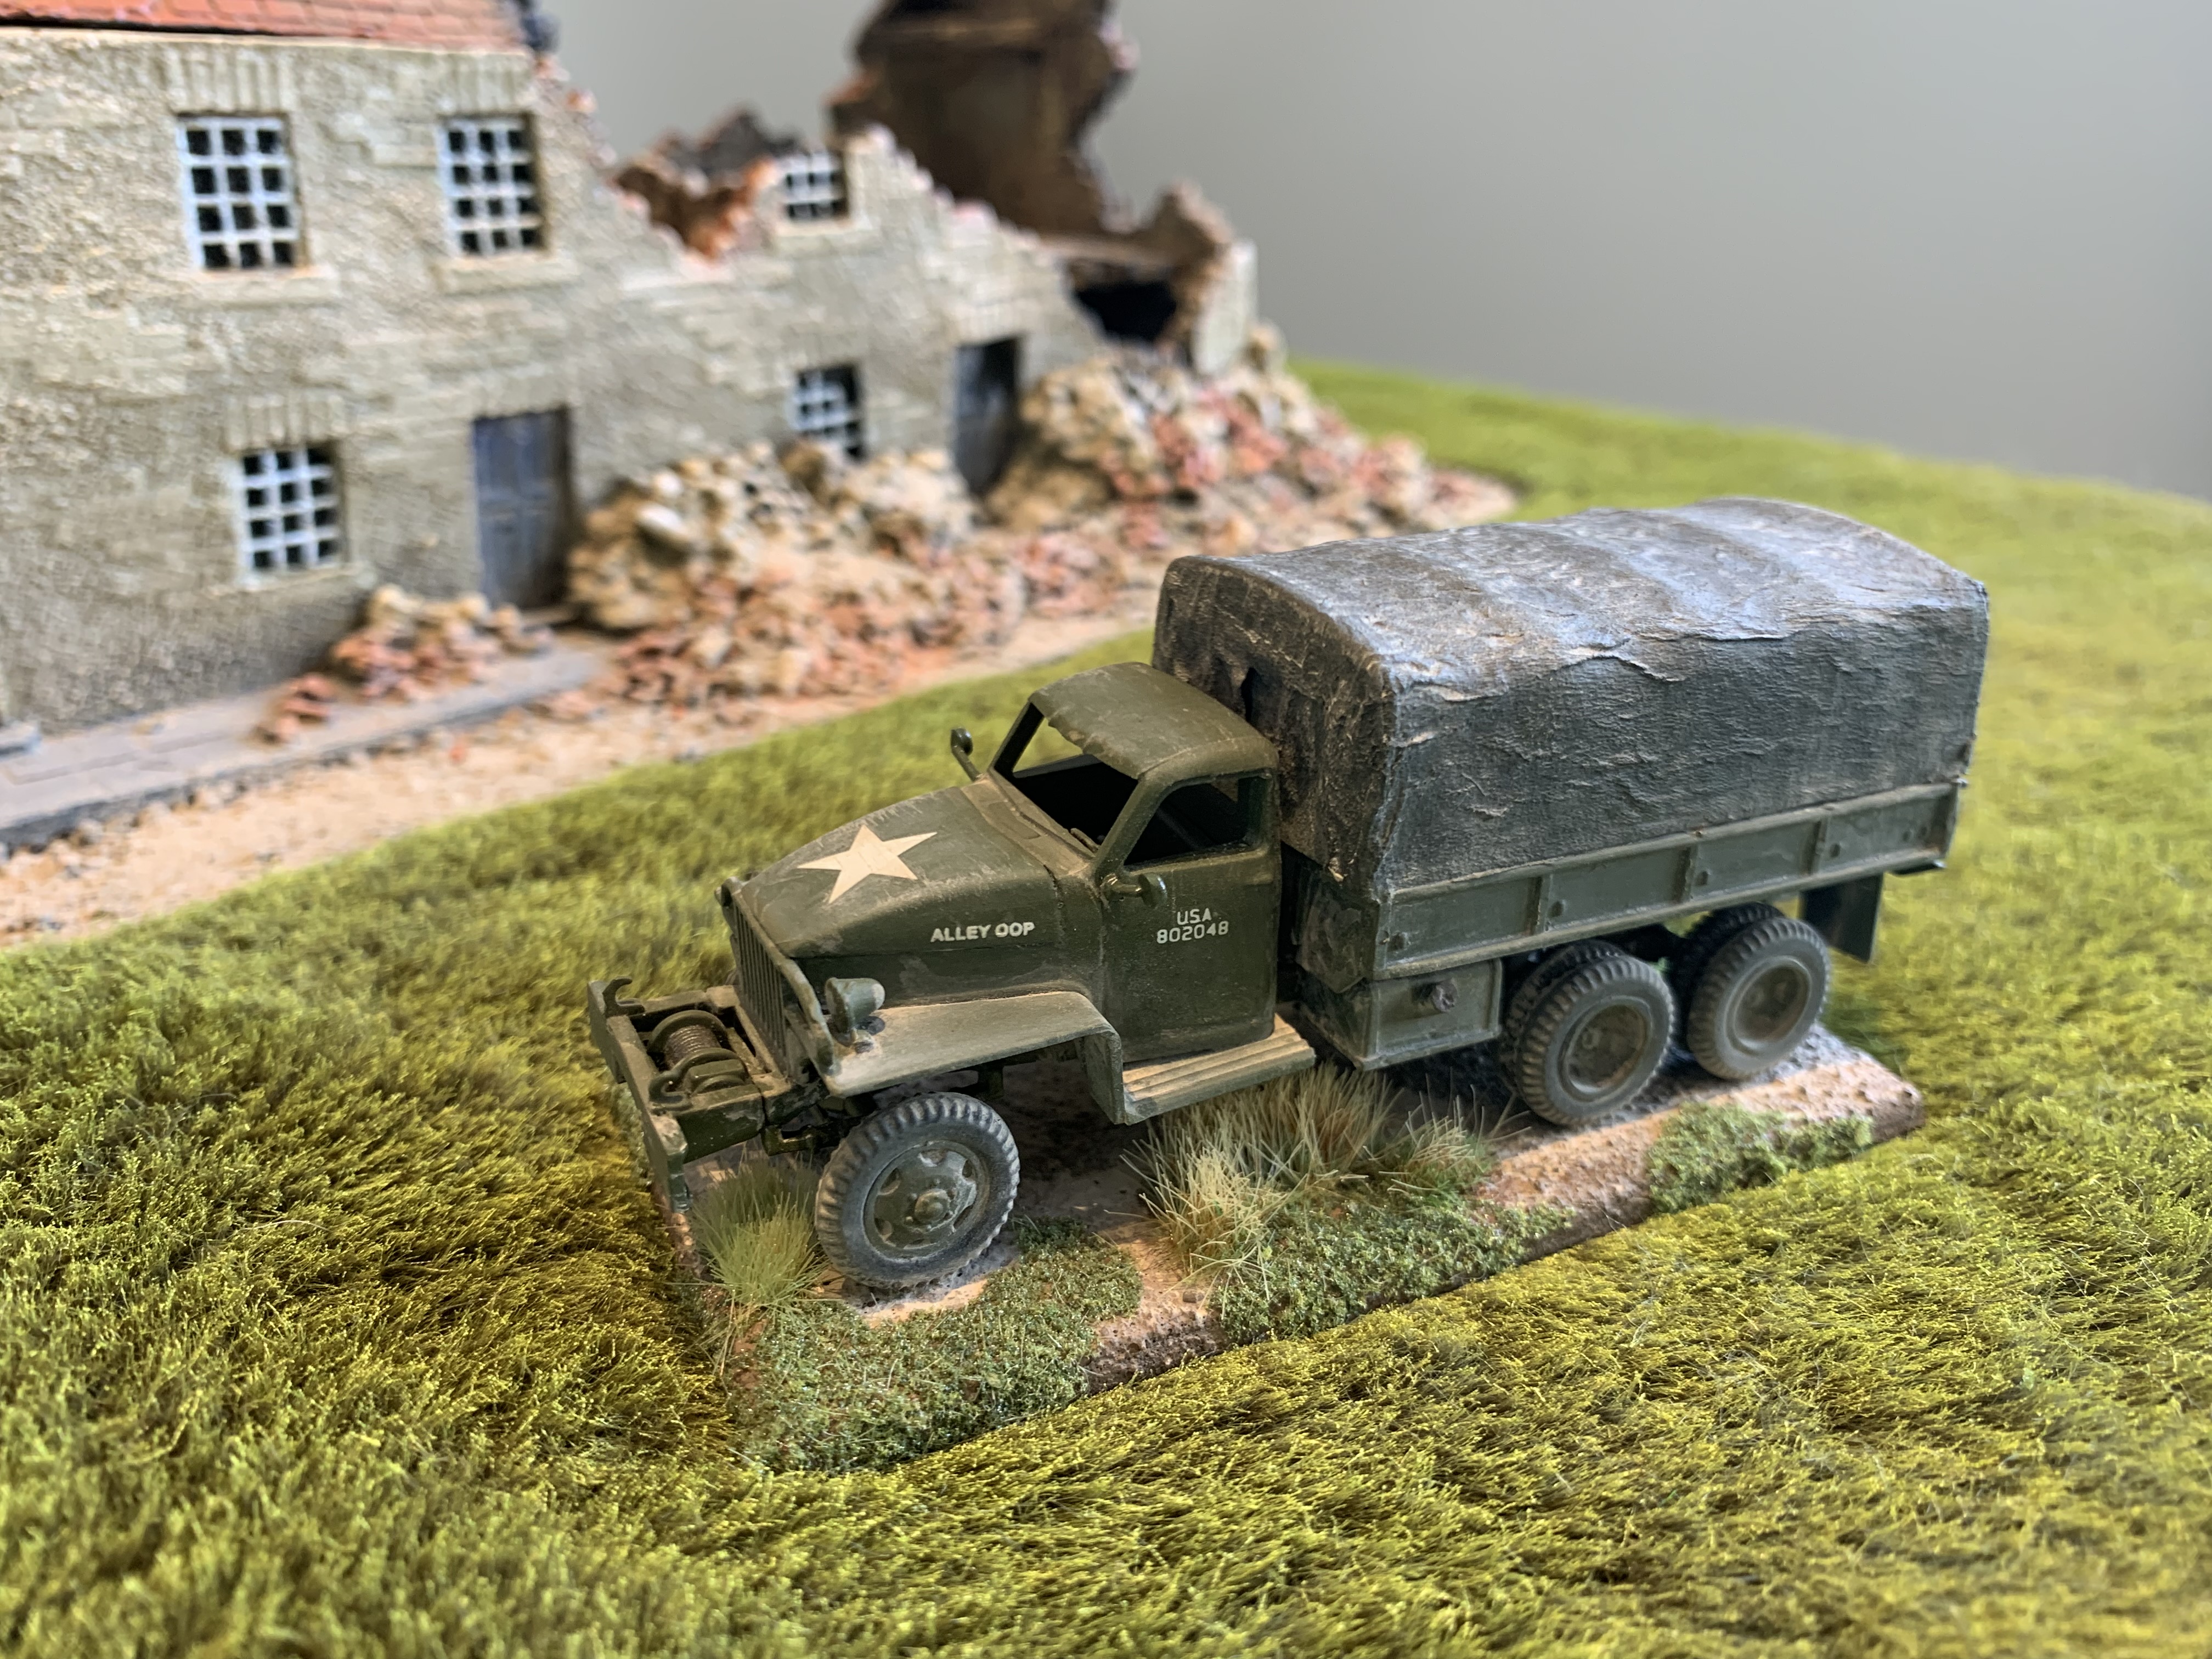
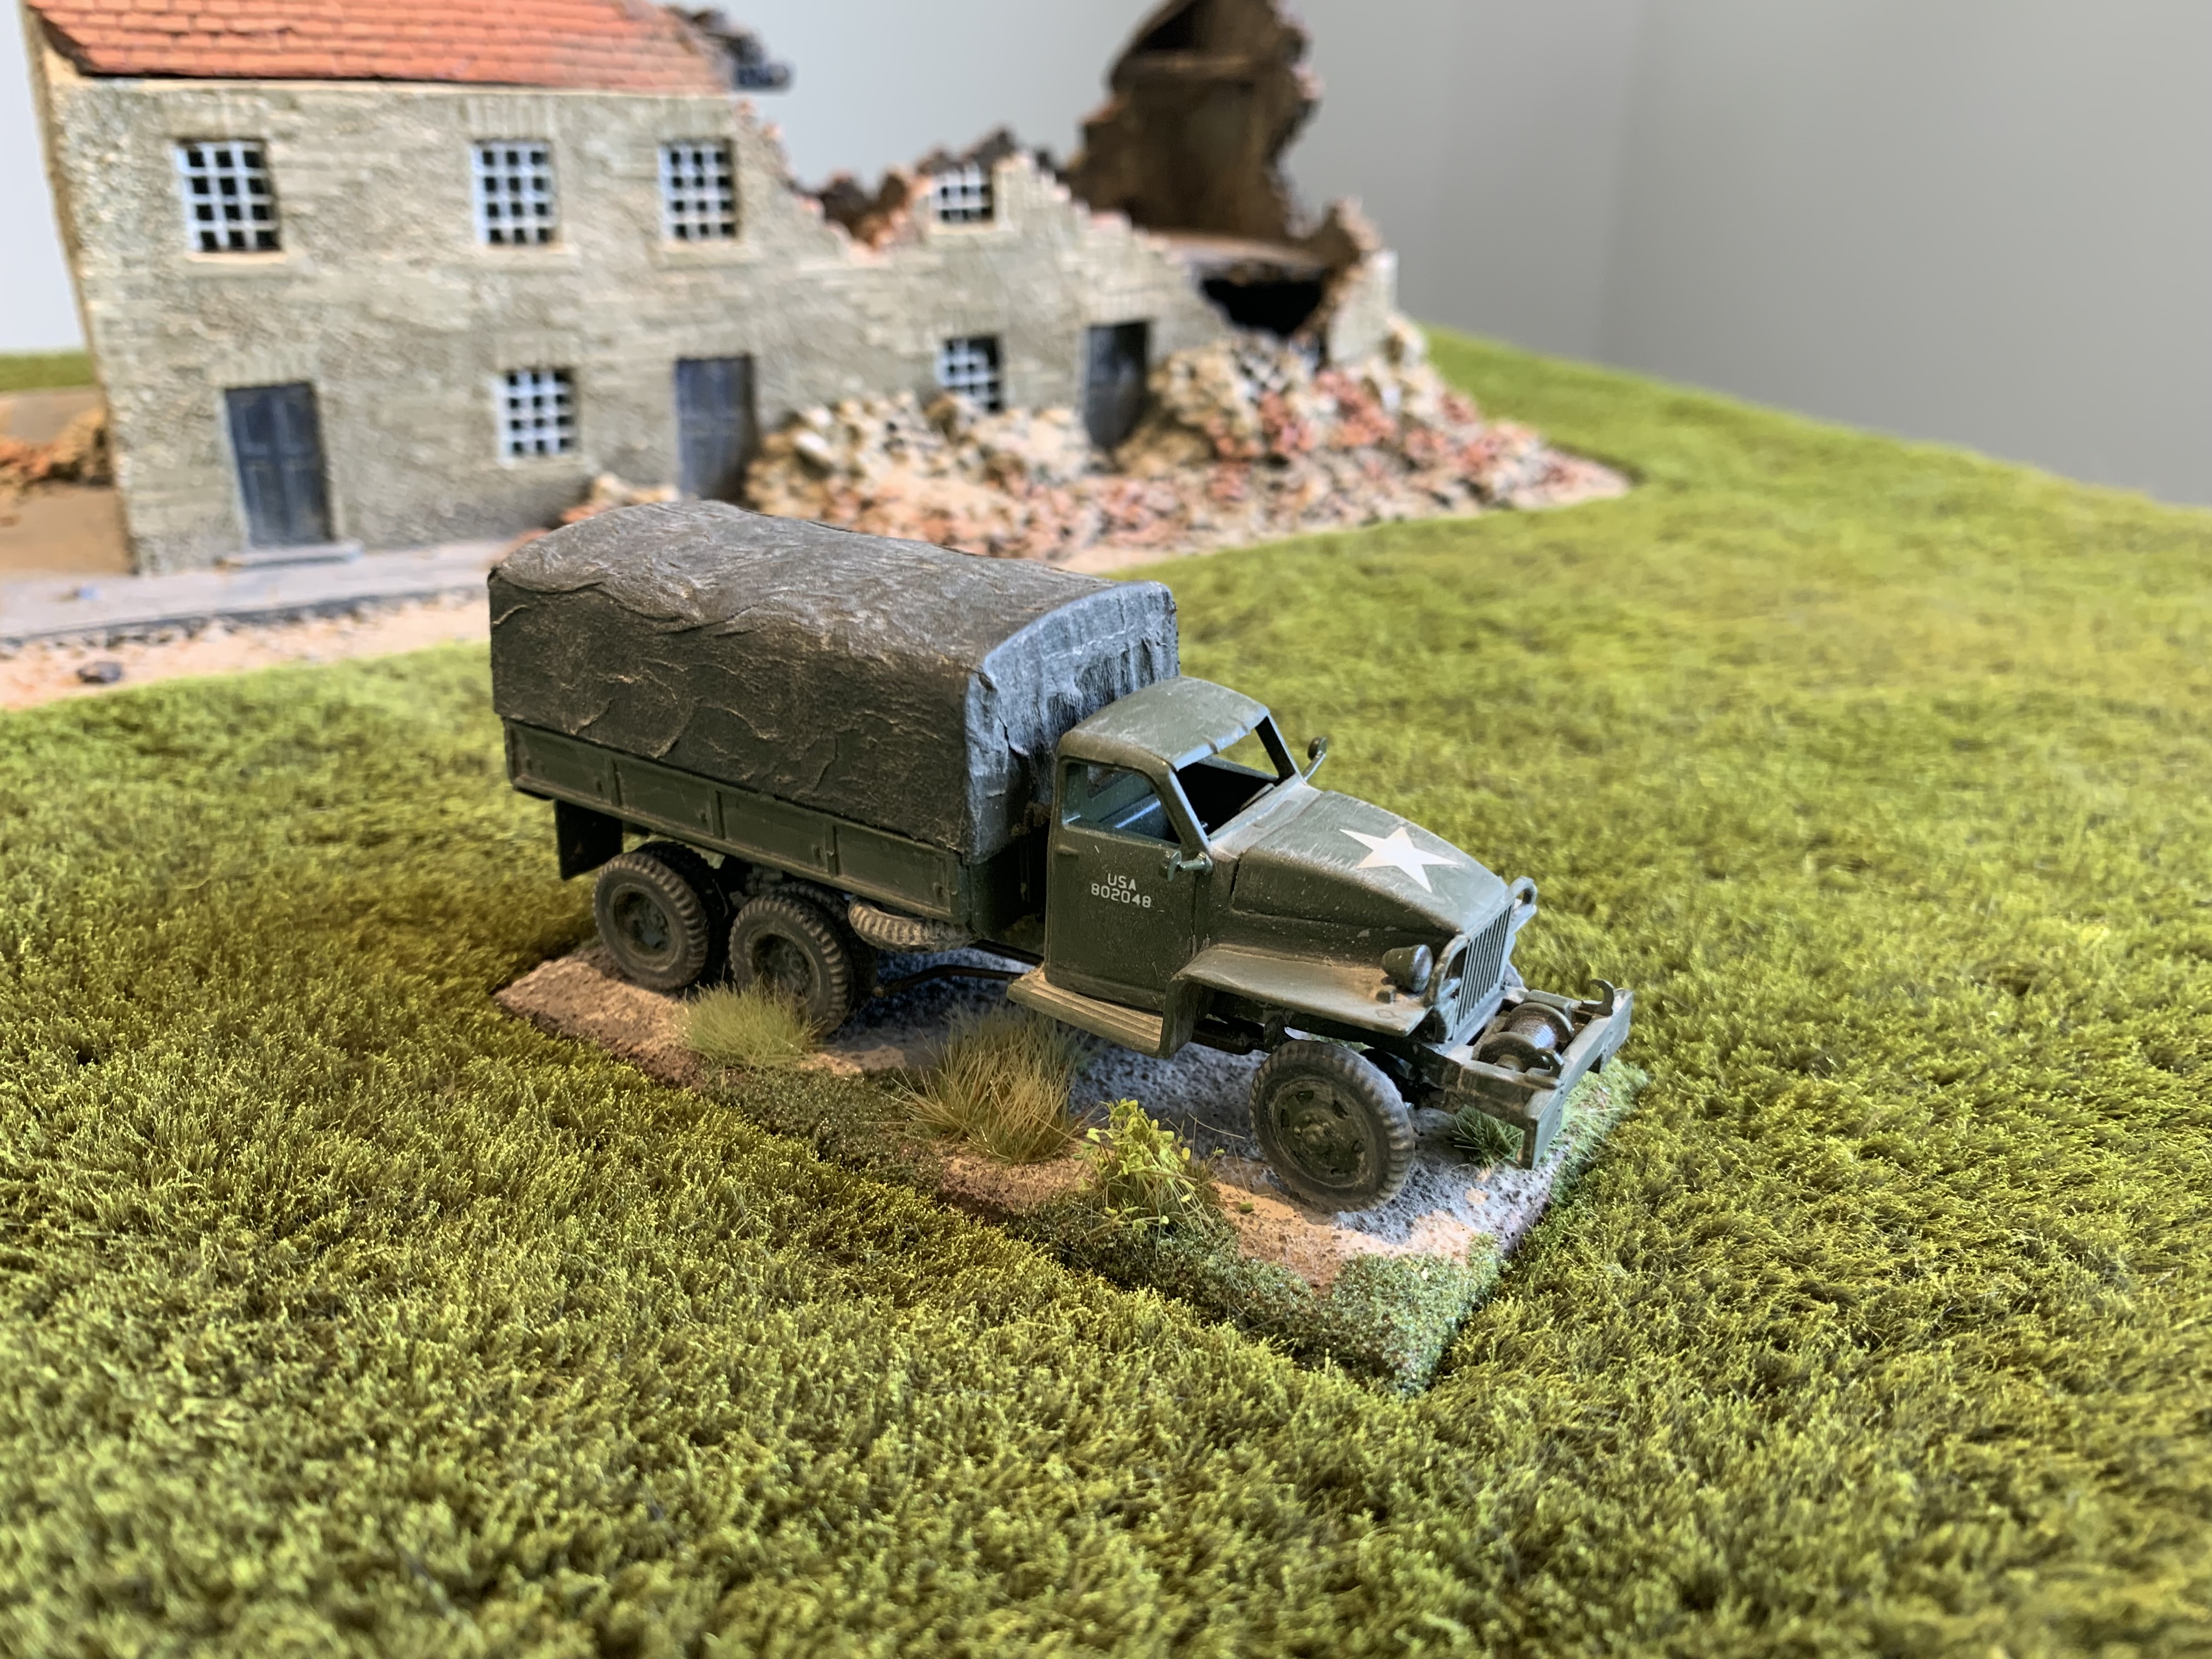
I love building trucks. I will rephrase that. Usually, I love building trucks. I have never built a PST kit before. Except for the fact I have more PST kits in my stash, not sure I would be buying another PST kit to build anytime soon. This was a painful process from start to finish. Horrible vague instructions on like a photocopied sheet. No guide marks or holes for any of the bits. Plastic that doesn’t like my usual plastic cement. Even the sprue attachments are thick and positioned badly in some cases. So building this truck was down to a lot of trial and error. Mostly error. I still ended up with the whole back section too far forward resulting in no room to add the front mudguards. The cab was positioned too far back resulting in the front wheels being too far forward. This was very frustrating to be taking two steps forward before realising things are in the wrong place and having to take three steps back. The axles and undercarriage were very fiddly. It suggests some metal wire as axles in the instructions and I was not sure if they were meant to be supplied or not. Either way I had to use my own. The kit comes with no glass for the windows so by the time I got to this bit I could not face bothering with making my own….. The canvas tilt was super flat and looked like plastic so i did some tissue paper and white glue to cover it up and hopefully look more like canvas.

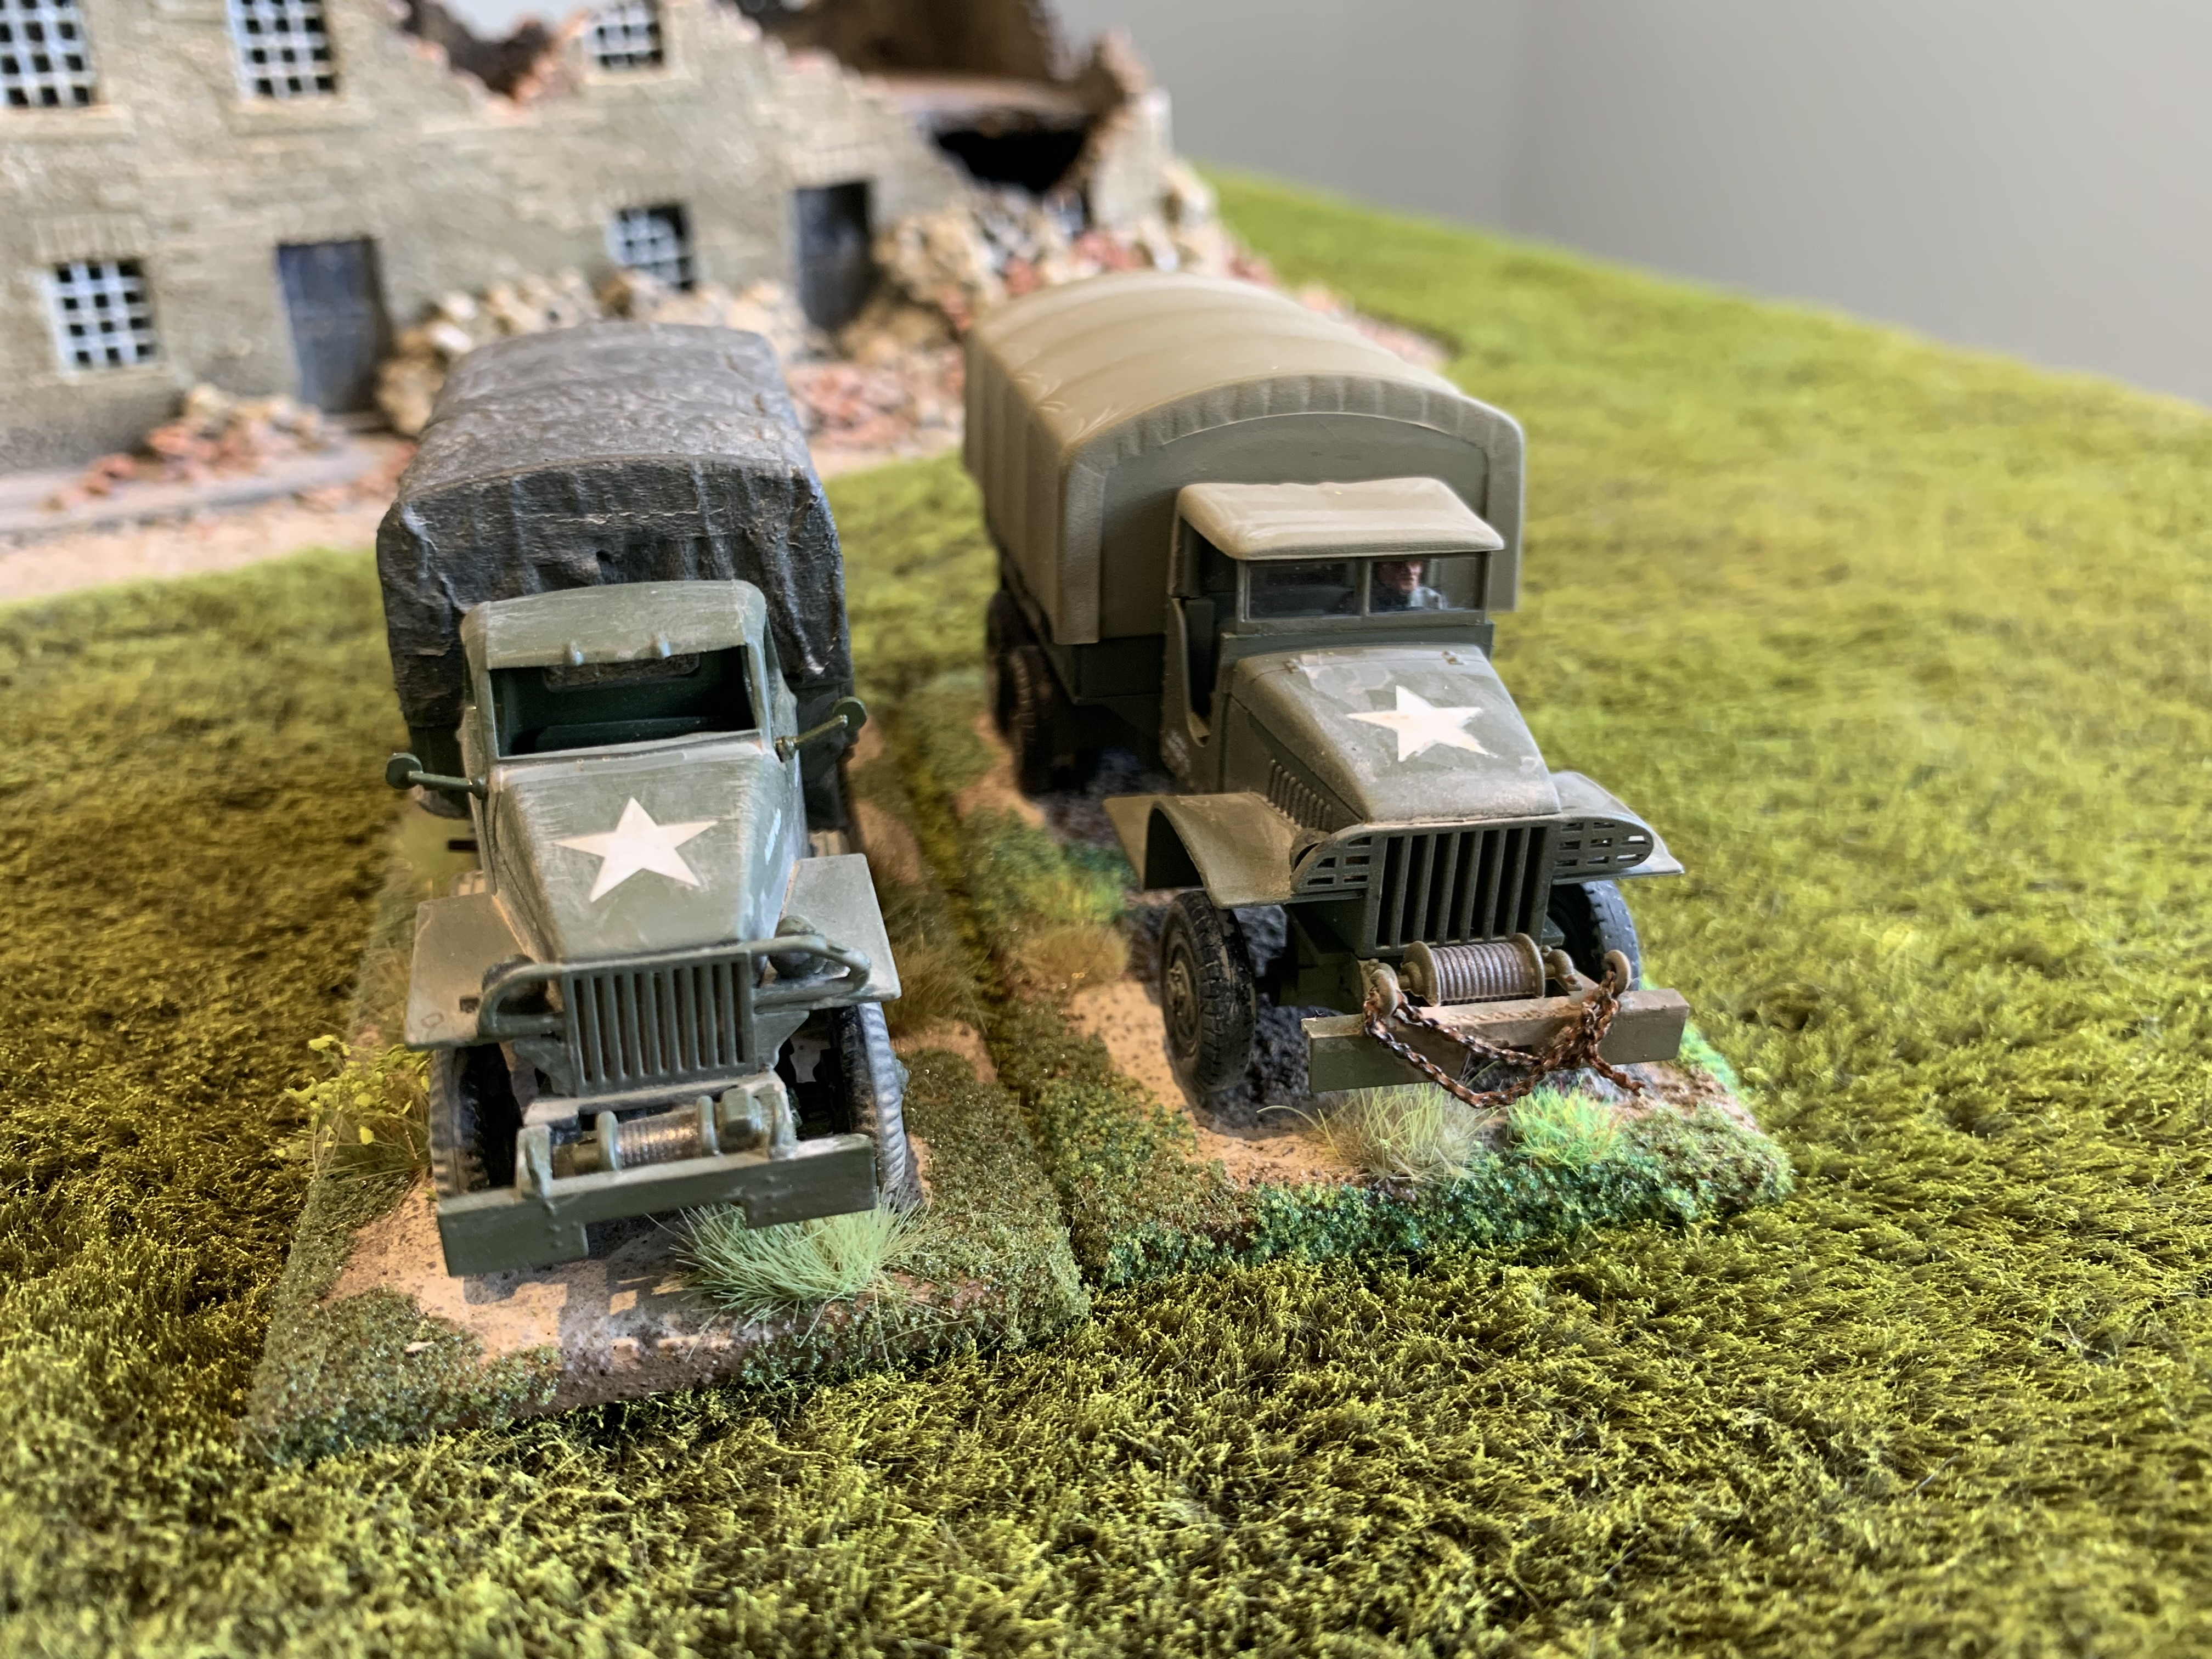
But it is a great looking truck. I really like the wing mirrors and the front winch. So after all that I was happy I did not just lose my shit and throw the thing on the floor. I used my own decals from somewhere else, but the decals with the kit do look OK. For comparison here he is positioned next to a Hasagewa truck (a much nicer kit to build).

Unimodel M36 Tank Destroyer in 1/72 scale

I actually got the next bit all wrong. What i really wanted was an Achilles Tank Destroyer for my British forces in Normandy. What i managed to buy was an M36 Tank Destroyer which i don’t think was even used by the Brits much. Anyway it was too late once i had clicked the order button on my favourite Ukrainian model store’s web site, and soon a couple of M36 kits were on the way across Asia towards Australia. For a wargamer looking for an Achilles or any other M10/M36 variant 1/72 scale in plastic, the options are very few and far between. In fact i am not sure there are any other manufacturers out there who make versions of this tank in plastic.

But who cares i really liked this kit. The more Unimodel kits i build the more i like them. The link and length tracks work well and the bogey wheels all look great. The kit comes with some excellent photo etched details, which although fiddly, really add to the detailed look of the vehicle. I did struggle a bit with getting the headlight protectors looking right, but nothing wrong with a bit of a challenge! The two piece turret needed some extra sanding and work to fit together and also to fit into the hull. Plus the contents of the turret were also a bit tricky and needed some special handling. But it all worked out in the end. There are some excellent pioneer tools to add onto the back, which makes a nice change to the boring moulded on type deal. I also added some rolled up tarps on the roof. The 50 cal Machine Gun looks good on the open turret, and i will be adding some crew men at some point too to finish the whole thing off.

To add to my confusion i kind of mixed up some British insignia on the tank with some US stars that were supplied with the kit. I like the white and yellow stars on Allied tanks, and i didn’t think anyone would object to my decal mixtures. Hey he can fight for the US or the British forces. Win win i say. Check out the photos below!

Dragon Models Sherman M4A3 (105mm) 1/72 scale

You can never have enough Sherman tanks. Ever. There is always room for another Sherman in the far corners of your tank units. This one is the up gunned M4A3 with a 105mm howitzer from Dragon Models. This tank was mainly used by US forces and from what i have read sometimes showed up with Canadian tank units. Mine was going to join my British forces, probably on loan or stolen or something like that.

My experience with Dragon Models has always been great. It’s been a love love relationship. However, this little Sherman changed all that. Dragon kits are always more expensive than others but you get a better standard of detail and their kits are usually great to put together. This Sherman kit had a couple of nagging problems that made it hard work. First up the lower hull section is too long for the top half of the hull and the two do not fit together. I had to shave off at least 3mm off its rear lower hull to get the top half of the hull to fit. After sanding off the back the rear vent section did not have enough room to fit over the exhausts and so had to be cut in half. Annoying. My other gripe was that the tracks were too short, even after i stretched them by hand. The Dragon track do not stretch much, and they ended up around 1 track link too short. I added in bits of a Unimodel M10 kit which filled in the track link gaps i was left with. Please Dragon make your tracks a little bit on the long side, then at least you can cut them down.

My whining aside the kit turned out really well, great detail and everything else you would expect from Dragon’s usual offerings. I added a British tank commander from Battlefield miniatures but kept the decals from the kit with US markings. Confusing i know but i really liked the decals and the big yellow “15”. Painted in the usual olive drab with some muddy weathering and MDF base i was pretty happy with the final result. You can never have enough Shermans whoever you are……

Trumpeter M4A3 Sherman and M4 Sherman Tank Mid Production

You can never have enough Sherman Tanks. I had previously bought a pack of three Shermans from the Plastic Soldier Company, but felt they were a little on the big side, so wanted to try a different angle. I purchased these two Sherman kits from Trumpeter at around AUD $10 per kit on line. Somewhere between a fast build and normal kit, i was very pleased with what i found in the boxes.

You have the option to build the bogey wheels from individual wheels and parts or just use the one piece bogeys that are supplied. I didn’t see much difference so opted for the lazy route. I can keep the spare wheels in my spares box. The hull has plenty of moulded on detail, which may not suit everyone, and i guess doesn’t match up to the PE and other detail found on Dragon and Unimodel tanks. But hey, i reckon these are pretty good looking little tanks for your money.

The commanders hatch can be open or closed, i think you need to cut it in half to open it up. You also get a choice of 50 or 30 cal machine guns to go on the turret. There are a couple of wooden crates for stowage, but i added plenty of my own to the tanks, and also some spare track bits i had kicking around. Adding extras to these guys certainly improves their look.

The vinyl tracks can be tricky to put on, and i had read some horror stories about Trumpeter track problems. I made sure i stretched mine very carefully to fit around all the wheels before attempting anything. Then i glued them starting over the top wheels first before letting that dry for a long time. Then putting glue on the sprocket wheels and folding the tracks around and under the tank. Once this was dry i would add glue on the bottom wheels and add some weight on top of the tank (turret off) so the glue would stick. I didn’t worry about connecting the ends of the tracks together until all the glue was dry. As long as you have stretched your tracks enough to touch, connection at the end should not be a problem.

The highlight of these kits are the decals! I wanted to make them British Shermans but could not resist the awesome decals that came with them. “To Hell With It” and “Classy Peg” just look great on the olive drab tanks.