Normandy Bocage Part 2

Following on from my blog a few weeks ago i recently finished more bocage sections using the same techniques as before. MDF bases with coconut fibre foliage flocked heavily with a bright green. Some sections include trees sticking out, which is apparently how these hedges evolved. Some sources put bocage up to 5m in height so with a scale of 10mm to 1m I made these sections up to 50mm tall. They definitely look the part and will block line of sight nicely and make my Normandy battlefields look more and more realistic.

I laid them all out with a home made ruined building and a few German armoured vehicles cruising through. Check out my photos below!

Normandy Bocage with Coir Coconut Fibre

After further internet research i made some new bits of terrain for my Normandy battlefields. Passing through my local Bunnings Warehouse i stumbled upon a big bag of coir coconut fibre for about $6.00. Having read a few blogs about making bocage out of this stuff i thought i would give it a go! Normally this fibre is used for lining hanging baskets and gardening things like that, but for me it was going to become a 5 metre wild hedge on top of a bank/ditch. I think i read an excellent blog called “Little Tin Men” where the idea was illustrated so well.

I cut strips of 3mm MDF 40mm x 150mm and then glued strips of old cut up expanded rubber camping mats (about 6mm thick mats) and glued them on top of the MDF. When they were dry i would carve the sides to be sloping to represent the banks of the bocage. You could use any kind of foam or polystyrene for this too. I then coated each one in acrylic gap filler to smooth out the whole thing. When that was dry a liberal coating of PVA glue followed, which was covered in fine dirt/sand/gravel from my front yard. Regular sand would do the same job. Small twigs and sticks were then jabbed into the foam to give the hedge some structure. I put about 4 twigs into each section. You can also use bigger twigs that turn into trees sticking out of the hedge.

It was then a question of dipping sections of coir fibre into PVA glue and adding them onto the bocage sections building it up to 30-40mm high. This gets messy! Do not worry about being neat and tidy just get the fibre onto the base! I am going to try a hot glue gun next time as i have read good things about this gluing weapon. Once the PVA and coir is dry i attacked the hedges with a pair of scissors to tidy them up. Next a full spray of cheap dark brown paint covered the whole construction.

For the foliage I used a nice coarse bright green flock, but you can use whatever you have kicking around. I think multiple greens work nicely. Paint or spray on diluted PVA glue (50/50) to the hedges and then sprinkle on your flock. Don’t be stingy just chuck it all over the place. Shake off the excess and leave to dry. I did this process twice with different types of flock. Finally i mixed up a 50/50 PVA/Water mix in a spray bottle and sprayed the whole construction again for extra durability.

Final touches were to paint the base an earthy brown and then dry brush lighter brown to pick out the texture and light grey to pick out any bigger rocks. The base was then also flocked with a grassy green to finish it off! The same process i used for some trees on a base, which you can also see below.  I reckon this is the cheapest and most effective way of making big sections of bocage for all your Normandy battle fields out there!

River Sections and Rustic Bridge

Finished some river sections and a rural bridge this week. The river sections all made with 3mm MDF cut to shape. I then added modelling clay river banks. The banks were then sealed in with a coating of acrylic filler, and then coated with a thick layer of sand and PVA glue. Some bigger gravelly bits were glued close to the waters edge. The water itself is just blue and green spray paints, the photos are actually a bit brighter than real life. The banks were sprayed brown then dry brushed with a lighter shade of brown and then flocked with a  couple of greens. I added some reeds made out of an old cut up paintbrush which came out OK.

My bridge was scratch built using foam board covered with embossed plasticard. Details were added with modelling clay. The road way was just cardboard bent and glued in place. Painting involved various different colours including grey, light brown, sandy yellow and pink.

The river sections were all 15 cm wide and from 30 – 40cm long. I need to make some shorter bits and also some more 45 and 90 degree turns for variety. Photos below!

20160102_100001[1] 20160102_100023[1] 20160102_100058[1]20160102_10023320160102_100140

Red Brick House

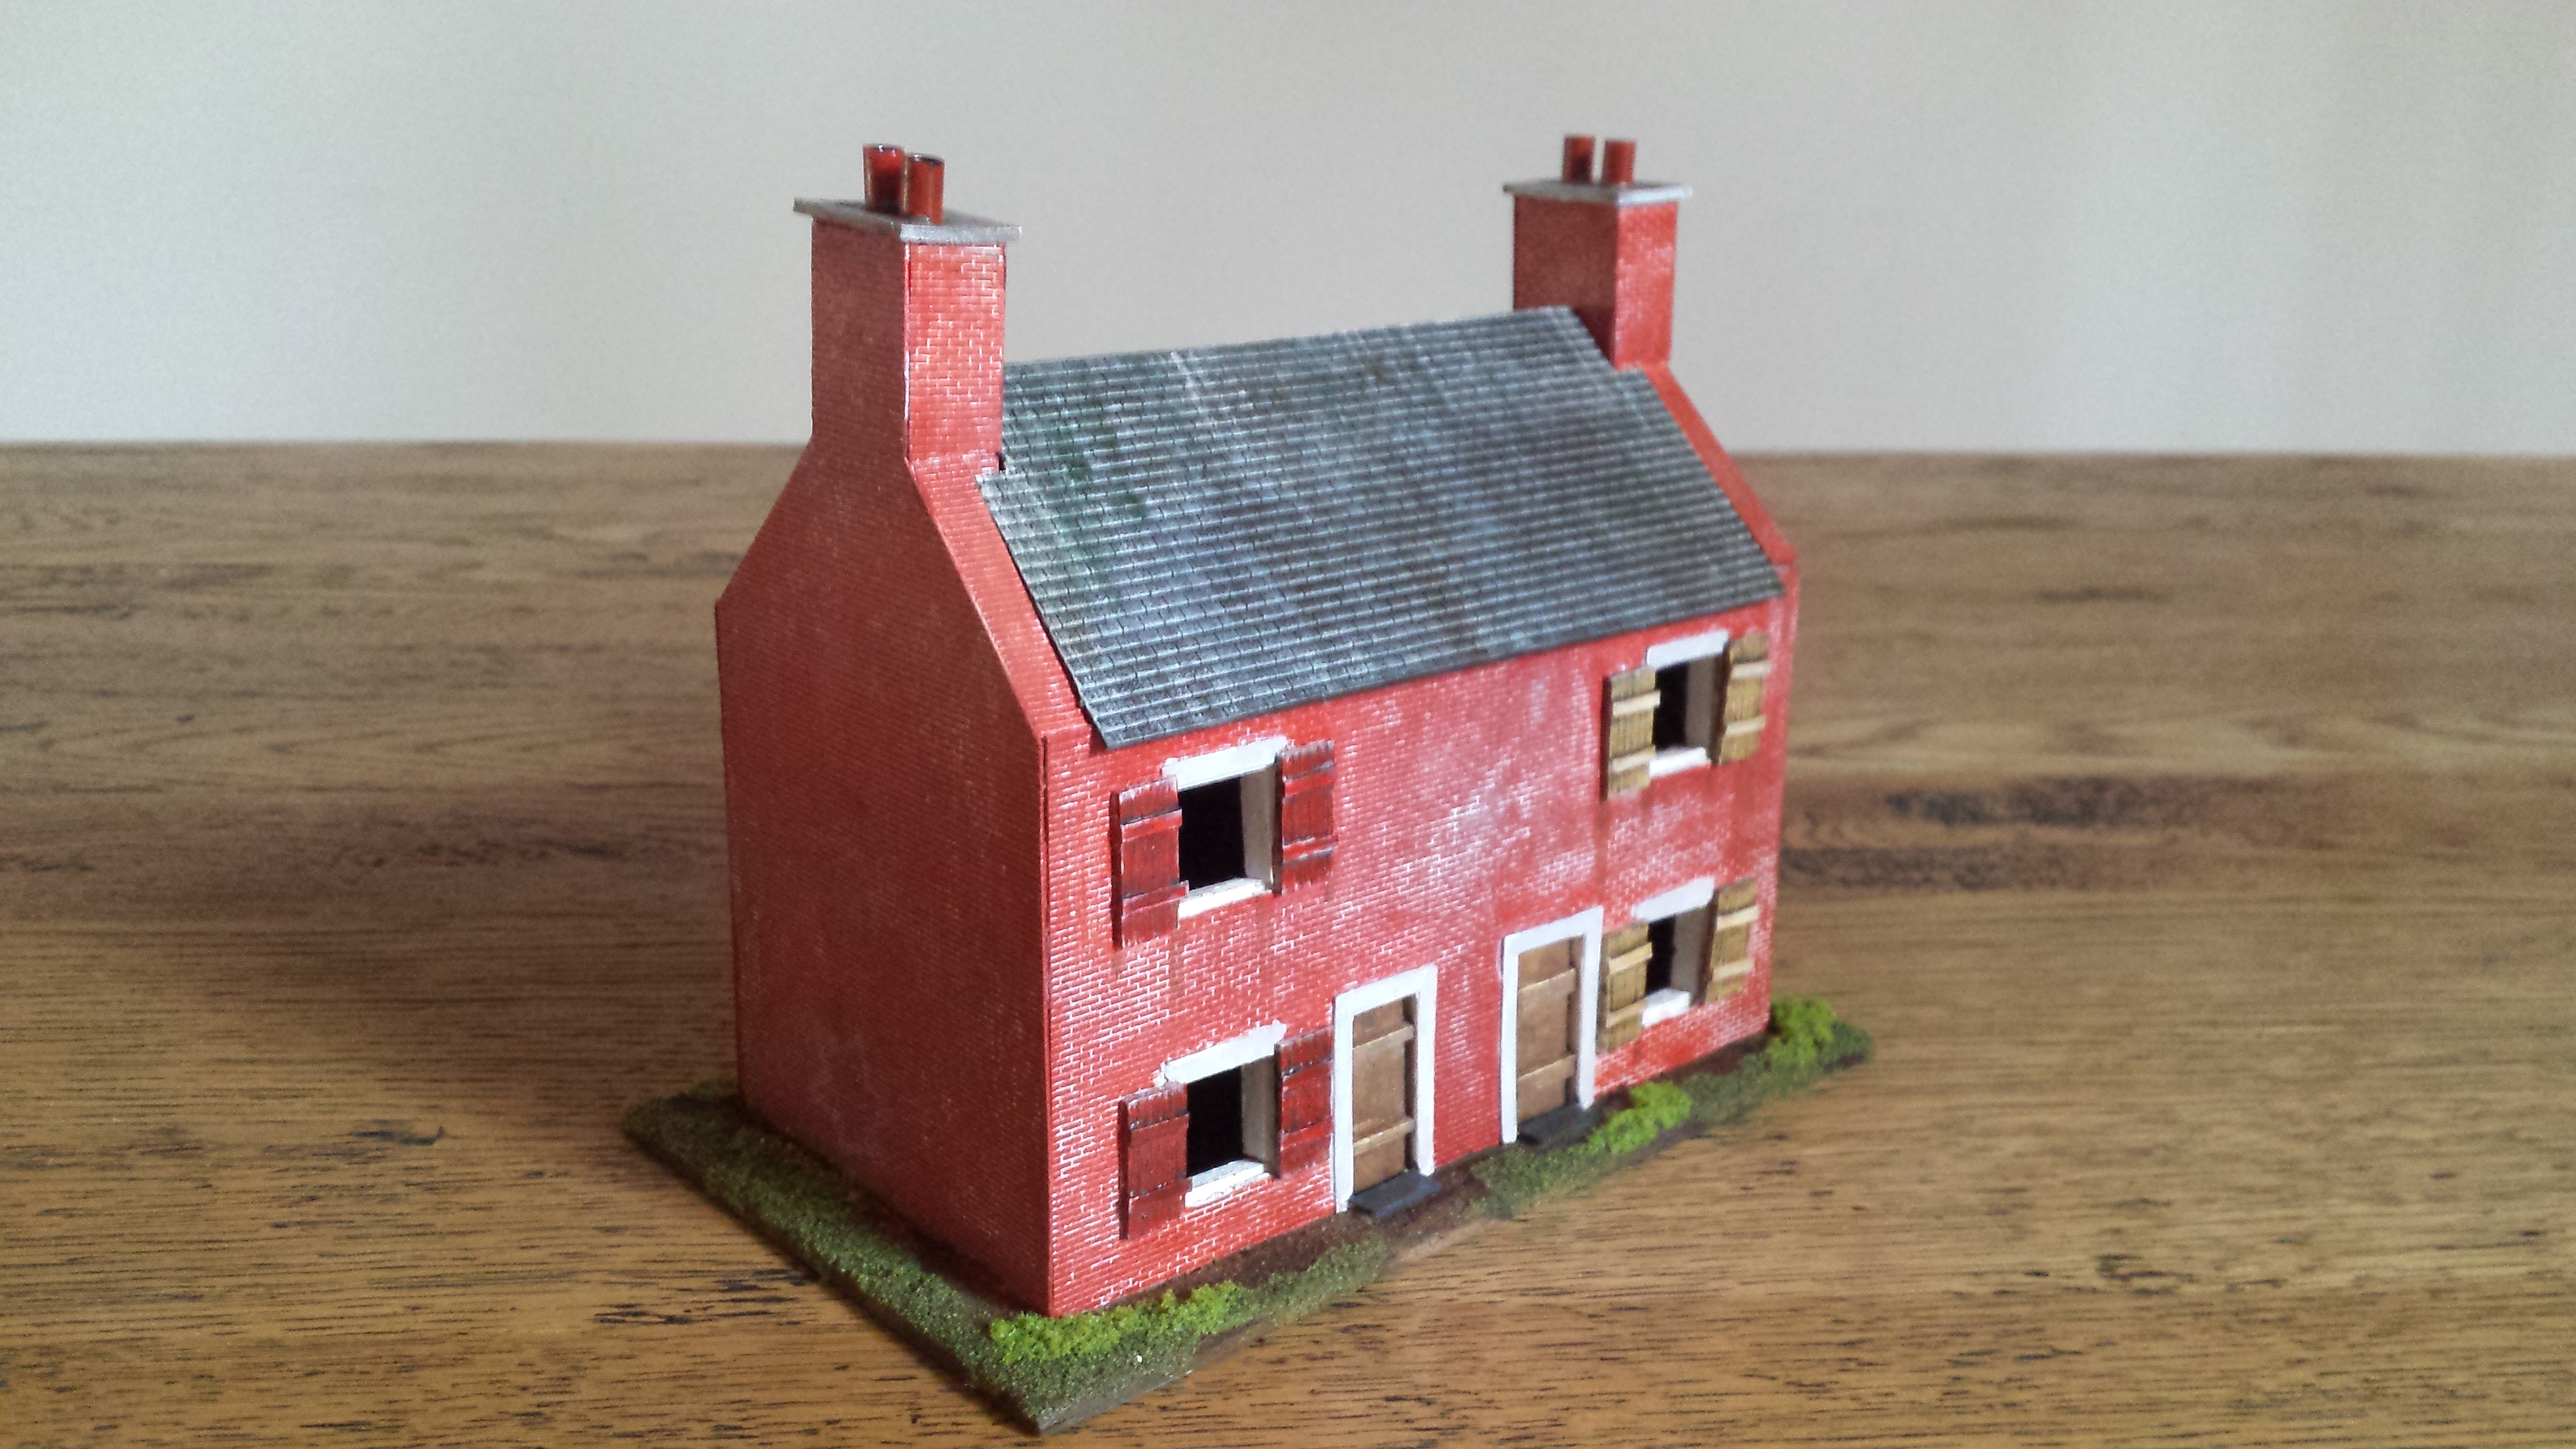
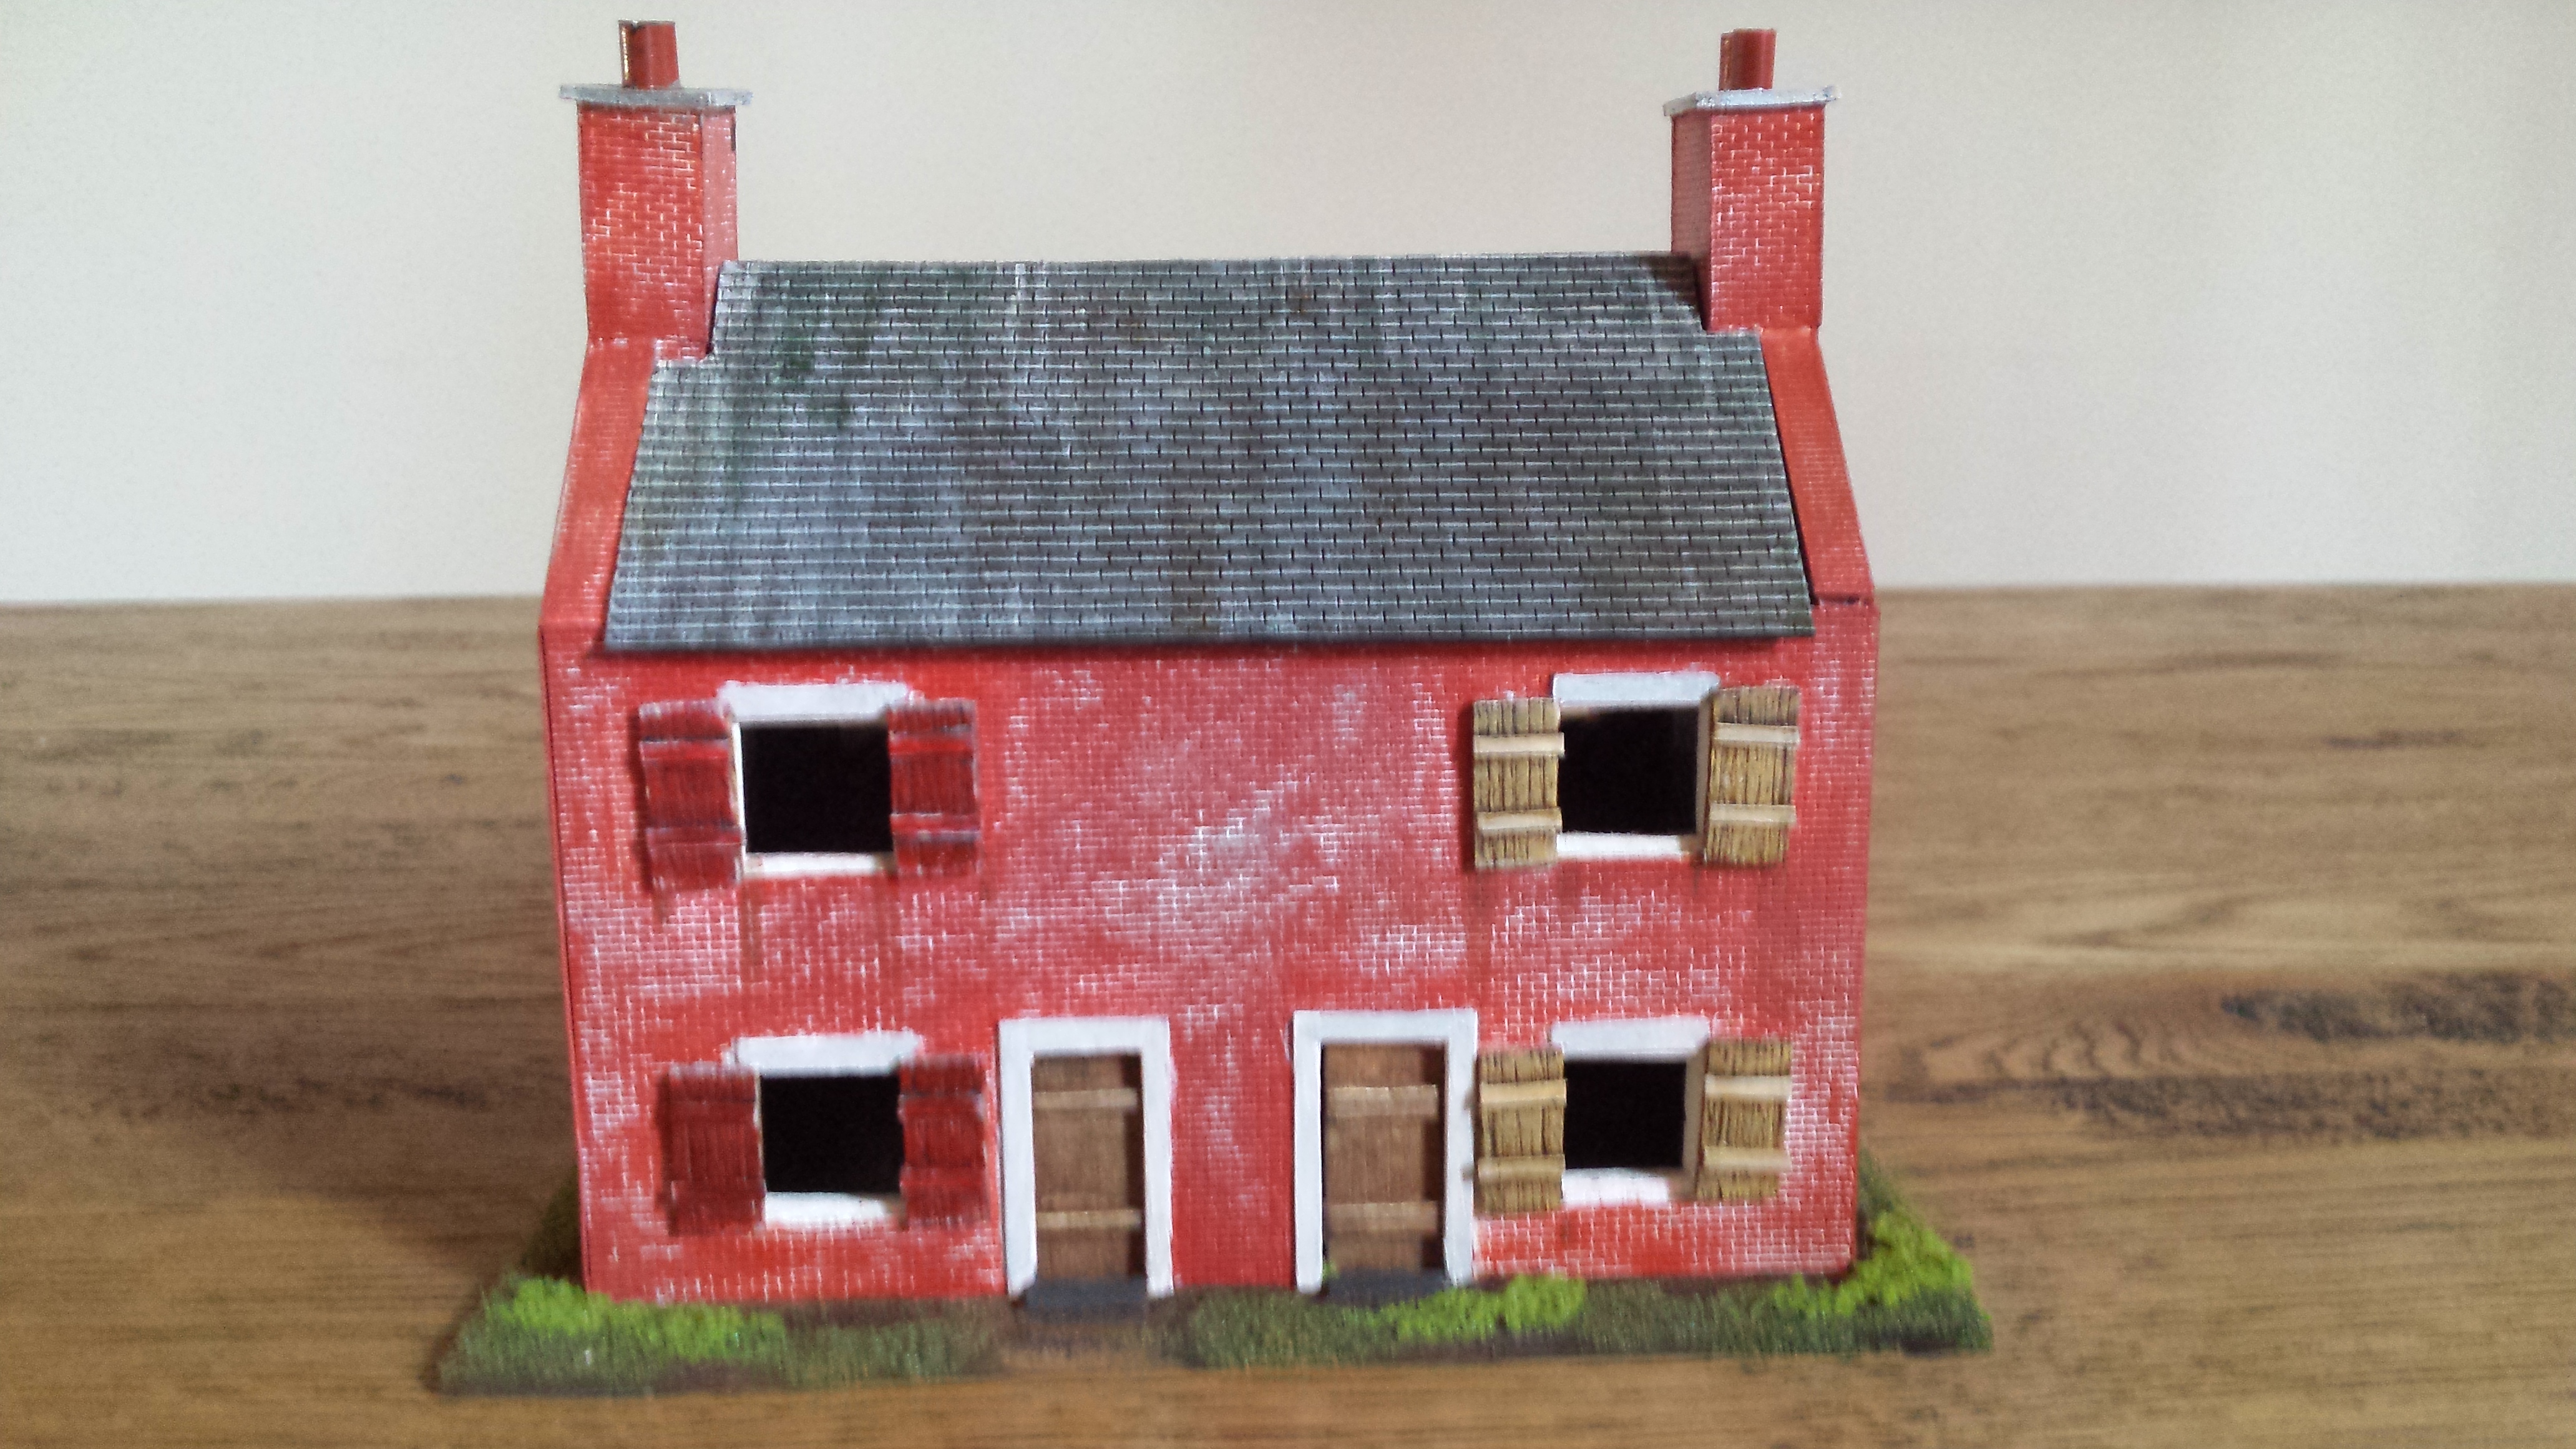
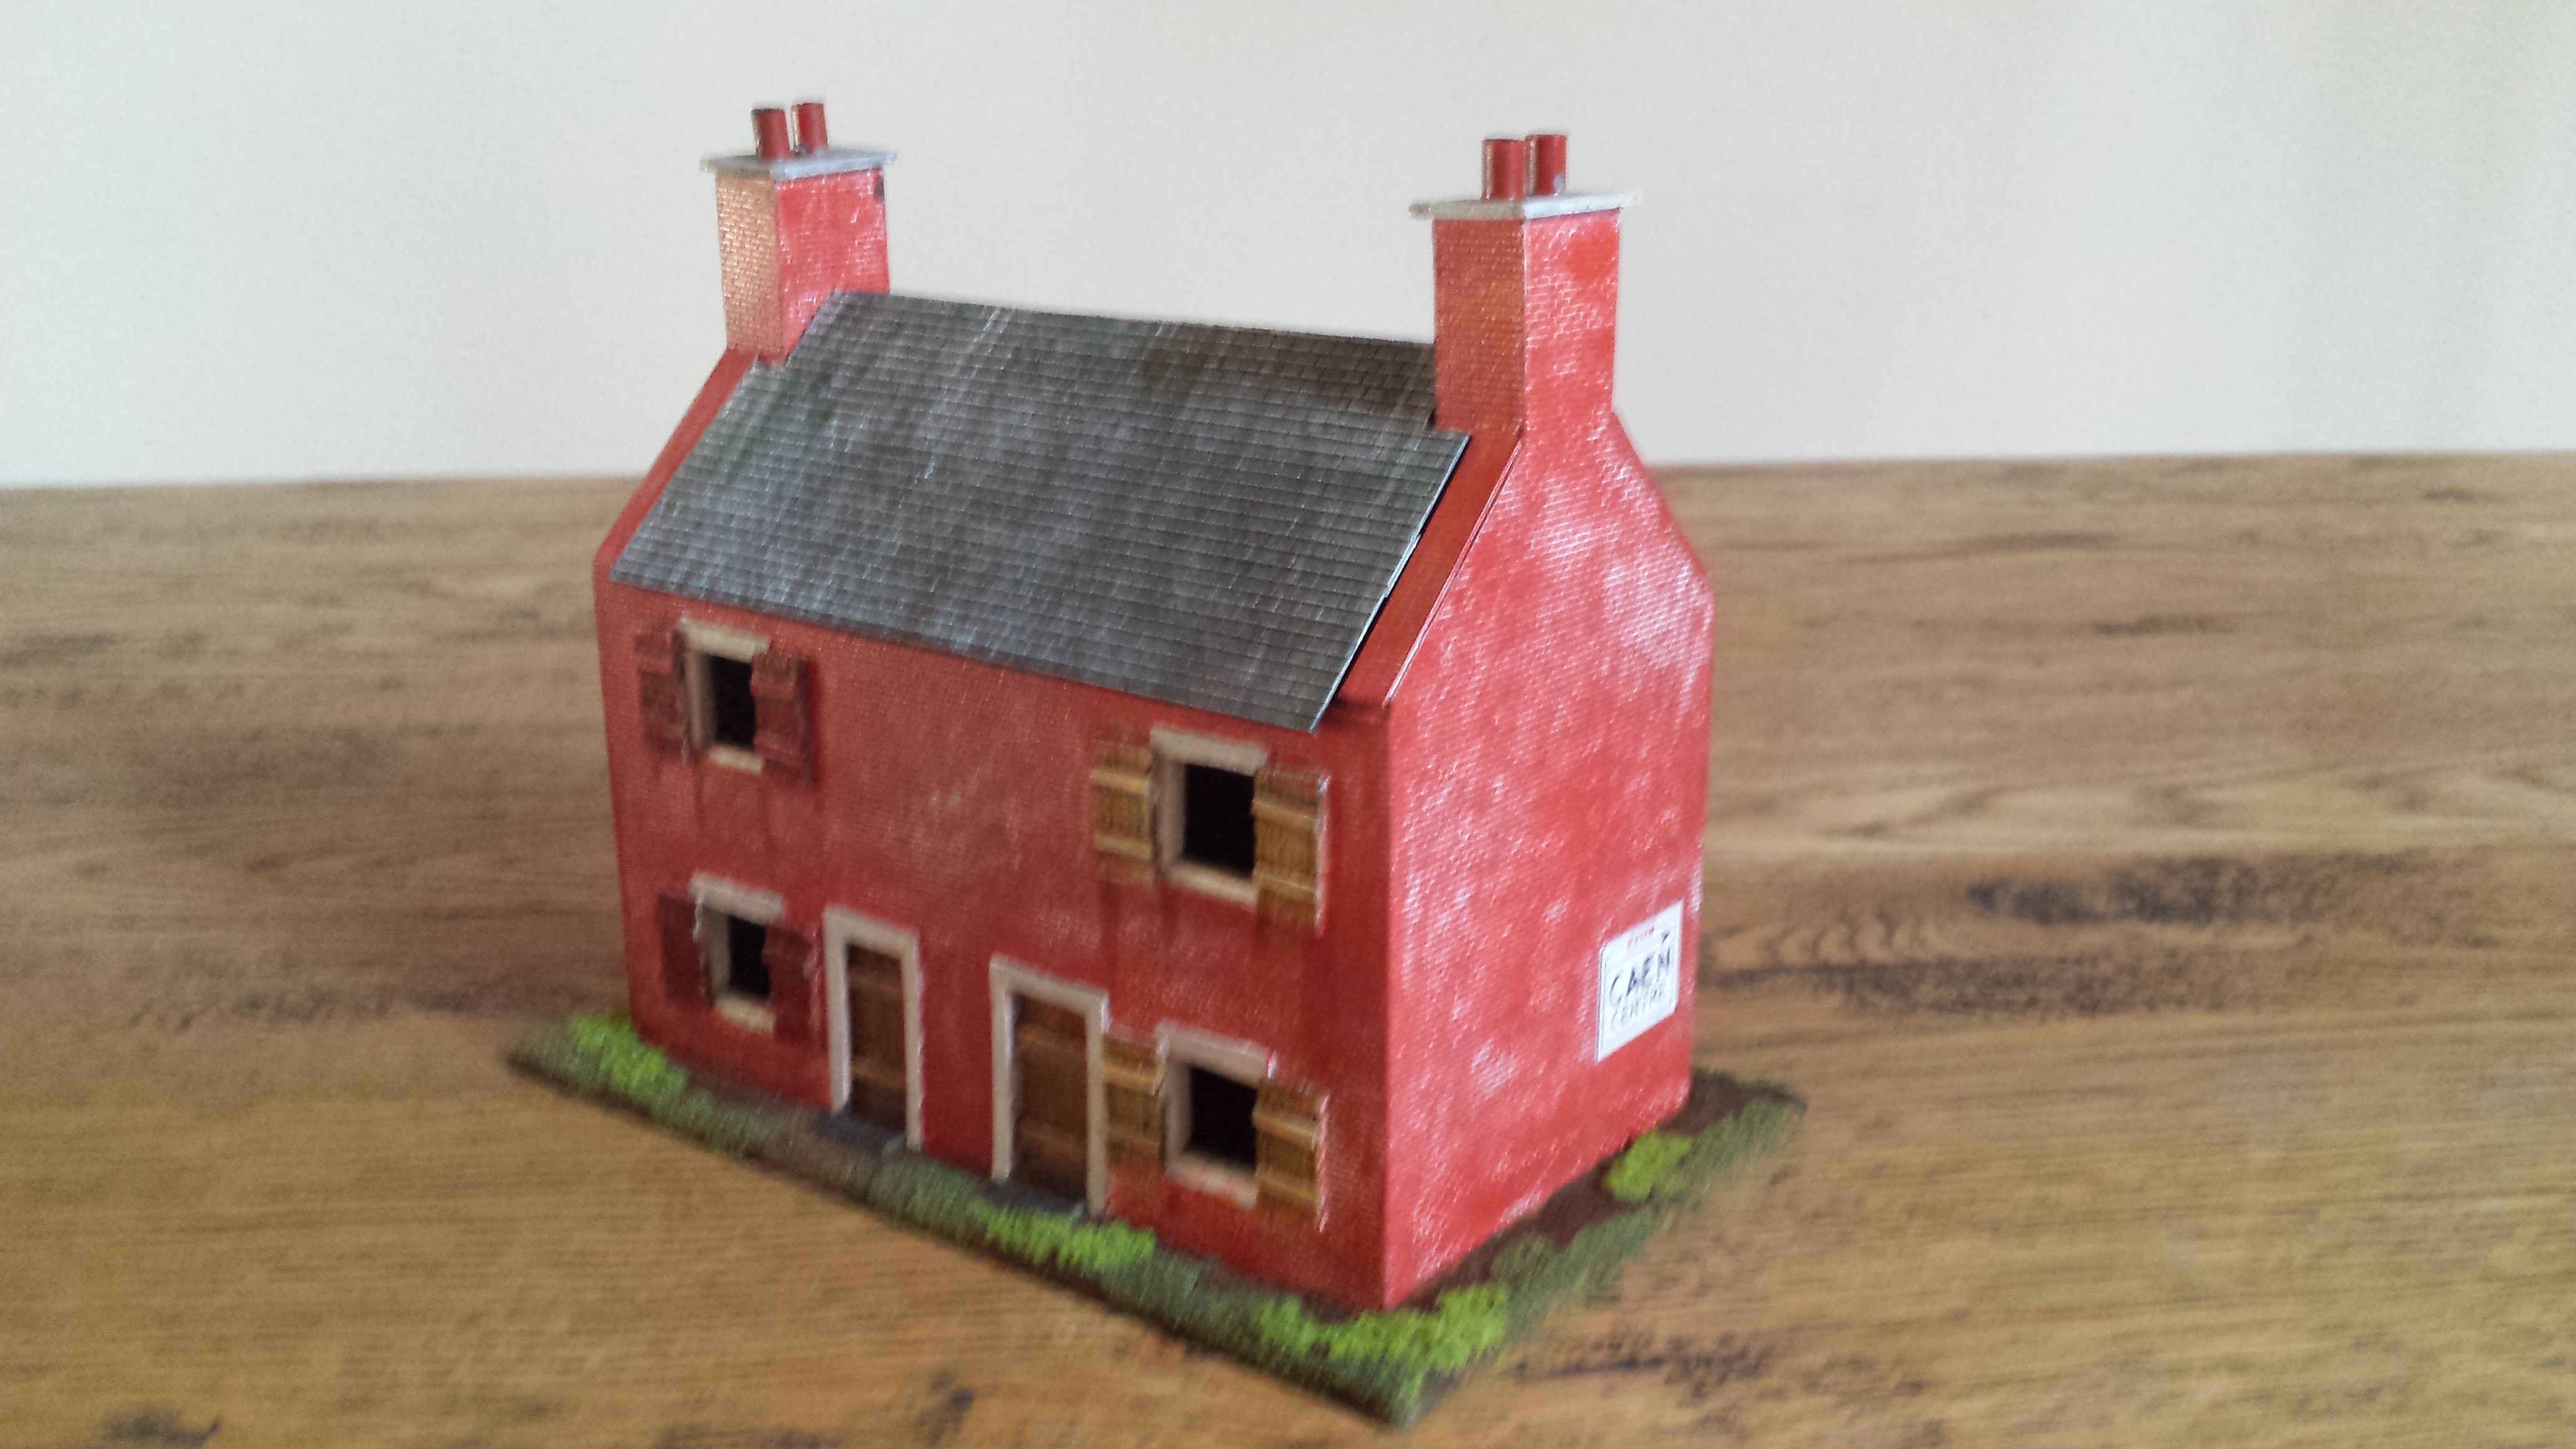
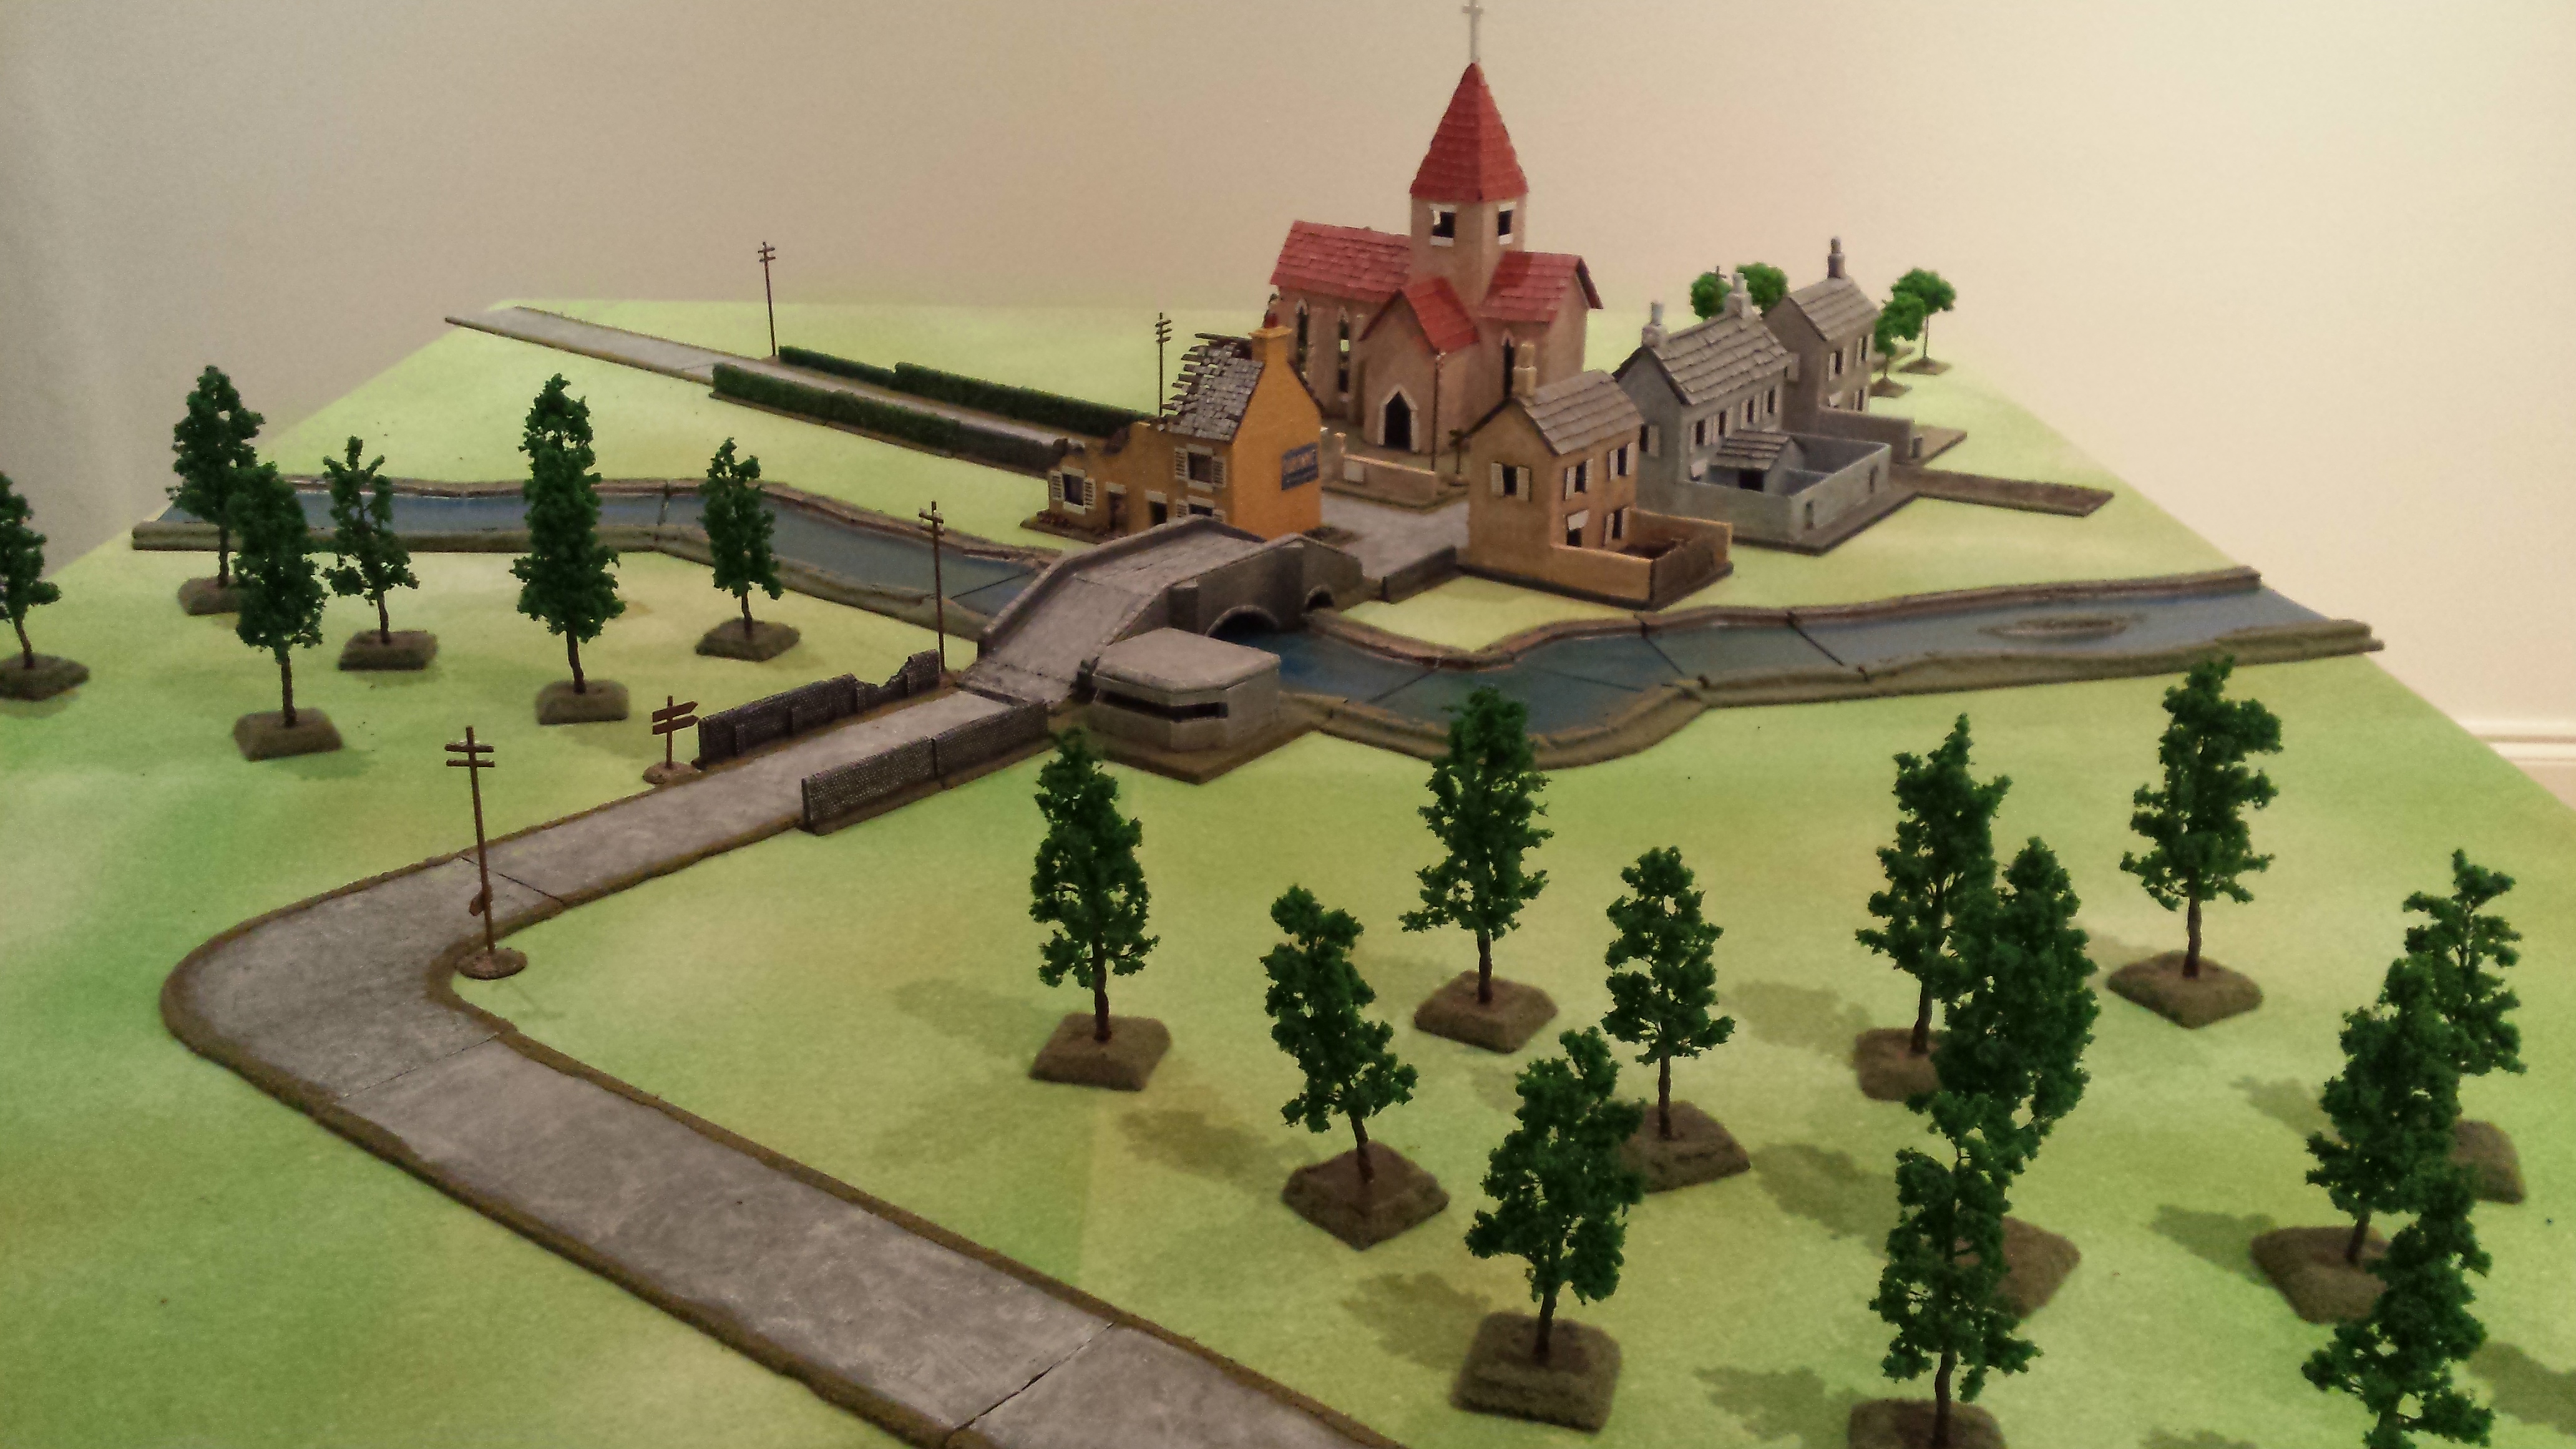
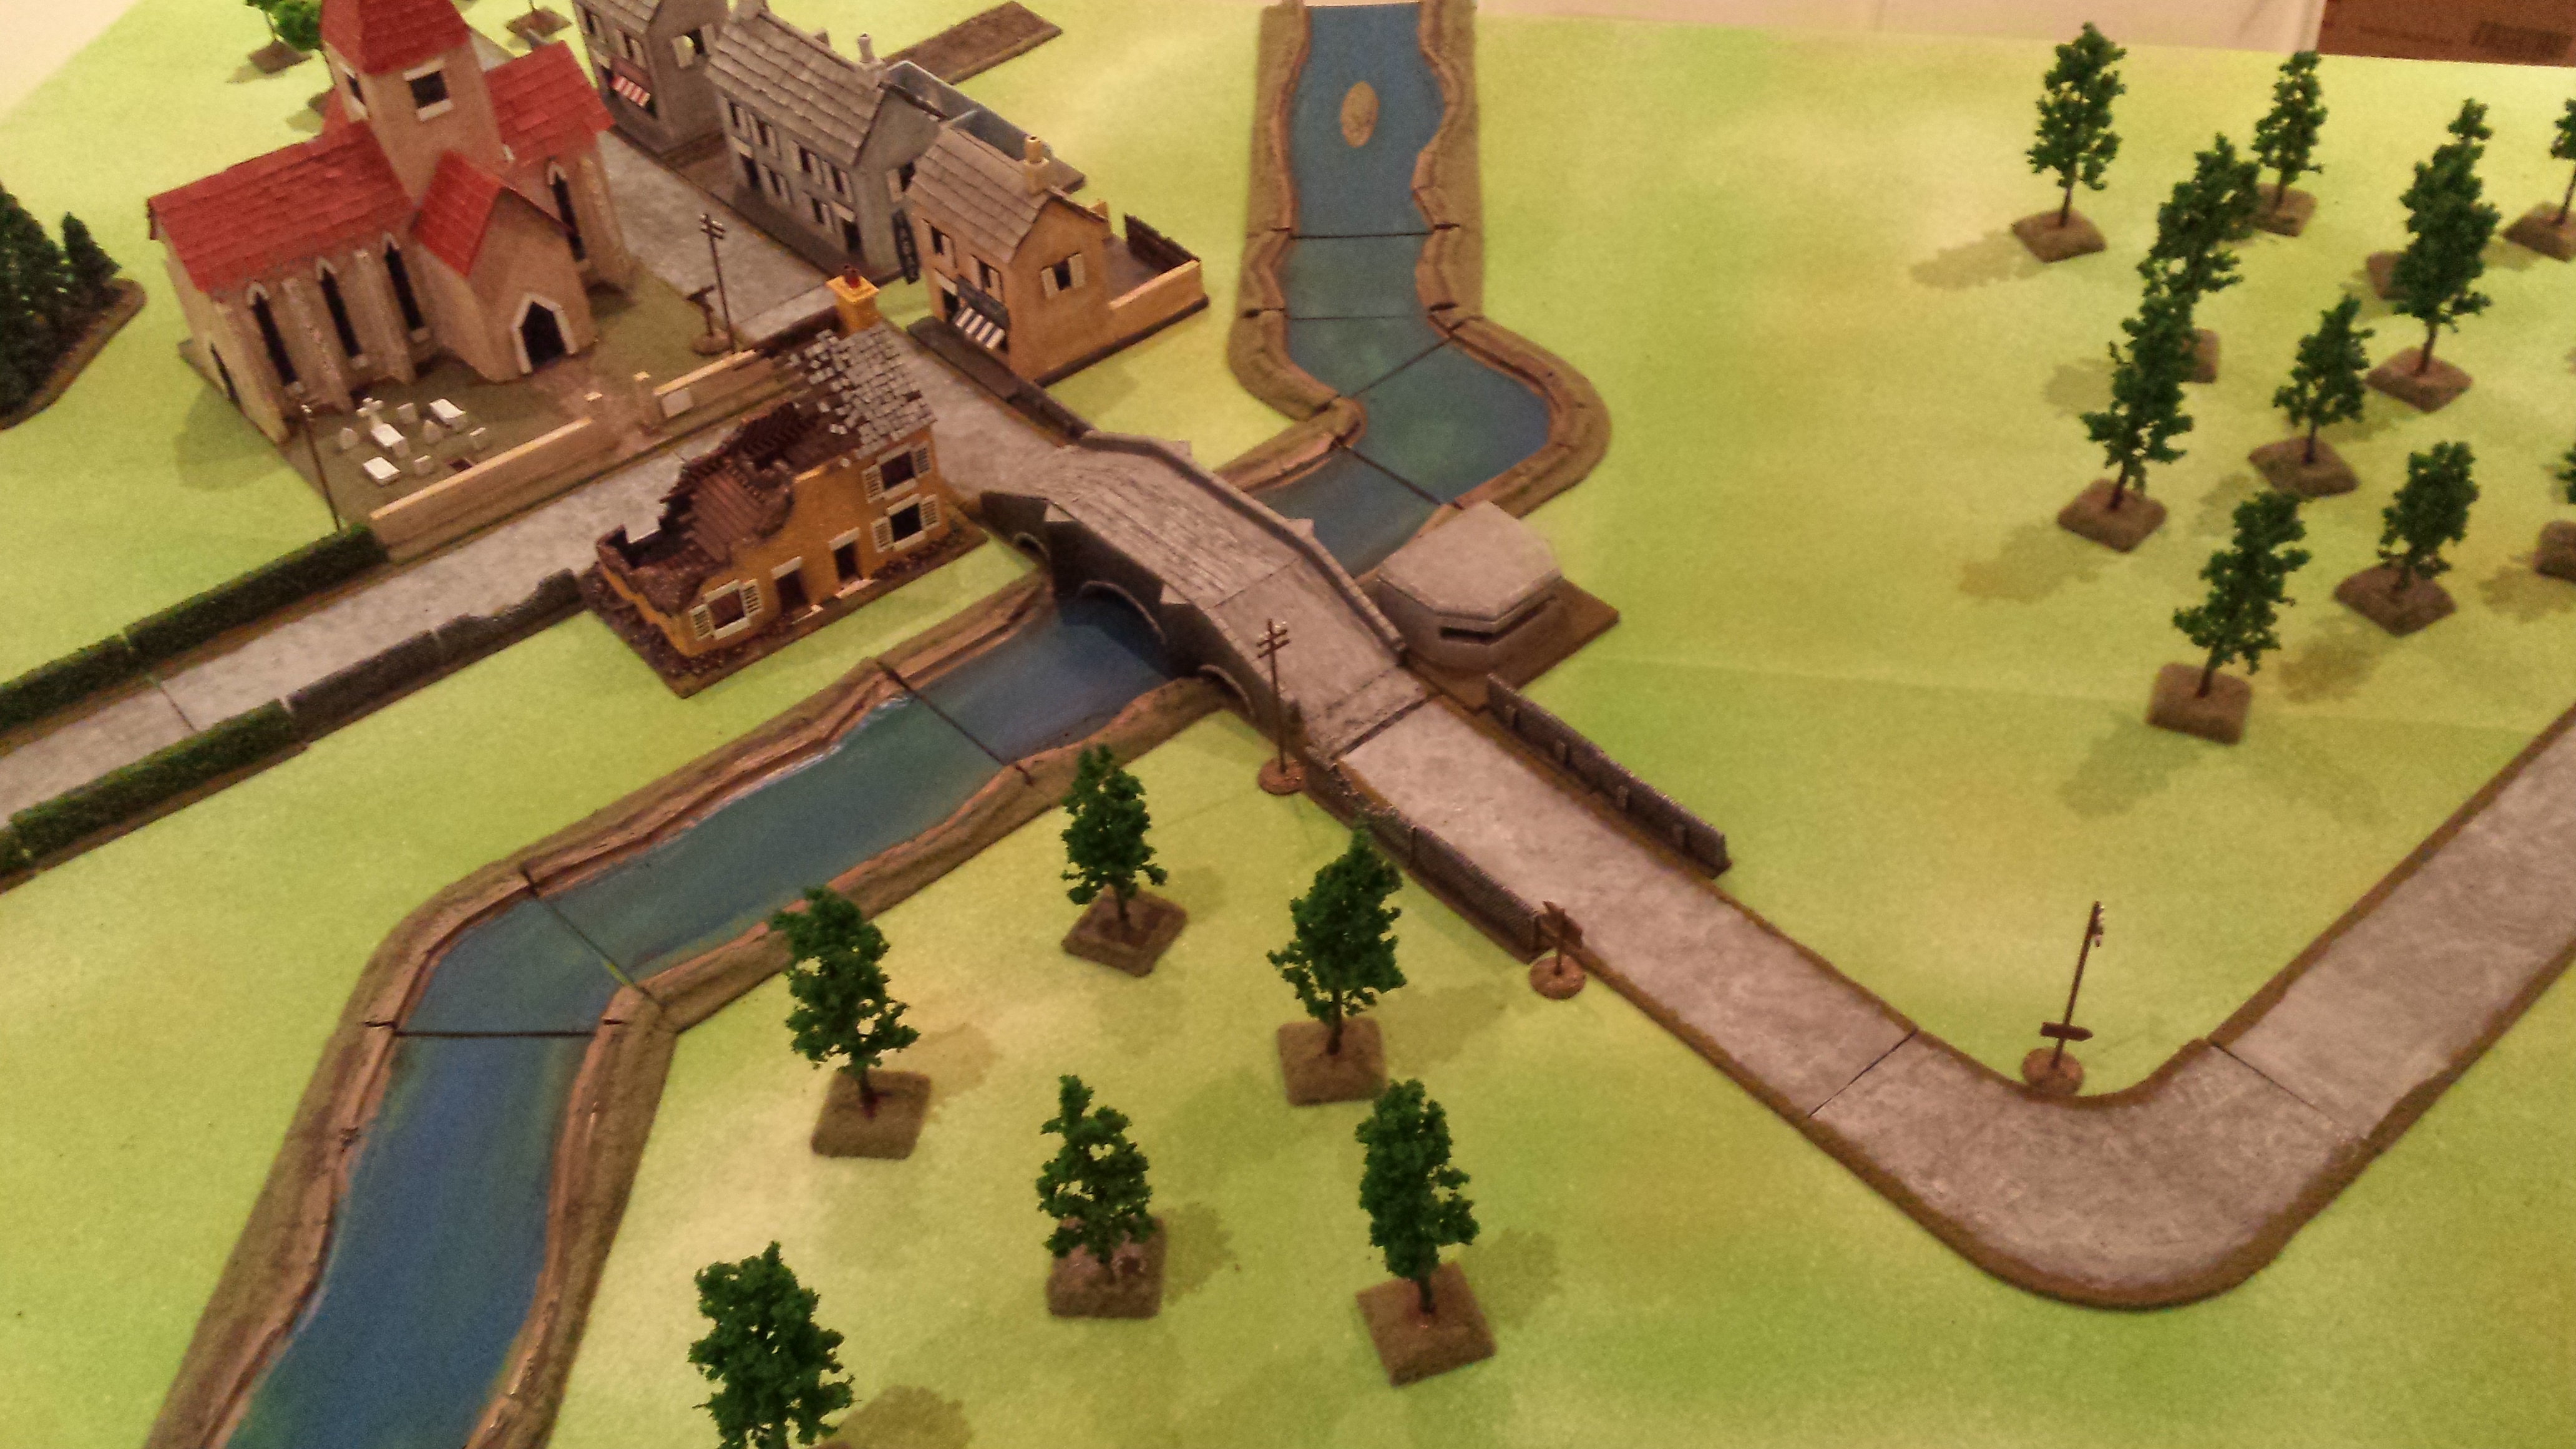
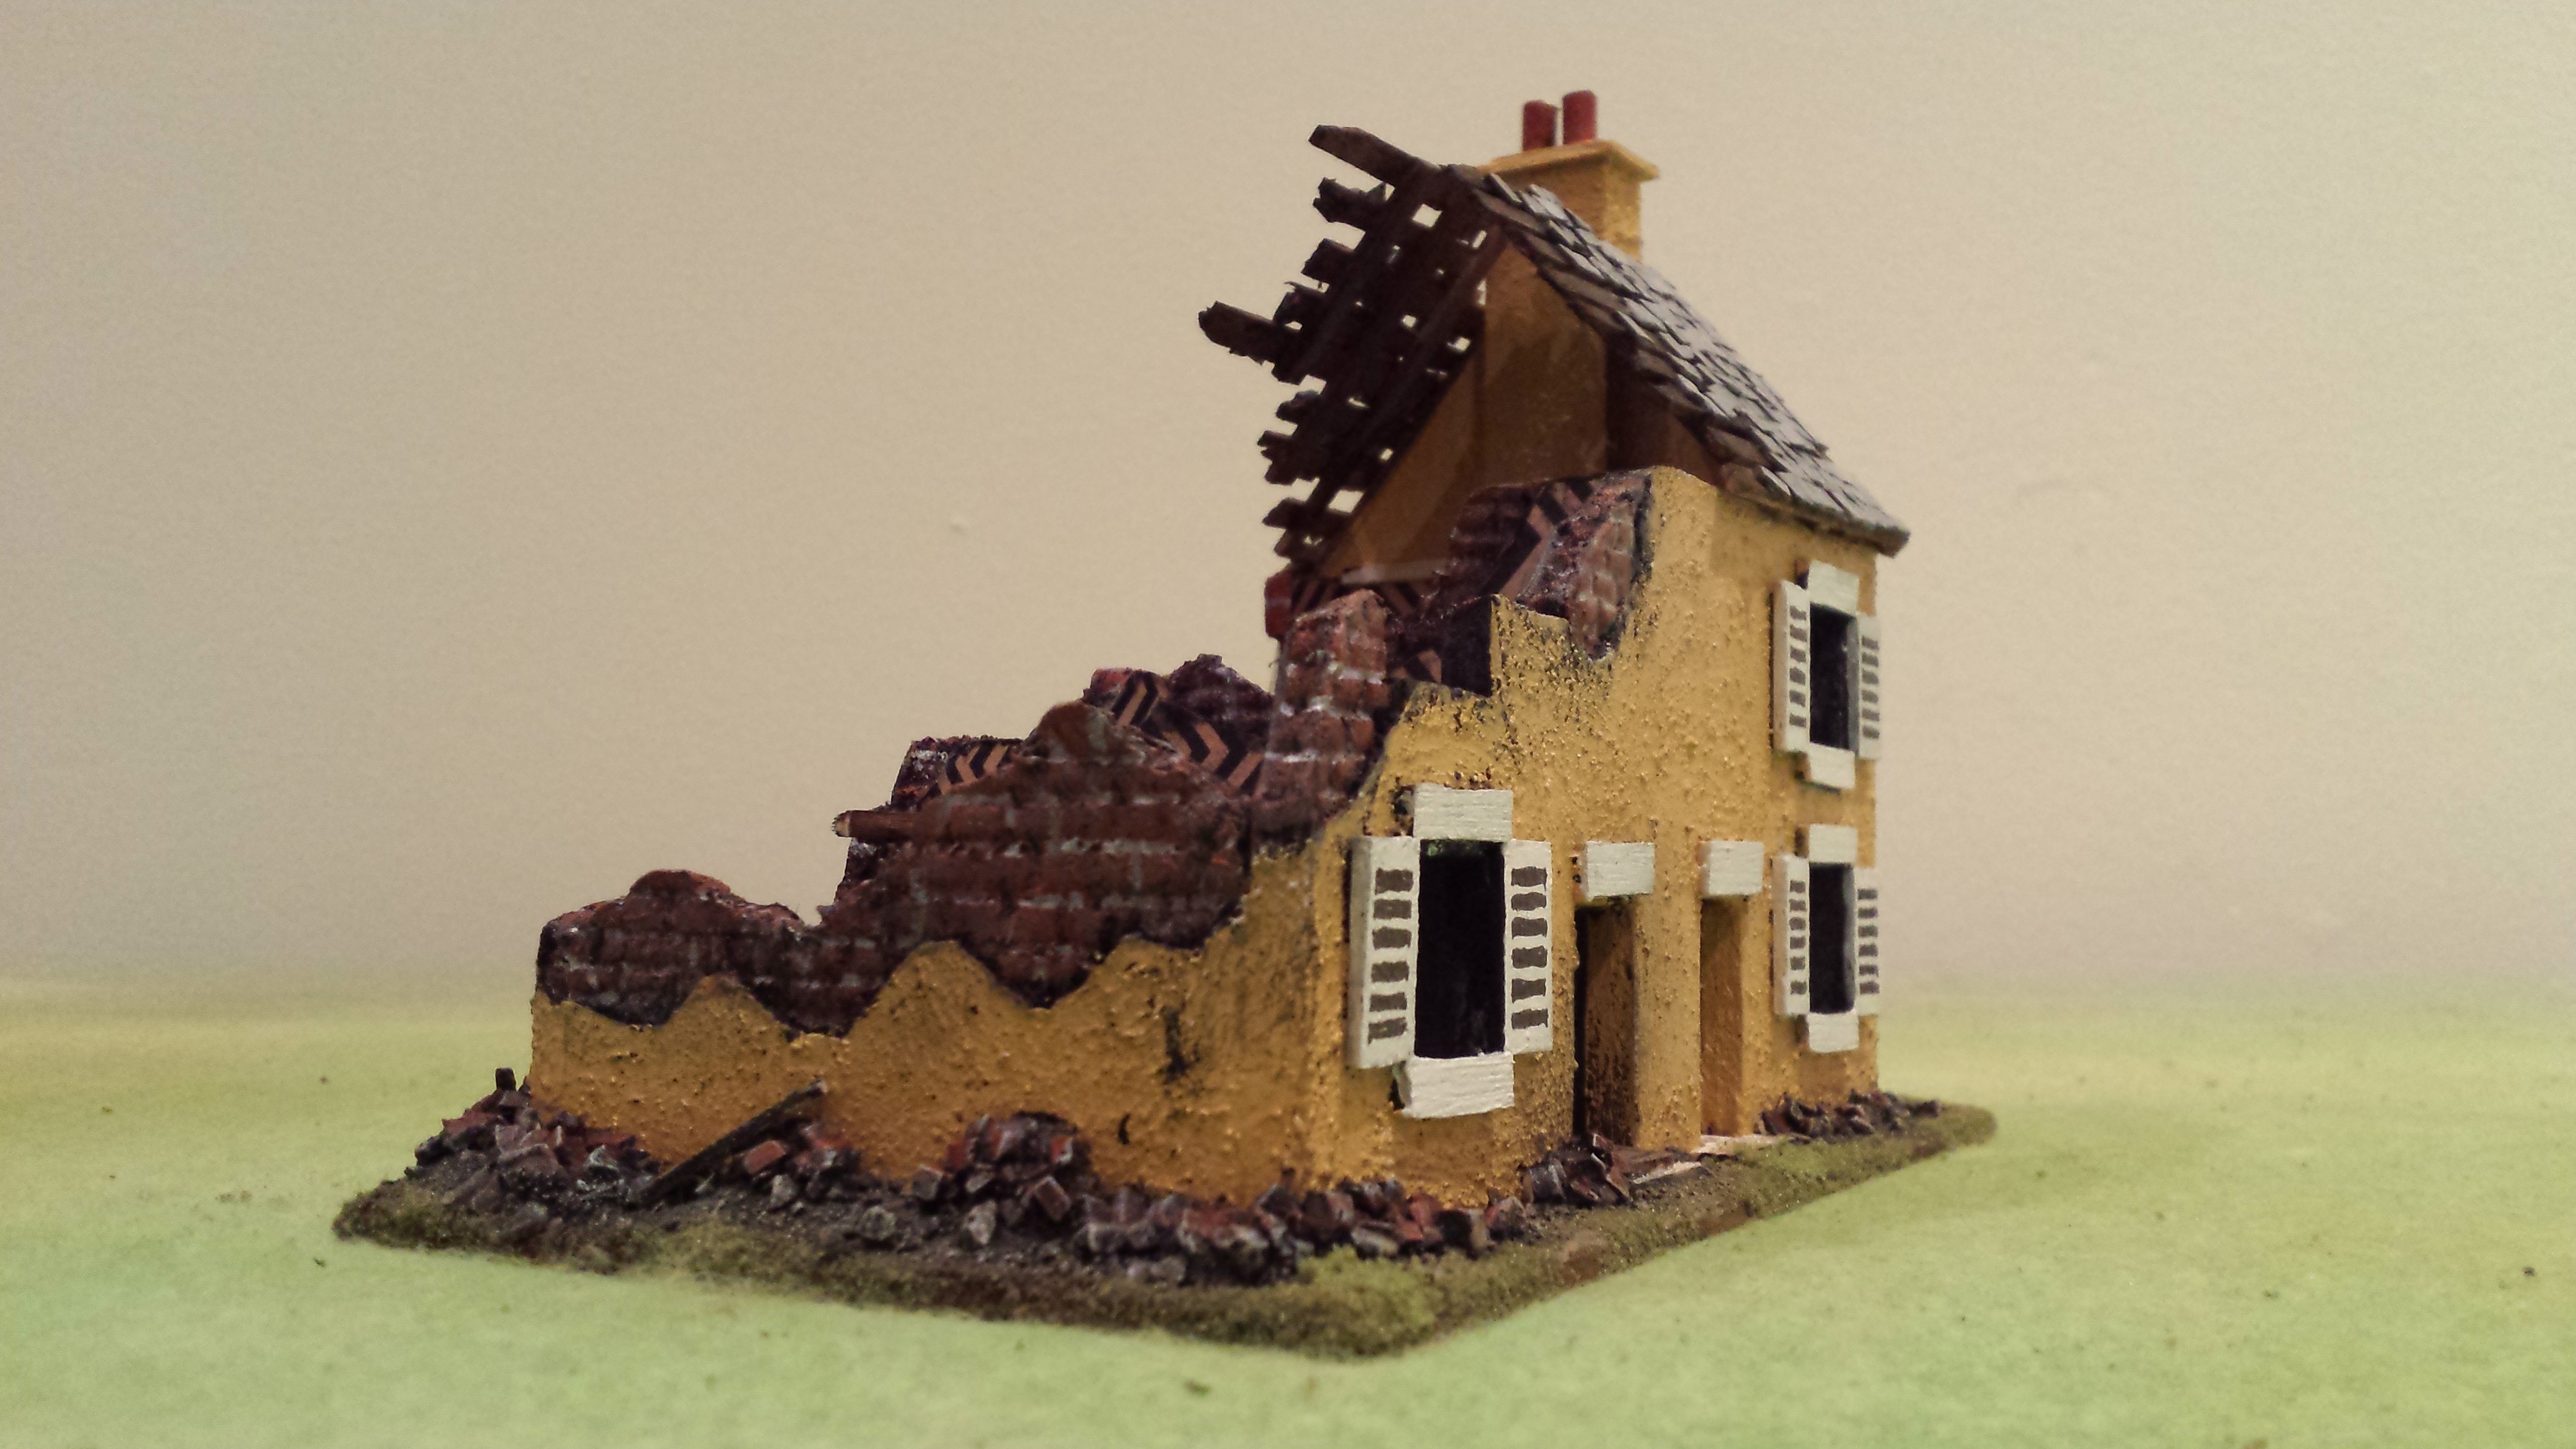
Finished my latest Normandy house this week. This nice little red brick number will add some more residential addresses for my Normandy villages and some good hiding spots for house to house action.

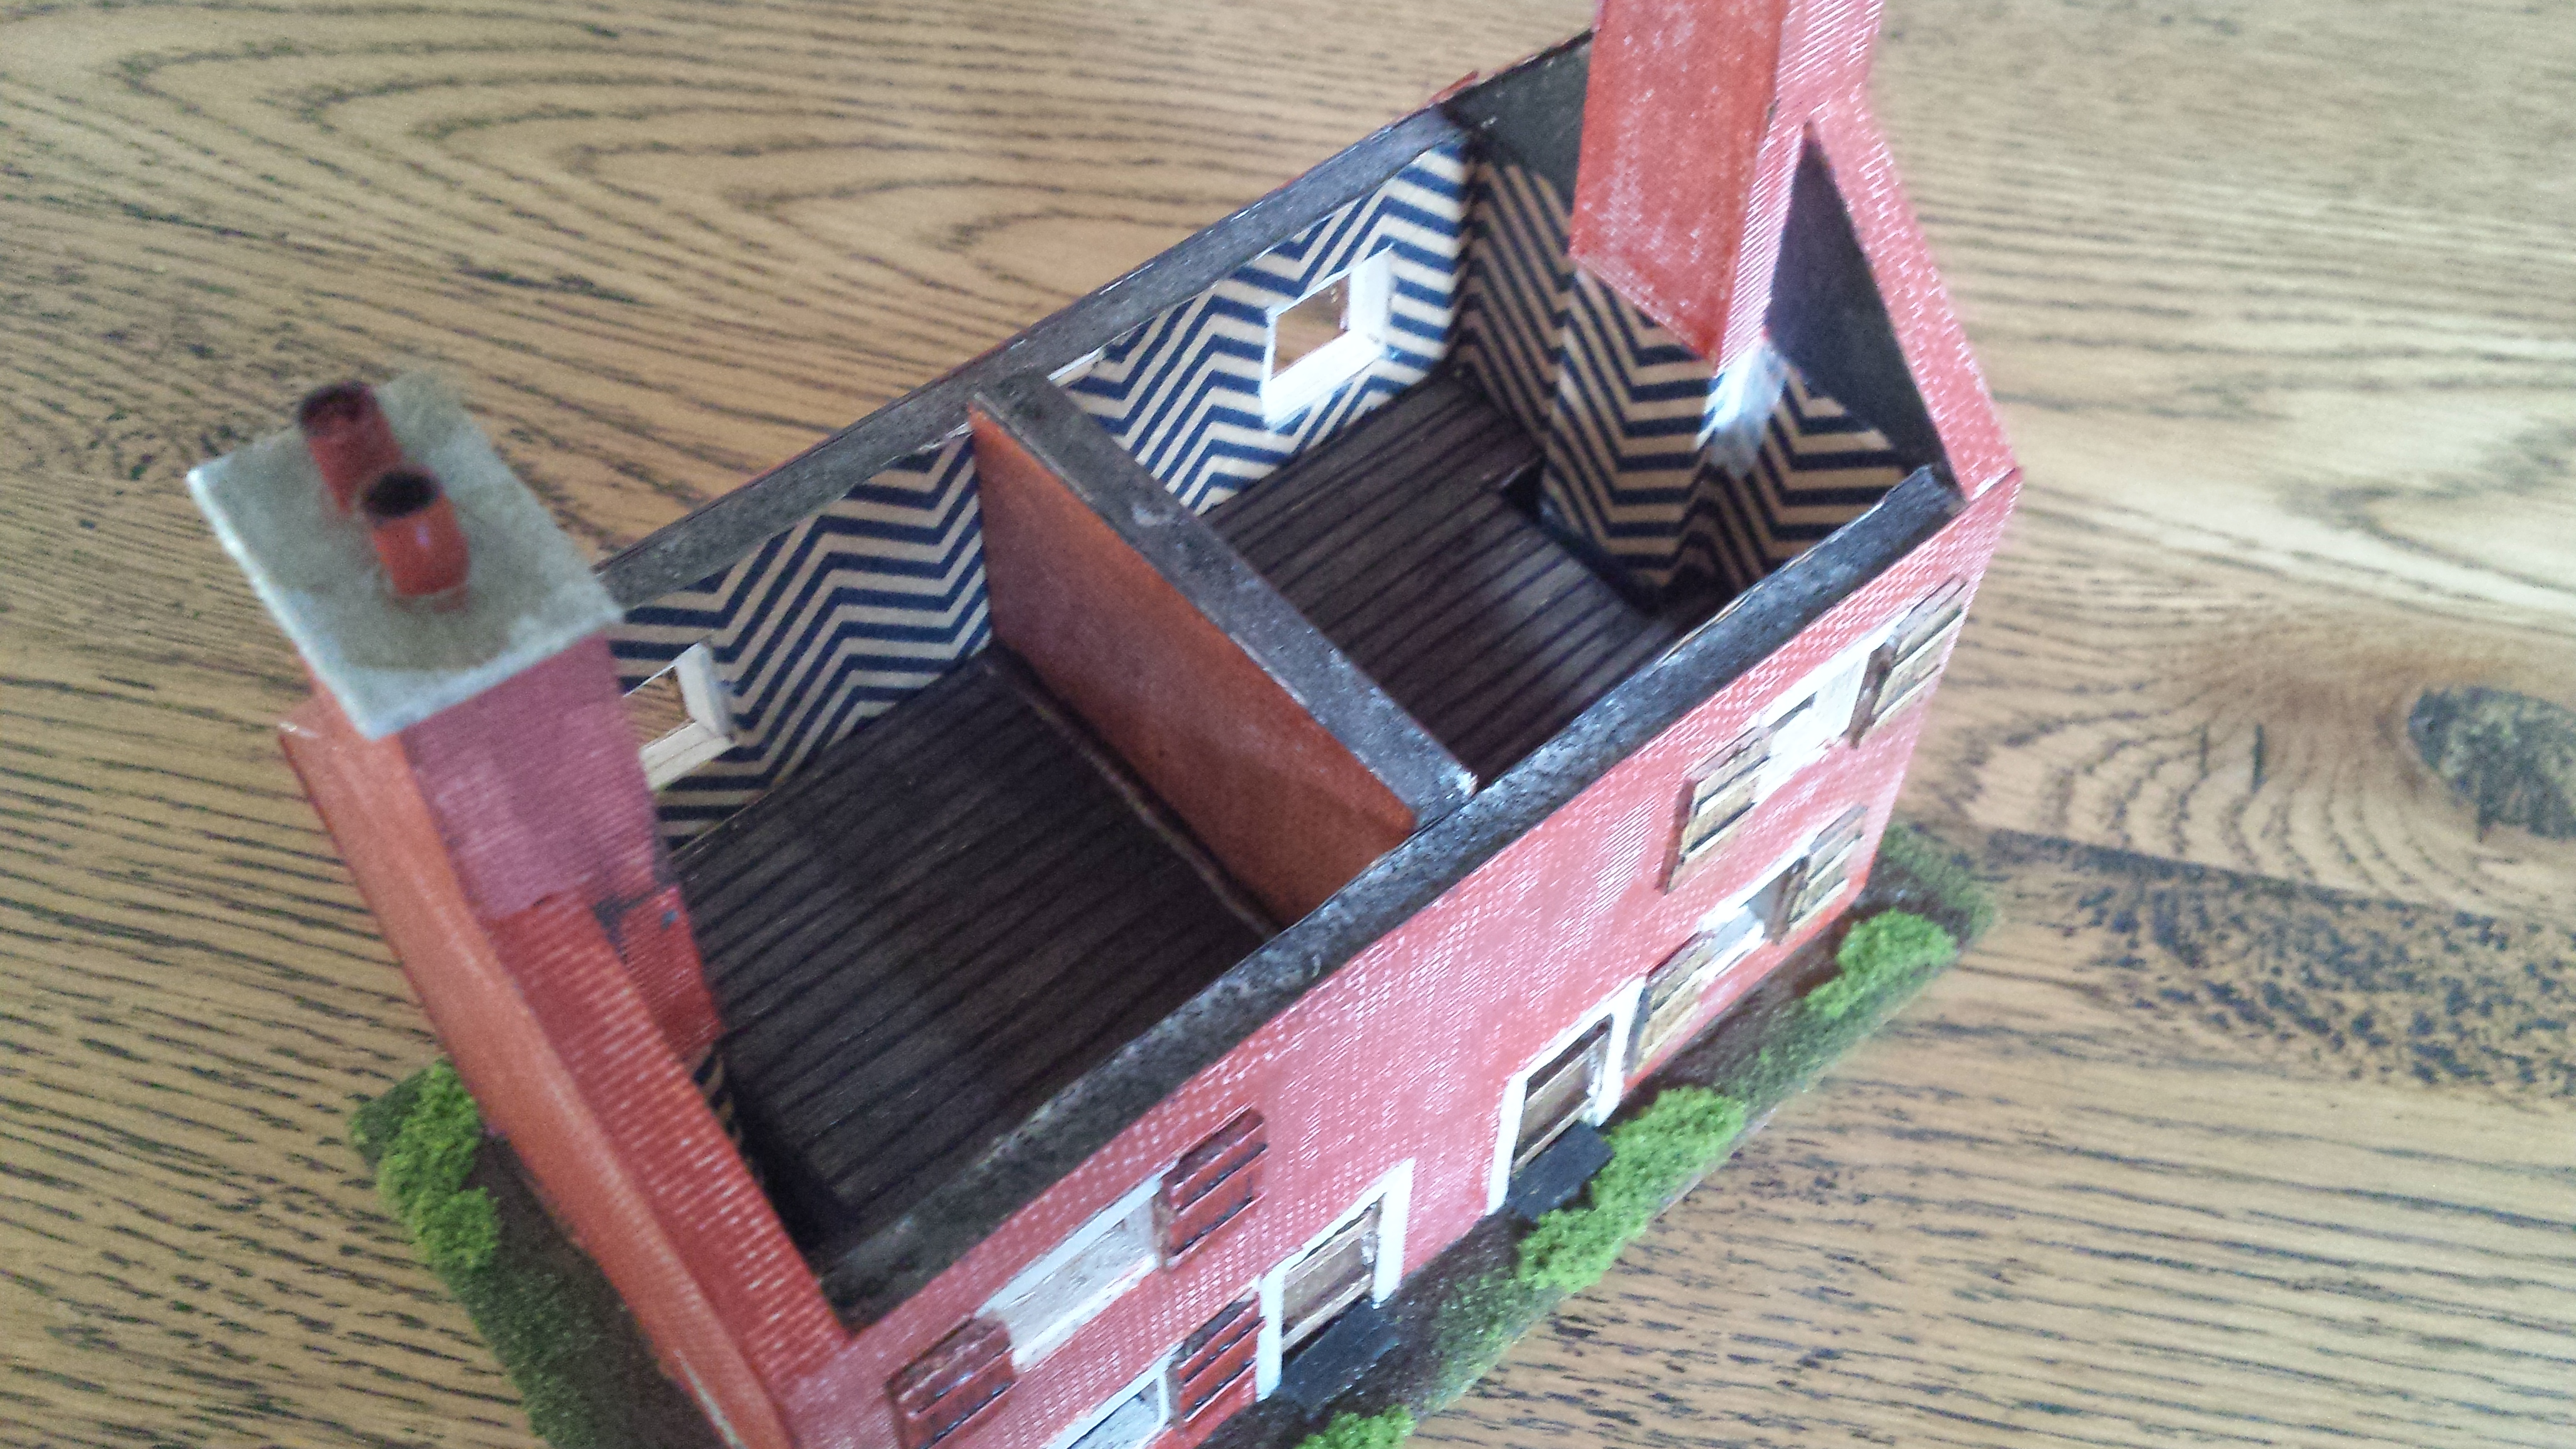
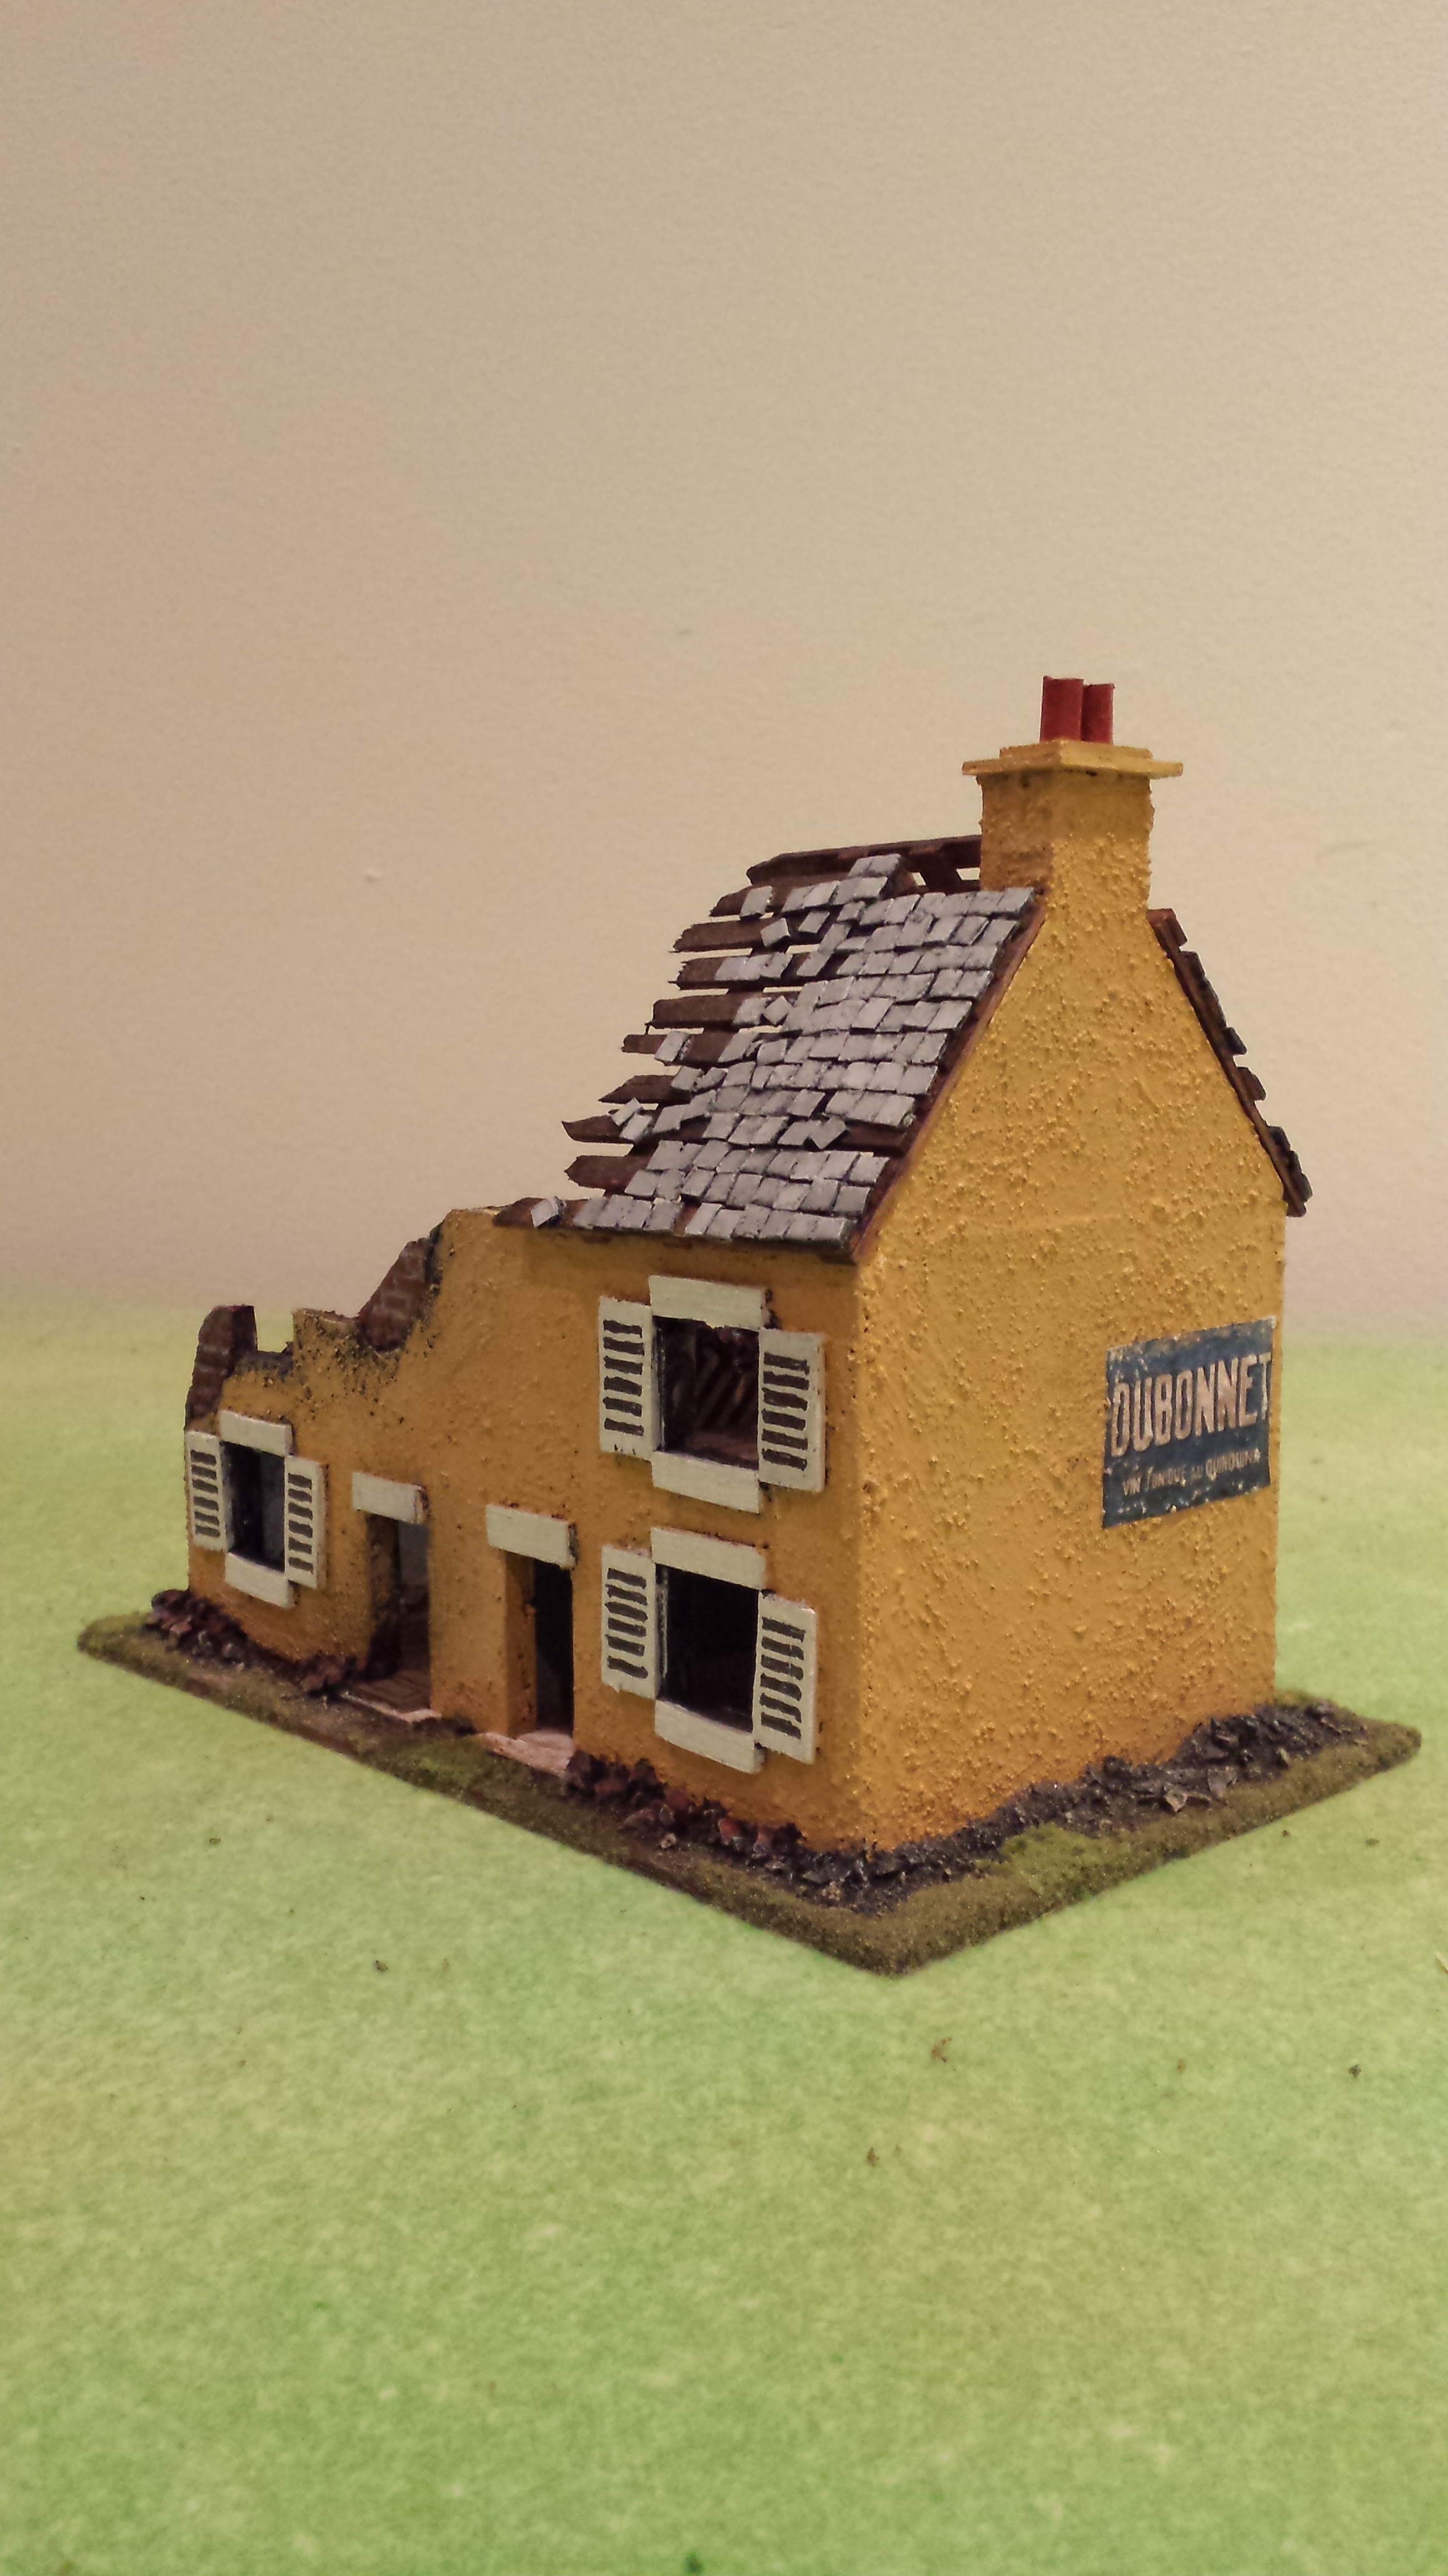
My semi-detached two storey house is scratch built from a simple plan I drew up. Starting with foam board walls which I covered with plastic sheet embossed with a brick pattern. WIndows are framed with balsa wood, plus shutters, doors, lintels, doorsteps all done with 1mm balsa wood from Bunnings. Its all mounted on 3mm MDF for strength. Chimney pots are made from some hard plastic tubing I got from somewhere, can’t remember where, just cut into short 6mm sections and glued on.

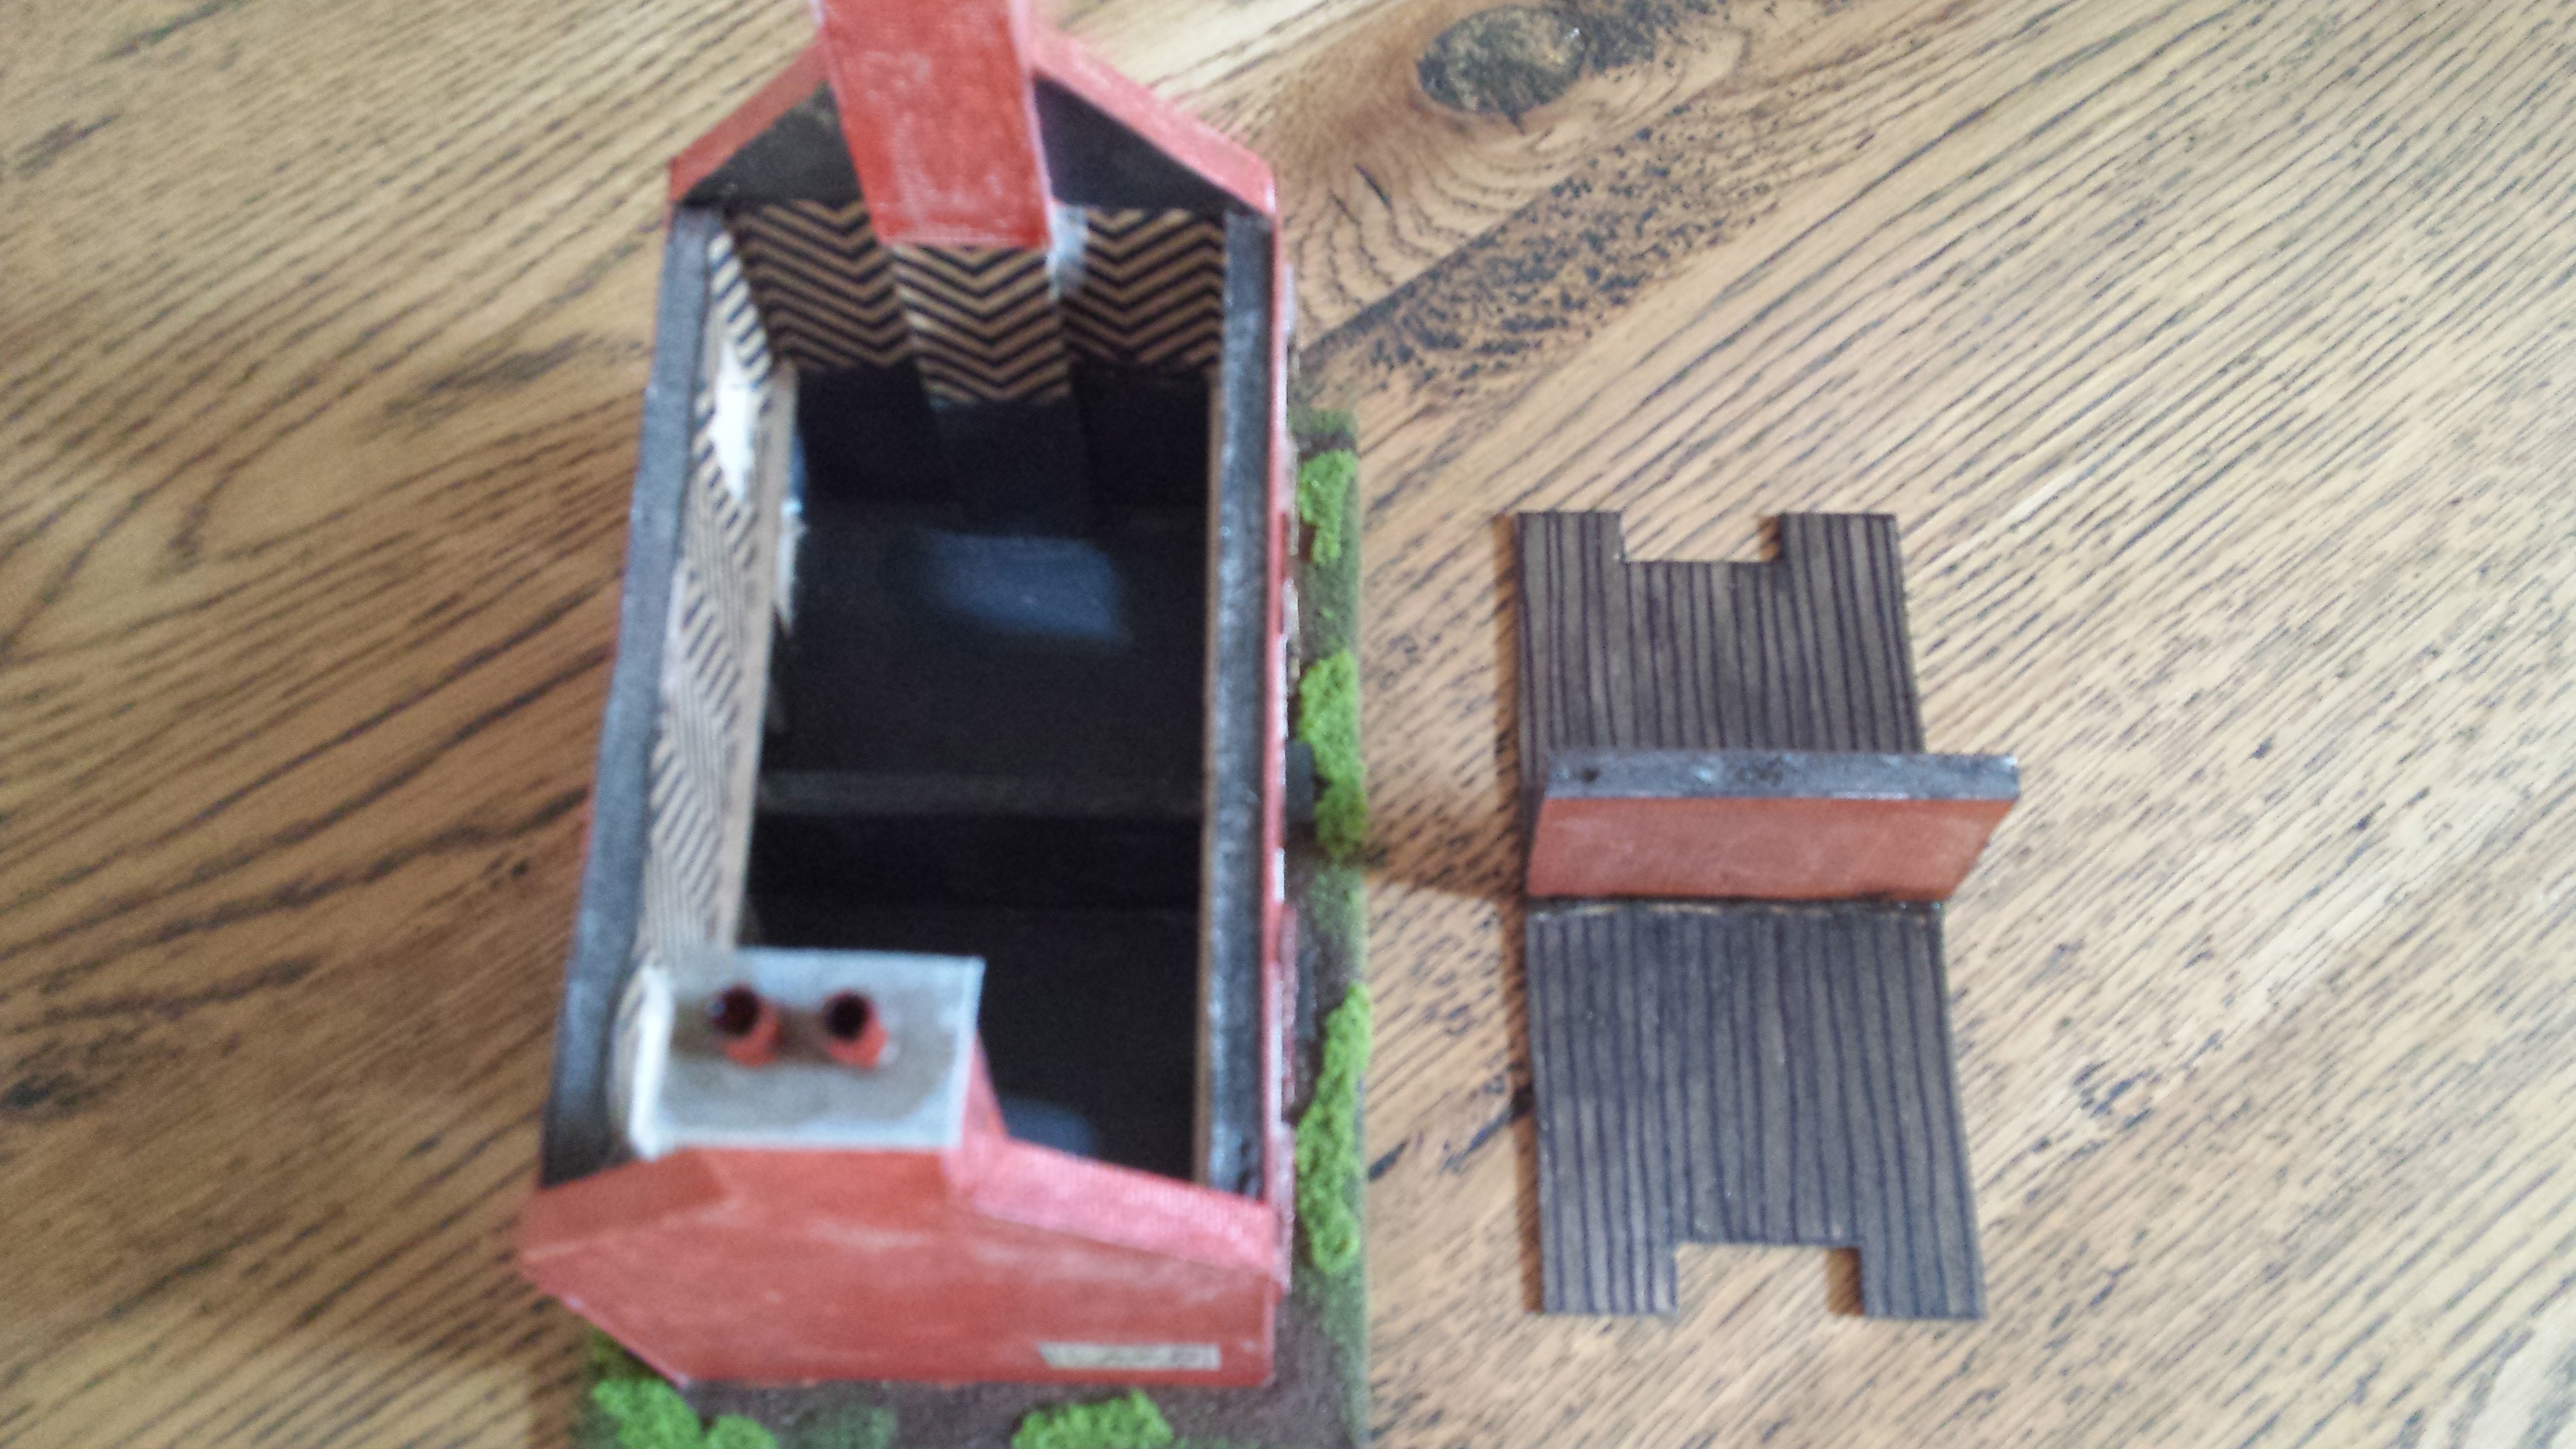
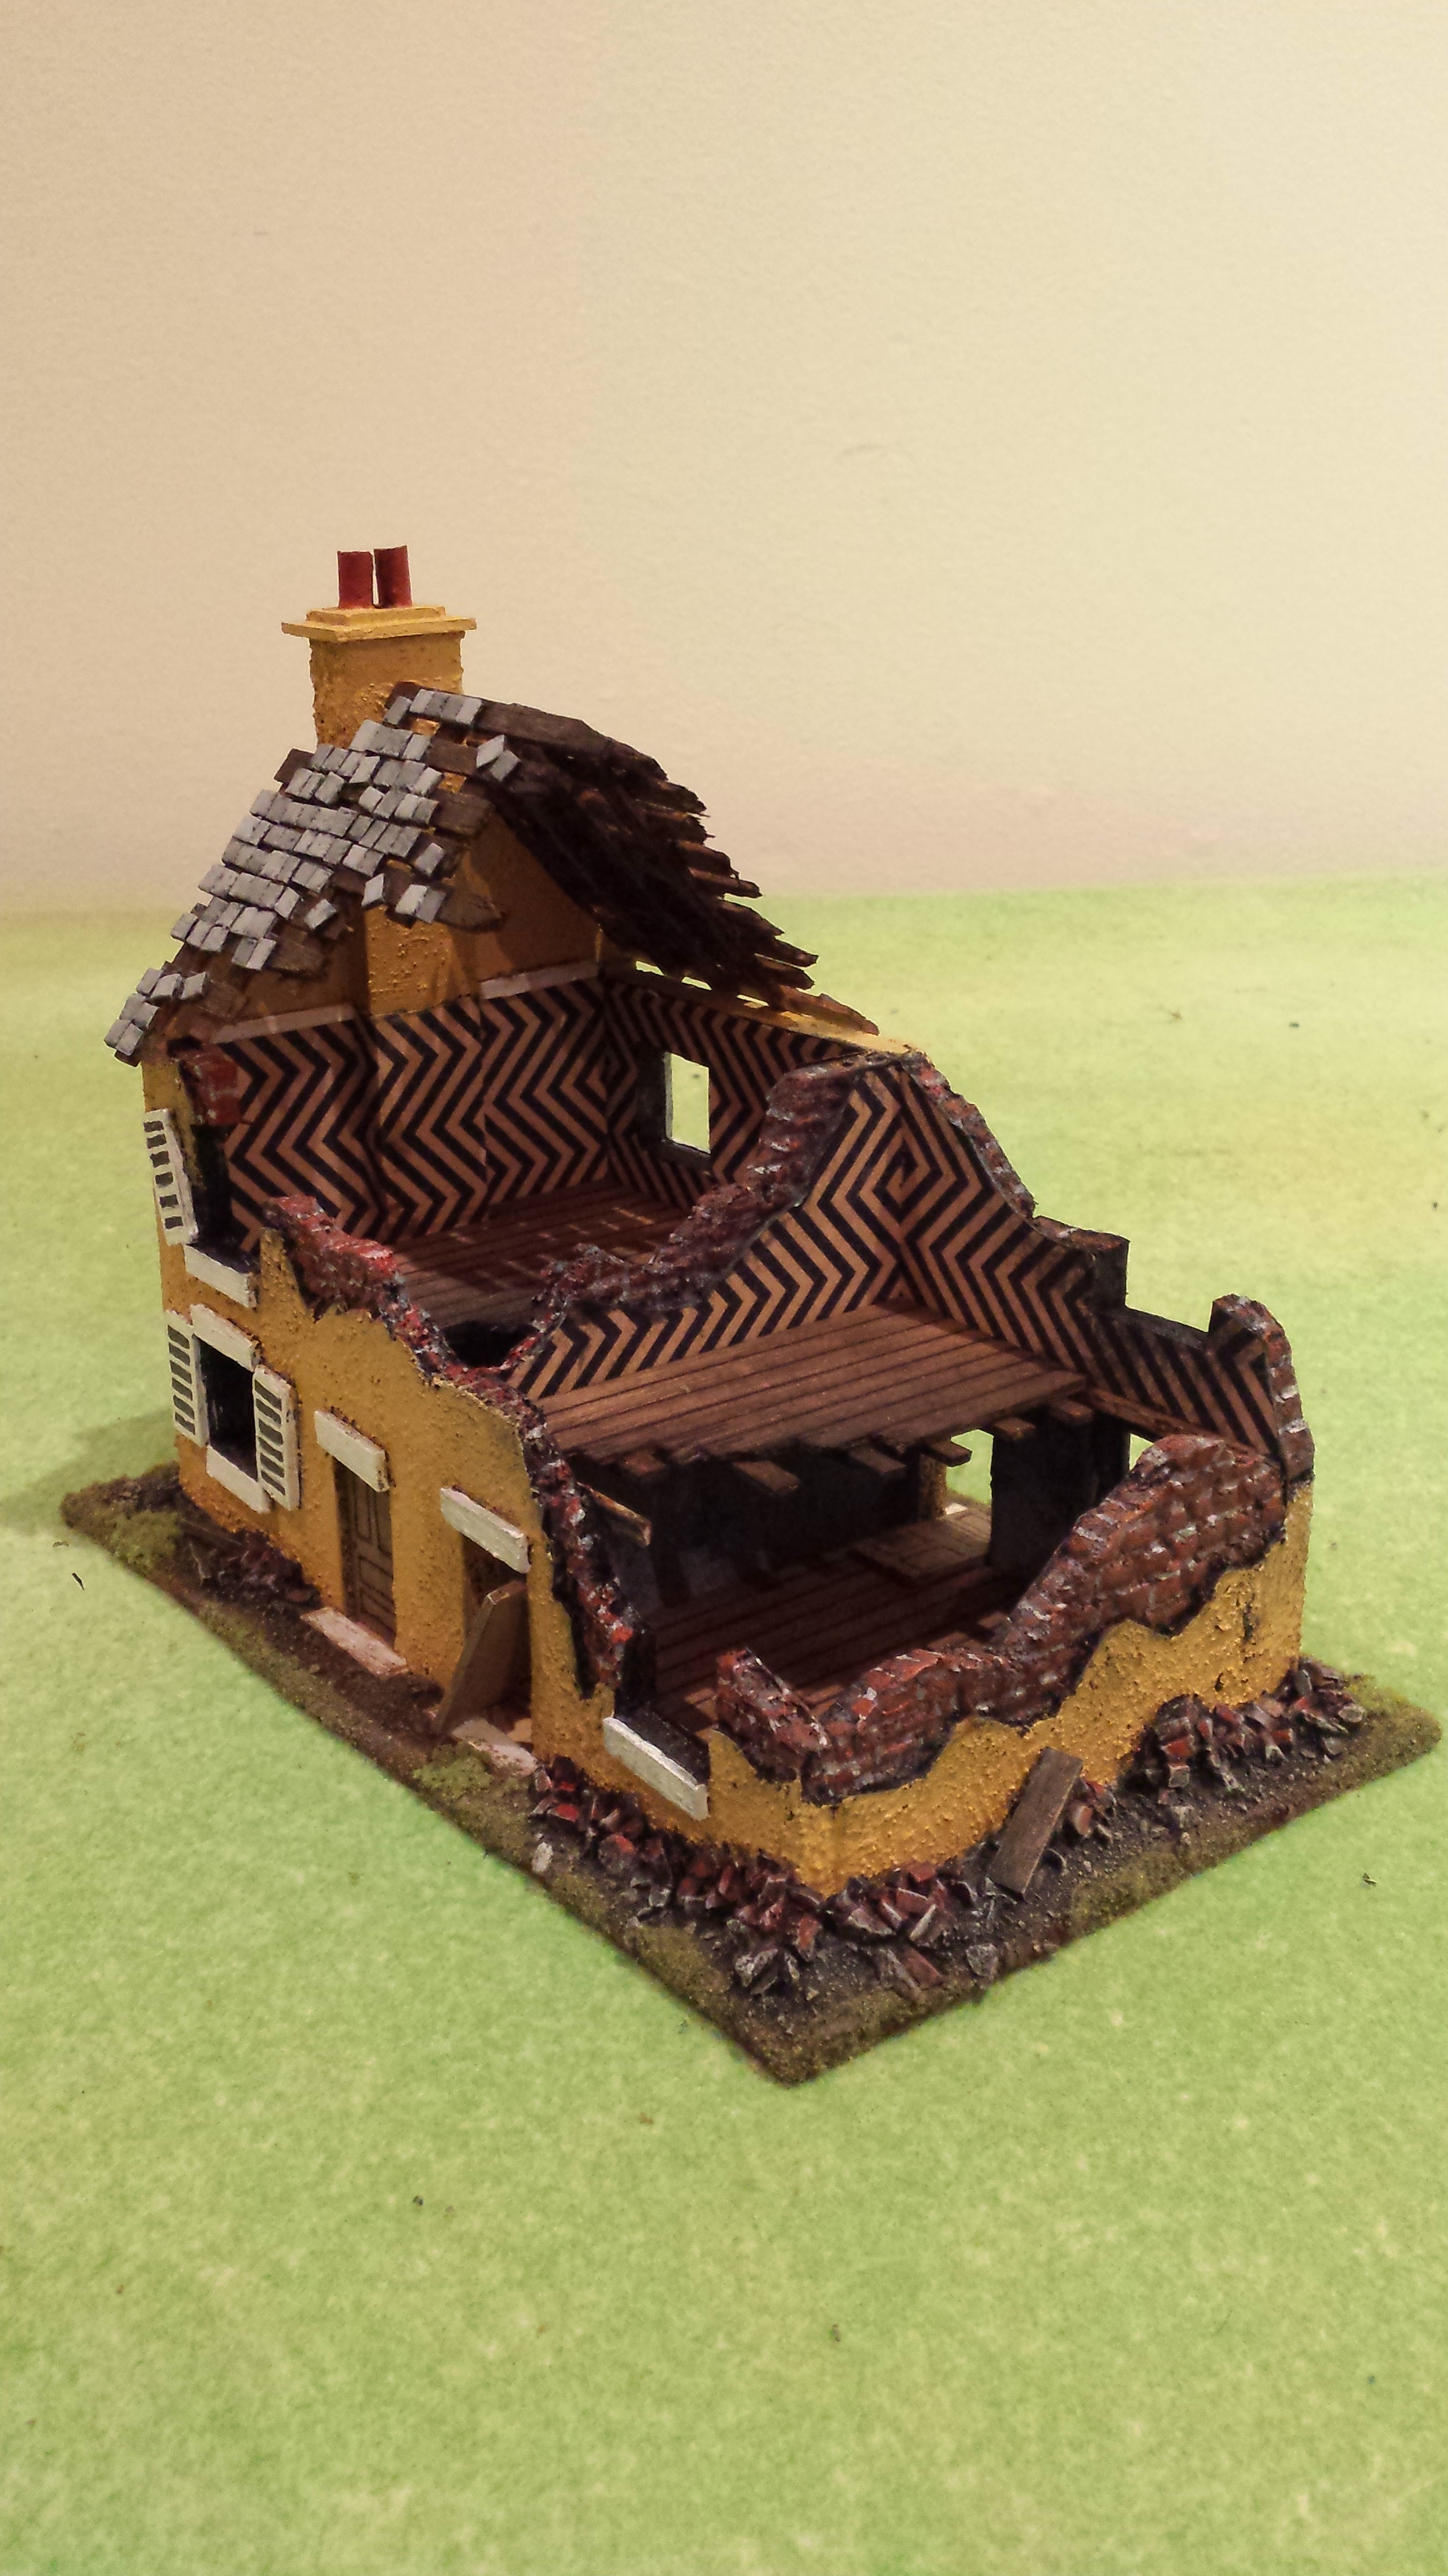
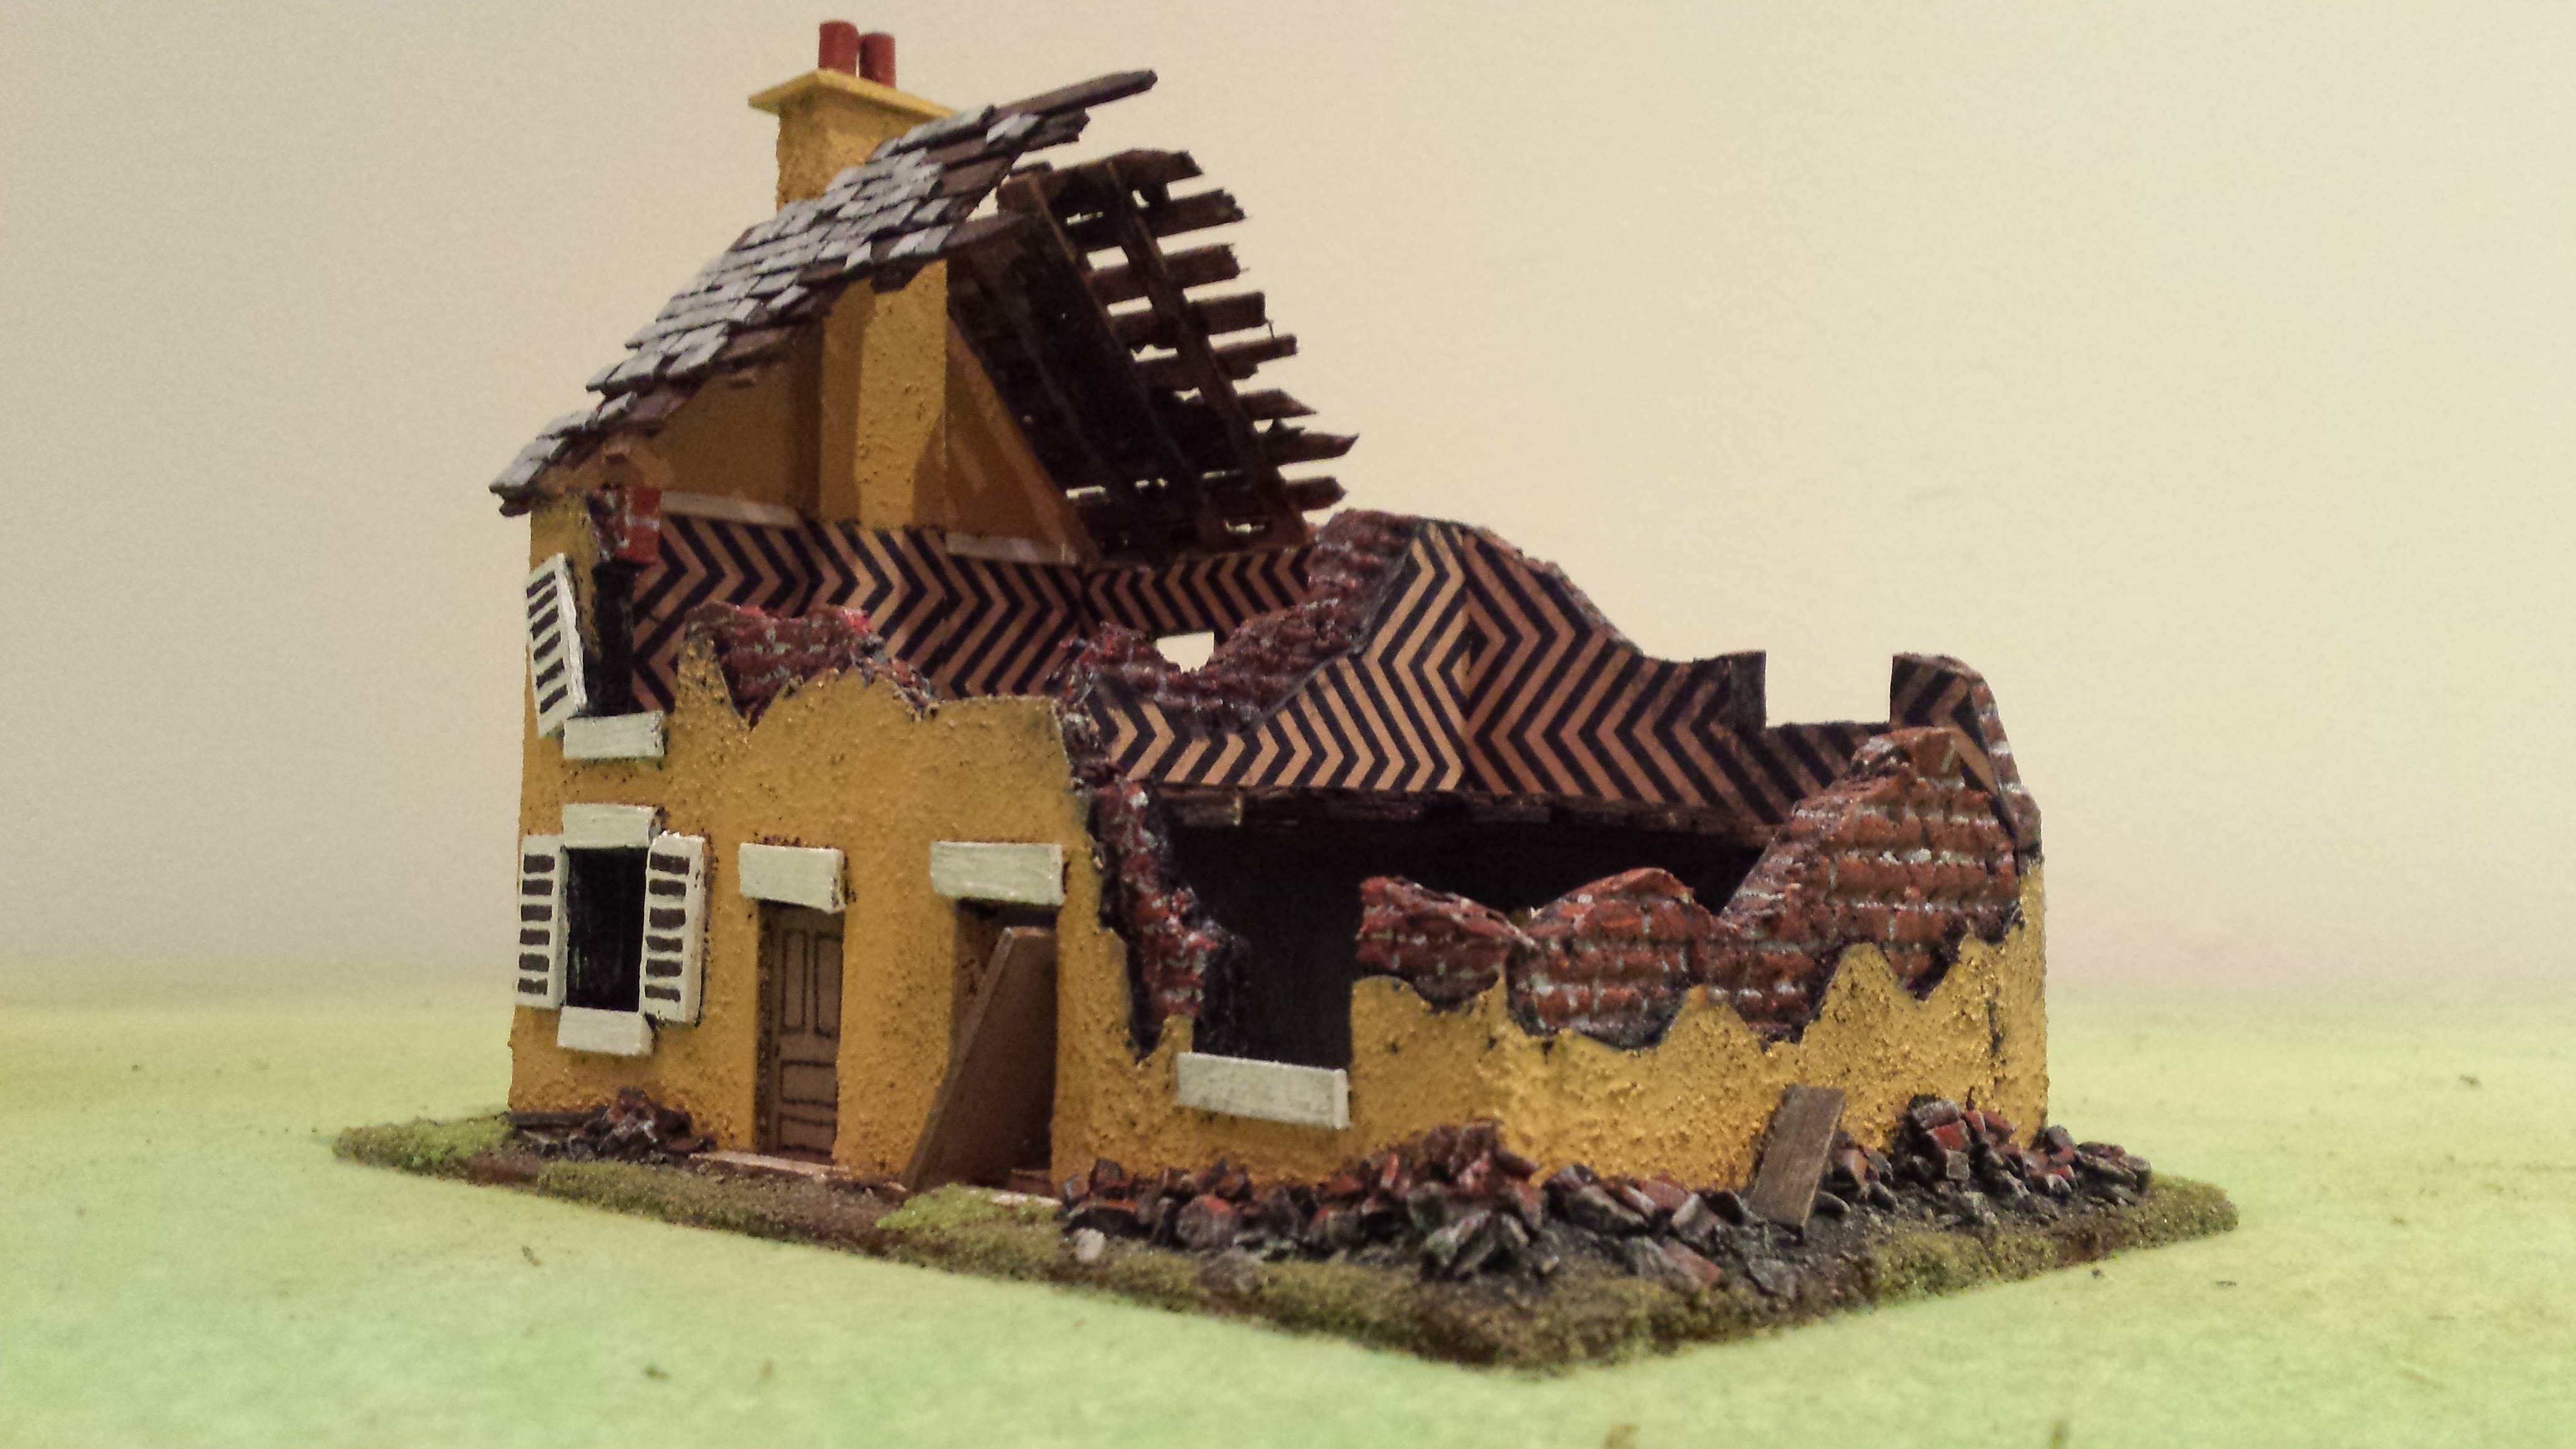
The interior has some wall paper (wrapping paper) and a removable 1st floor with attached wall so you can have men on the ground floor and first floor. The roof is also detachable, and I made this out of some plastic sheet I bought that is embossed with a roof tile pattern.

The whole thing was painted a mix of red oxide and bright red, then I rubbed ground up white chalk pastel into the surface. This created the effect of white mortar between the bricks. Window frames and other details done in white, and the shutters red and yellow for a bit of a change.

The base was covered in sand then painted dark brown and flocked in a couple of grassy colours. Pictures below!!!

20151120_071258 20151120_071333 20151120_071348 20151120_071421 20151120_071434 20151120_071451 20151120_071510

Pont De La Croix

Like many other wargamers out there I grew up with Gavin Lyalls “Operation Warboard” and endlessly reading his excellent battle of Pont De La Croix. I have seen a few posts on various blogs and in magazines about recreating this battle again. So 30 years on from when I first fought it on our ping pong table, my brother and I are going to refight an old favourite.

Below is the original map from the book followed by my interpretation on my 6′ x 4′ foot board at home. All the terrain and scenery is scratch built. Except for the trees that come from Hong Kong somewhere at less than 50cents each. This made me realise that I need a bigger table, my church is a little big for such a village, and I need to get something better than my bleached and sprayed felt ground sheet. The ground does not look quite right for me, needs to look more textured and natural. Let battle commence!

20151104_210746 Point De La Croix

Ruined Two Storey Normandy House

I spent the last week working on a two storey ruined building for my Normandy village. After struggling with various different materials and techniques it all finally came together after more research and trial and error. I roughly copied a design from a terrain manufacturer as some inspiration. My usual dimensions for a 1/72 scale building are 40mm per floor, or twice the height of a regular man at this scale. Then the roof section i make the same height. So a two storey house will be 120mm high. Doors i tend to go 30mm high and windows 20mm square. These measurements all seem to work out well. I use 3mm MDF for the base and 5mm foam core for the walls. Both products are so cheap it makes building houses a really good option compared to buying, if you have the time…..

Once i had the structure cut out i removed sections roughly to create the ruined look before i PVA glued the thing together. Foam core is great as you can remove the card carefully and carve brickwork into the exposed foam with a ball point pen. The render effect on the undamaged walls was made using regular sand from the playground across the street mixed with a paint thickener i found in my art cupboard. PVA glue and sand would do the same thing. Window and door lintels, shutters and doors were all made with balsa wood glued on. The roof was constructed from balsa strips, as were the removable floors. I used modelling clay to make a bunch of roof tiles and also little bricks to create piles of rubble around the edge of the house.

Oh yeah and i forgot the wall paper you can see on the second floor was wrapping paper i found in our house that had a real retro feel and made the whole thing a little more interesting. Check out the photos. There is even a lonely private from the Durham Light Infantry (AB Figures) hanging around in the smokey ruins…….

20151023_200547 20151023_200753 20151023_20082220151023_200155 20151023_200844   20151023_20140520151023_20104320151023_200909