Unimodel and Armourfast Sherman Tanks in 1/72 scale

Colonel Mustard has been off line for a while due to an unfortunate battle with a local Australian spider, which he soundly lost. So after a month long fight with serious pain and immobility i am finally recovering. It was a war against neurotoxin that i couldn’t win!

So onto my latest Sherman tanks for my British forces. I needed to build up my Shermans to get to a full three troops. So i picked up a couple of boxes of Armourfast Shermans from Hannants in the UK, plus a Unimodel Sherman from my favourite Ukrainian hobby store. The Armourfast tanks are amazing value at 6.25 GBP for two. They are about as simple a kit as you could get, you can count the number of parts on one hand. That said the detail is average, but what do you expect for such a cheap price? If you are prepared to dress them up with some extras they can really turn into a great little wargaming tank. I added some tools, some lifting rings, headlights plus spare tracks and stowage. Oh and of course an aerial. You do not get decals with the kits, so i used some Canadian markings i had from The Plastic Soldier Company. Once you have tarted up your Armourfast kits they really turn out well. If you want to bulk up your tank regiments i cant recommend them highly enough.

The Unimodel Sherman is a proper model kit. I really enjoy building Unimodel kits. Lots of parts, fun to build, but definitely a challenge. Detail and end result was definitely better than Armourfast. I only added some stowage and an aerial. The kit comes with some very tricky PE parts. I managed to ping the headlight protectors across the room never to be seen again and had to make my own out of some thin wire. So don’t try this kit if you have deep carpets……. losing bits is a risk. Unimodel gives you some cool decals so I called this Sherman “Comet”. The only struggle was fitting the top hull to the bottom which left a huge gap at the front. So i had to file down parts of the lower hull around the front wheels in order to get it to fit. I would leave the front part of the hull off the lower hull section and do a dry run first before gluing as you may have the same problem.

All the tanks got the usual olive drab paint job with some dirt and dust and mud. Fun times.

Galmanche Scenario with Combat HQ

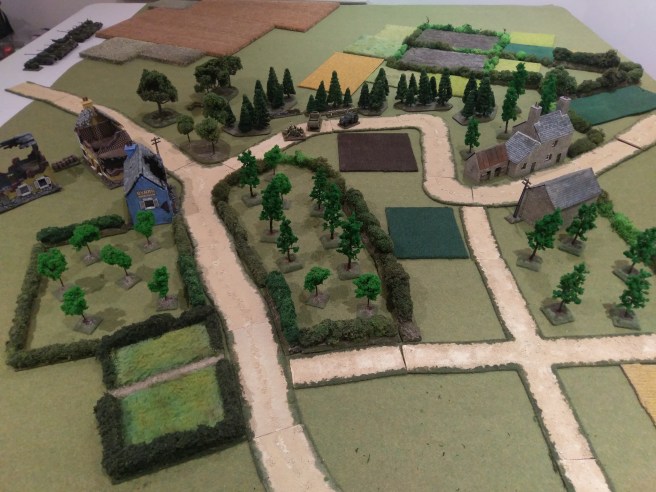
Even though i was not too keen on on Too Fat Lardies I Aint Been Shot Mum, due to the card activation system they have over there, i do like their scenarios. I thought i would give one a go using the Combat HQ rules that i have been playing with. The map was pretty straight forward with two small hamlets behind a wall of trees East – West as per the photo below. The trees across the middle are impassable to vehicles. The ploughed fields, wheat fields and orchards i counted as broken ground. Orchards provide light cover to anyone in them. All hedges were light cover and minor obstacles. The Germans were defending with three platoons of three sections each armed with a panzerfaust. Also an HQ with a Panzershreck, a Pak 40 AT Gun with tow, a Forward Observer commanding a battery of mortars off table, but no armour. They could set up concealed anywhere South of the tree line. The British consisted of a company (3 platoons of 3 sections), two troops of tanks (3 Cromwells, 1 Firefly per troop), a Company HQ of PIAT and Light Mortar, plus a Forward Observer in a Dingo Scout Car. They could enter from the North East corner. The British had to drive out the Germans from all the houses to win. The Germans had to hold at least three buildings to win. Morale failure by either side would also end the game.

Galmanche

First up i like to have all my squads individually based. Rather than using the basing convention of 3 figures to a squad as per the Combat HQ rules i just use individual figures that must remain within 1 inch of each other. It means the squad foot print is larger so your command groups of infantry can cover more area. It does not make any difference to anything else. As each German section contains a panzerfaust it means I can have 1 figure in each section carrying one, then when he has taken his shot I switch him out for a rifleman. This negates the paperwork requirement of tracking who has fired his panzerfaust and who hasn’t. Also I bave many cool panzerfaust firing figures so i want to use them. I also tripled the range of the panzerfaust to 3/6/9 inches (Short/Effective/Long) as the Germans were at such a disadvantage to the British armour. The ranges for panzerfausts and panzershrecks are on the short side and they need to be increased to give them any chance of ambushing tanks. Otherwise they end up being pounded by HE and every attack is a suicide run to get close to their targets. I also use Forward Observers as dedicated units in my version of Combat HQ, and if they are destroyed you get a higher Target Number when requesting support (+1) if not a FOO making the request.

Anyway enough rule chat, onto the action. The Brits attacked with a full platoon, FOO and one troop of tanks down the East side heading for the farmhouse, and another platoon heading for the middle of the trees, and kept the third platoon and second troop off the board.

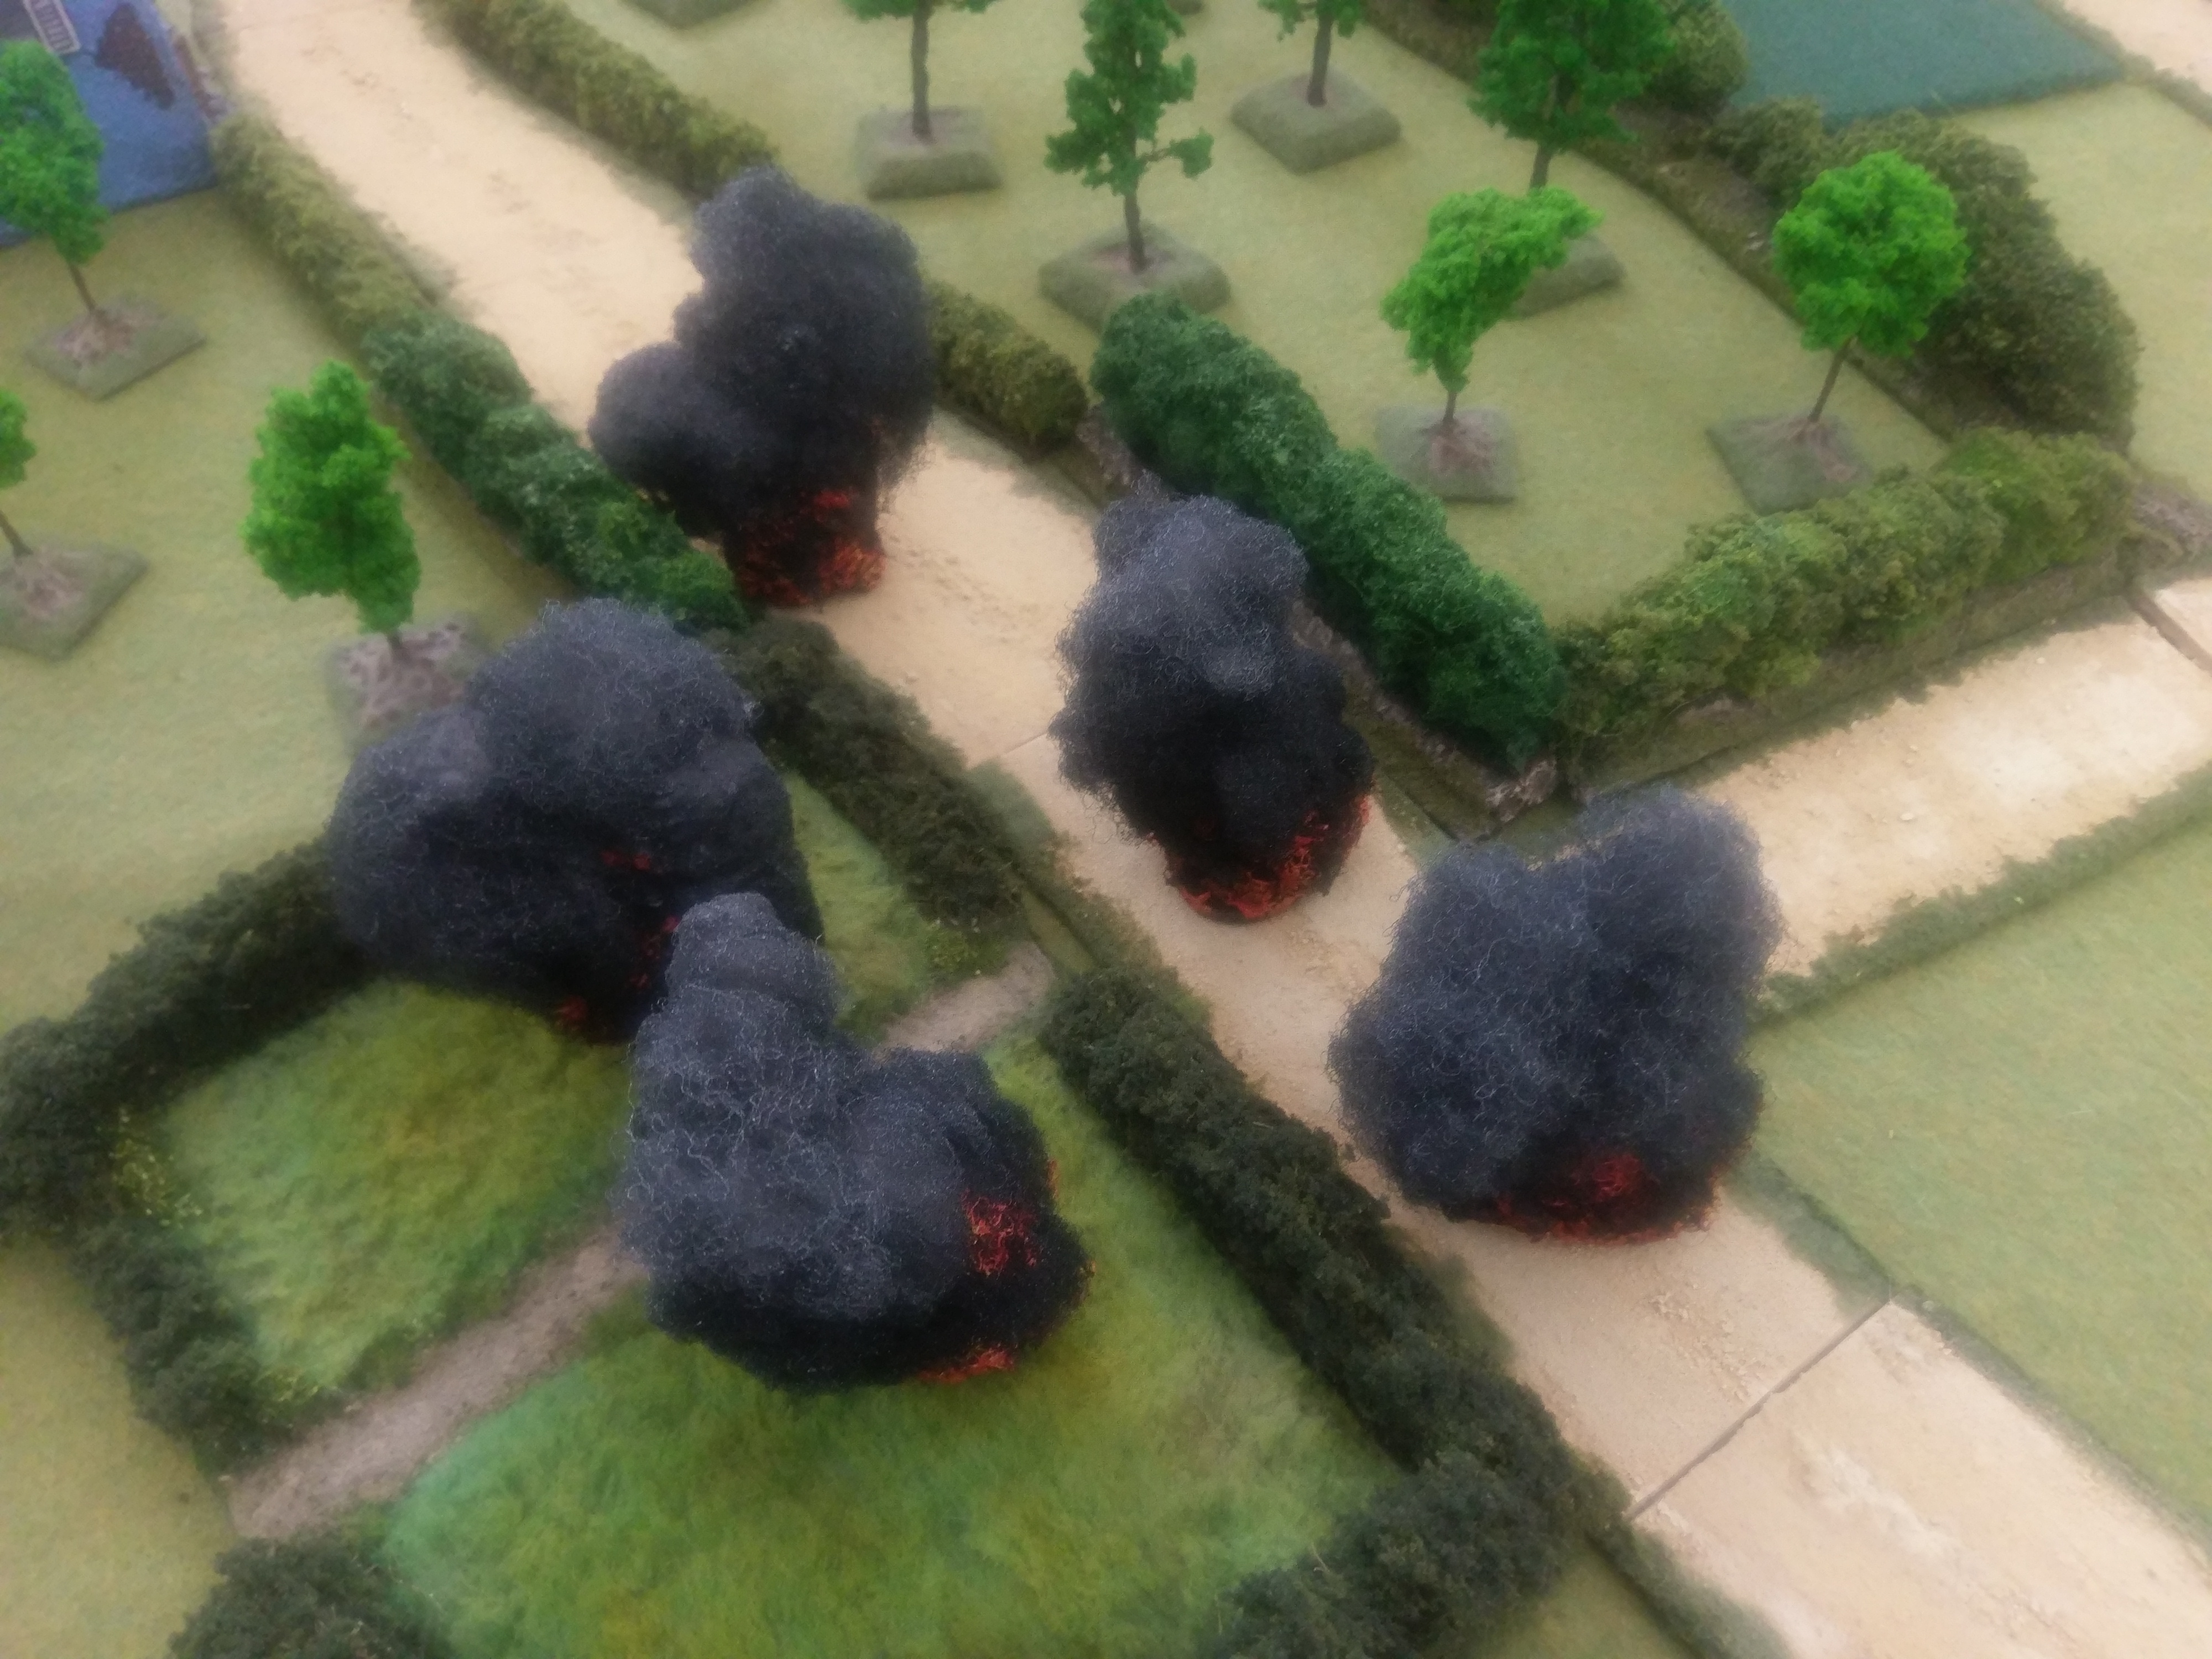
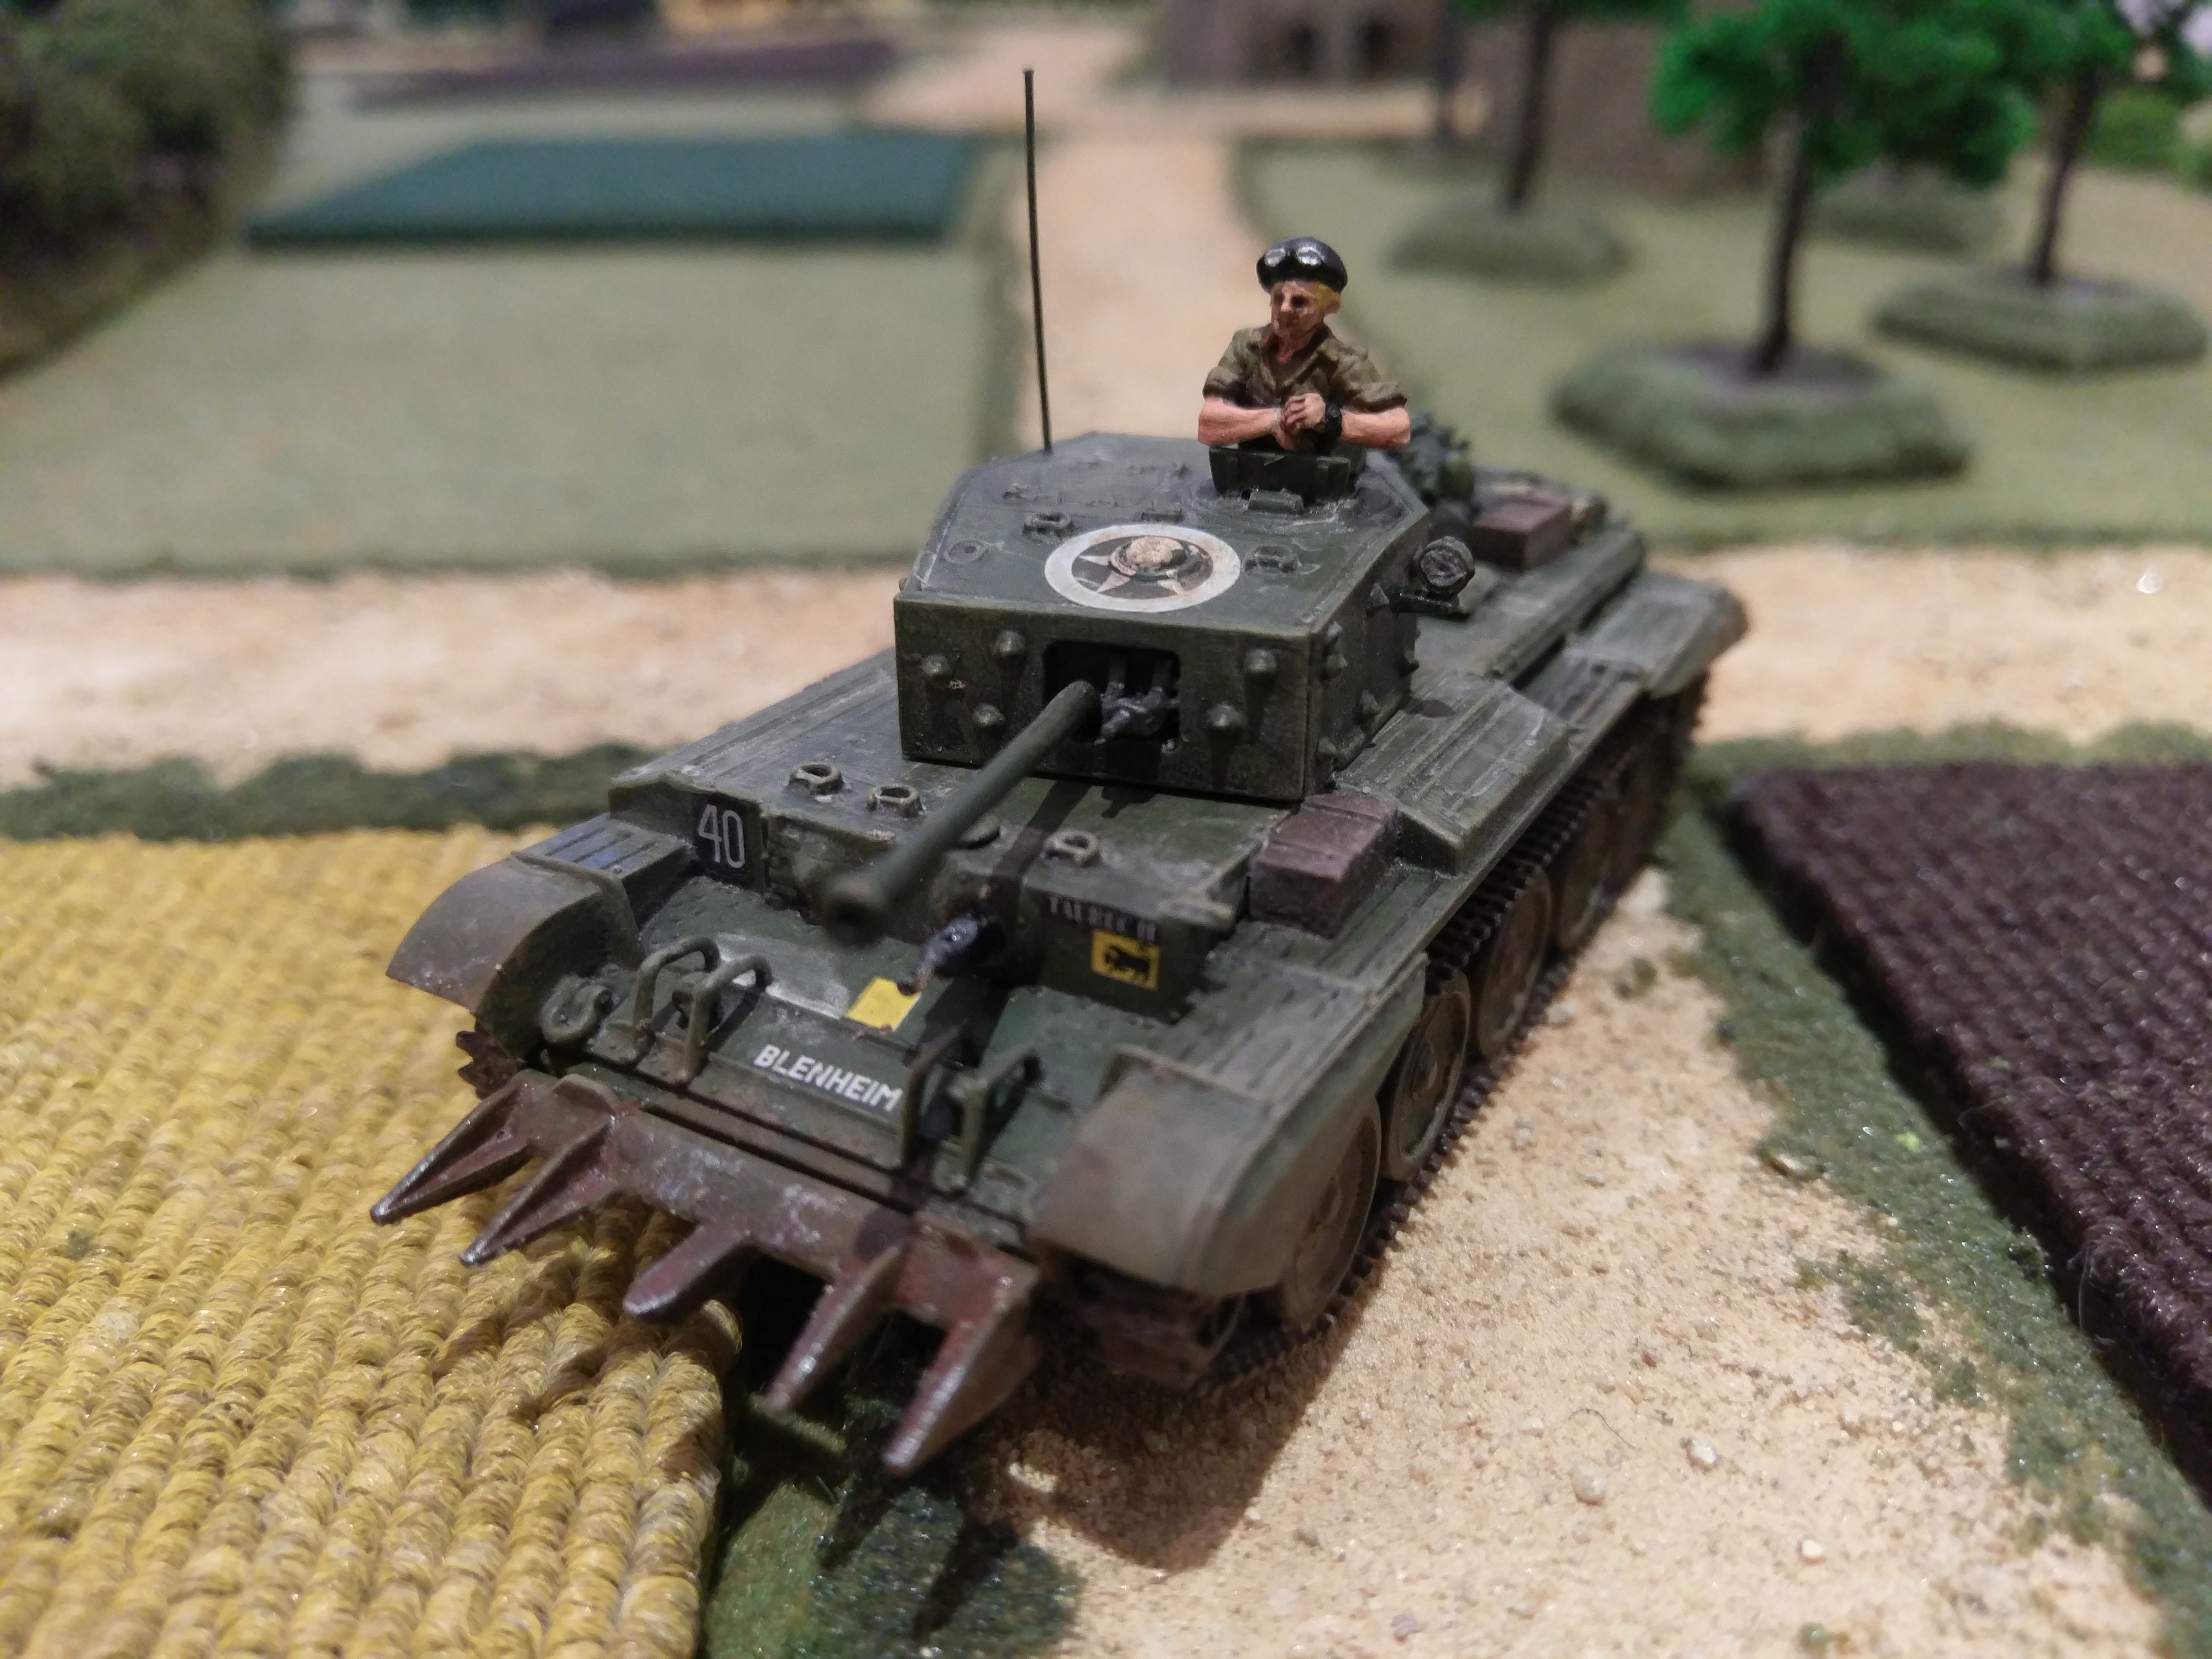
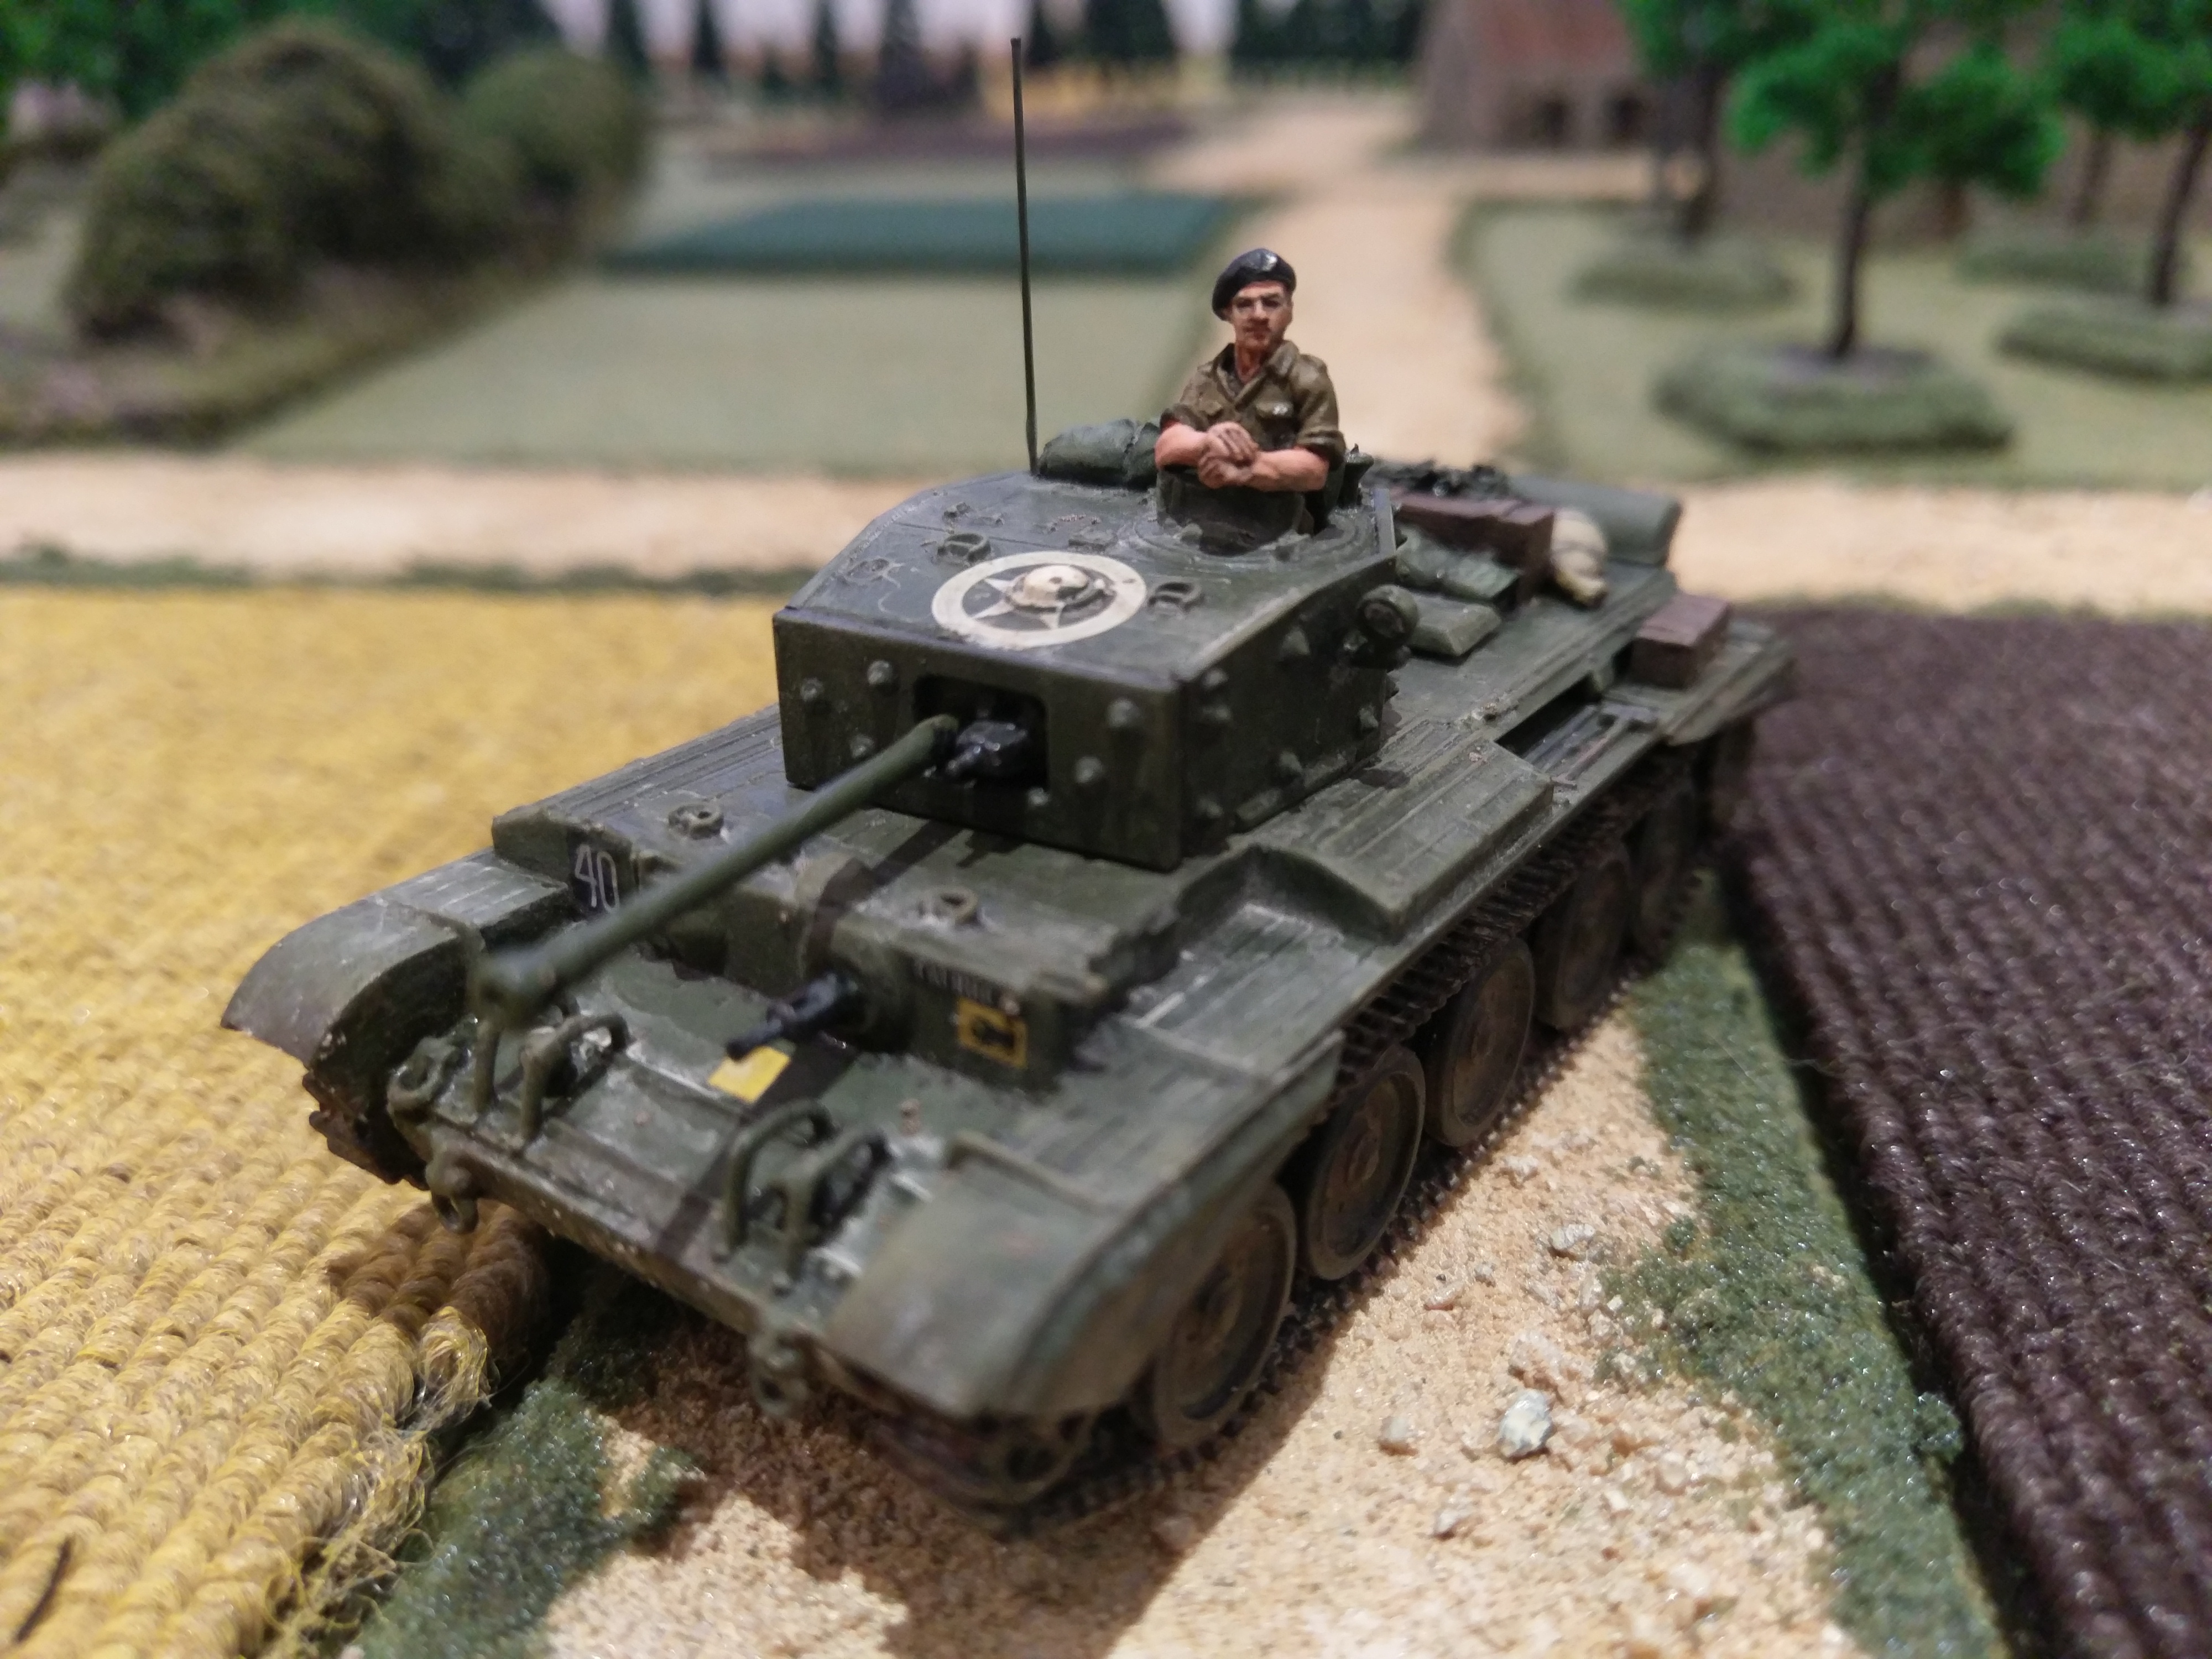
Here we see British advance on the right flank and the German FOO in the trees. The British got their 25 pdr battery going early onto the tree line and caused a bit of suppression. The Germans suffered badly from terrible command dice rolling and had at least four command failures giving the British 2 or more extra dice. Early on the British armour was able to make a number of double and triple moves, with the speedy Cromwells avoiding the German mortar rounds and getting close to the farmhouse. Only a squad was defending  the farm and once their panzerfaust missed its target the Cromwells wiped out the whole squad with MG fire.

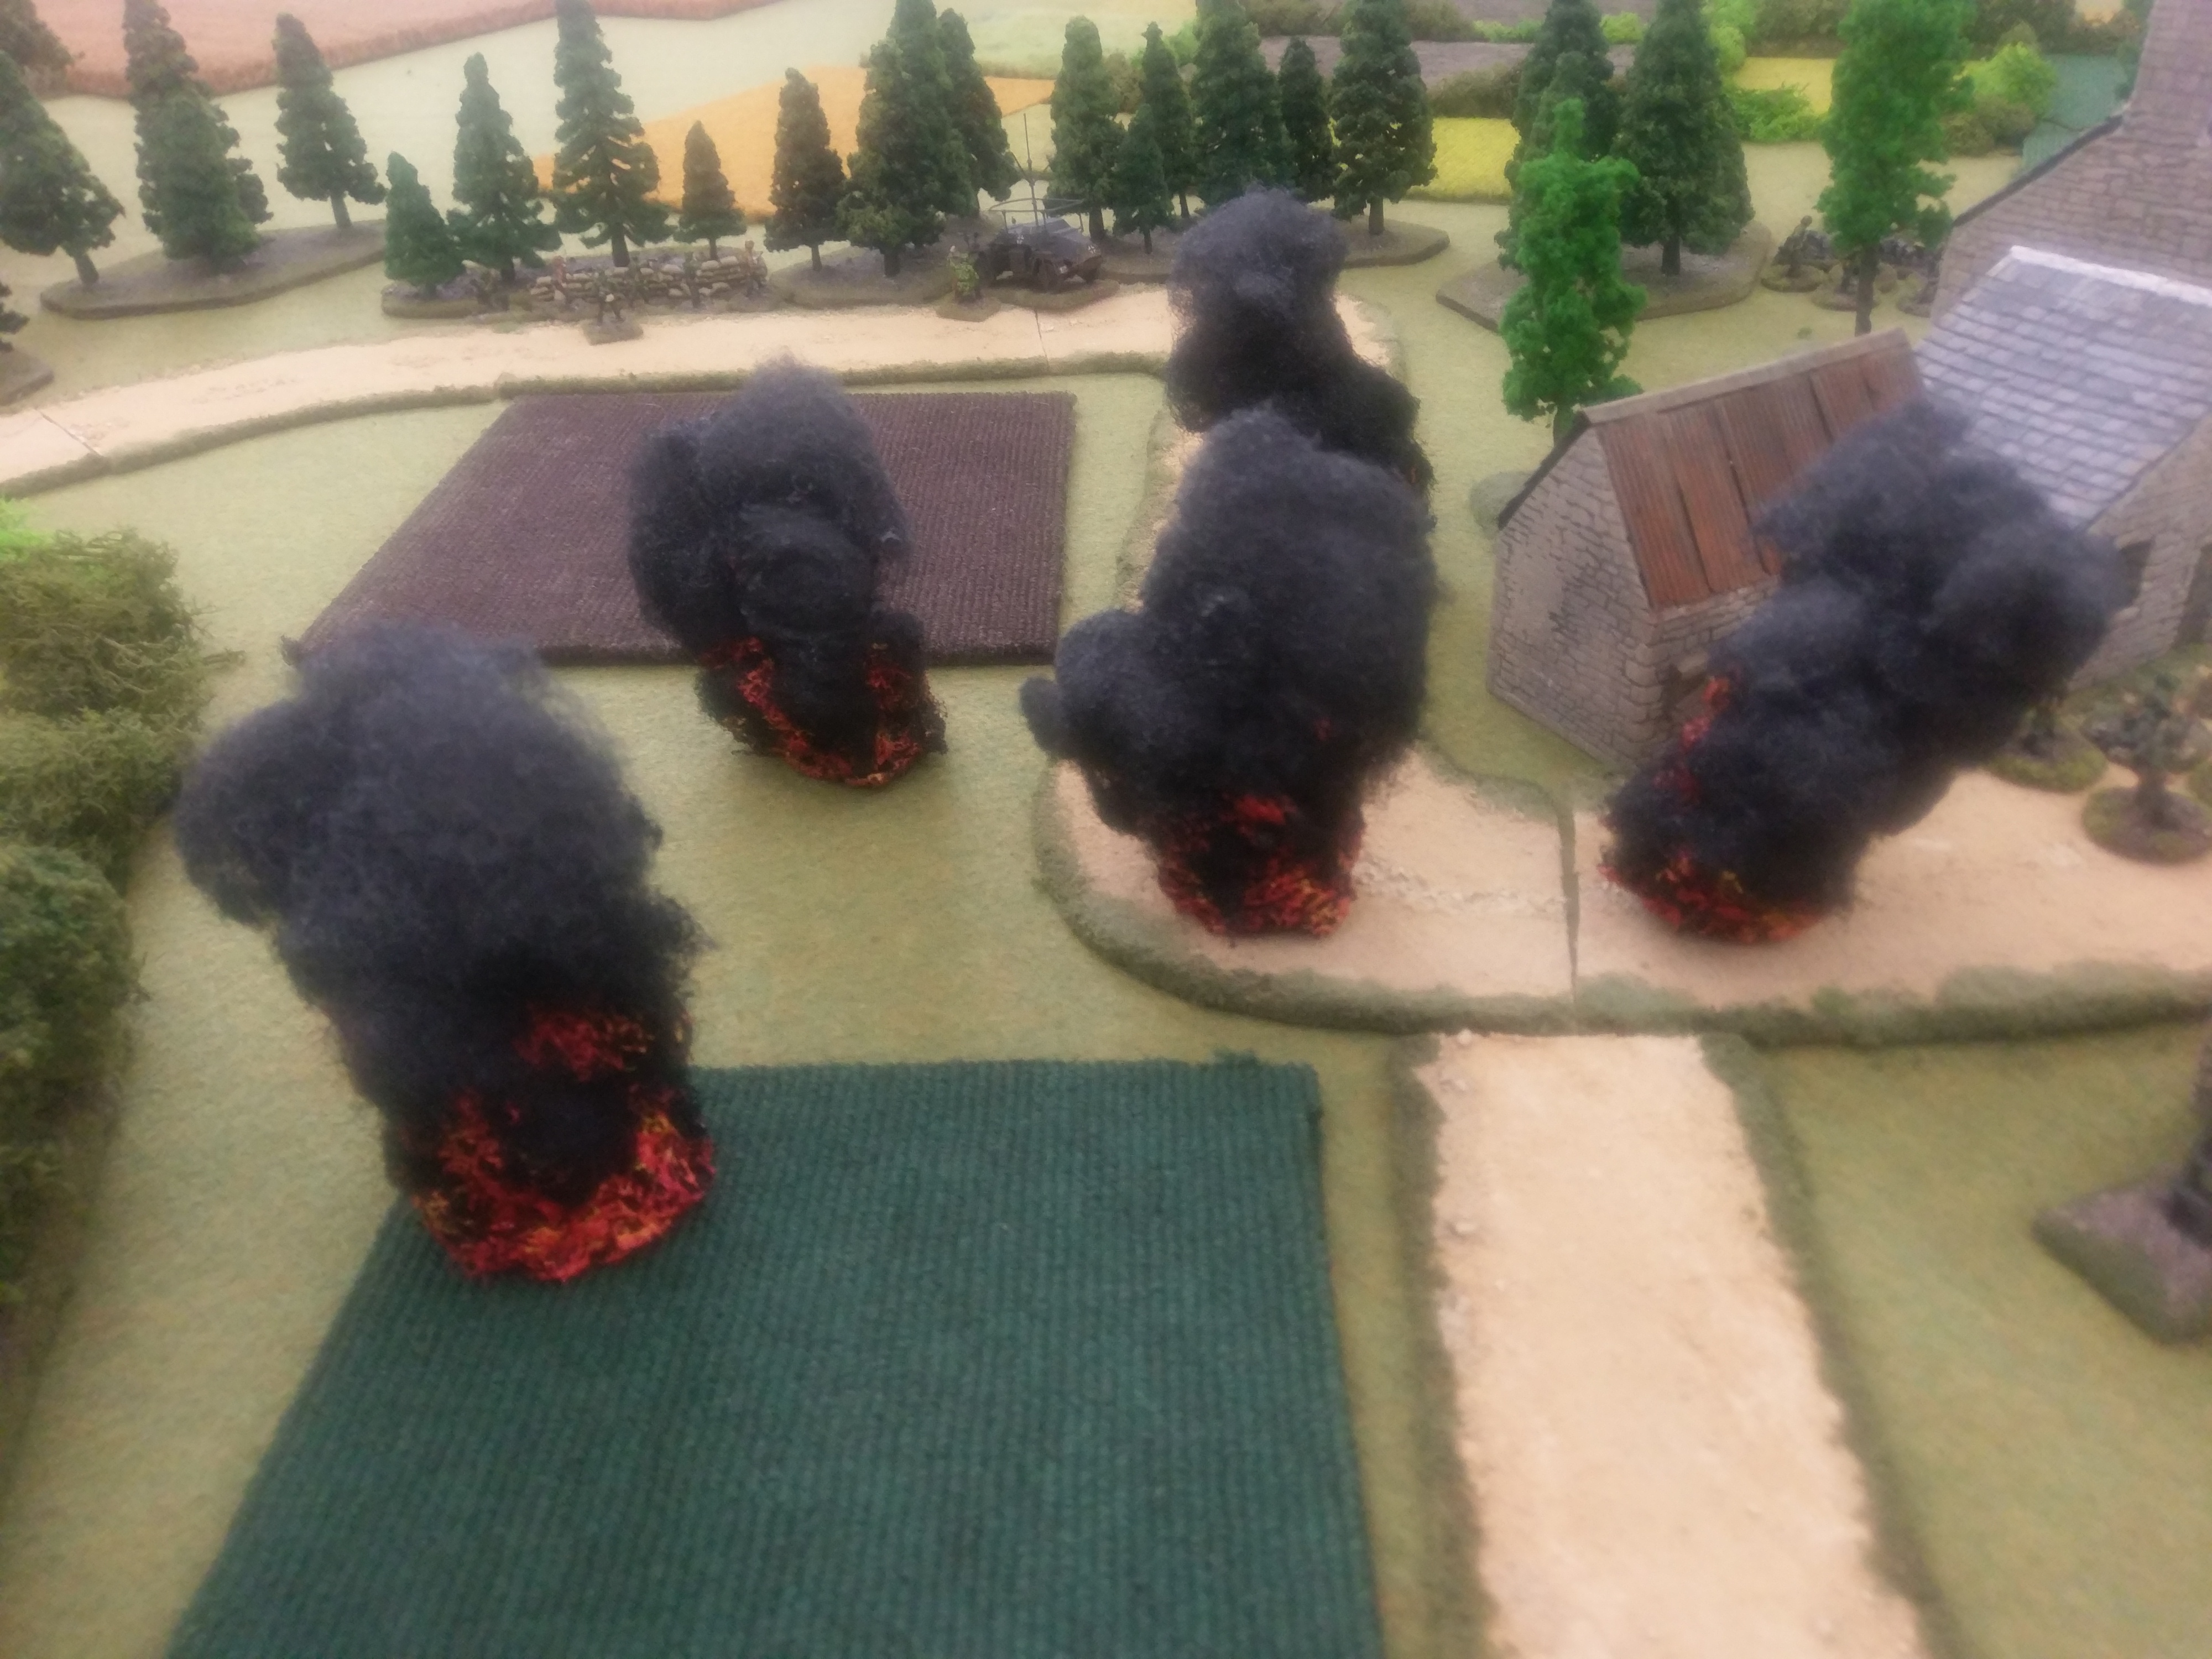
Above German Mortar fire getting a bead on advancing armour and doing very little damage. One of many command dice failures by the Germans (black dice). The Cromwells get up close and wipe out the squad in front of the Farm.

IMAG1081
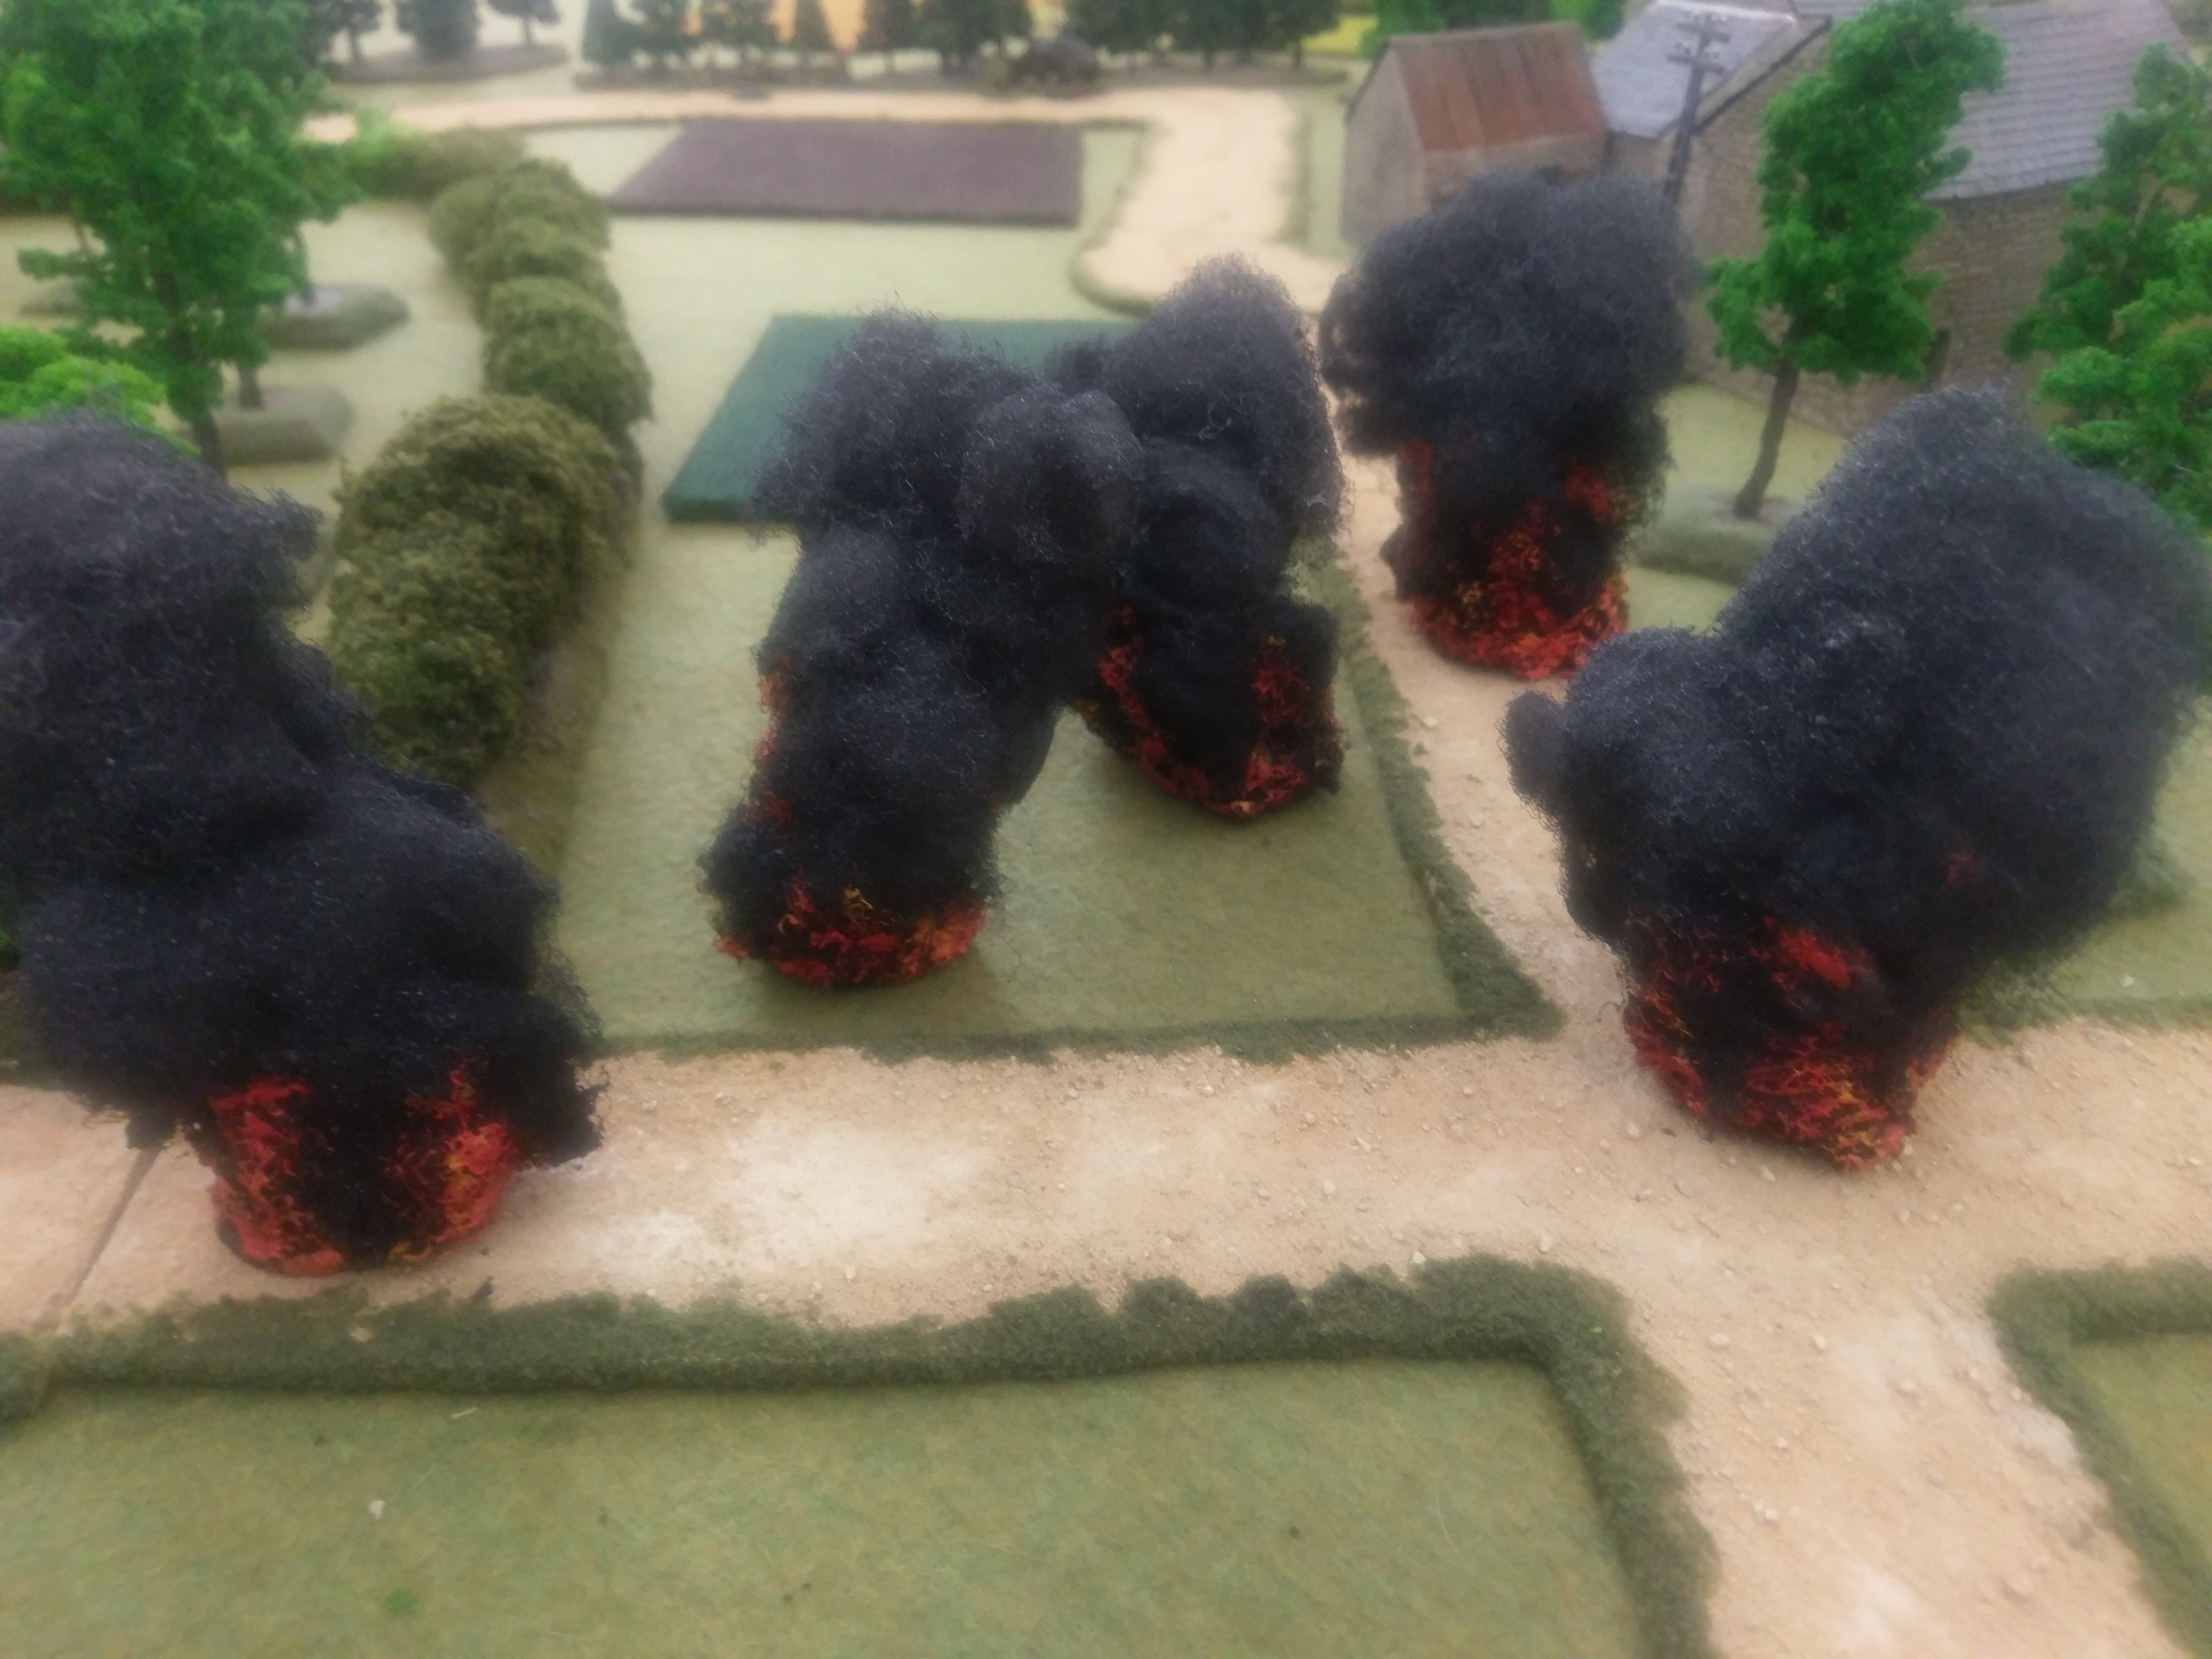
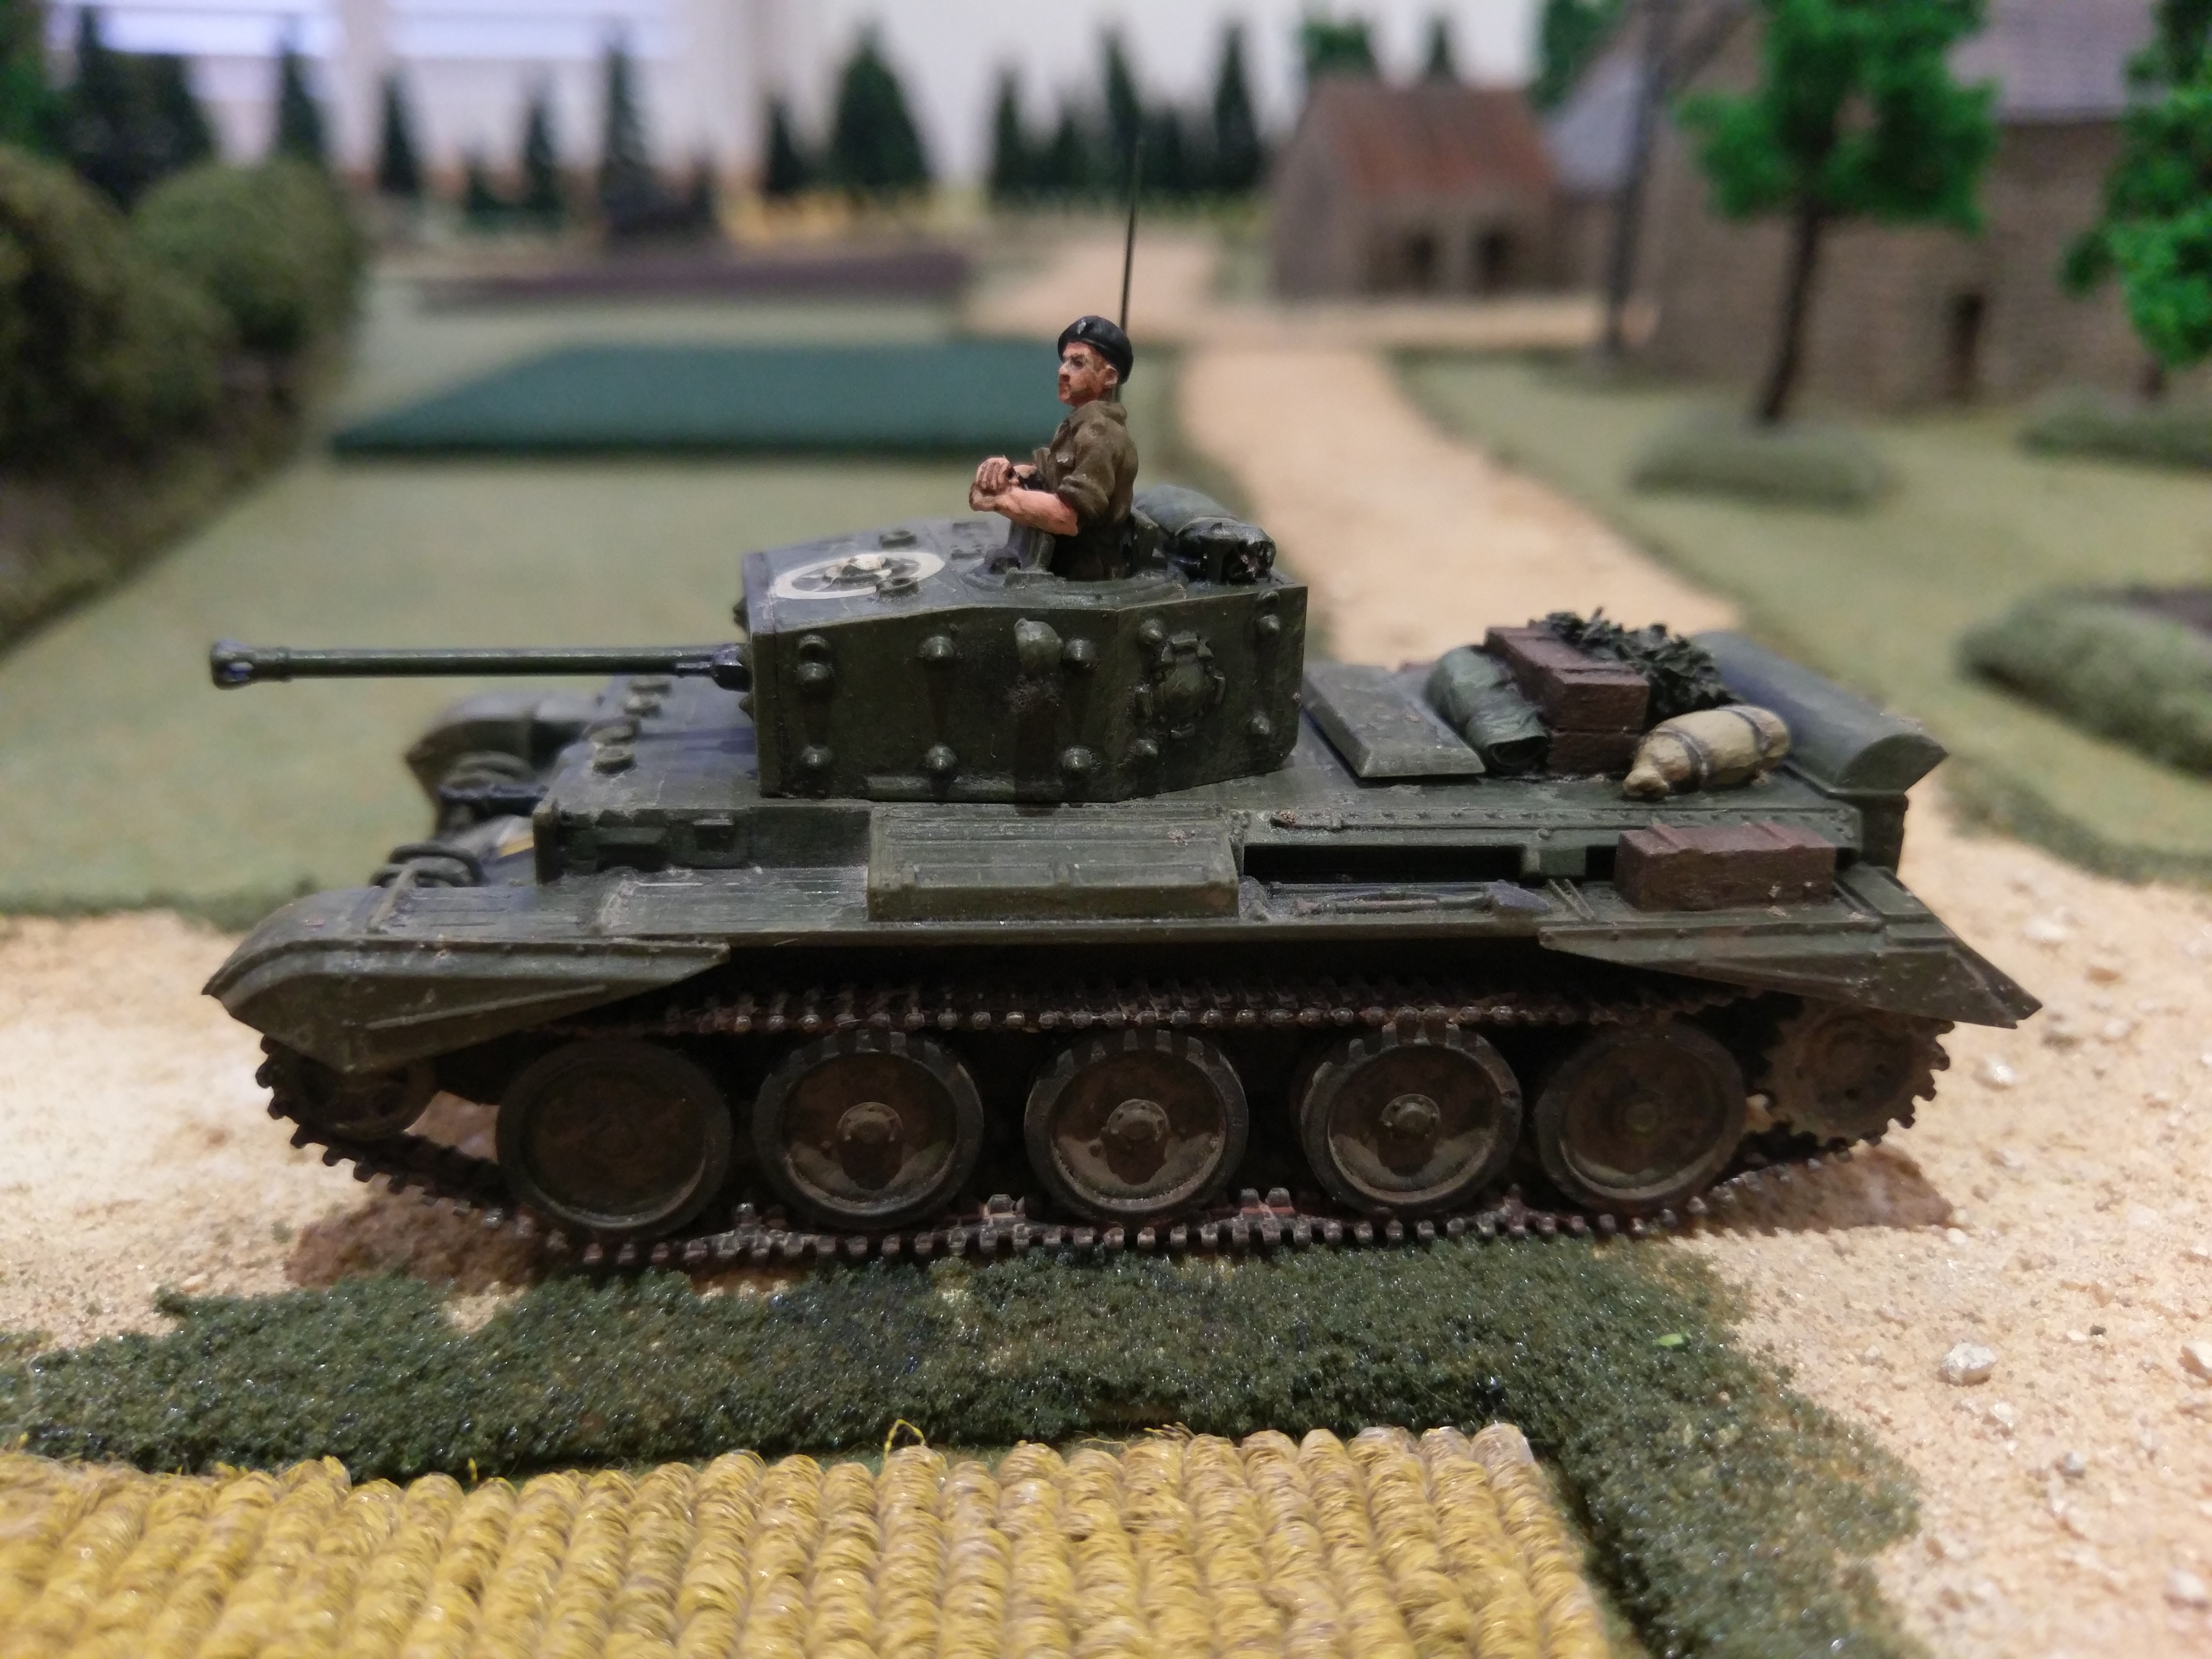
More Germans move to try and defend the farm, still under artillery fire. Already the British grabbing initative with their excellent command dice rolls was having an impact with the Germans having to react with fewer order dice.

In the middle of the trees the British attacked the one German squad that was dug in and managed to close assault with two sections. Close Assault is deadly in Combat HQ. The German squad was annihilated for the cost of one British section. Another German squad made a double move and managed to wipe out the British section in Close Assault, who were in turn wiped out by the remaining British section from that platoon. Suddenly the Germans had lost 3 squads quickly and the British were in the trees.

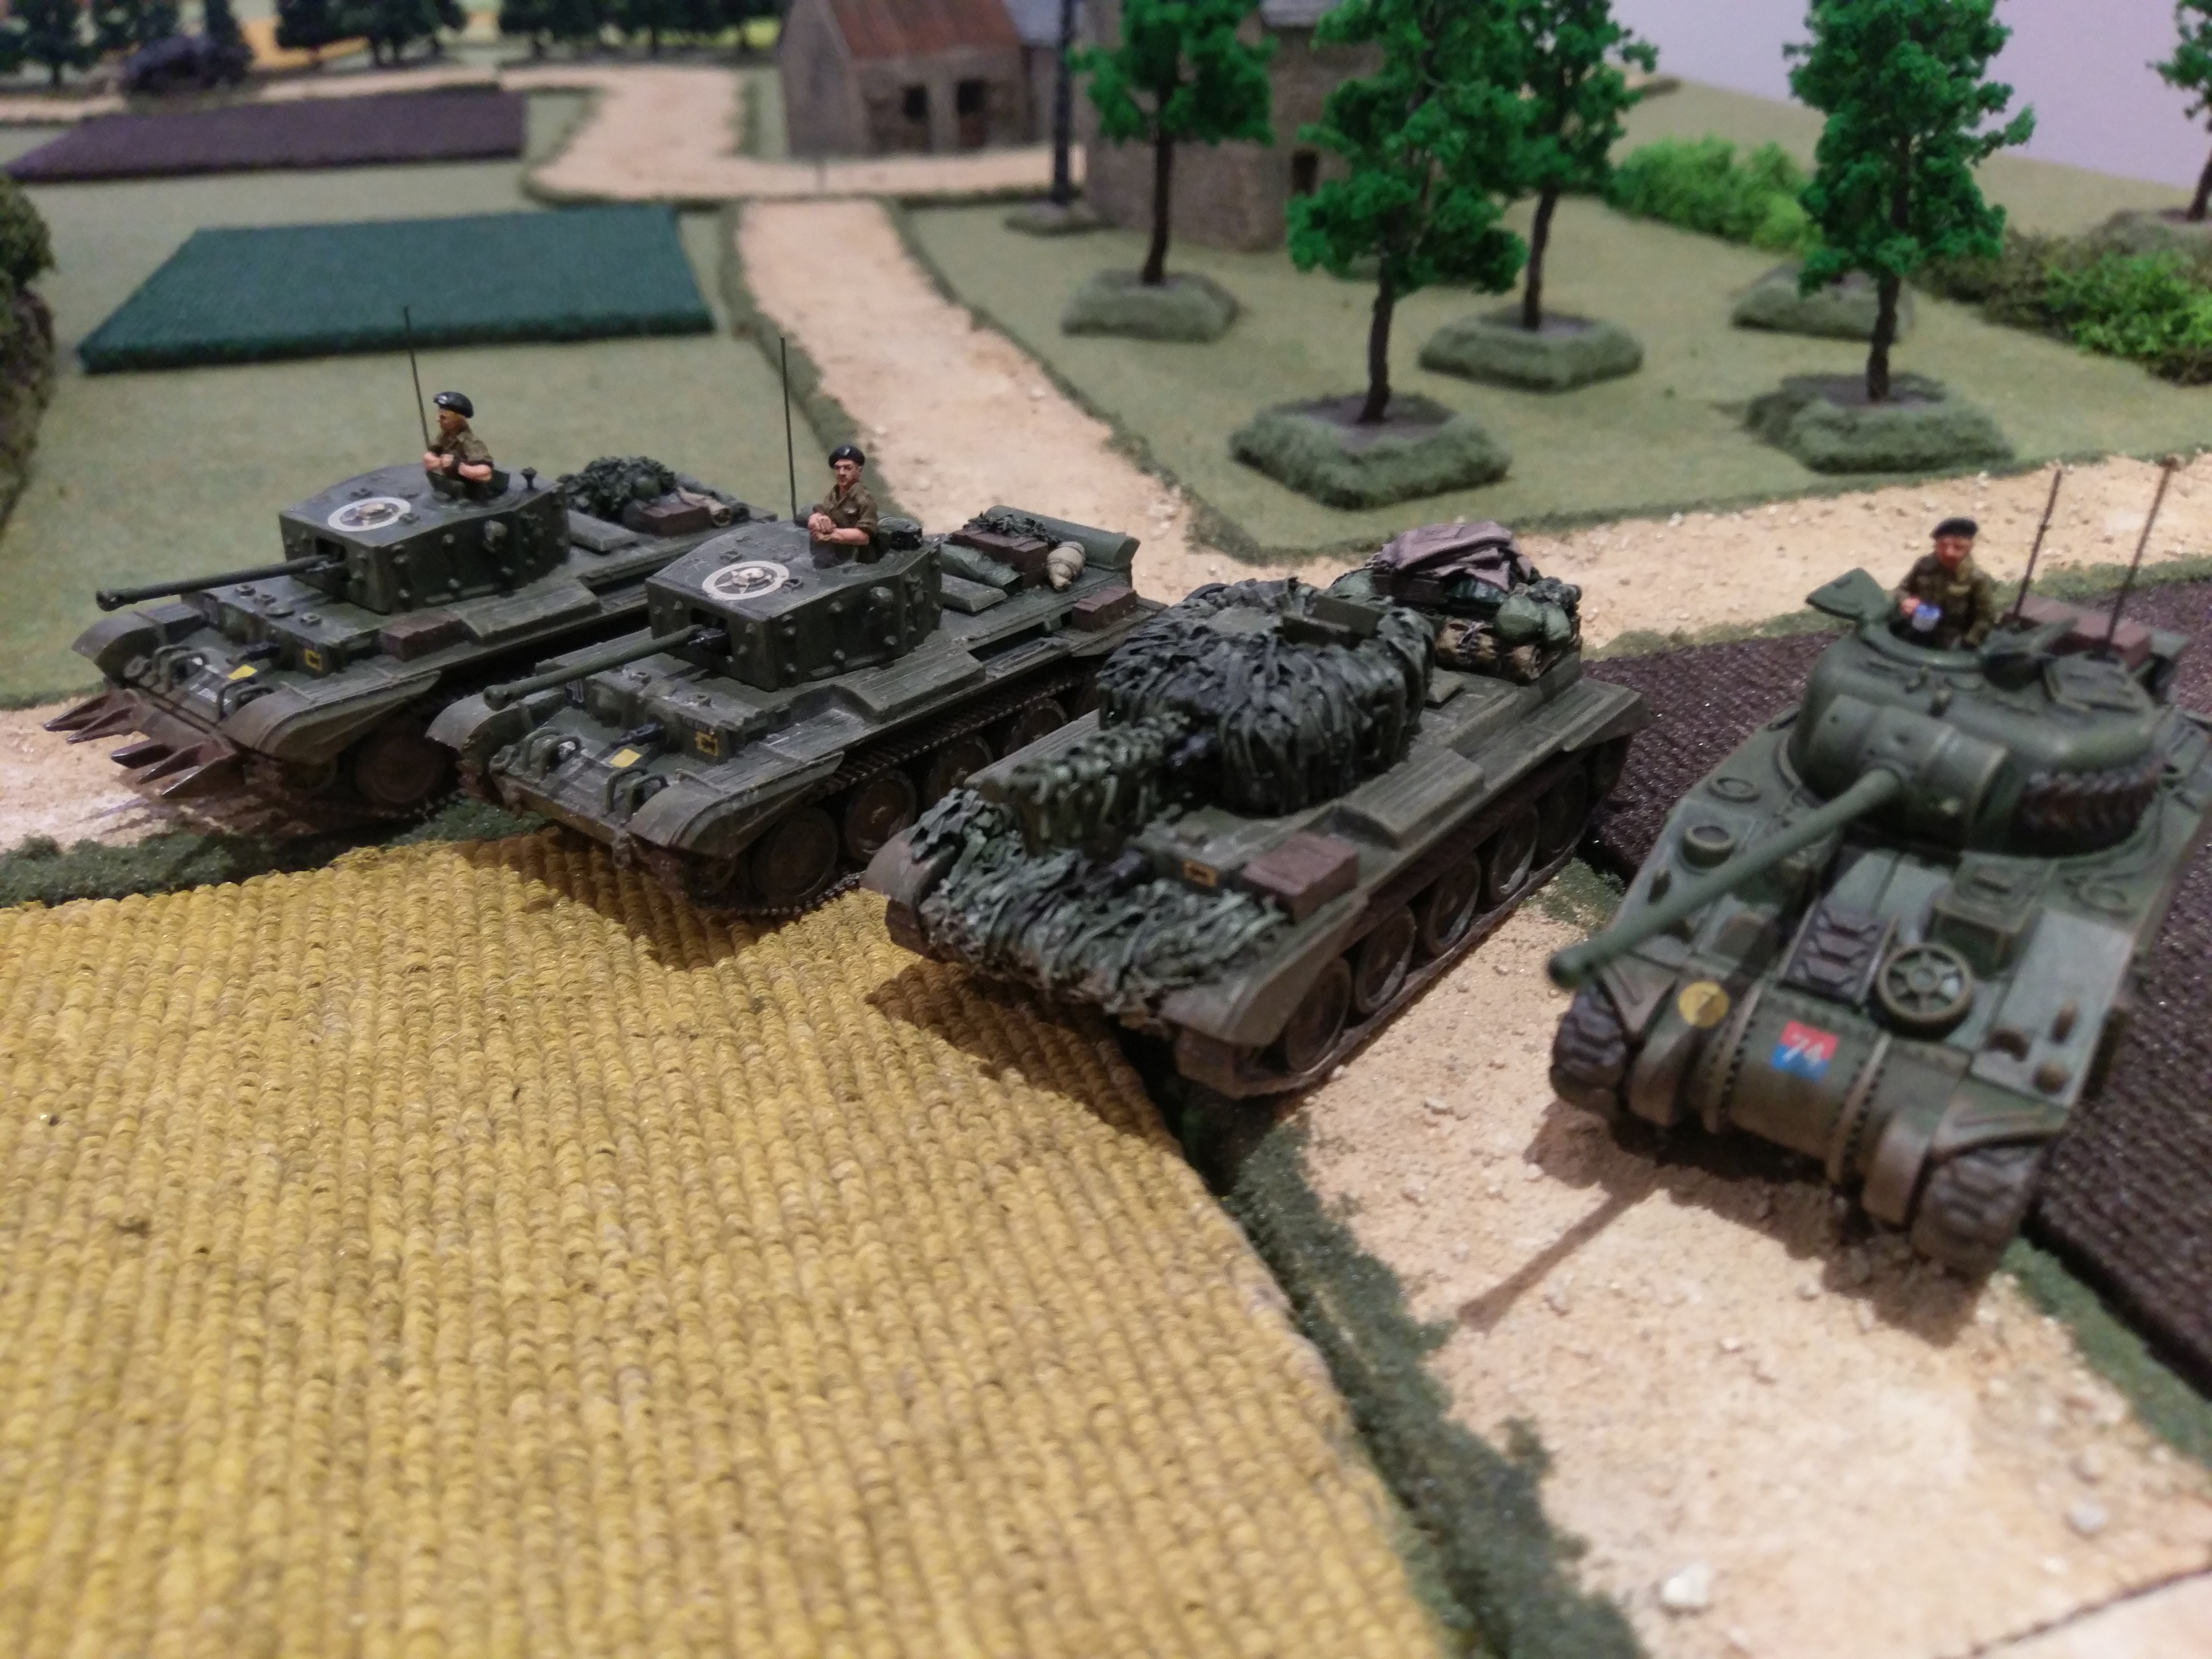
The tank troop on the East flank continued to maneuver around the farm to the South with a plan to attack the Germans from the rear. The German commander was now realising he should have moved his Pak 40 AT Gun earlier. His only option was to send the panzershreck team to try and intercept the Allied Armour. Throughout the whole of the game German AT weapons were thoroughly useless and on another day they could have won the game. Meanwhile the second British tank troop came charging towards the Western houses, so at least the Pak 40 gunners could warm up some shells and get ready for some action.

The panzershreck team couldnt hit a barn door and get wiped out by the Cromwells, who continue at a fast pace and get behind the AT Gun who is set up at the Western crossroads. The Farm buildings in the East are taken by the full platoon of British infantry. Finally the Germans hiding in the West end of the trees manage to ambush the second troop and blow up one Cromwell. And finally the AT Gun is turned around and hits the approaching Cromwell from the South. However this exposes his backside to the oncoming second troop who quickly blow him to pieces. More misses from panzerfausts in the ruined houses and the game is up for the Germans as their morale drops below zero.

So a good fast game, which the British won very easily due to quite excellent command dice roles always giving them a big advantage in orders. The Germans defended OK but should have had their AT gun in a more useful position, and they also left themselves a bit thin trying to defend the whole front rather than concentrating on one area. If they had scored a few more kills with their AT weapons it may have been a different story.

I Ain’t Been Shot Mum World War Two Wargames Rules

A few months ago I picked up a copy of the I Ain’t Been Shot Mum rules from Too Fat Lardies as I think I am addicted to reading wargames rules. I have read other people say the same thing. I just love reading rules even I don’t end up playing them. Actually I have copies of Rapid Fire and Nuts that I am yet to have a look at. Its a like a wargames equivalent of heroin. Always keep a supply stashed away somewhere.

Anyway I did play a couple of games with IABSM recently and thought I would blog my opinions on the system.

While some of the ideas and concepts in the rules are good I found that the total random nature of the card activation left me feeling helpless and my decisions on the battlefield became irrelevant. You cannot plan a strategy and the side that ends up pulling out his cards first or more often is going to win. I think there is enough luck and random chance in any rule set that uses dice to calculate results for most actions. You don’t need another totally random procedure in the mix as it just becomes a game of chance. As much as I tried to enjoy the Big Man concept of IABSM it also did not really have much impact on the proceedings as half the time your big men never got activated at the right time. I think having more leaders should give your force more chance of being activated when you want them. I guess I am after more control over my game than the IABSM rules allow.

In one game my squadron of tanks activation card came up just before one tea break card and then came up again almost immediately in the new turn. This leads to some units being able to move and attack unrealistically against enemy units in great defensive positions. Movement distances are resolved by a dice roll so I would say that covers the random nature of war enough. Move those troops over there, but if they are not that keen they may not move as quickly or as far as you want them too. In other instances you can try and coordinate artillery fire one turn but then the next turn your support card or Forward Observer card does not get activated. Its just frustrating and not very real. Especially when a dice throw is already factored into the process. Same with smoke, do you reduce smoke every time a tea break card is drawn? Why cant artillery keep firing smoke once they start even if their card doesn’t come up. Anyway I really don’t like the card activation system its like playing chess with your opponent getting to move three pieces in a row……….

On the positive side of things I did like the way in which the rules handle shock, which in turn also ends up being morale. The more shock you take the less useful you are and a side can quickly fold. The close combat and firing rules are also good and felt realistic in their outcomes. I also liked the very thorough extra bits you can buy from Too Fat Lardies that detail all the different forces and their organisation.

So I guess overall that IABSM is not for me. I do like most of the rules except for the card drawing activation. I think if I just changed it to an alternative IGO UGO format the rules would play out a whole lot better. Those Big Men would have a much better influence on how the game played out and strategies and plans could actually have a chance of success. I like the way Squad Leader uses its leaders and I think the Big Man idea has a chance of working like that.

So I will return to the Combat HQ rules for my next game. This has an excellent activation system that finds a balance between luck and leadership and gives you enough scope to make a plan and hope your men do their best! Next blog will be a bit of a battle report from Normandy somewhere.


Explosion Markers

I quickly knocked up some more explosion and artillery markers. Plenty of ways to do this. I used 20 cent coins and super glued twisted bits of wire to the coins to create a structure. Then using poly fibre and cotton wool and lots of PVA glue i wrapped the wire structures up all the way to the coin. When this was dry i added plenty more PVA glue and some sand all around the coin and bottom end of the explosion. This creates a bit more weight and texture nearer ground level. When this is dry i sprayed the whole lot with flat black and then some light grey and some white to add some variation. At the bottom i use red and yellow acrylic paint to represent flames. After that i gave them another spray with some matt varnish. They came out quite well i think – check them out below. I will use them in the game i about to play using Jim Bambras excellent Combat HQ rules.

Revell Cromwell Tanks in 1/72 scale

I have continued building up my British forces this week finishing off another troop of Cromwell tanks. In 1/72 scale plastic the Cromwell is not well supplied. You can build an Airfix one in 1/76 scale, but that’s going to be too small for me. Armourfast make some very simple but very cheap kits ($10 for two), but if you want something with a bit more detail the only option is the Revell Kit. And what a great little kit this is. The best value i found for these was from Hobby Easy in Hong Kong for $16-17 a kit. So significantly more expensive than the Armourfast kits but much more of a challenge and the end result is worth it.

I bought  two of them to make up two thirds of my next Cromwell troop. They are great models, Revell kits seem to be consistently good. Detail is fine and the kit is a challenge. Tracks are excellent link and length and a huge improvement over the Armourfast kit. I particularly like the headlight guards on the front of the tank. If you need some Cromwells for your British army in Normandy you really need to go and pick up some of these awesome Revell kits.

The third Cromwell in my troop is in fact an Armourfast kit i had lying around plus the camouflage hessian kit from Black Dog. This is a resin extra with a camouflaged turret, camo netting for the front and stowage for the back. Rather than waste this on a fine Revell kit i thought i would use it with the much cheaper and less detailed Armourfast one. I had to hollow out the lower hull so the resin turret would fit. Also i had to pad out the front camo netting with my own concoction of bandage and tea leaves. Which was the same recipe i used for my camo nets on the stowage at the back of the other two tanks. The Armourfast Cromwell is slightly wider and taller than the Revell Kits but not enough that makes them incompatible. Oh one thing about this Black Dog turret is that they put the turret MG on the wrong side. So i had to switcheroo the main gun and the MG so it matched all my other Cromwells.

Other stowage is from all sorts of places including Value Gear and Sgts Mess. The Revell decals are excellent. You have to paint in white the little circle in the rooftop Allied star. You also get the option for the hedge cutters at the front of the tank. I read somewhere that Cromwells didn’t actually use these, but who cares i think they look cool. I will be adding some AB Figures tank crew, who are in the painting queue, in due course.

I had a lot of fun with these kits. If you need Cromwells get some Revells!

“Small-Scale Armour Modelling” by Alex Clark Osprey Publishing

15027937464255623314

Another great little purchase i found at Book Depository for a crazy price delivered to my door step! Books in Australia are little on the pricey side so i am amazed at the low cost of on line books that are shipped for free to the Southern hemisphere. I think most of the time i enjoy the building, modelling and painting parts of our hobby more than any of the playing. But then i guess some of the time my opinion changes. This book definitely inspires me in the building and modelling section, and will do the same for you too.

Alex Clark is a very talented and skillful model maker and he does his best in the book to pass some of his knowledge onto the rest of us to help us improve and learn in our own missions, whatever they may be. The first thing that caught my eye is the awesome number of brilliant models illustrated throughout the book. There are also many excellent photos detailing all the tips and tricks that Alex writes about. Aimed totally at modellers in 1/72 or 20mm scale this was perfect for me. Everything is covered from building, converting, and detailing all the way through to painting, weathering, finishing and basing. So whether you are making models for wargaming, display or just for fun there will be something in here for you. Definitely inspiring stuff and a volume that you will go back to again and again. Some of Alex’s finished models are so good you will be surprised they are not bigger than 1/72 scale. I would highly recommend anyone with an interest in World War Two or later vehicles to pick a copy up!


AB Figures British Infantry WW2

I finished another squad of the fantastic AB Figures British Infantry. I get these from Eureka Miniatures in Melbourne and what fine figures they are. Easily my favourite metal World War Two range out there. They have a wide selection which covers infantry, support, artillery and tank crews. Everything you could possibly need. The sculpting and detail are just amazing. It makes them very easy and a great pleasure to paint.

I have two more squads of these guys to paint up. Plus some other British i bought from CP Models and SHQ miniatures. Slowly phasing out my plastic squads as i am leaning towards metal being a better choice for painting and wargaming. Will do a comparison on those figures when i get to painting them up.

Country Roads

The Colonel has been on the road, traveling overseas the past few weeks, and only just returned to blog land. I had been working on some country roads as an alternative to my tarmac versions, and this week i finally got them finished. No Normandy battlefield would be complete without some good looking dirt roads.

Roads are one of the more simple terrain pieces to make, so i am not sure why anyone would buy any commercially made, expensive items, when you can make good looking roads for next to nothing. I am planning on playing a scenario from the “I Aint Been Shot Mum” rules so made enough roads for the map in the rulebook.

Its a very simple process. I drew my roads onto a sheet of 3mm MDF and then cut them out using a stanley knife and a handsaw. I made sure every horizontal cut was 8cm wide so all the road sections would fit together. I tried to avoid any straight lines as nothing is ever straight. Then a quick sand of all the rough edges and we are ready to decorate. I used a mix of PVA glue and a paint thickening medium to cover the road surface, and then a decent sprinkling of fine and coarse sand and some grit all mixed up. This gives the road a random texture. When this was dry i did add another round of the gritty mix down the middle of the roads as that is where the bigger stones etc could settle. The sand colours are pretty good but i did give them all a quick spray with a cream colour which blended everything together. The finishing touch was two different flocks along the edge and some random tufts. Check them out, you will see them in an after action report i plan on doing soon!

Metcalfe Models Coaching Inn HO/OO Scale (1/72)

I have slowly been expanding my Normandy village with a mixture of buildings from various sources. I much prefer to try and build all my own stuff but it does tend to be very time consuming, so i do like to boost my output with some purchased structures too. The good thing about building your own is that you can create whatever you like and to size with your other scenery. I have found a big difference in heights of purchased houses, making some products unusable. For example i did buy a house from Loic Neveu but it was more like a 15mm building and looked silly with my other buildings. Shame as they are really nice models.

Anyway this Coaching Inn is a card model from the English company Metcalfe Models. They do not ship to Australia so i had to buy it through Antics On Line in the UK. Size wise this is over 120mm tall and fits beautifully with my existing buildings. Its a well designed tough card model. Not too much cutting is involved and the instructions are clear and easy to follow. The acetate windows with details printed on are particular nice. Its not really a French looking building, but i think it fits well enough. They give you a choice of signs, of which i chose The Swan Inn, but i think i will print out something French to put over the top. I mounted my finished model onto 3mm MDF for extra strength. The edges of some of the card and also the building corners need a little touch up with a black marker pen just to tidy it up.

For around ten pounds i think this is great value for a really nice kit. I have a couple more other kits from Metcalfe which i will be making in the coming weeks. If you are looking for something other than resin, plastic or MDF for your table look no further. Some pictures below with the Inn flanked by a home made red brick building on one side and an MDF bought kit on the right. Then some shots of all my buildings quickly laid out.