Hasegawa Tiger Tank 1/72 scale

My Tiger tank regiment is expanding. I love making German armour, especially the big cats. I have made the Revell and Zvezda Tigers, but this time i tried out the Hasegawa kit. You can buy this kit for 810 yen direct from a Tokyo hobby shop which works out at around $10 Australian, so its a pretty good deal. They have the whole Hasegawa range all at between 810 – 1100 yen, so i am sure i will end up buying all the kits at some point. The  Hasegawa Puma Armoured car is a particularly nice kit.

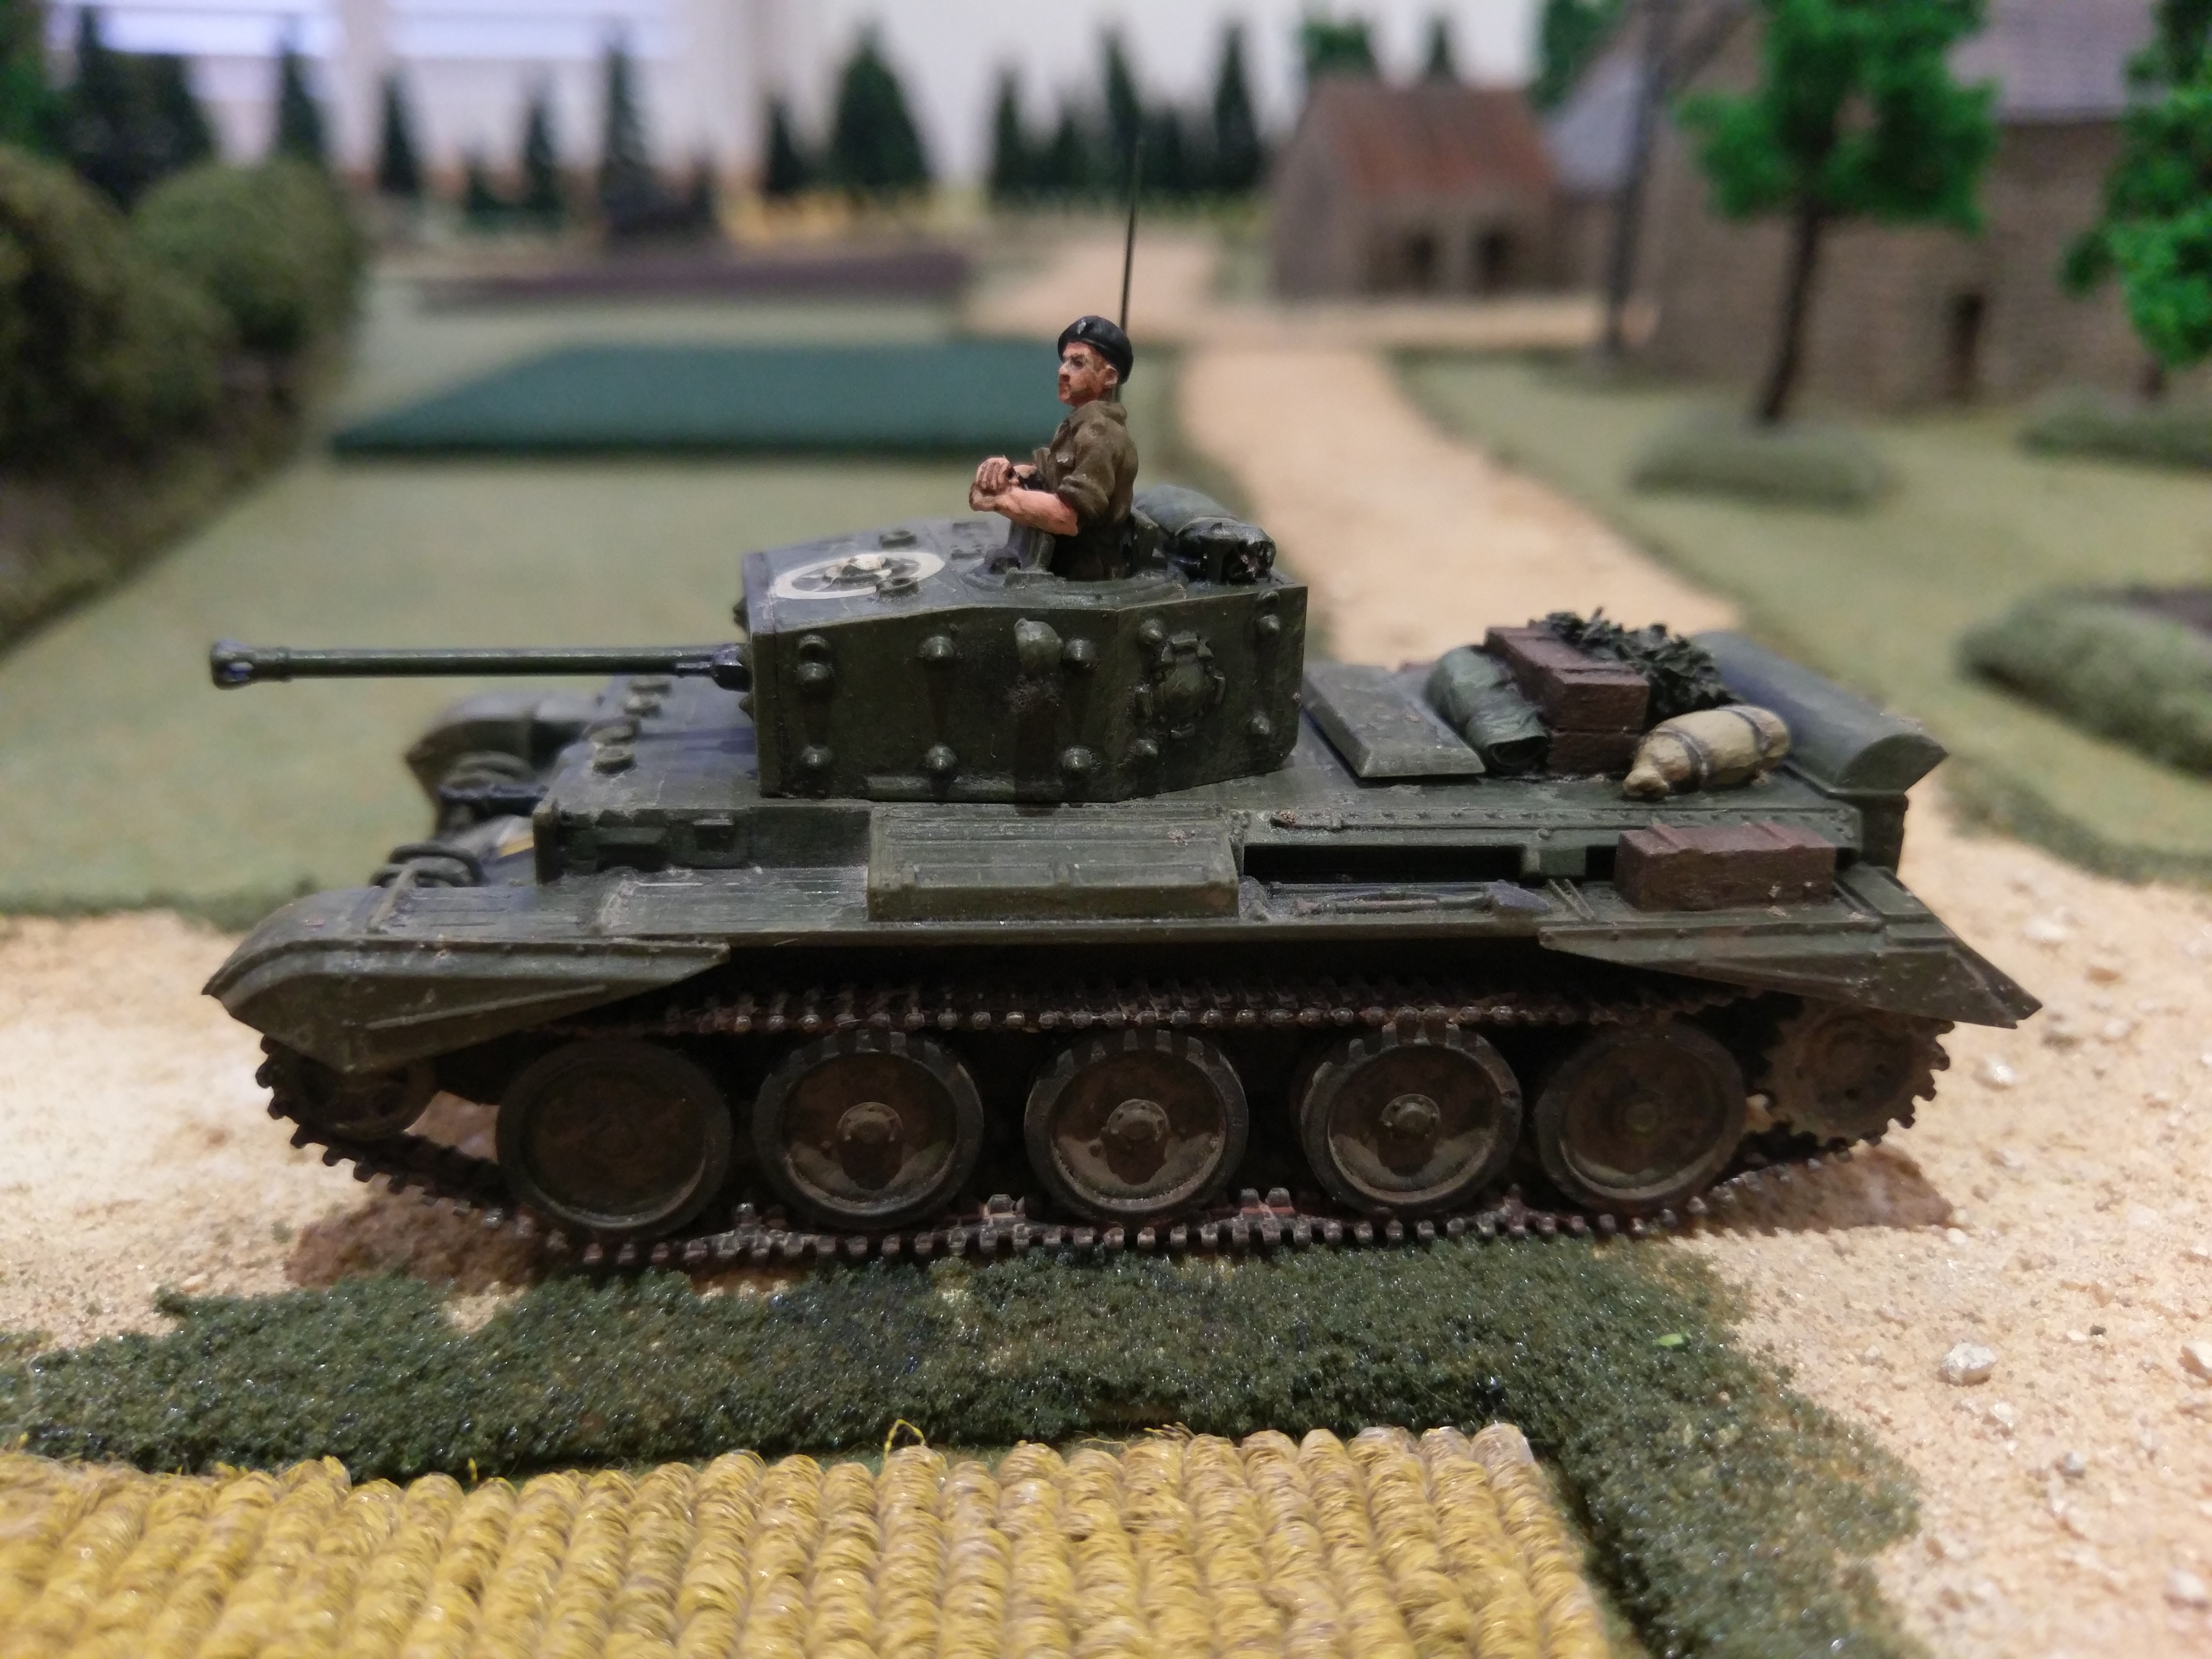
The kit comes in Hasegawa’s usual grey plastic which is really easy to work with. I had no issues with any of the kit and it was quite simple to put together. There are few holes to fill so you need some kind of modellers putty or something to fill and then a fine sand paper to finish them off. The shovel on the front of the tank is also meant to be removed but i really didn’t see the point. I had a bit of trouble lining up the two halves of the turret so be careful with that step as mine came out a little wonky. Hatches can be modelled open or closed which is always good news as you can choose to crew or not to crew. My previous Tigers had no commanders so i left my hatches open and added a couple of AB figures tank commander and henchman types.

I left the tank tracks off until after painting the main tank so i could paint and rust up the tracks before attaching them. The tracks are the rubber type so make sure you give them a careful stretch before attempting to fit them. I had to use superglue to get the tracks to stick, and putting the vehicle on a base also helps keep it all together. Also superglue the top track down near the sprocket wheel to give it an appearance of weight. Otherwise they float unrealistically. That’s one bit of the model that does not quite match the Revell and Zvezda kits is the solid sprocket wheel. The other kits have better detail.

My paint scheme was a three colour camo using red brown, bright green and the usual sandy yellow dunkelb. I gave it a wash with a dark brown and used weathering powders to create some dirt. Hasegawa kits always give you a good range of decals with loads of options. Here are my photos, plus some photos with the Revell and Zvezda Tigers. This kit is slightly smaller than the other models but it still fits in OK when they are cruising around together.

Airfix Halftracks 1/72 Scale

I have been a busy bee trying to finish eight different things at once and ultimately failing to really finish anything. Also a ten day trip overseas for work also interrupted my building and painting production line. I have, however, managed to complete some Airfix halftracks. I found these kits for some bargain price on eBay, i think less than five pounds each and had them delivered to my mum’s address in the UK before a trip there. Any chance i get to avoid shipping to Australia i take it! I have a fondness for any Airfix kit I previously built in the early 1980’s and this was no exception.

I have always read many complaints about the accuracy of this kit. To be honest I don’t care. It’s a great little kit and I loved building it three times. It goes together very nicely with no problems. Only fitting the front bonnet was a bit tricky to make sure everything was square, but apart from that i had a great time making  these. The interior is sparse, but again you can easily paint up some figures to put in the back. The driver is a horrible figure and this time I didn’t bother with one as you can’t really see him anyway. I may put a machine gunner in the turret to fire the 50 cal, but I may not.

It definitely helps to add some stowage. I used all sorts from Black Dog, SHQ and anything else i could find. The decals that come with the kit are excellent and are thin enough to mould to the surface detail. I added some more numbers and symbols from other decals i had. Nothing historically accurate but who cares. Plenty of weathering powders and muddy bits all finished it off. Here they are together and also with my White Scout and IBG Models Chevrolet Radio truck on some reconnaissance.

Esci White M3 Scout Car in 1/72 Scale

One of my favourite, if not top of the charts, World War Two vehicles is the White Scout Car. So my quest to find one in plastic kit form in 1/72 scale was an important one. In the whole world there is not one company now that makes this vehicle in plastic kit form. Esci, now Italeri, no longer make this kit, even though i think they do still have pictures of it on their web site. So my quest turned to the internet as usual. Thank you eBay for the seller of this old kit for only about five pounds. I would have paid more for sure as it really seemed to be the only available kit in the known world. So i was a happy chappy when this turned up on my doorstep. I think this kit must have been years old judging by the box, but inside everything was still sealed in its plastic bag. Only the decals were unusable, but that didn’t matter as they were French and Russian anyway.

My Scout Car was going to be Allied/British. The kit build was great, a pleasure to make, all parts fitted nicely and i had no issues. The only thing wrong with this model was the rear axle sits too far forward resulting in the wheels not being central within the wheel arches. This annoyed me enough that i had to cut the rear axle and suspension off the chassis and move it maybe half a millimetre to align the wheels centrally. That was the only problem i found. The kits comes with two machine guns on the back, a 0.50 and 0.30 calibre, one on each side, and some stowage. I added a bit more from my supplies and also added a British driver from AB figures. The decals came from spares. I always base my wheeled vehicles, no one likes a broken axle. The finished scout car was given the usual olive drab treatment with a dark brown wash, highlights, and then some weathering powders. I might add some other crew or commander at some point, we shall see.

I do have a couple of metal and resin versions of the M3, which i may make as a comparison. And the chances of finding another plastic M3 kit are about as good as England winning a game in the Ashes……….

Unimodel and Armourfast Sherman Tanks in 1/72 scale

Colonel Mustard has been off line for a while due to an unfortunate battle with a local Australian spider, which he soundly lost. So after a month long fight with serious pain and immobility i am finally recovering. It was a war against neurotoxin that i couldn’t win!

So onto my latest Sherman tanks for my British forces. I needed to build up my Shermans to get to a full three troops. So i picked up a couple of boxes of Armourfast Shermans from Hannants in the UK, plus a Unimodel Sherman from my favourite Ukrainian hobby store. The Armourfast tanks are amazing value at 6.25 GBP for two. They are about as simple a kit as you could get, you can count the number of parts on one hand. That said the detail is average, but what do you expect for such a cheap price? If you are prepared to dress them up with some extras they can really turn into a great little wargaming tank. I added some tools, some lifting rings, headlights plus spare tracks and stowage. Oh and of course an aerial. You do not get decals with the kits, so i used some Canadian markings i had from The Plastic Soldier Company. Once you have tarted up your Armourfast kits they really turn out well. If you want to bulk up your tank regiments i cant recommend them highly enough.

The Unimodel Sherman is a proper model kit. I really enjoy building Unimodel kits. Lots of parts, fun to build, but definitely a challenge. Detail and end result was definitely better than Armourfast. I only added some stowage and an aerial. The kit comes with some very tricky PE parts. I managed to ping the headlight protectors across the room never to be seen again and had to make my own out of some thin wire. So don’t try this kit if you have deep carpets……. losing bits is a risk. Unimodel gives you some cool decals so I called this Sherman “Comet”. The only struggle was fitting the top hull to the bottom which left a huge gap at the front. So i had to file down parts of the lower hull around the front wheels in order to get it to fit. I would leave the front part of the hull off the lower hull section and do a dry run first before gluing as you may have the same problem.

All the tanks got the usual olive drab paint job with some dirt and dust and mud. Fun times.

I Ain’t Been Shot Mum World War Two Wargames Rules

A few months ago I picked up a copy of the I Ain’t Been Shot Mum rules from Too Fat Lardies as I think I am addicted to reading wargames rules. I have read other people say the same thing. I just love reading rules even I don’t end up playing them. Actually I have copies of Rapid Fire and Nuts that I am yet to have a look at. Its a like a wargames equivalent of heroin. Always keep a supply stashed away somewhere.

Anyway I did play a couple of games with IABSM recently and thought I would blog my opinions on the system.

While some of the ideas and concepts in the rules are good I found that the total random nature of the card activation left me feeling helpless and my decisions on the battlefield became irrelevant. You cannot plan a strategy and the side that ends up pulling out his cards first or more often is going to win. I think there is enough luck and random chance in any rule set that uses dice to calculate results for most actions. You don’t need another totally random procedure in the mix as it just becomes a game of chance. As much as I tried to enjoy the Big Man concept of IABSM it also did not really have much impact on the proceedings as half the time your big men never got activated at the right time. I think having more leaders should give your force more chance of being activated when you want them. I guess I am after more control over my game than the IABSM rules allow.

In one game my squadron of tanks activation card came up just before one tea break card and then came up again almost immediately in the new turn. This leads to some units being able to move and attack unrealistically against enemy units in great defensive positions. Movement distances are resolved by a dice roll so I would say that covers the random nature of war enough. Move those troops over there, but if they are not that keen they may not move as quickly or as far as you want them too. In other instances you can try and coordinate artillery fire one turn but then the next turn your support card or Forward Observer card does not get activated. Its just frustrating and not very real. Especially when a dice throw is already factored into the process. Same with smoke, do you reduce smoke every time a tea break card is drawn? Why cant artillery keep firing smoke once they start even if their card doesn’t come up. Anyway I really don’t like the card activation system its like playing chess with your opponent getting to move three pieces in a row……….

On the positive side of things I did like the way in which the rules handle shock, which in turn also ends up being morale. The more shock you take the less useful you are and a side can quickly fold. The close combat and firing rules are also good and felt realistic in their outcomes. I also liked the very thorough extra bits you can buy from Too Fat Lardies that detail all the different forces and their organisation.

So I guess overall that IABSM is not for me. I do like most of the rules except for the card drawing activation. I think if I just changed it to an alternative IGO UGO format the rules would play out a whole lot better. Those Big Men would have a much better influence on how the game played out and strategies and plans could actually have a chance of success. I like the way Squad Leader uses its leaders and I think the Big Man idea has a chance of working like that.

So I will return to the Combat HQ rules for my next game. This has an excellent activation system that finds a balance between luck and leadership and gives you enough scope to make a plan and hope your men do their best! Next blog will be a bit of a battle report from Normandy somewhere.


Revell Cromwell Tanks in 1/72 scale

I have continued building up my British forces this week finishing off another troop of Cromwell tanks. In 1/72 scale plastic the Cromwell is not well supplied. You can build an Airfix one in 1/76 scale, but that’s going to be too small for me. Armourfast make some very simple but very cheap kits ($10 for two), but if you want something with a bit more detail the only option is the Revell Kit. And what a great little kit this is. The best value i found for these was from Hobby Easy in Hong Kong for $16-17 a kit. So significantly more expensive than the Armourfast kits but much more of a challenge and the end result is worth it.

I bought  two of them to make up two thirds of my next Cromwell troop. They are great models, Revell kits seem to be consistently good. Detail is fine and the kit is a challenge. Tracks are excellent link and length and a huge improvement over the Armourfast kit. I particularly like the headlight guards on the front of the tank. If you need some Cromwells for your British army in Normandy you really need to go and pick up some of these awesome Revell kits.

The third Cromwell in my troop is in fact an Armourfast kit i had lying around plus the camouflage hessian kit from Black Dog. This is a resin extra with a camouflaged turret, camo netting for the front and stowage for the back. Rather than waste this on a fine Revell kit i thought i would use it with the much cheaper and less detailed Armourfast one. I had to hollow out the lower hull so the resin turret would fit. Also i had to pad out the front camo netting with my own concoction of bandage and tea leaves. Which was the same recipe i used for my camo nets on the stowage at the back of the other two tanks. The Armourfast Cromwell is slightly wider and taller than the Revell Kits but not enough that makes them incompatible. Oh one thing about this Black Dog turret is that they put the turret MG on the wrong side. So i had to switcheroo the main gun and the MG so it matched all my other Cromwells.

Other stowage is from all sorts of places including Value Gear and Sgts Mess. The Revell decals are excellent. You have to paint in white the little circle in the rooftop Allied star. You also get the option for the hedge cutters at the front of the tank. I read somewhere that Cromwells didn’t actually use these, but who cares i think they look cool. I will be adding some AB Figures tank crew, who are in the painting queue, in due course.

I had a lot of fun with these kits. If you need Cromwells get some Revells!

“Small-Scale Armour Modelling” by Alex Clark Osprey Publishing

15027937464255623314

Another great little purchase i found at Book Depository for a crazy price delivered to my door step! Books in Australia are little on the pricey side so i am amazed at the low cost of on line books that are shipped for free to the Southern hemisphere. I think most of the time i enjoy the building, modelling and painting parts of our hobby more than any of the playing. But then i guess some of the time my opinion changes. This book definitely inspires me in the building and modelling section, and will do the same for you too.

Alex Clark is a very talented and skillful model maker and he does his best in the book to pass some of his knowledge onto the rest of us to help us improve and learn in our own missions, whatever they may be. The first thing that caught my eye is the awesome number of brilliant models illustrated throughout the book. There are also many excellent photos detailing all the tips and tricks that Alex writes about. Aimed totally at modellers in 1/72 or 20mm scale this was perfect for me. Everything is covered from building, converting, and detailing all the way through to painting, weathering, finishing and basing. So whether you are making models for wargaming, display or just for fun there will be something in here for you. Definitely inspiring stuff and a volume that you will go back to again and again. Some of Alex’s finished models are so good you will be surprised they are not bigger than 1/72 scale. I would highly recommend anyone with an interest in World War Two or later vehicles to pick a copy up!


Dragon Churchill Mk.IV NA75

Image result for dragon na75 1/72

This classic British tank was on sale at BNA Model World for $12.50 a few months back so could not resist but pick up a couple of them. That’s just too good a bargain to pass up for a couple of Dragon kits. I needed some more Churchills to add to my Plastic Soldier Company versions and make up a full troop. Now i have four including the large calibre AVRE for support.

These are excellent kits and pretty easy to put together compared to some Dragon kits which can be fiddly. The best thing about them is the running gear which comes in a few pieces for each side but with the wheels already connected in two halves. So you don’t spend hours making and gluing individual wheels and then trying to align them. As we all know the Churchill has as many wheels as a centipede has legs. Well nearly as many. The detail is better and more delicate than the PSC Churchills. You can model the hatches open or closed, which allows you to add some tank crew. In my case i added a couple of excellent fellow from AB Figures, one relaxing against his hatch, the other carrying some kind of map case ready to get on the CB radio.

The only real problem i faced with this kit (both times i made it) was trying to get the upper hull to fit on the bottom hull straight at the back. Either side at the back remained at a funny angle. Not the end of the world and i probably need to get some clamps or something to keep it glued in place for longer. You get some decals with the kit but i used some other PSC decals i had. This gives me plenty of Churchills now. The only ones i had as a kid were from Airfix, and these Dragon models are certainly a great improvement on them. There is an Esci model Churchill out there which i will try and get my hands on too sometime.

Trumpeter Sturmtiger (Late) 1/72 Scale

My last slightly obscure German vehicle I had in my pile of kits came out and was built this last week. The Sturmtiger was a support tank based on the Tiger chassis. Its not a vehicle I would get to use a lot but a lot of fun to have and build anyway. Trumpeter kits are excellent and this one did not disappoint.

Its a very easy kit to build as its mainly a box on a chassis with quite simple running gear. So it didn’t take too long to build. Everything fits together nicely as usual with Trumpeter. The instructions for the gun were a bit vague in parts and then didn’t match the picture on the front of the box. This was confusing. The picture on the box also misses off the MG gun in the hull which is weird. I had to consult some internet pictures and places to try and work out the main gun. I still think I got it a bit wrong, but the box art has missed a bit off totally (its the part that goes around the end of the main gun).

I realise after painting that I am not that happy with this Tiger’s paint job. My camo scheme went a bit screwy and needs more contrast. Also I added too much sand and dirt and it all came out looking a bit the same. I need to cut back on the dirt as with a Dunkelb yellow vehicle you need some contrast otherwise it all just looks a bit boring. The tracks would have looked better left the rusty colour I did prior to all the muck. Also this tank is very boxy and doesn’t have a huge amount of surface detail so I needed to spend more time picking out details with dark washes. Next time I will do a better job! I should also glue down bits of the top of the tracks to signify their weight.

For some reason there are no decals supplied. Not sure why, so you will need to dig up some spares.

Overall this is another wicked little kit from Trumpeter, not sure if anyone else actually makes a 1/72 scale Sturmtiger, but if you want one look no further!

Image result for trumpeter sturmtigeer