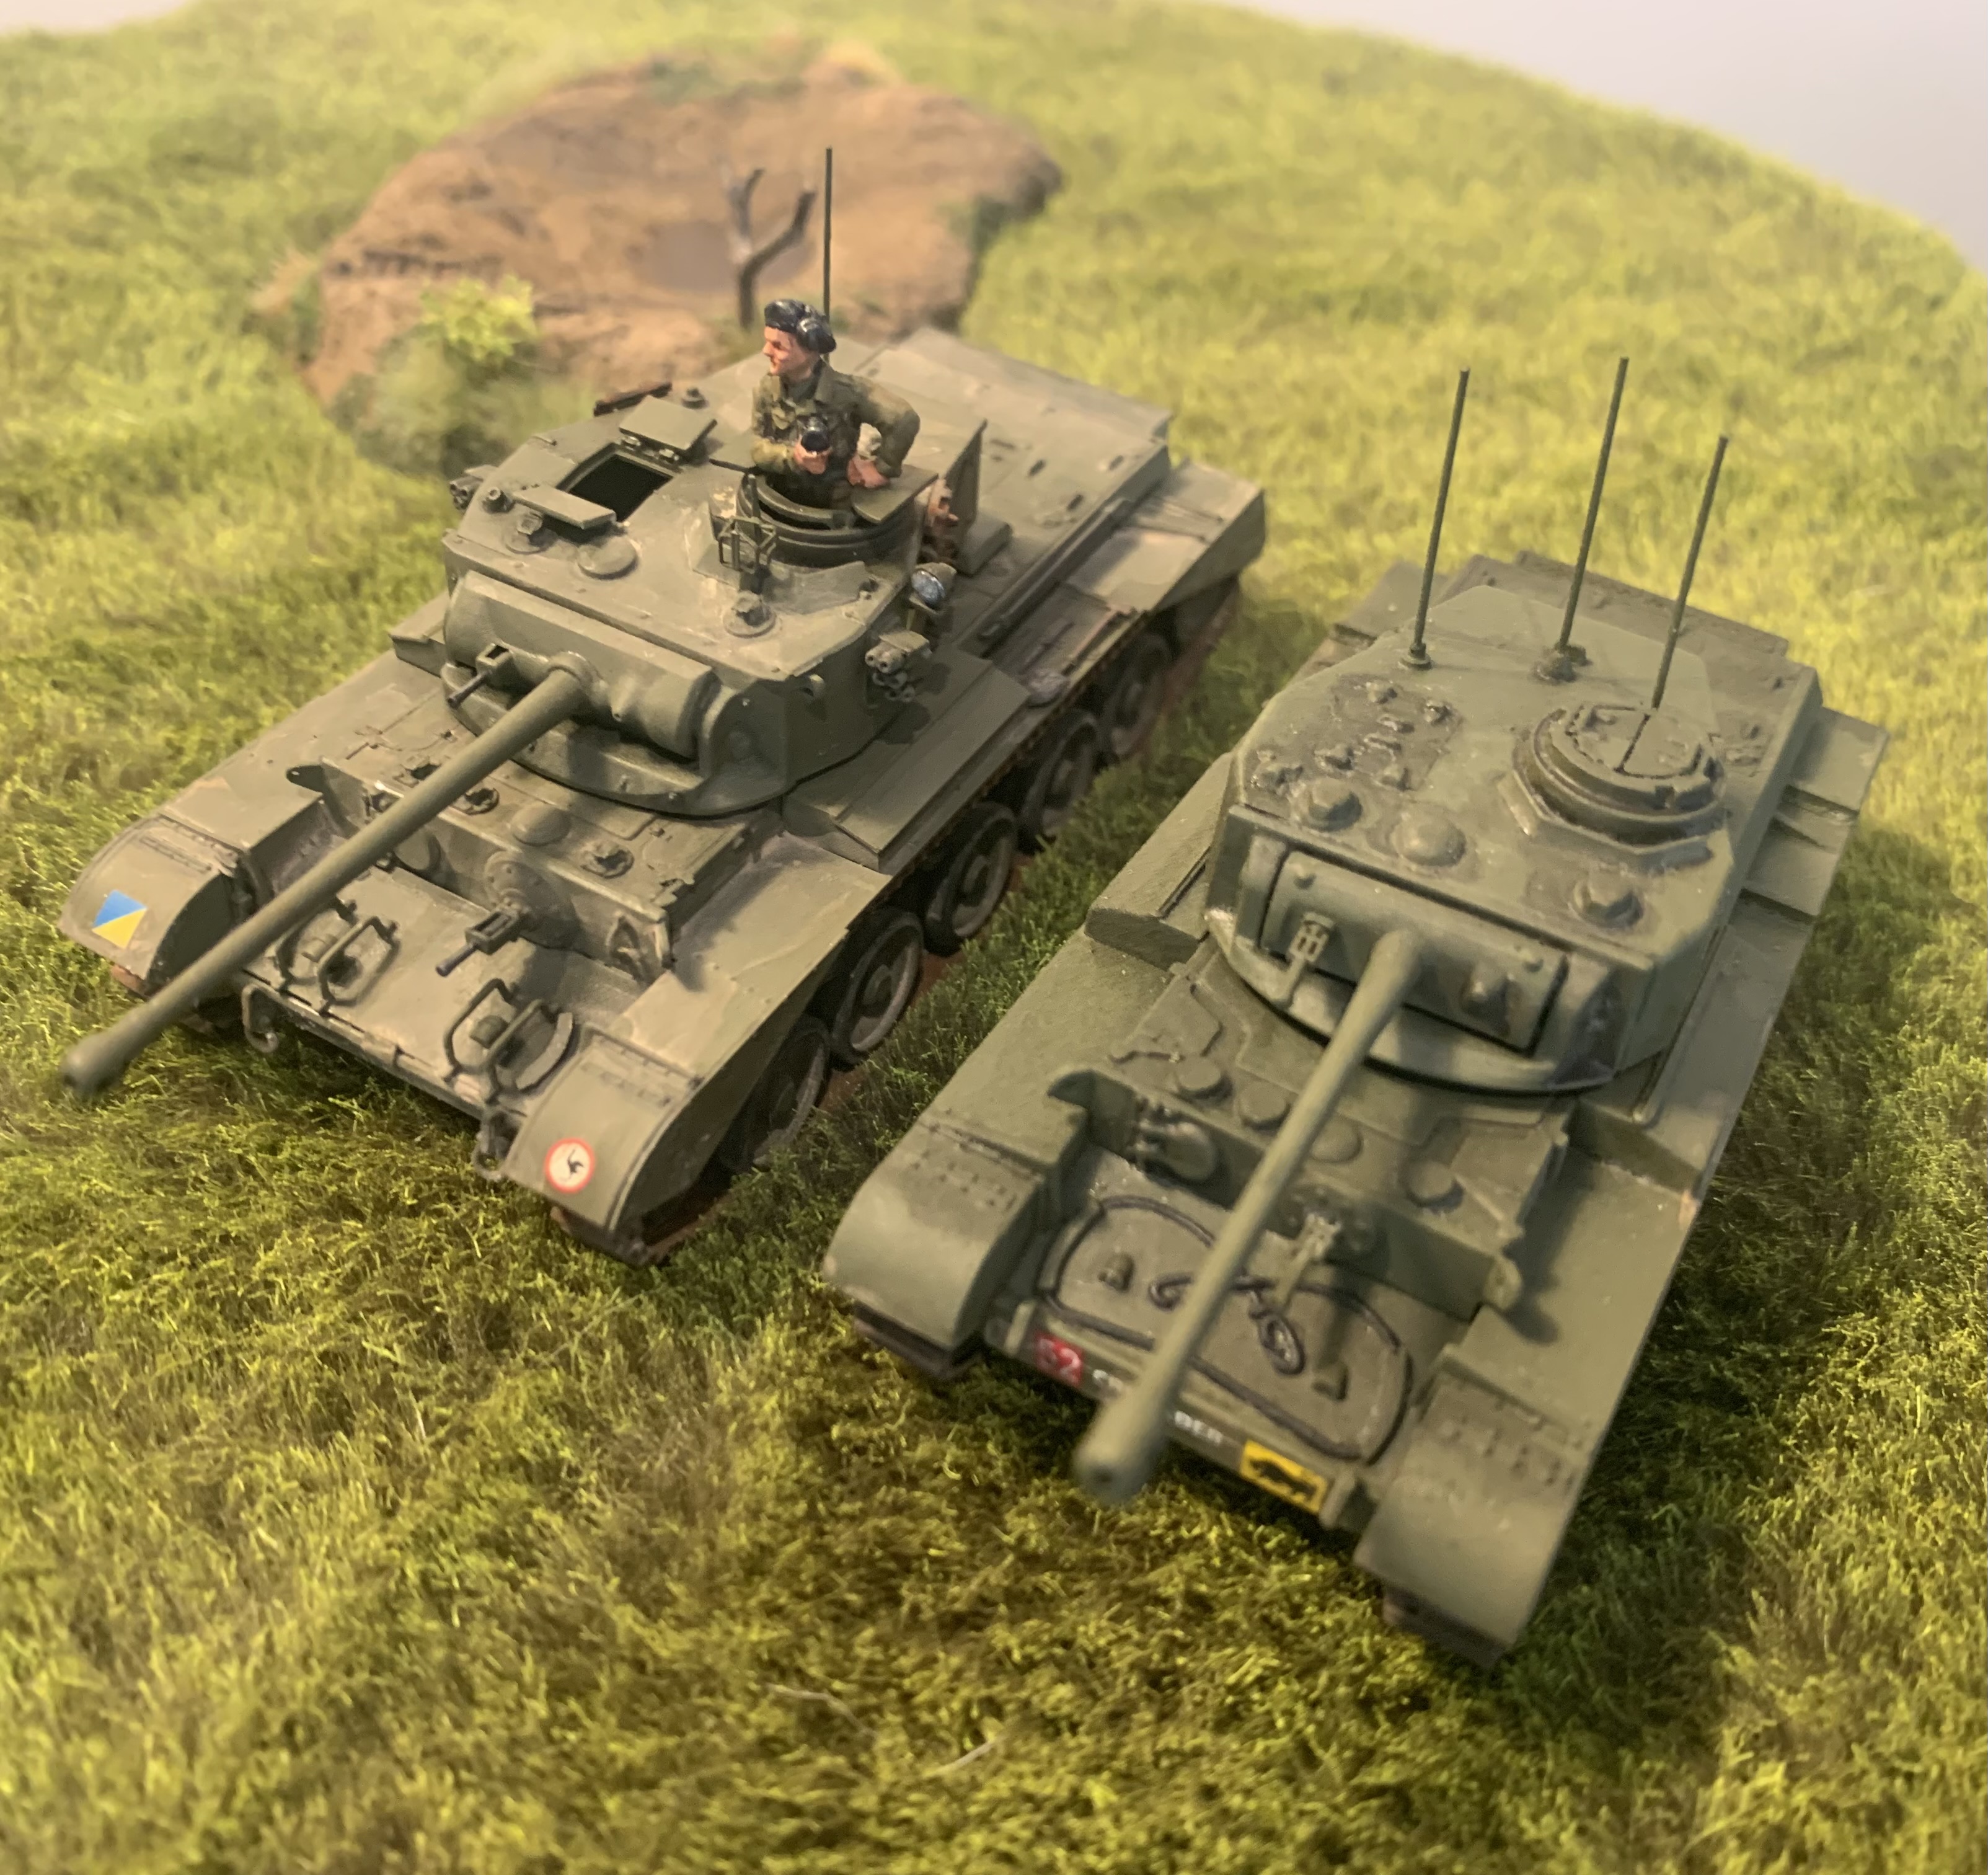
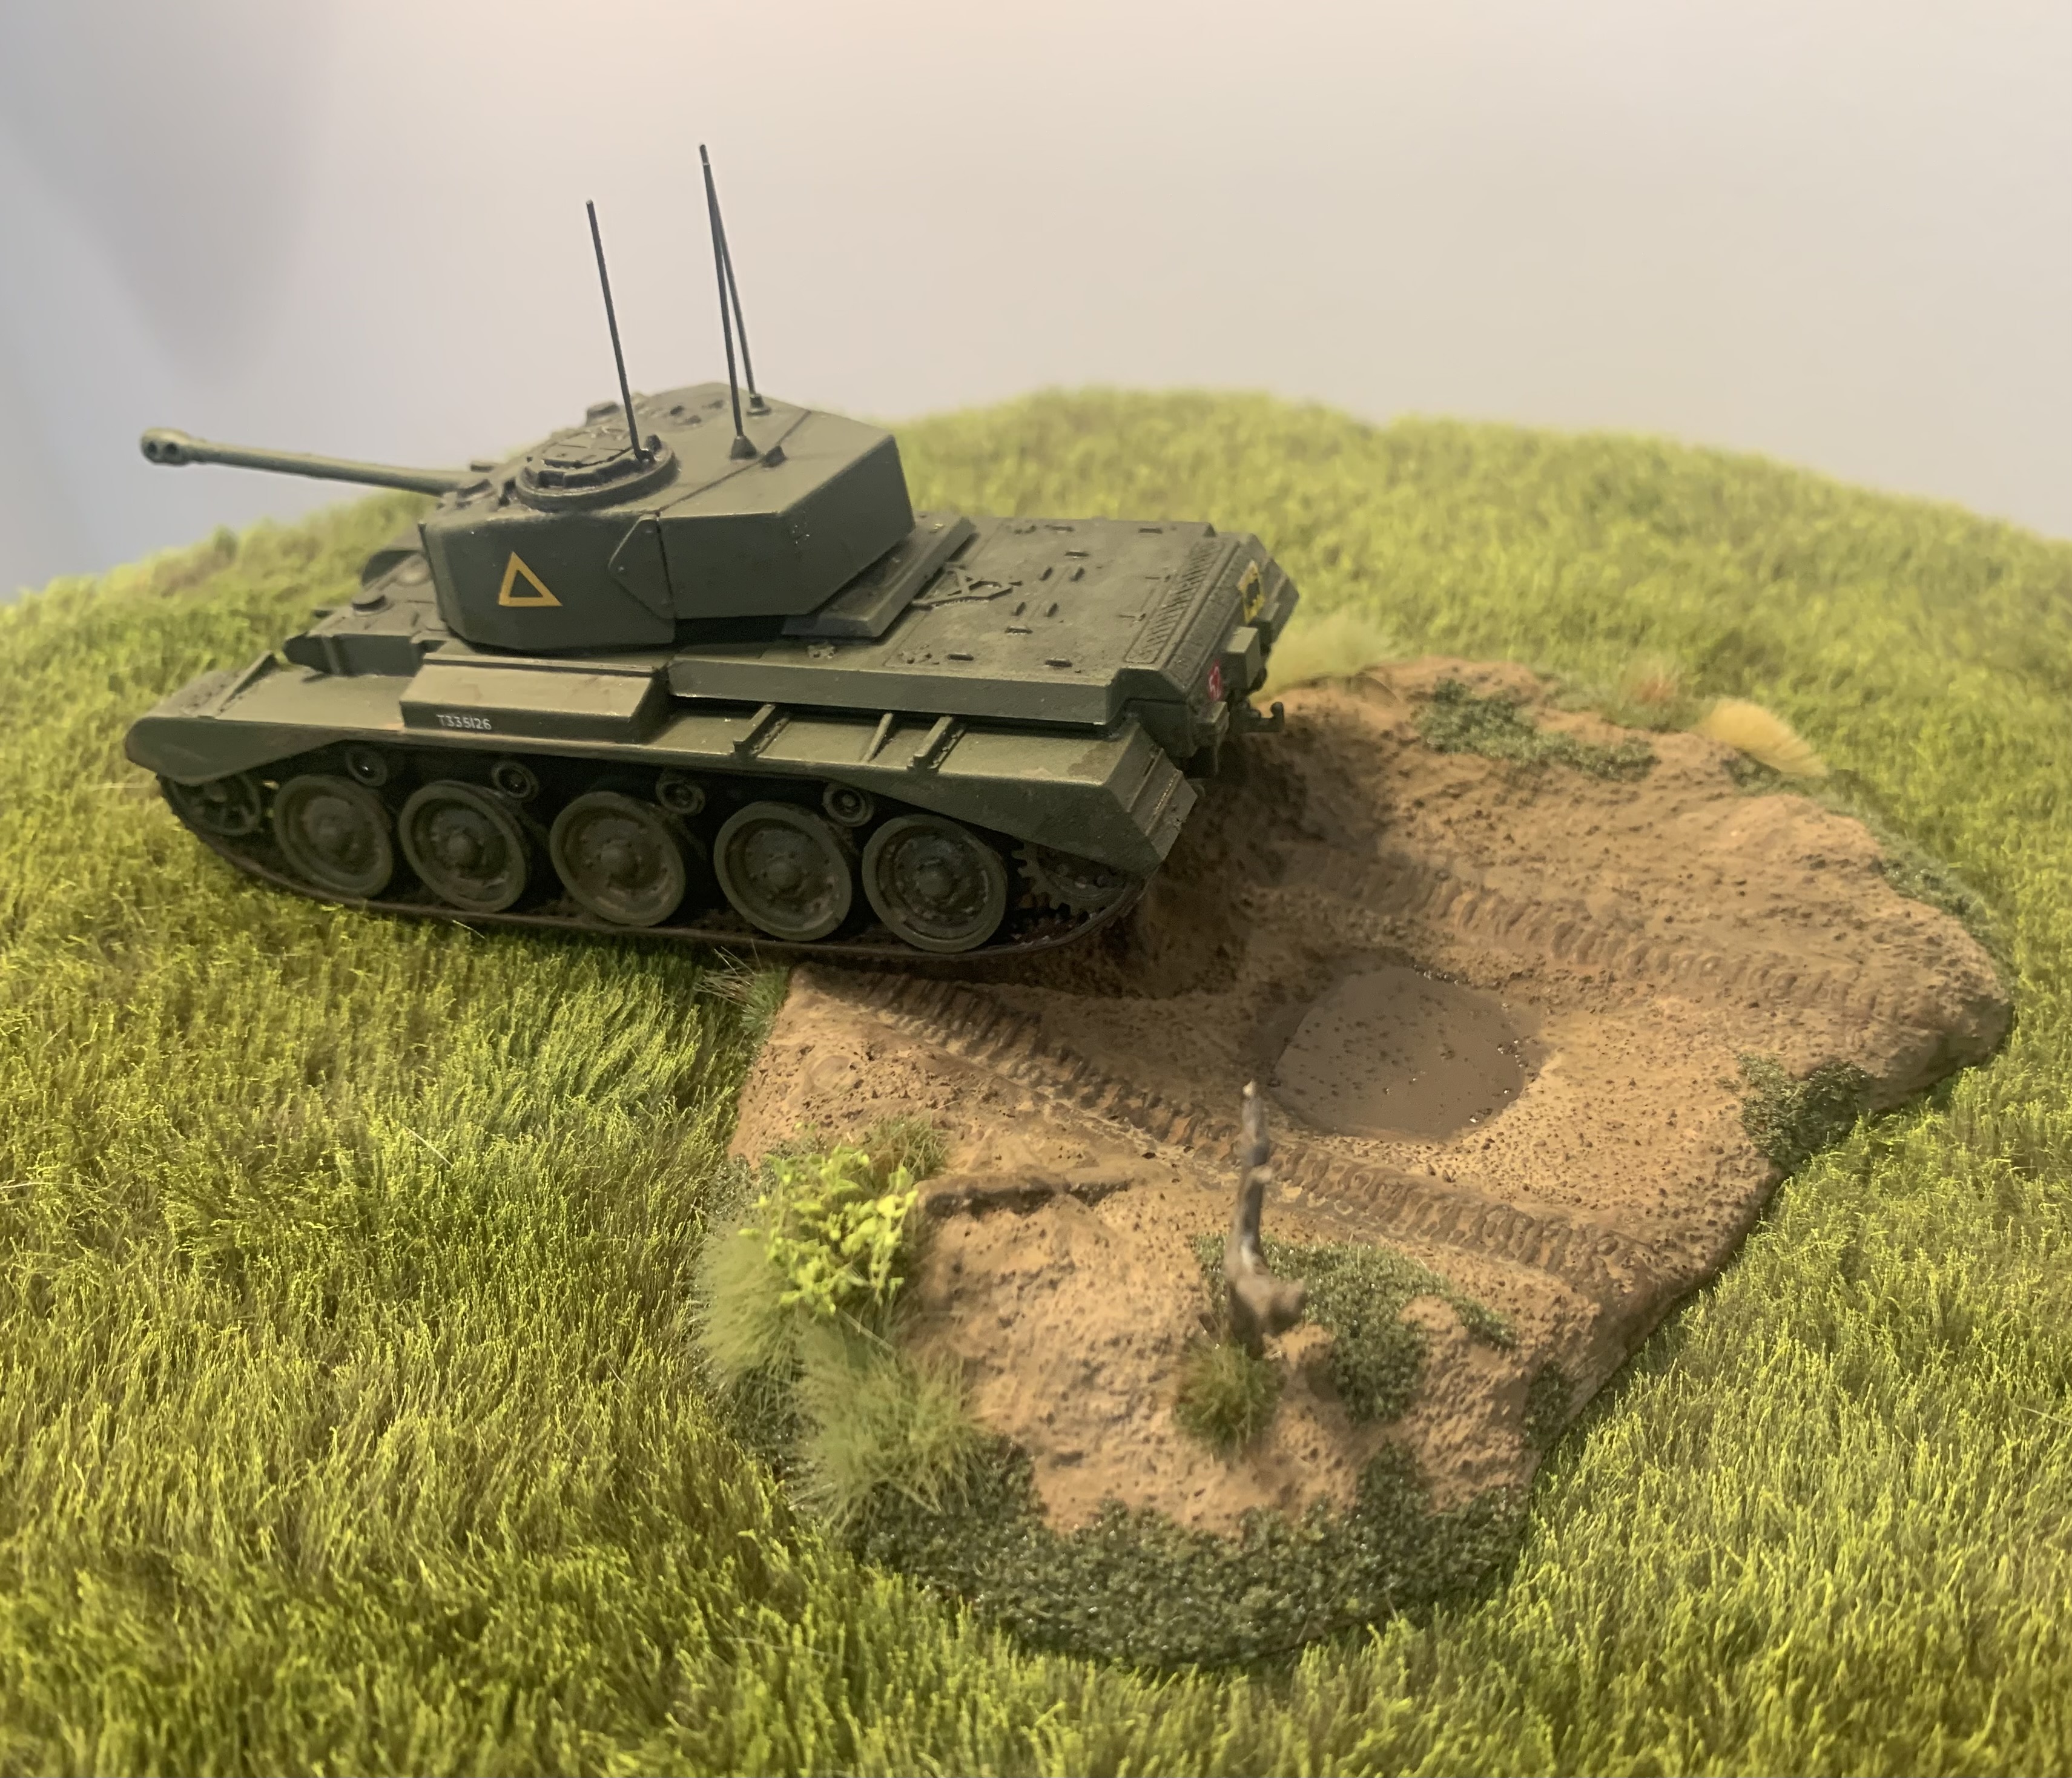
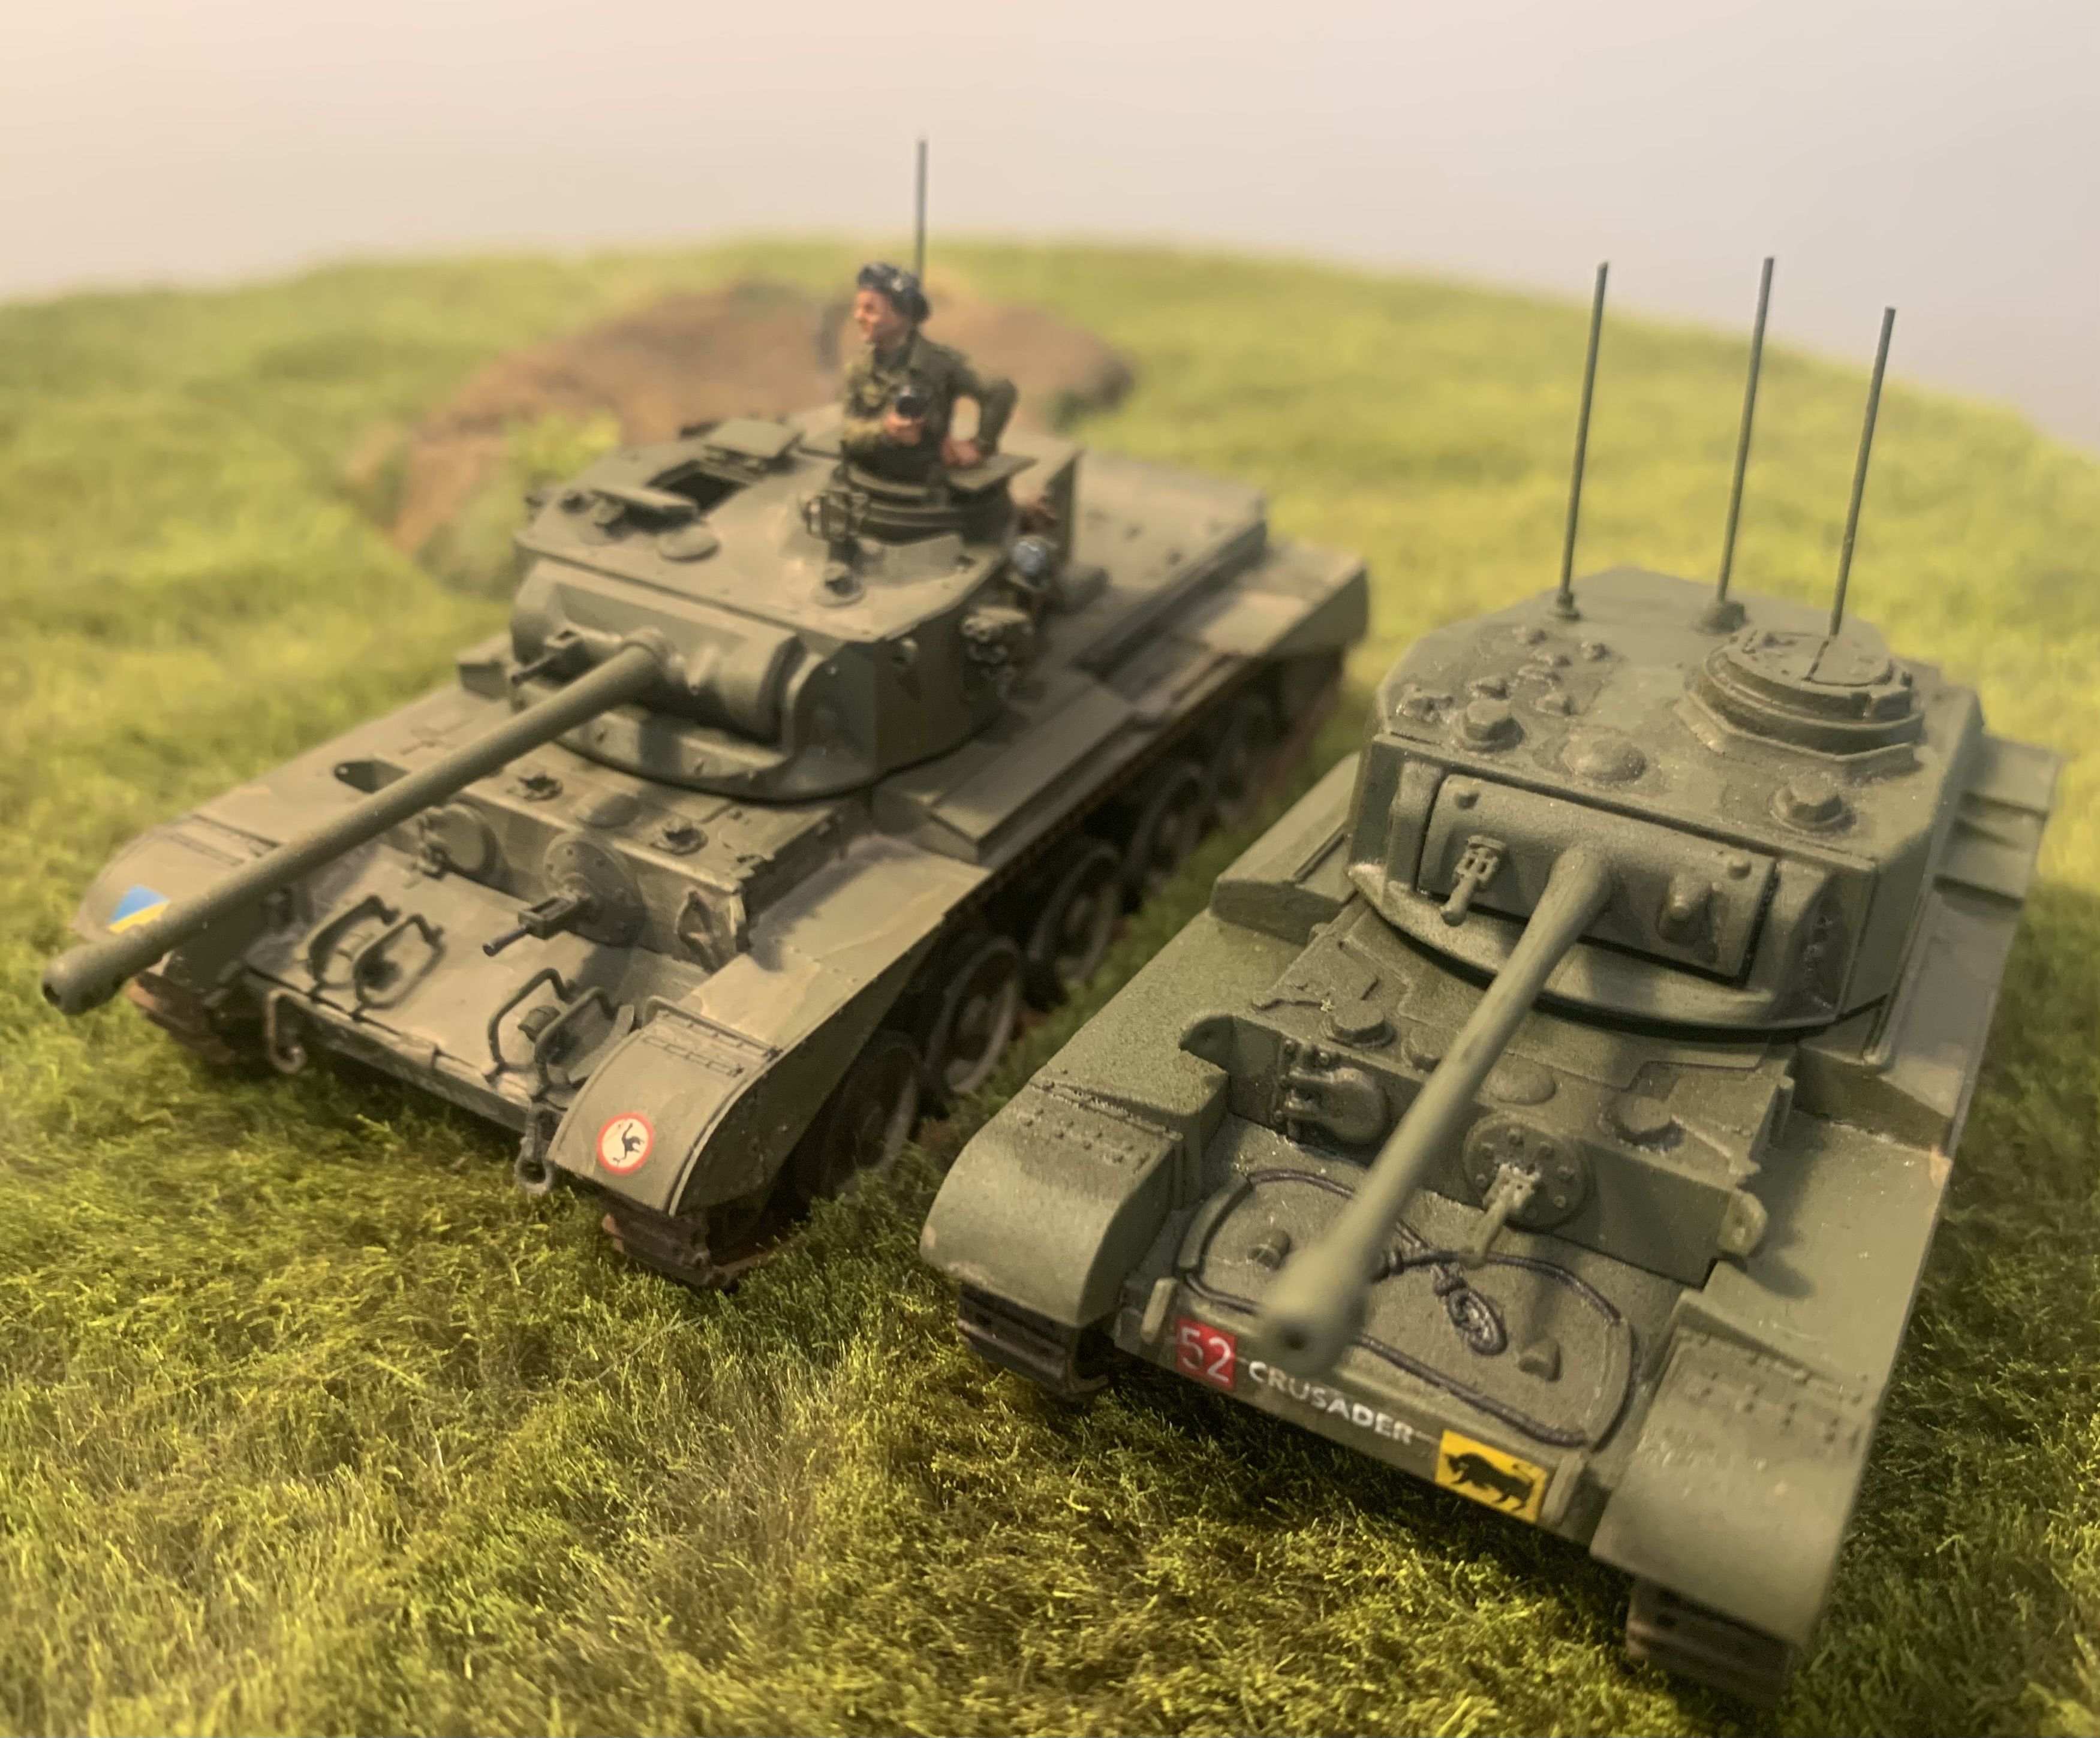
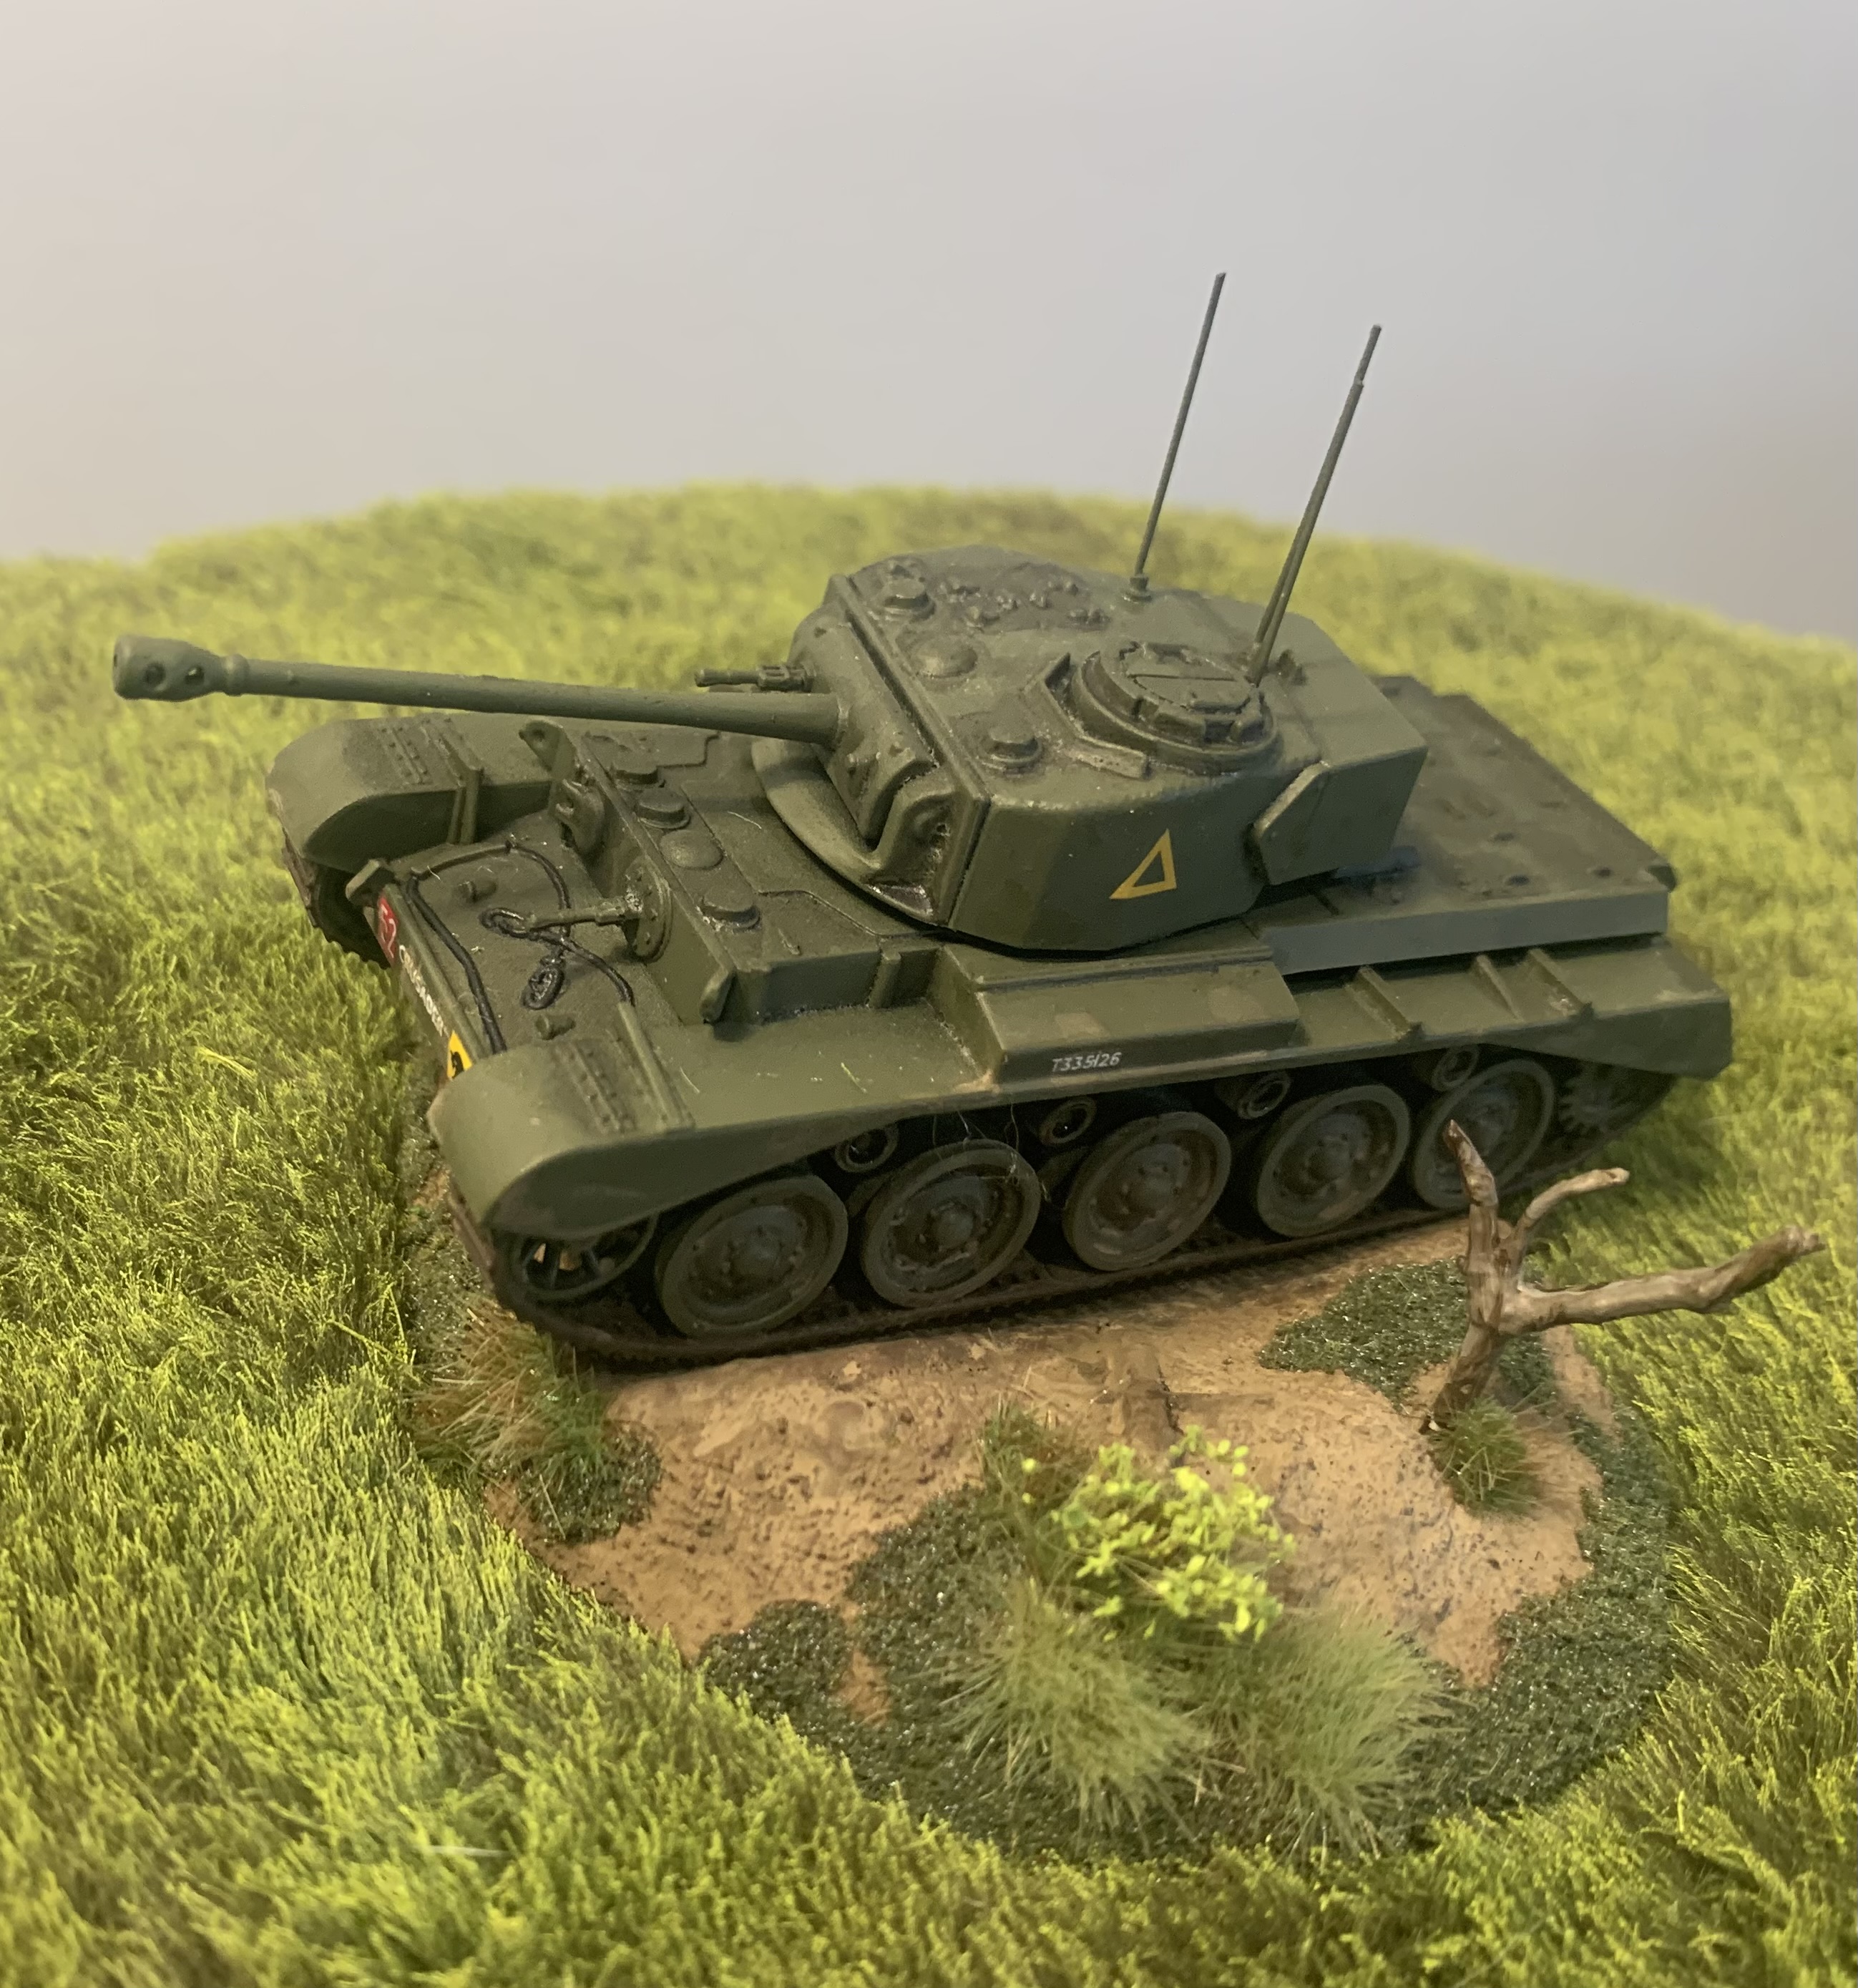
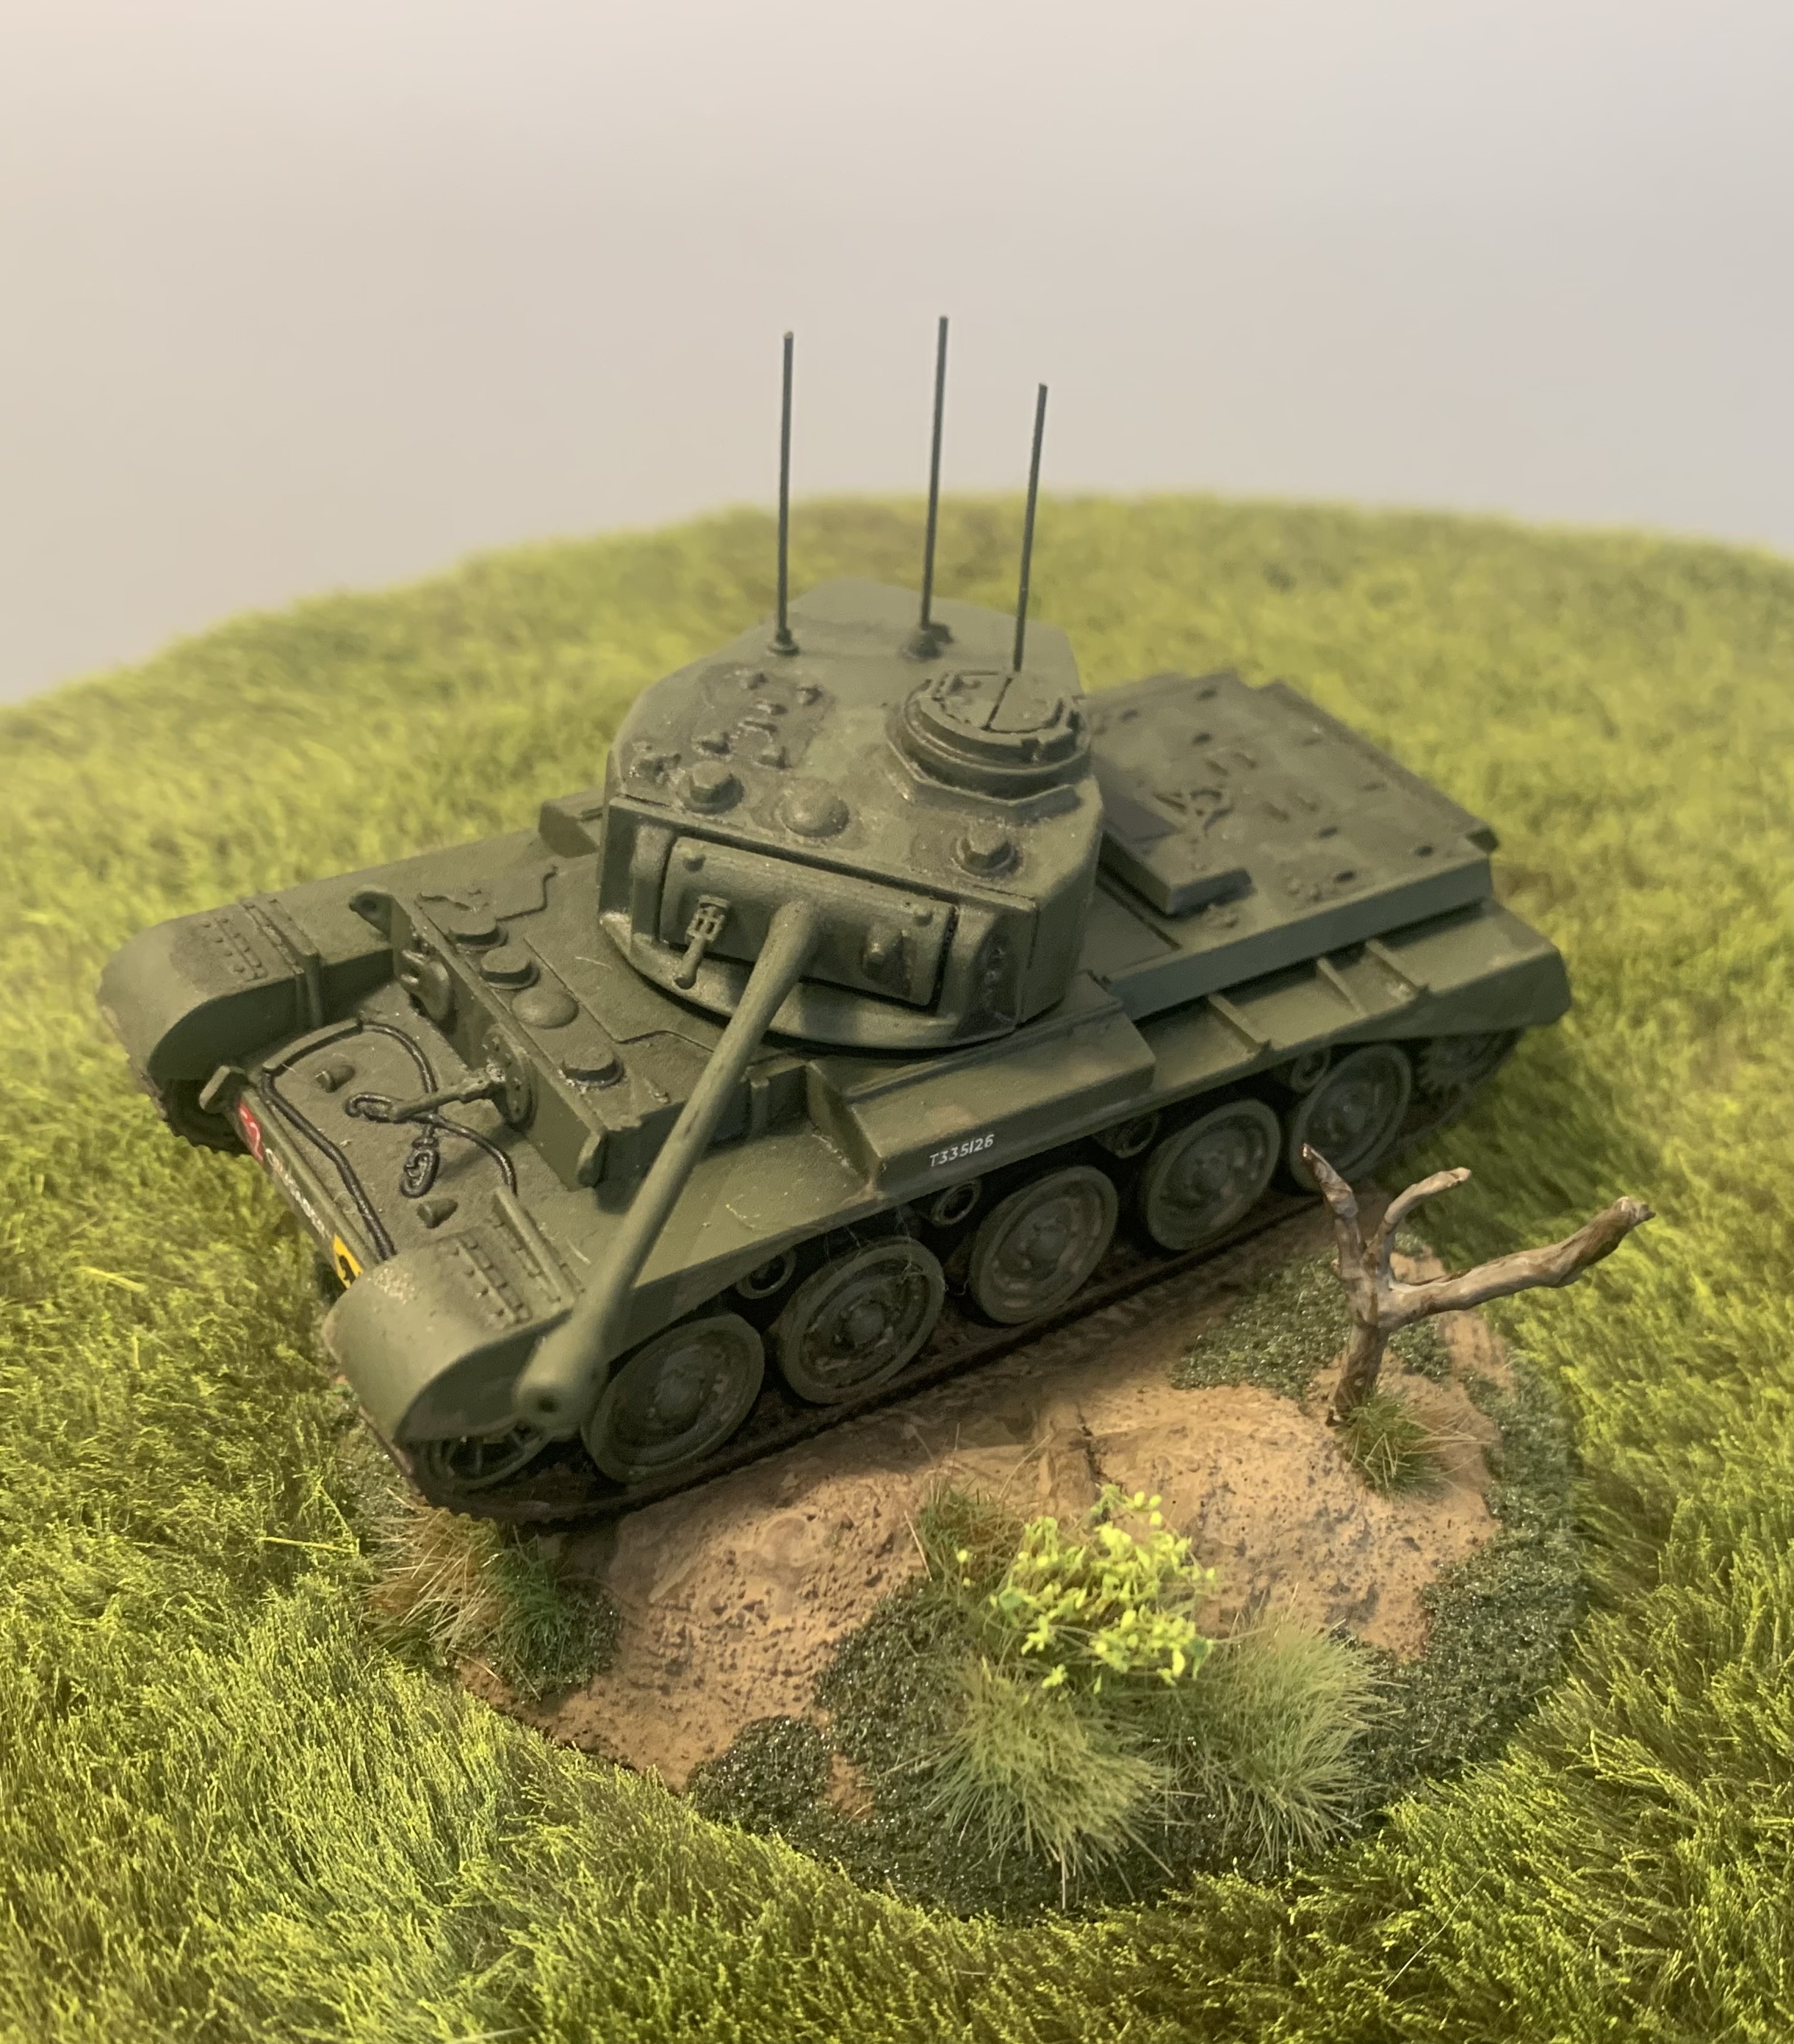
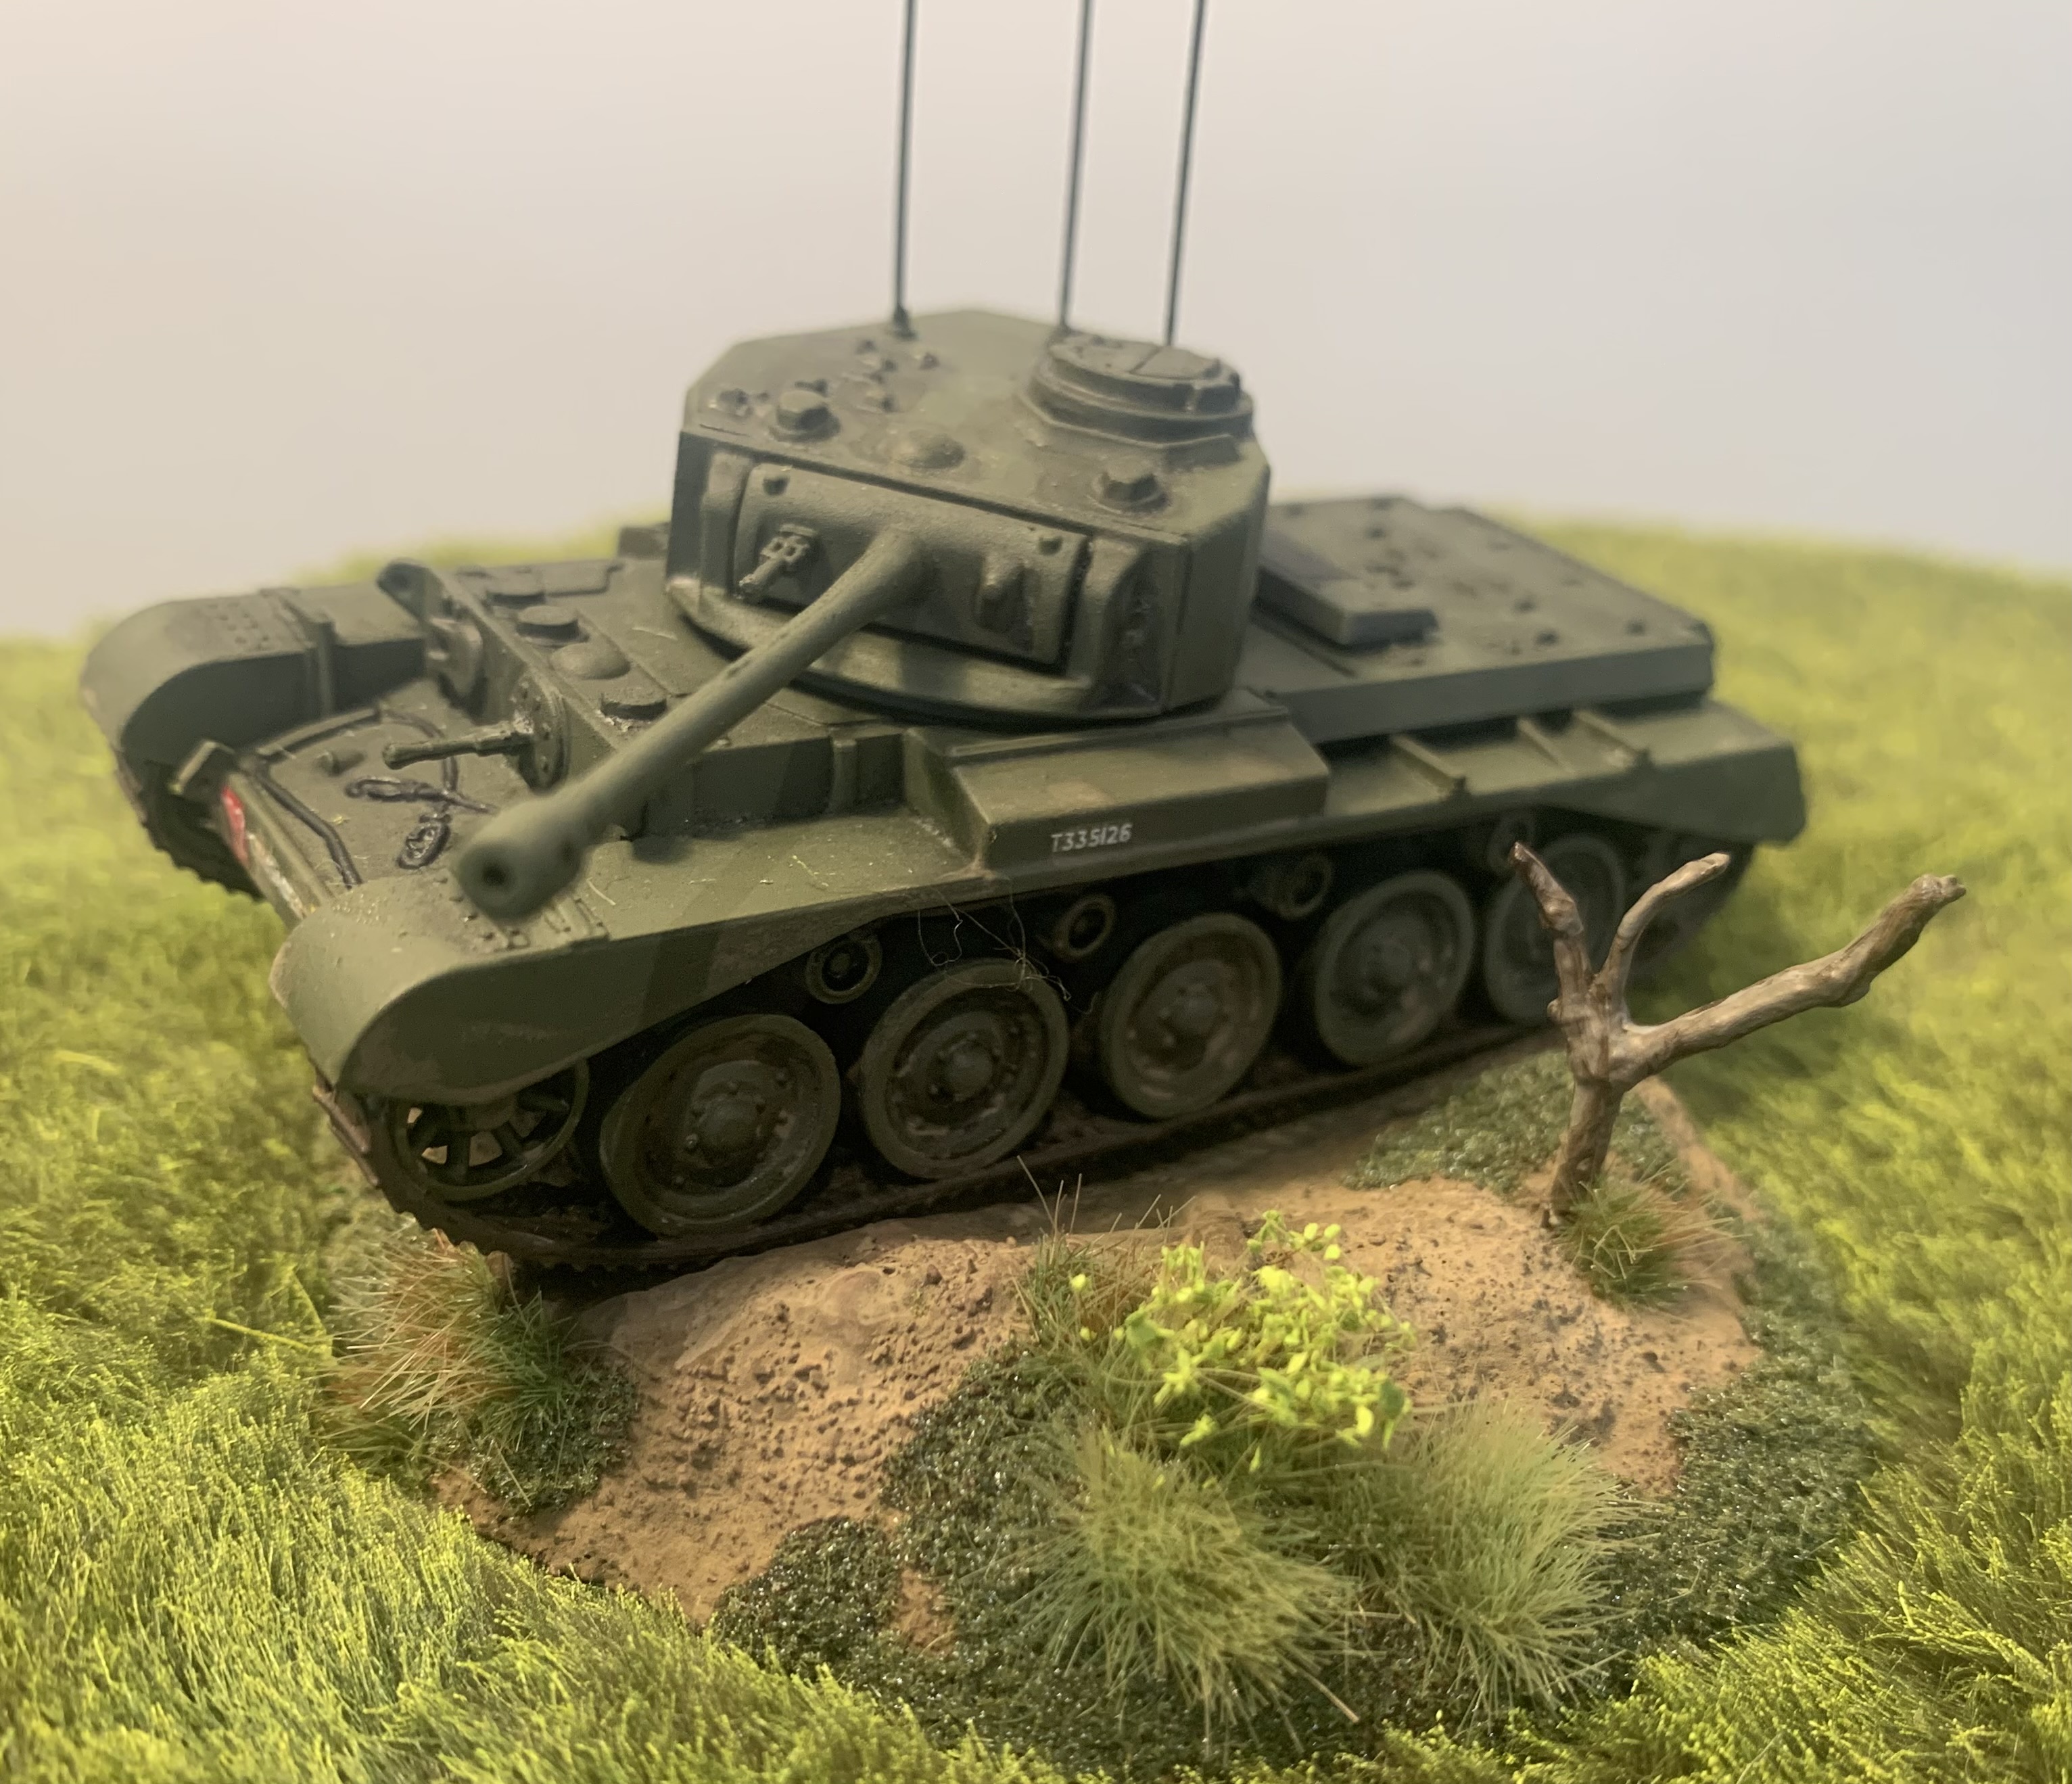
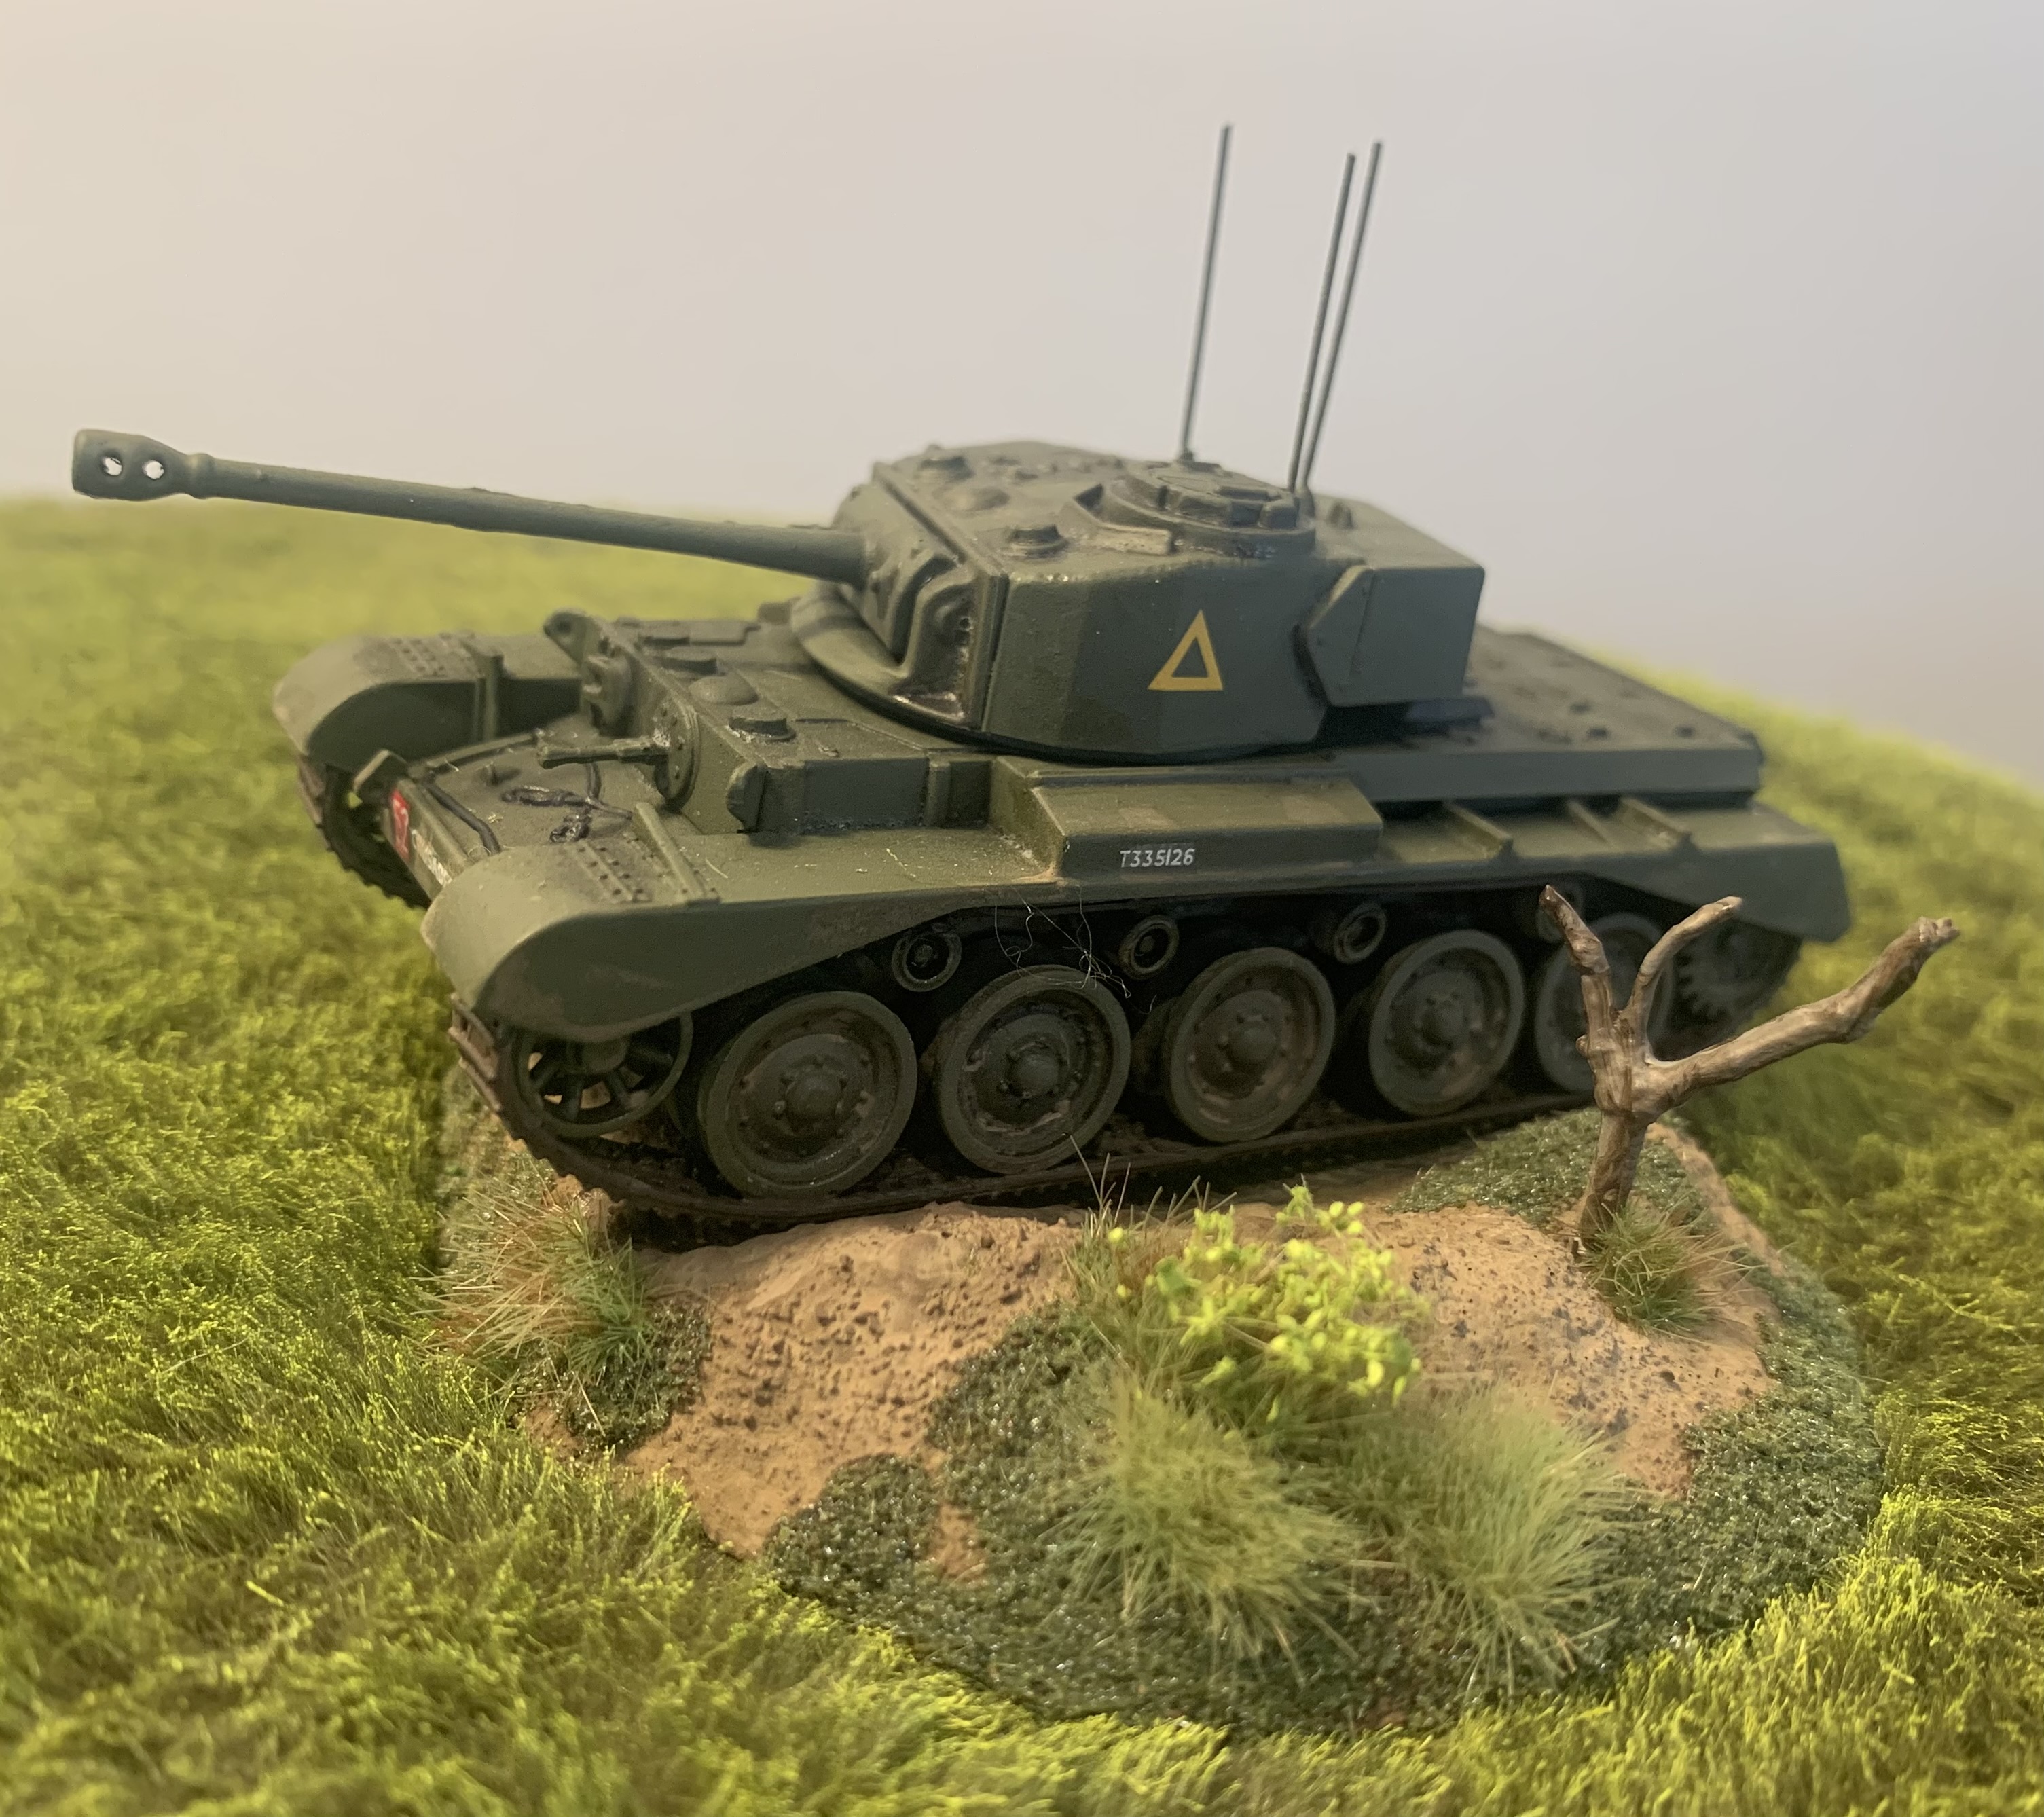
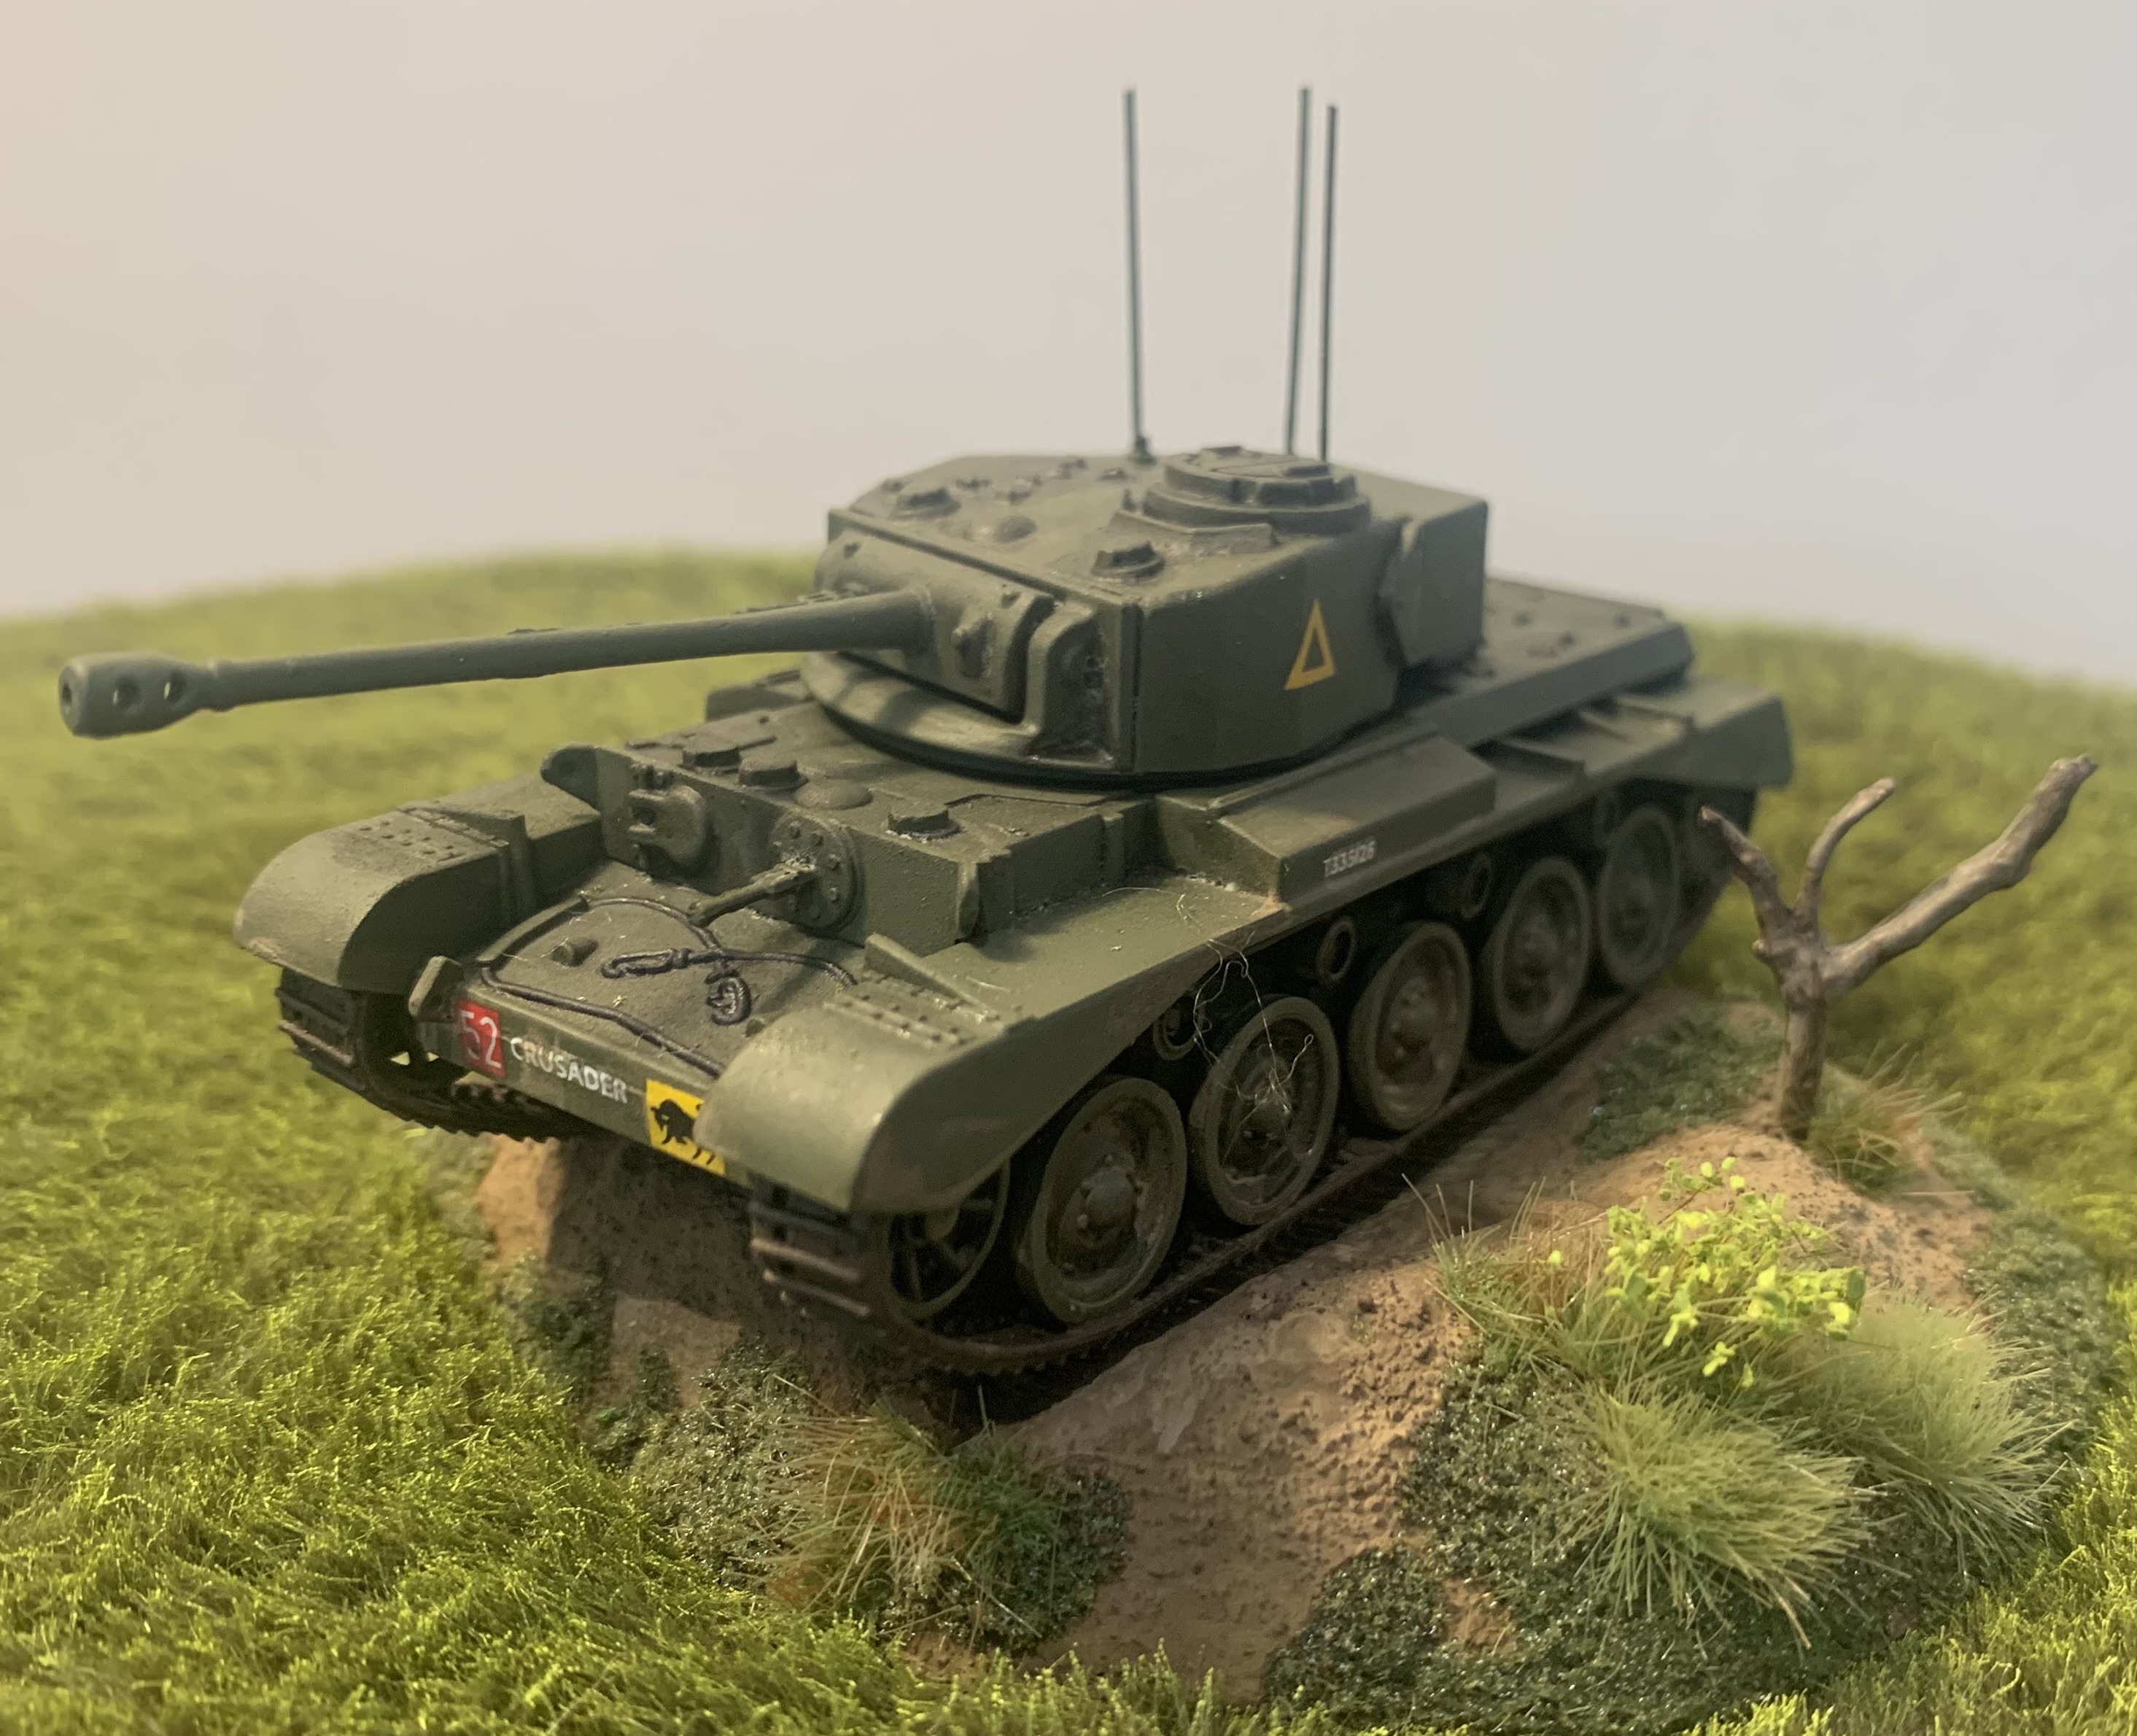
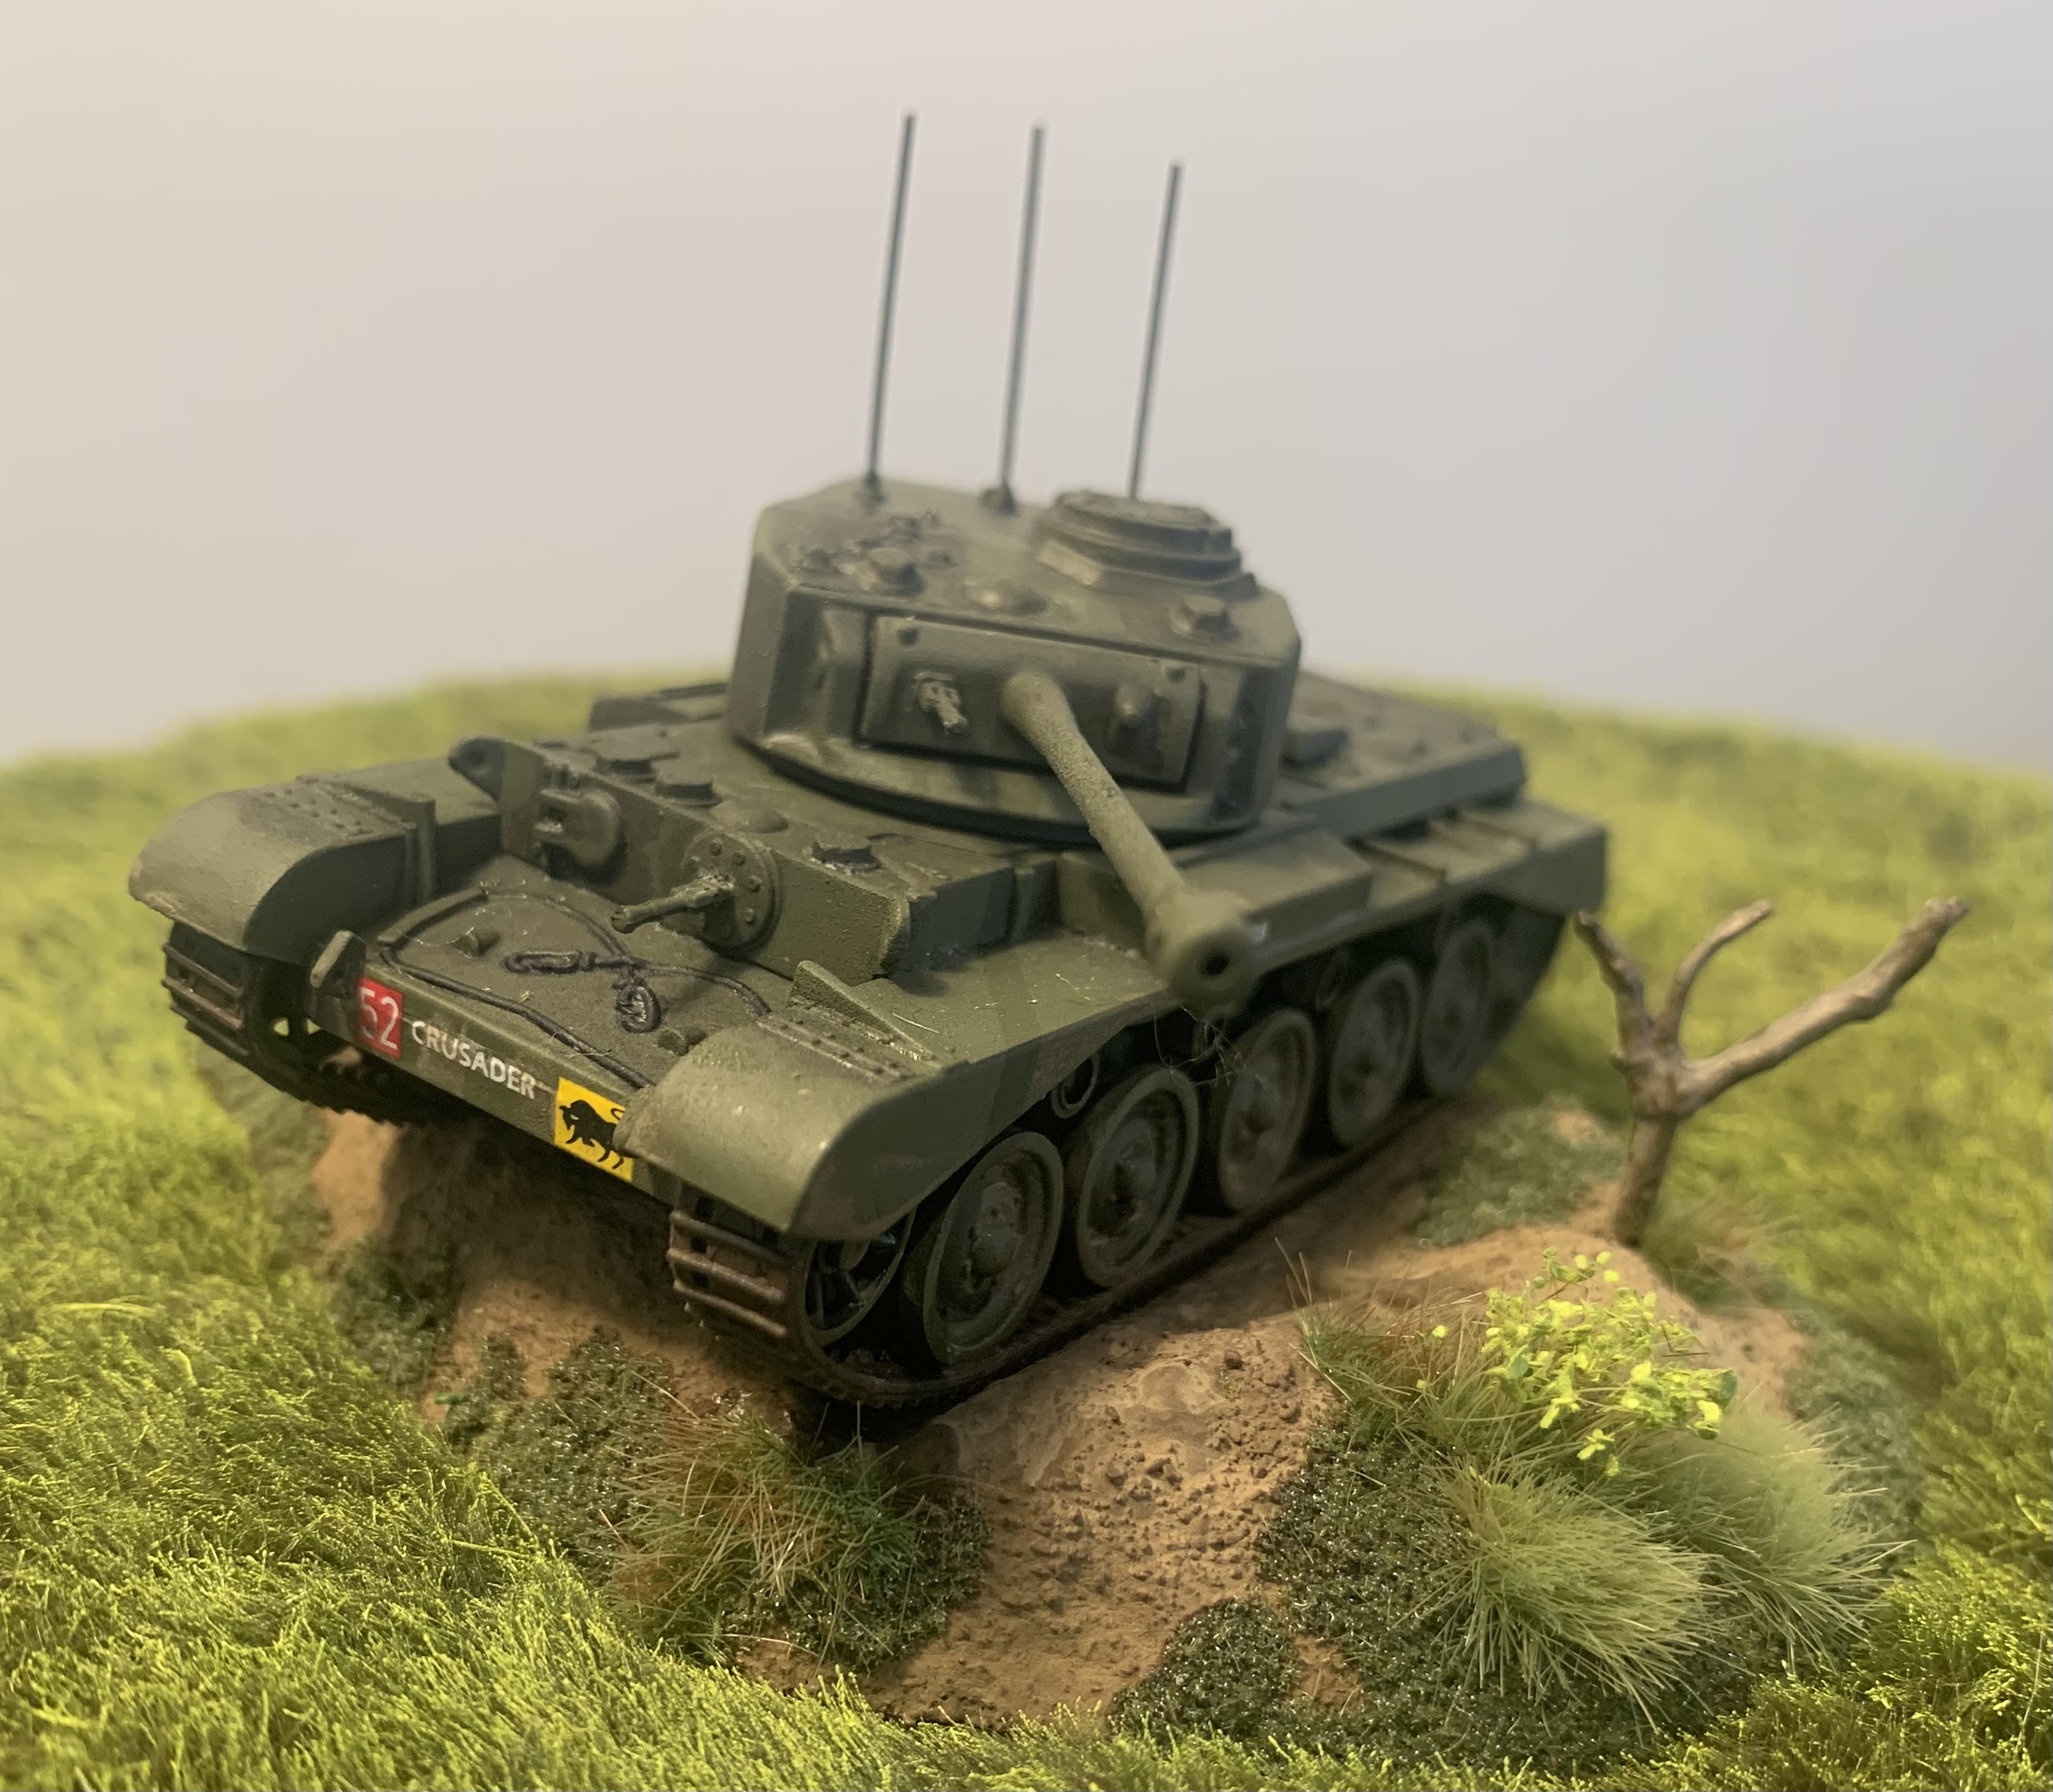
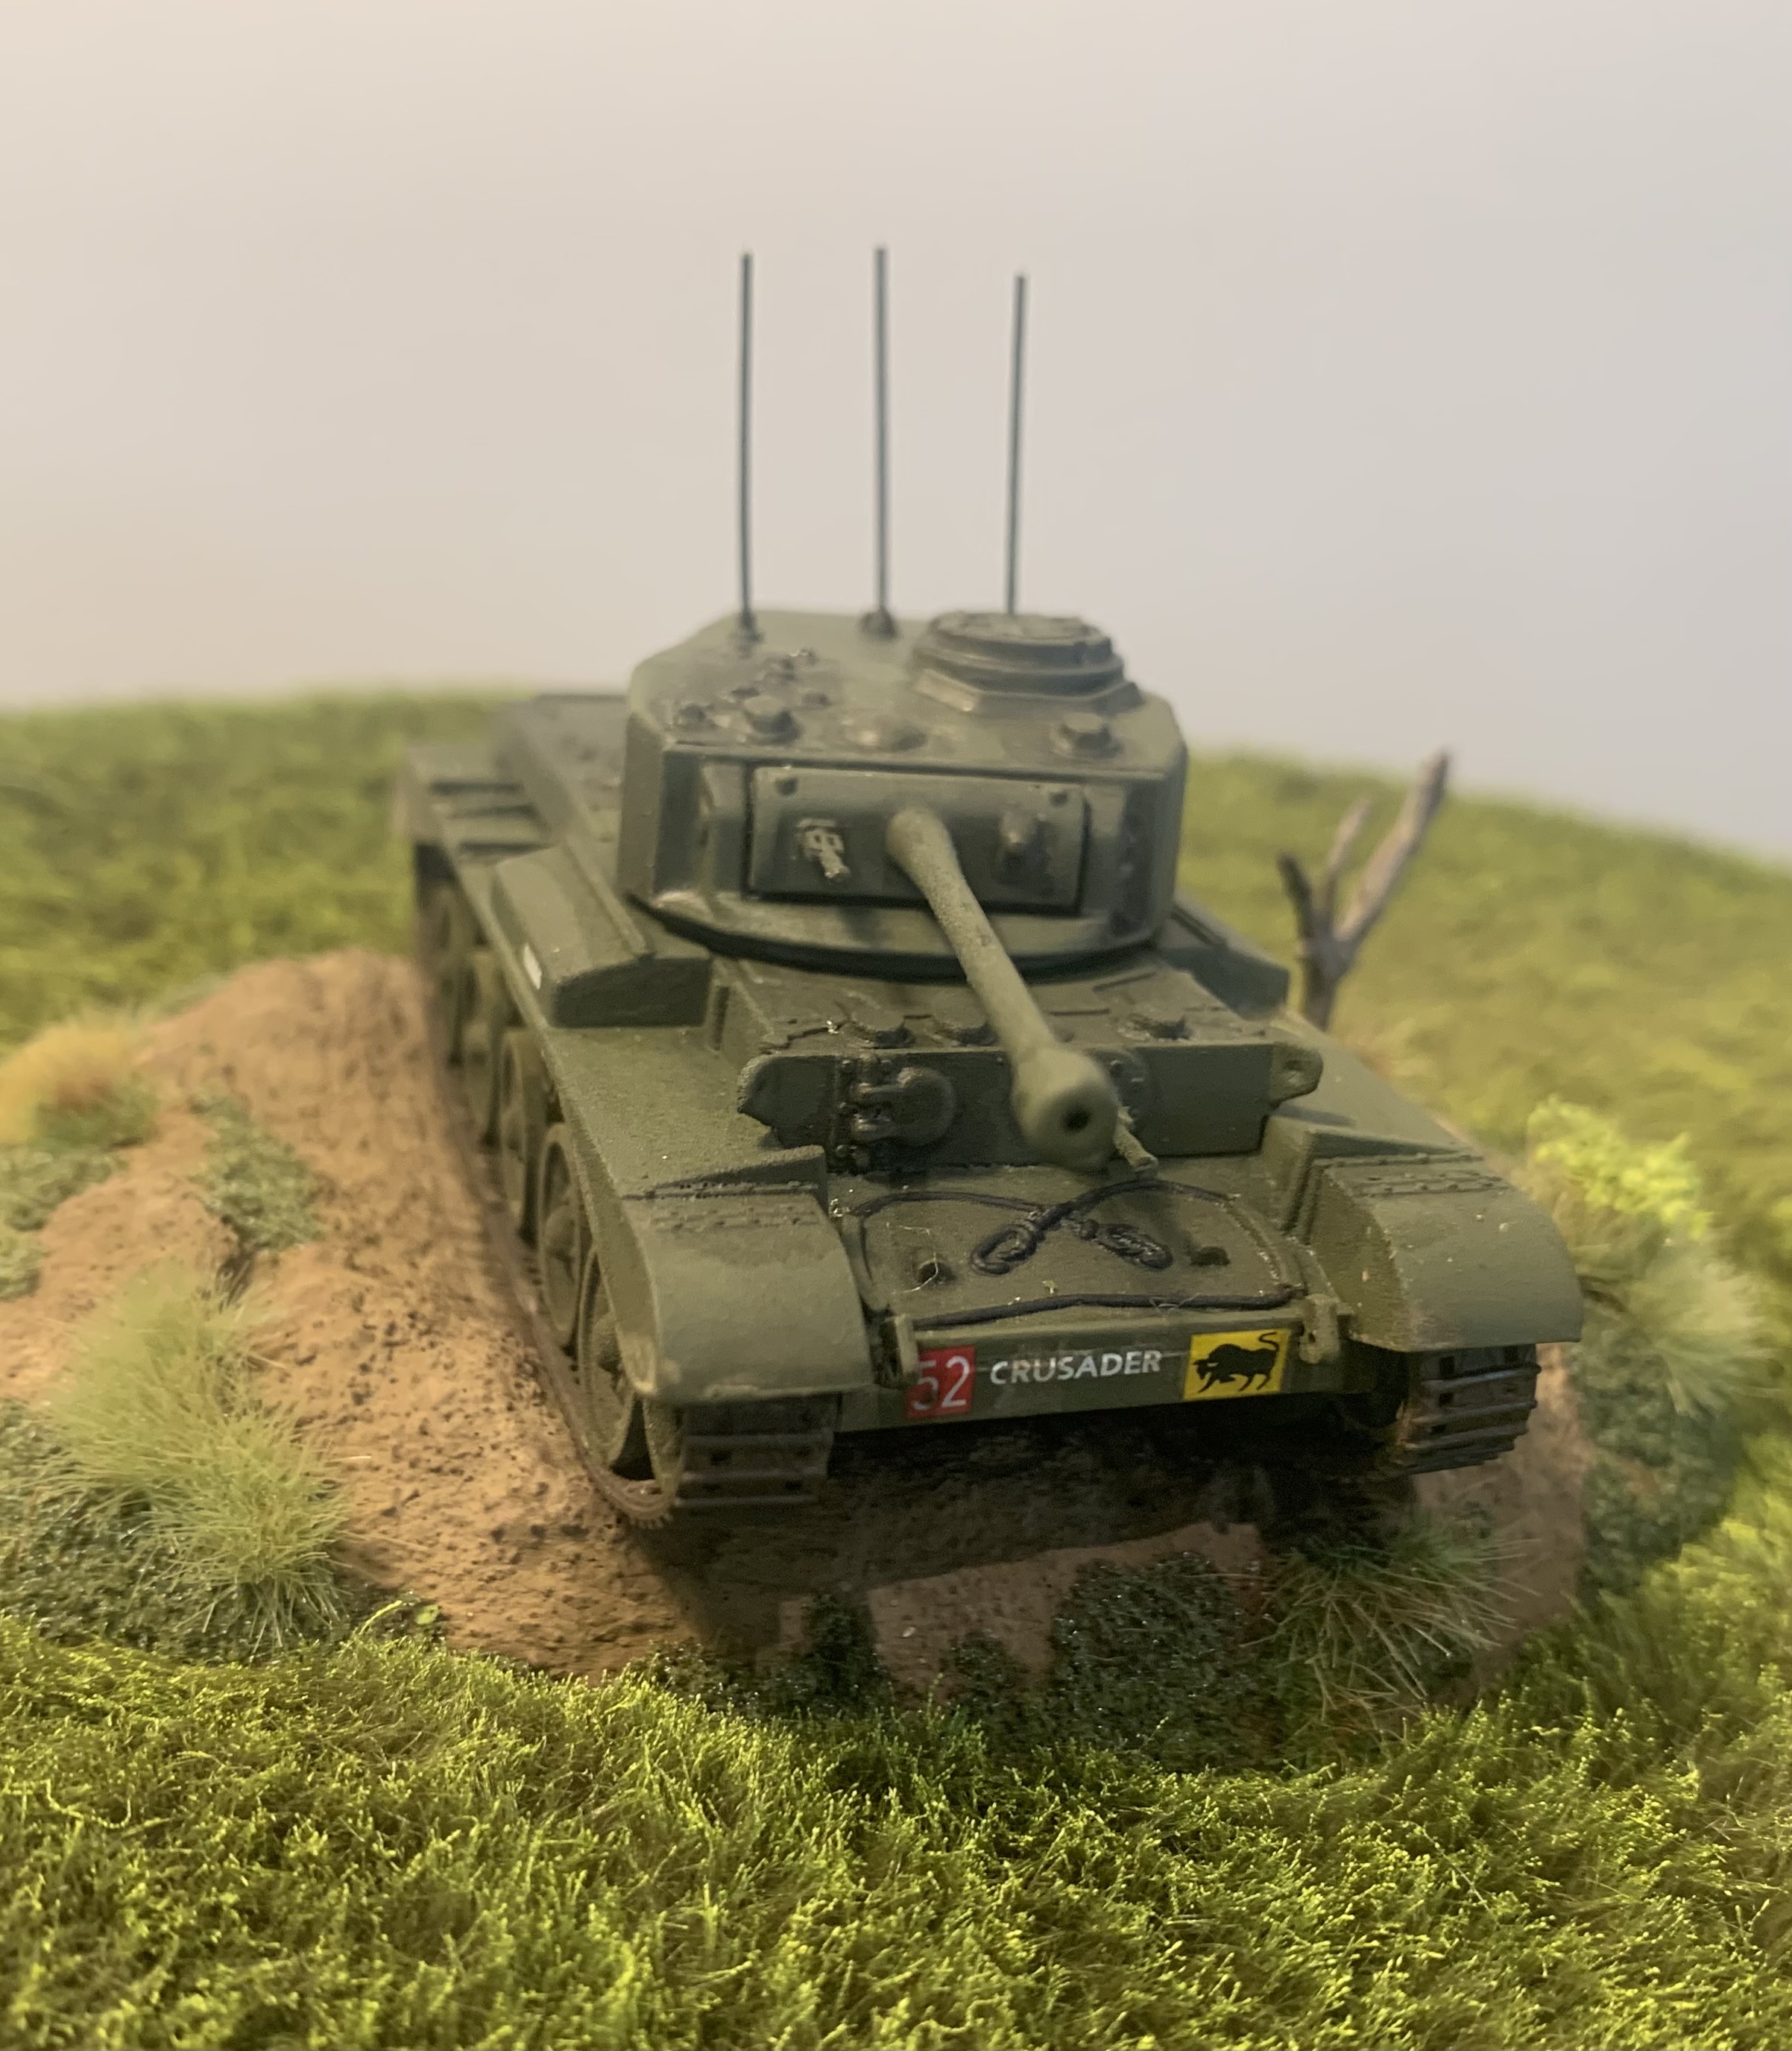
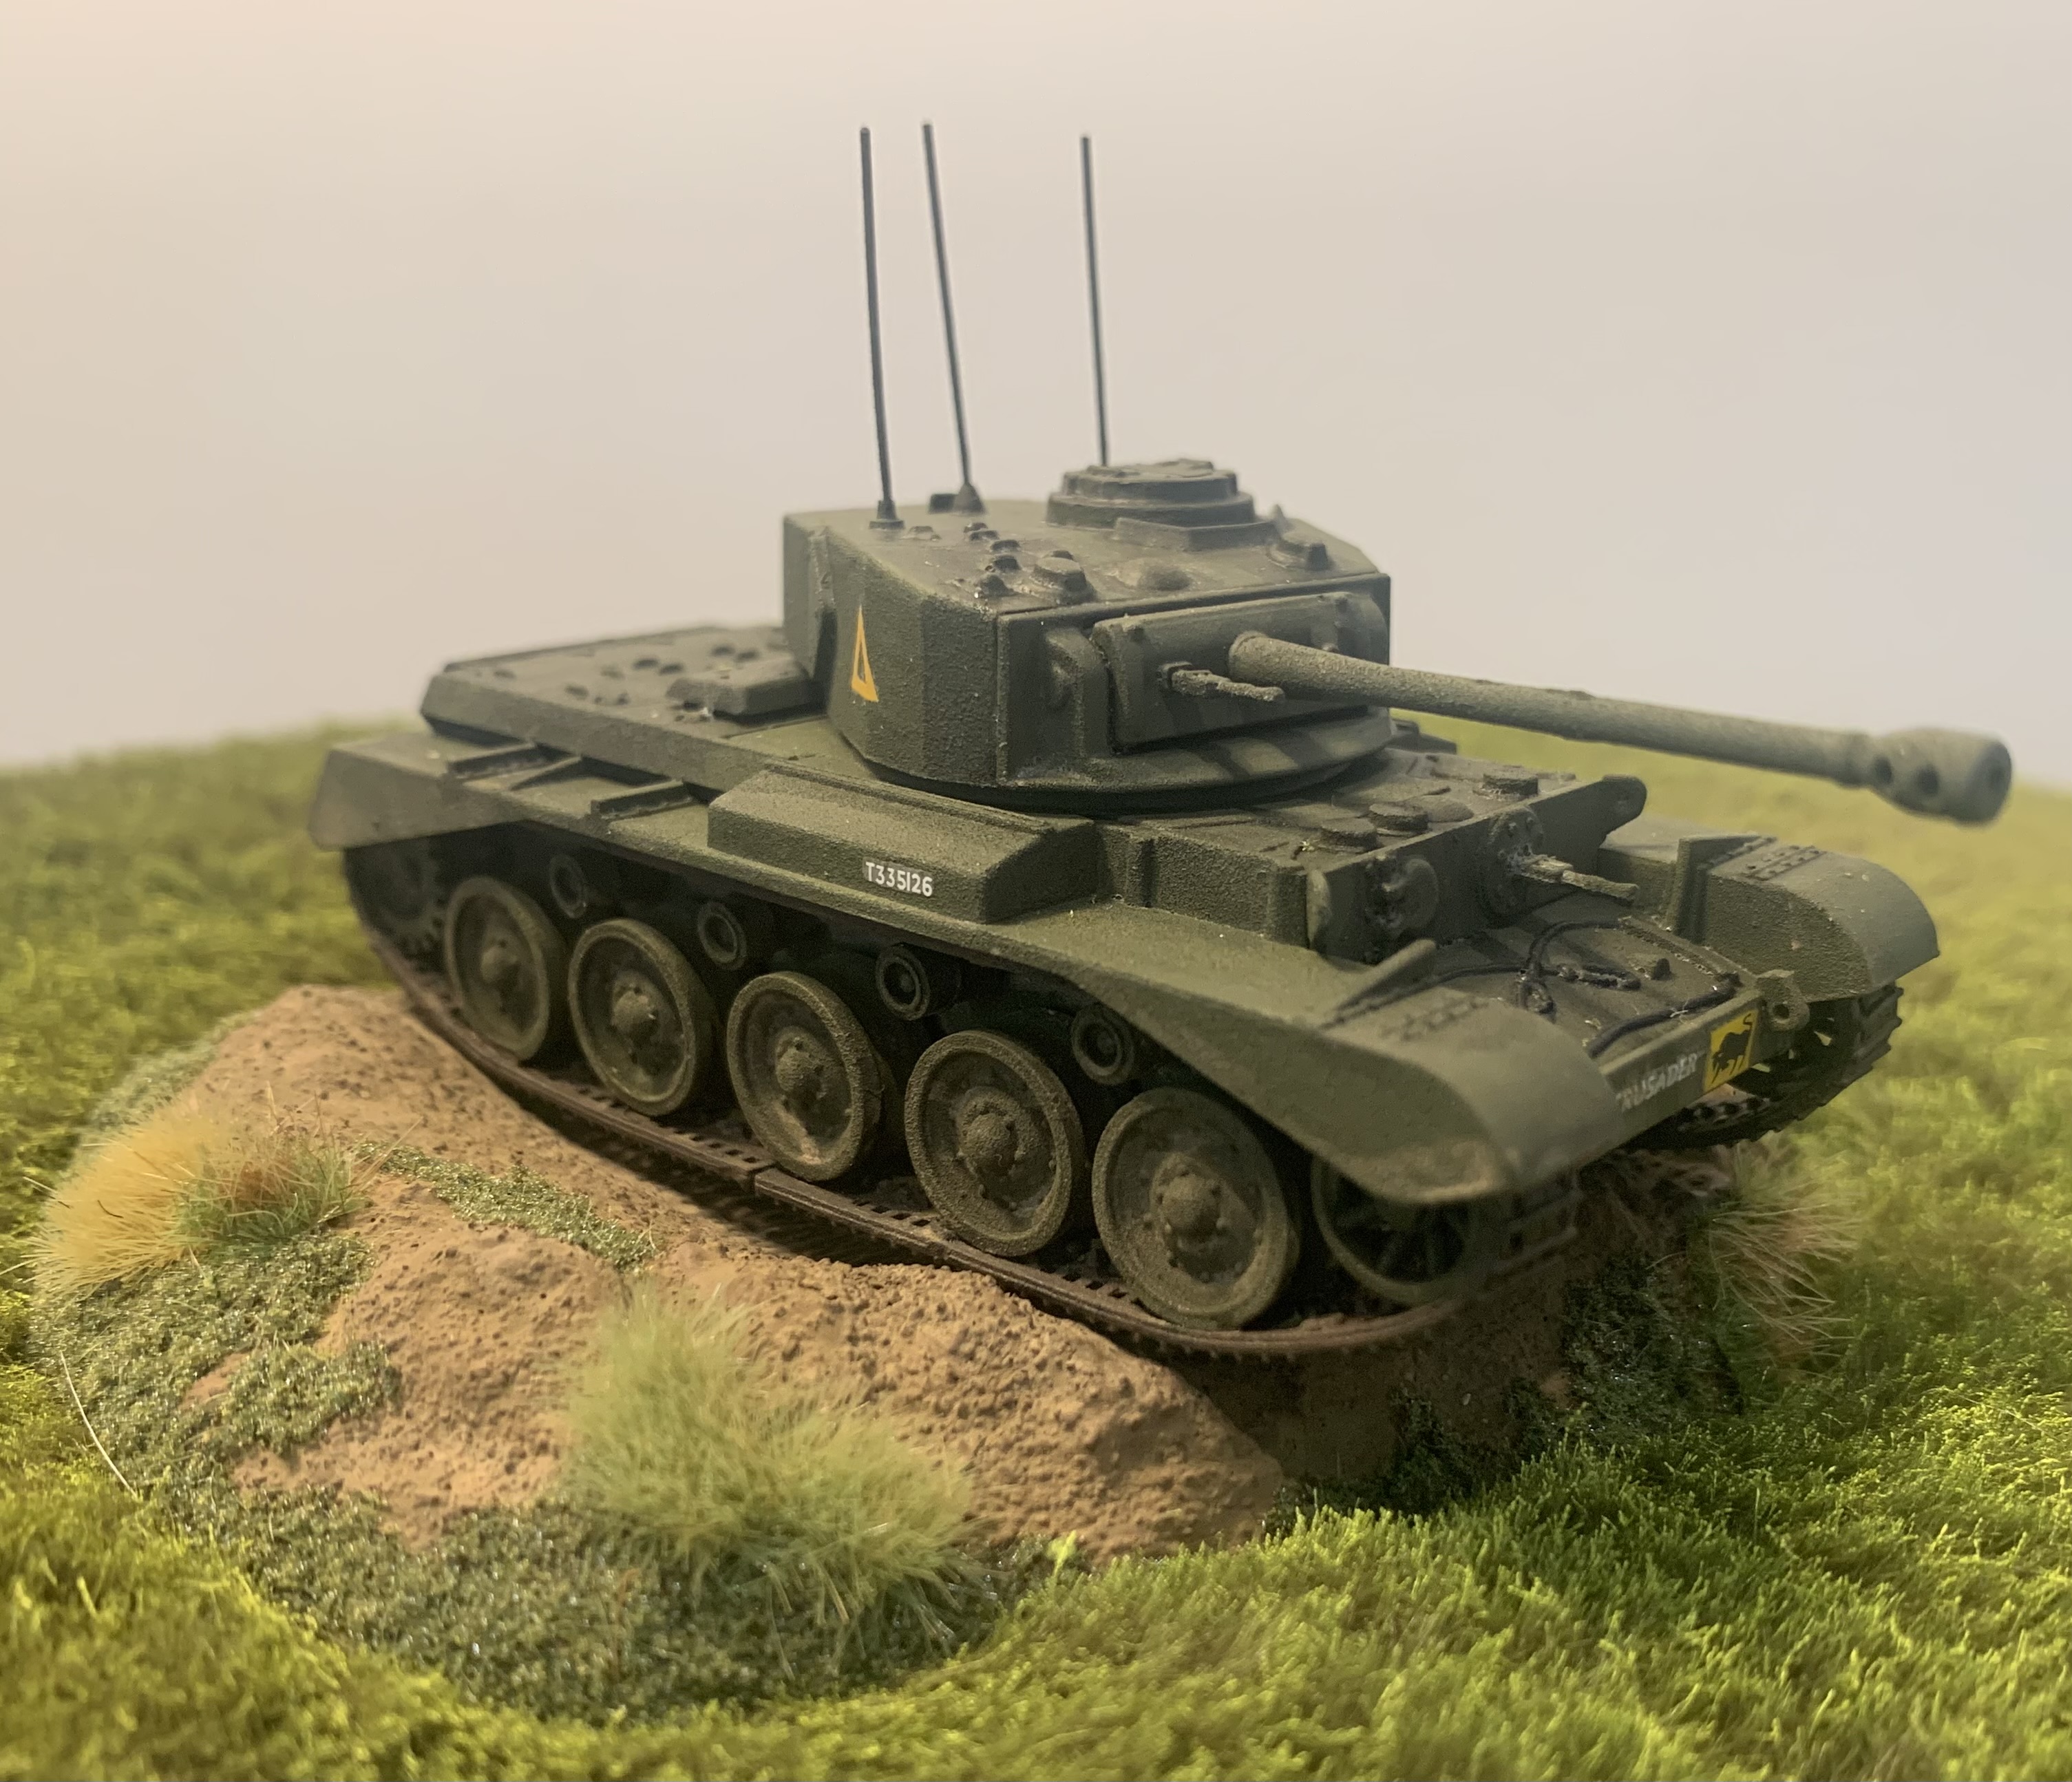
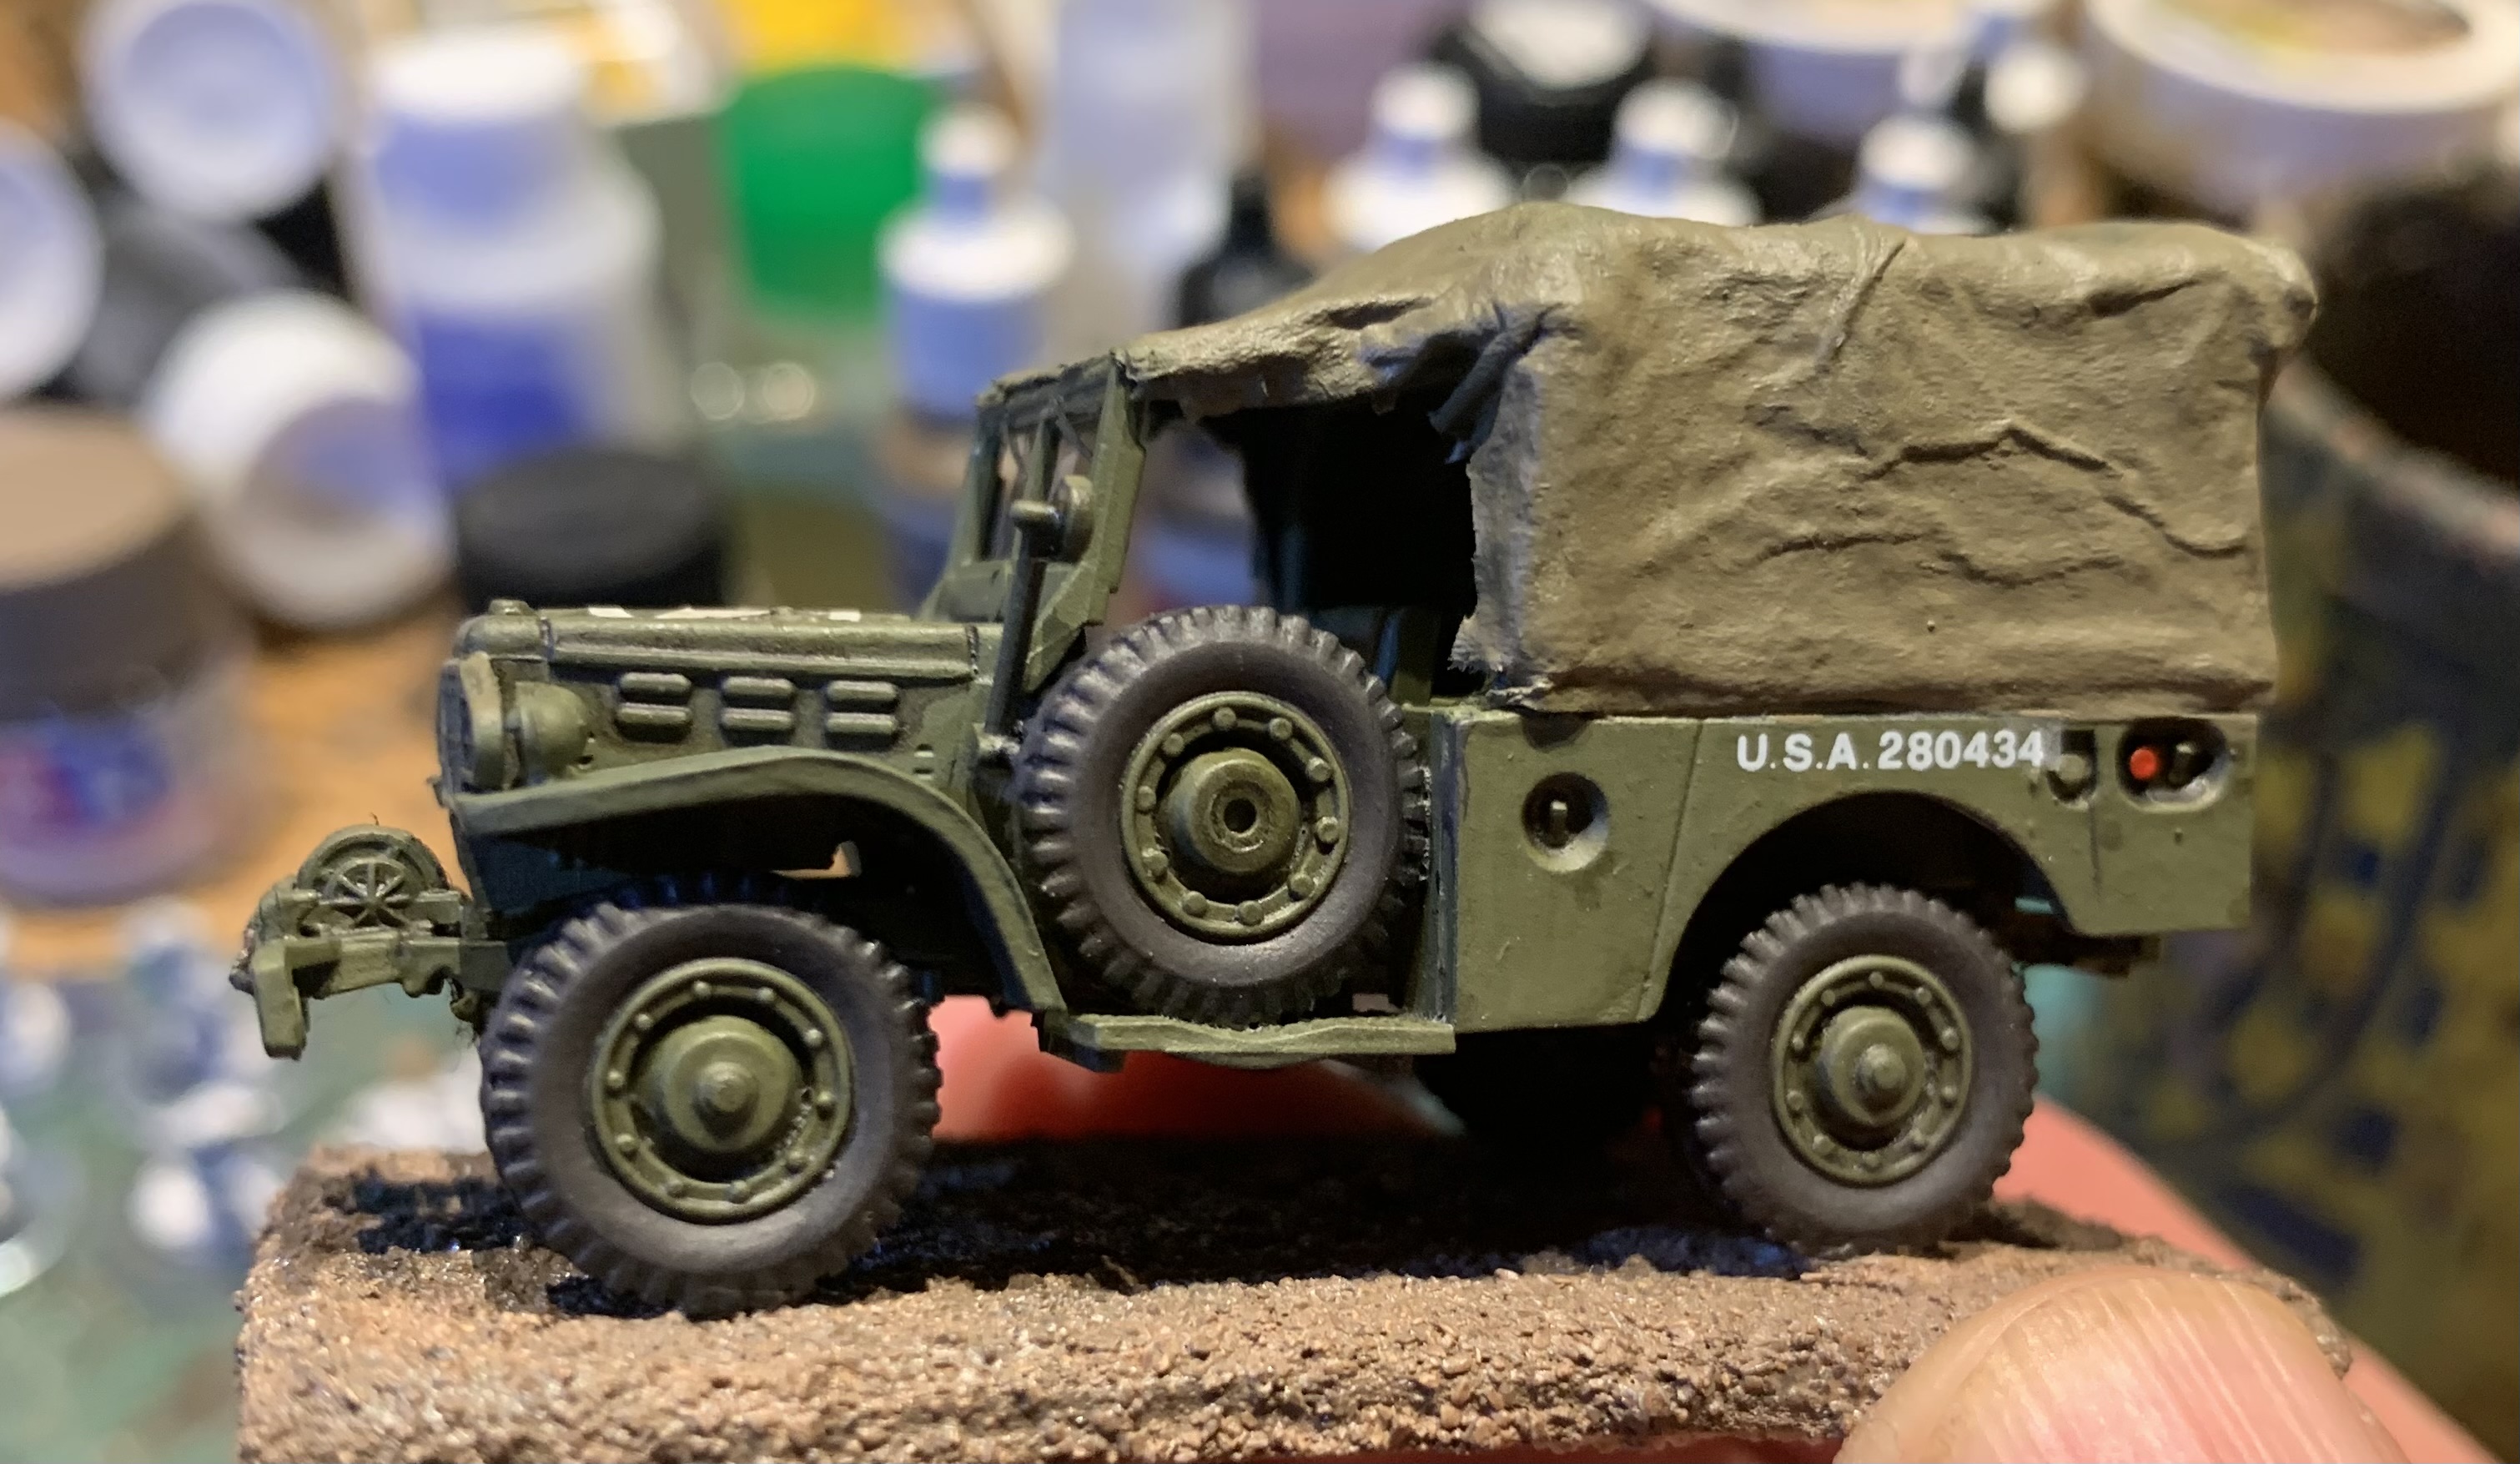
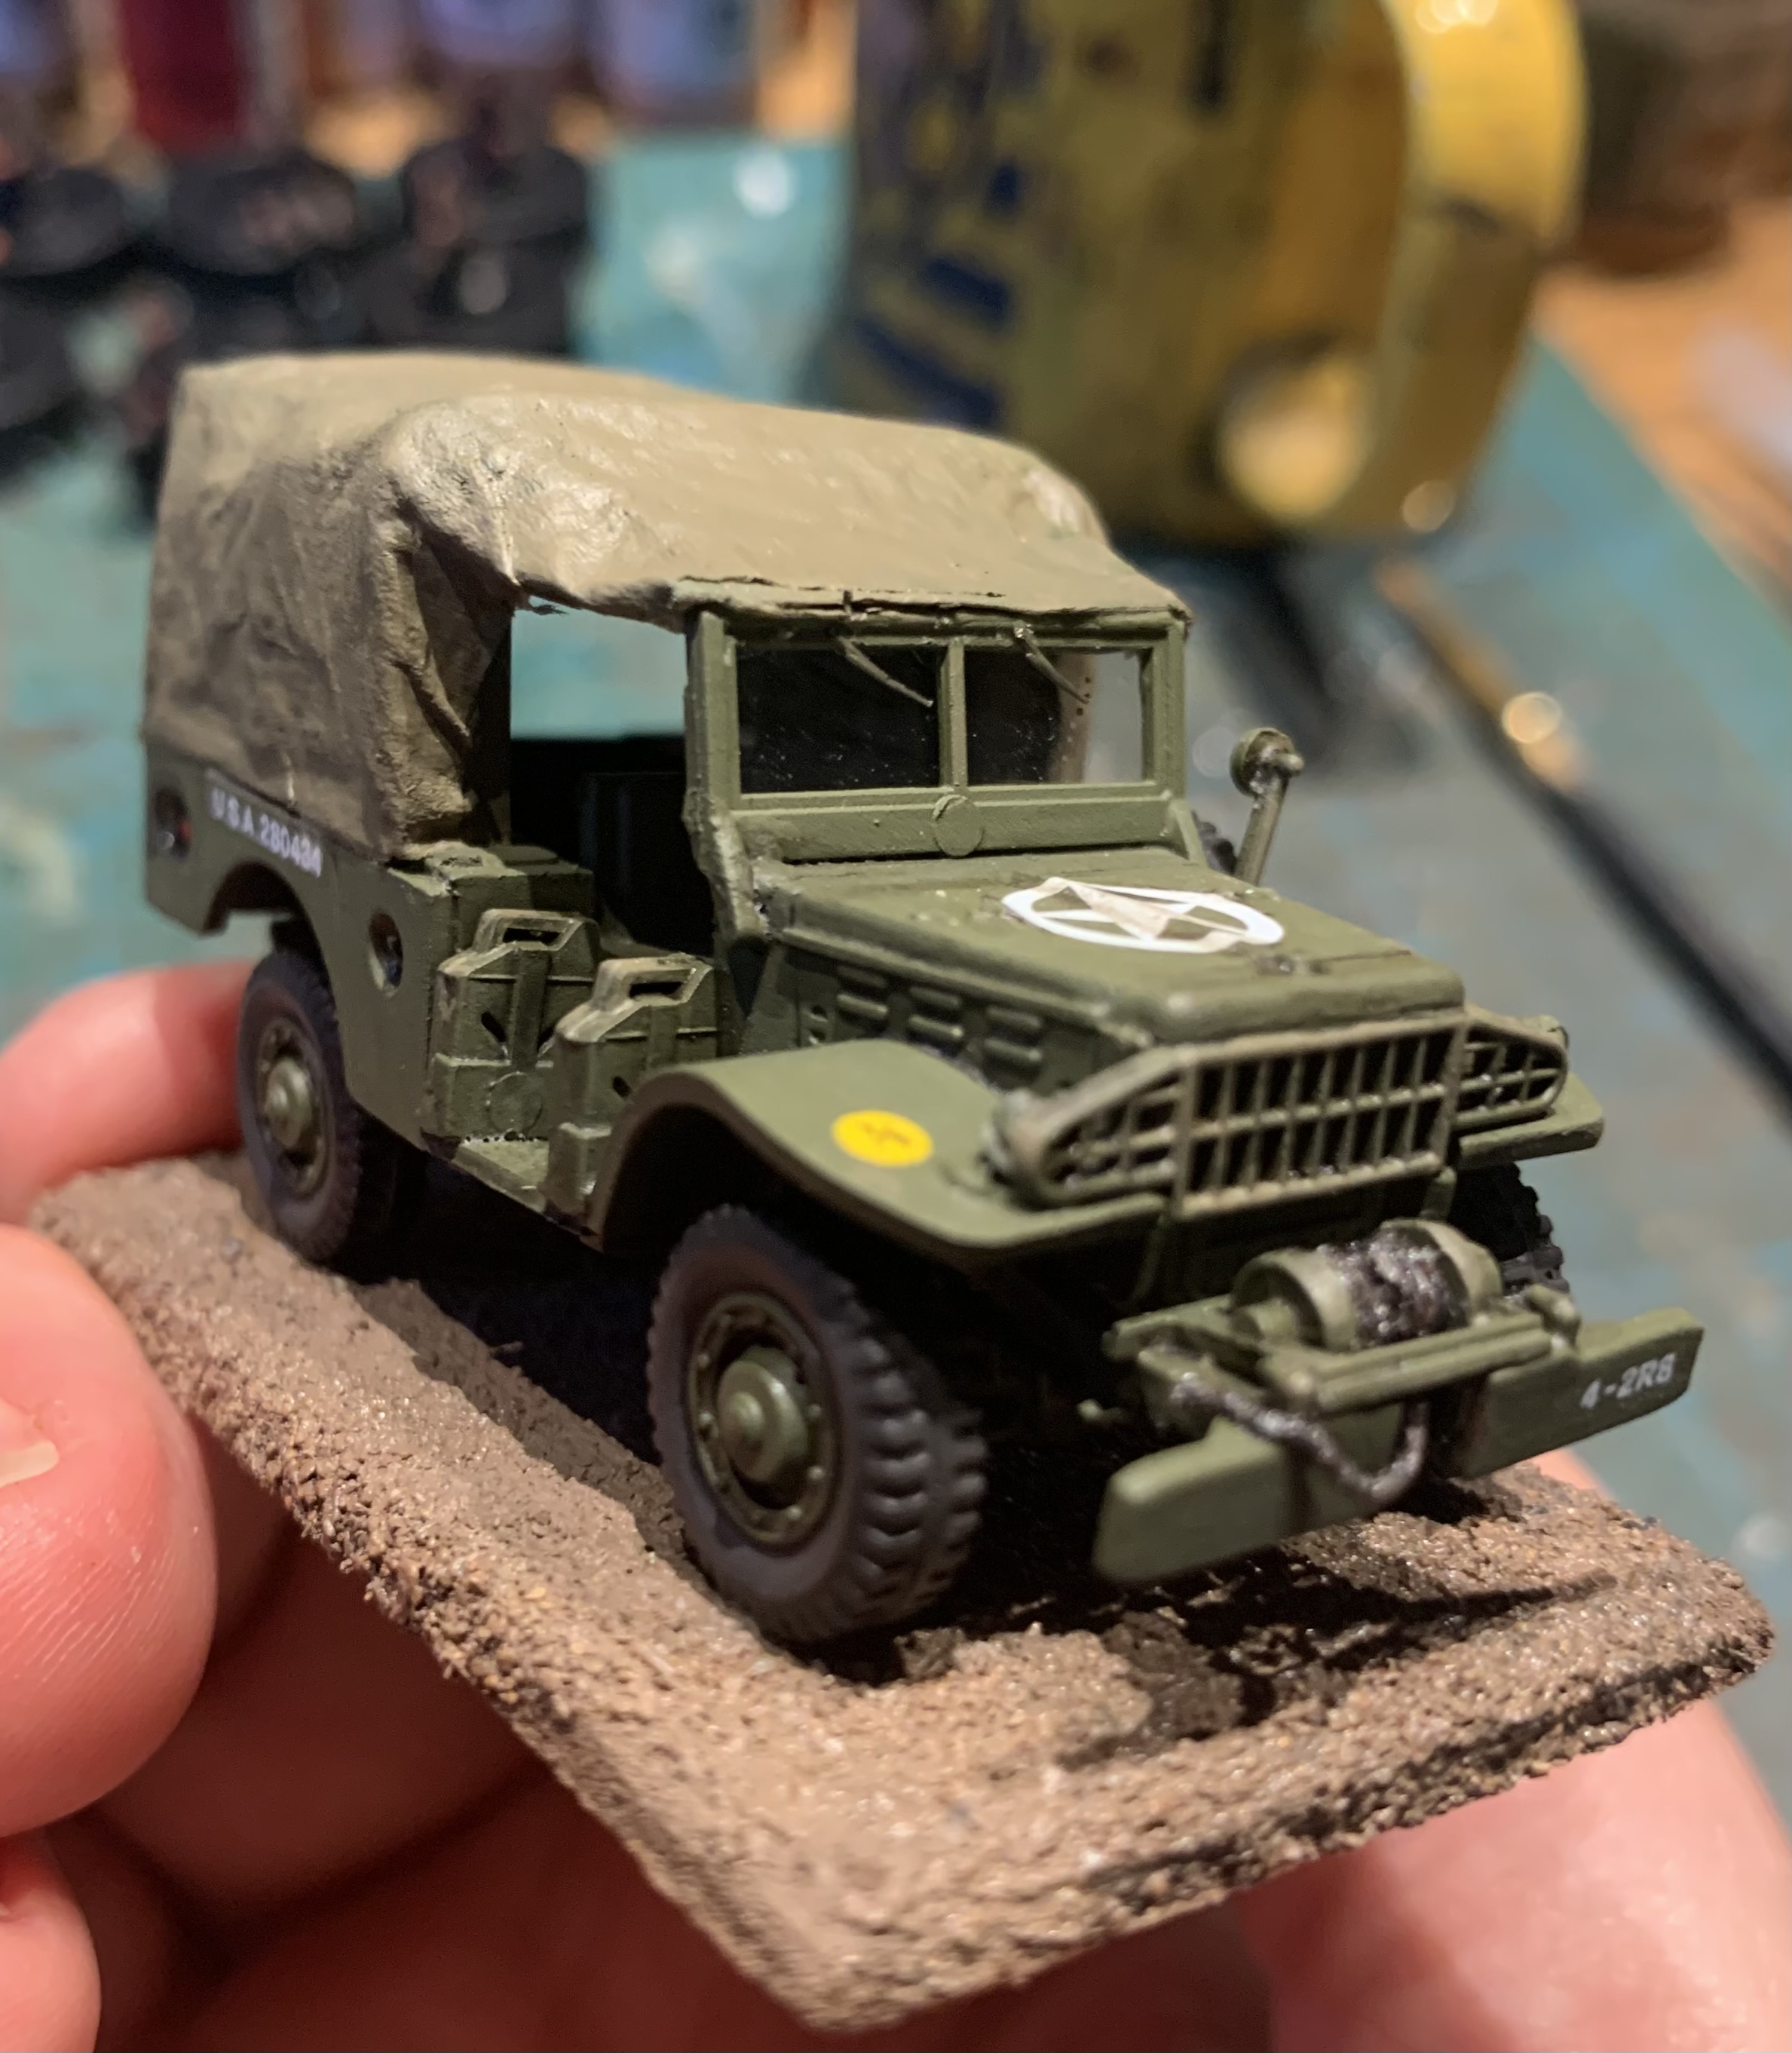
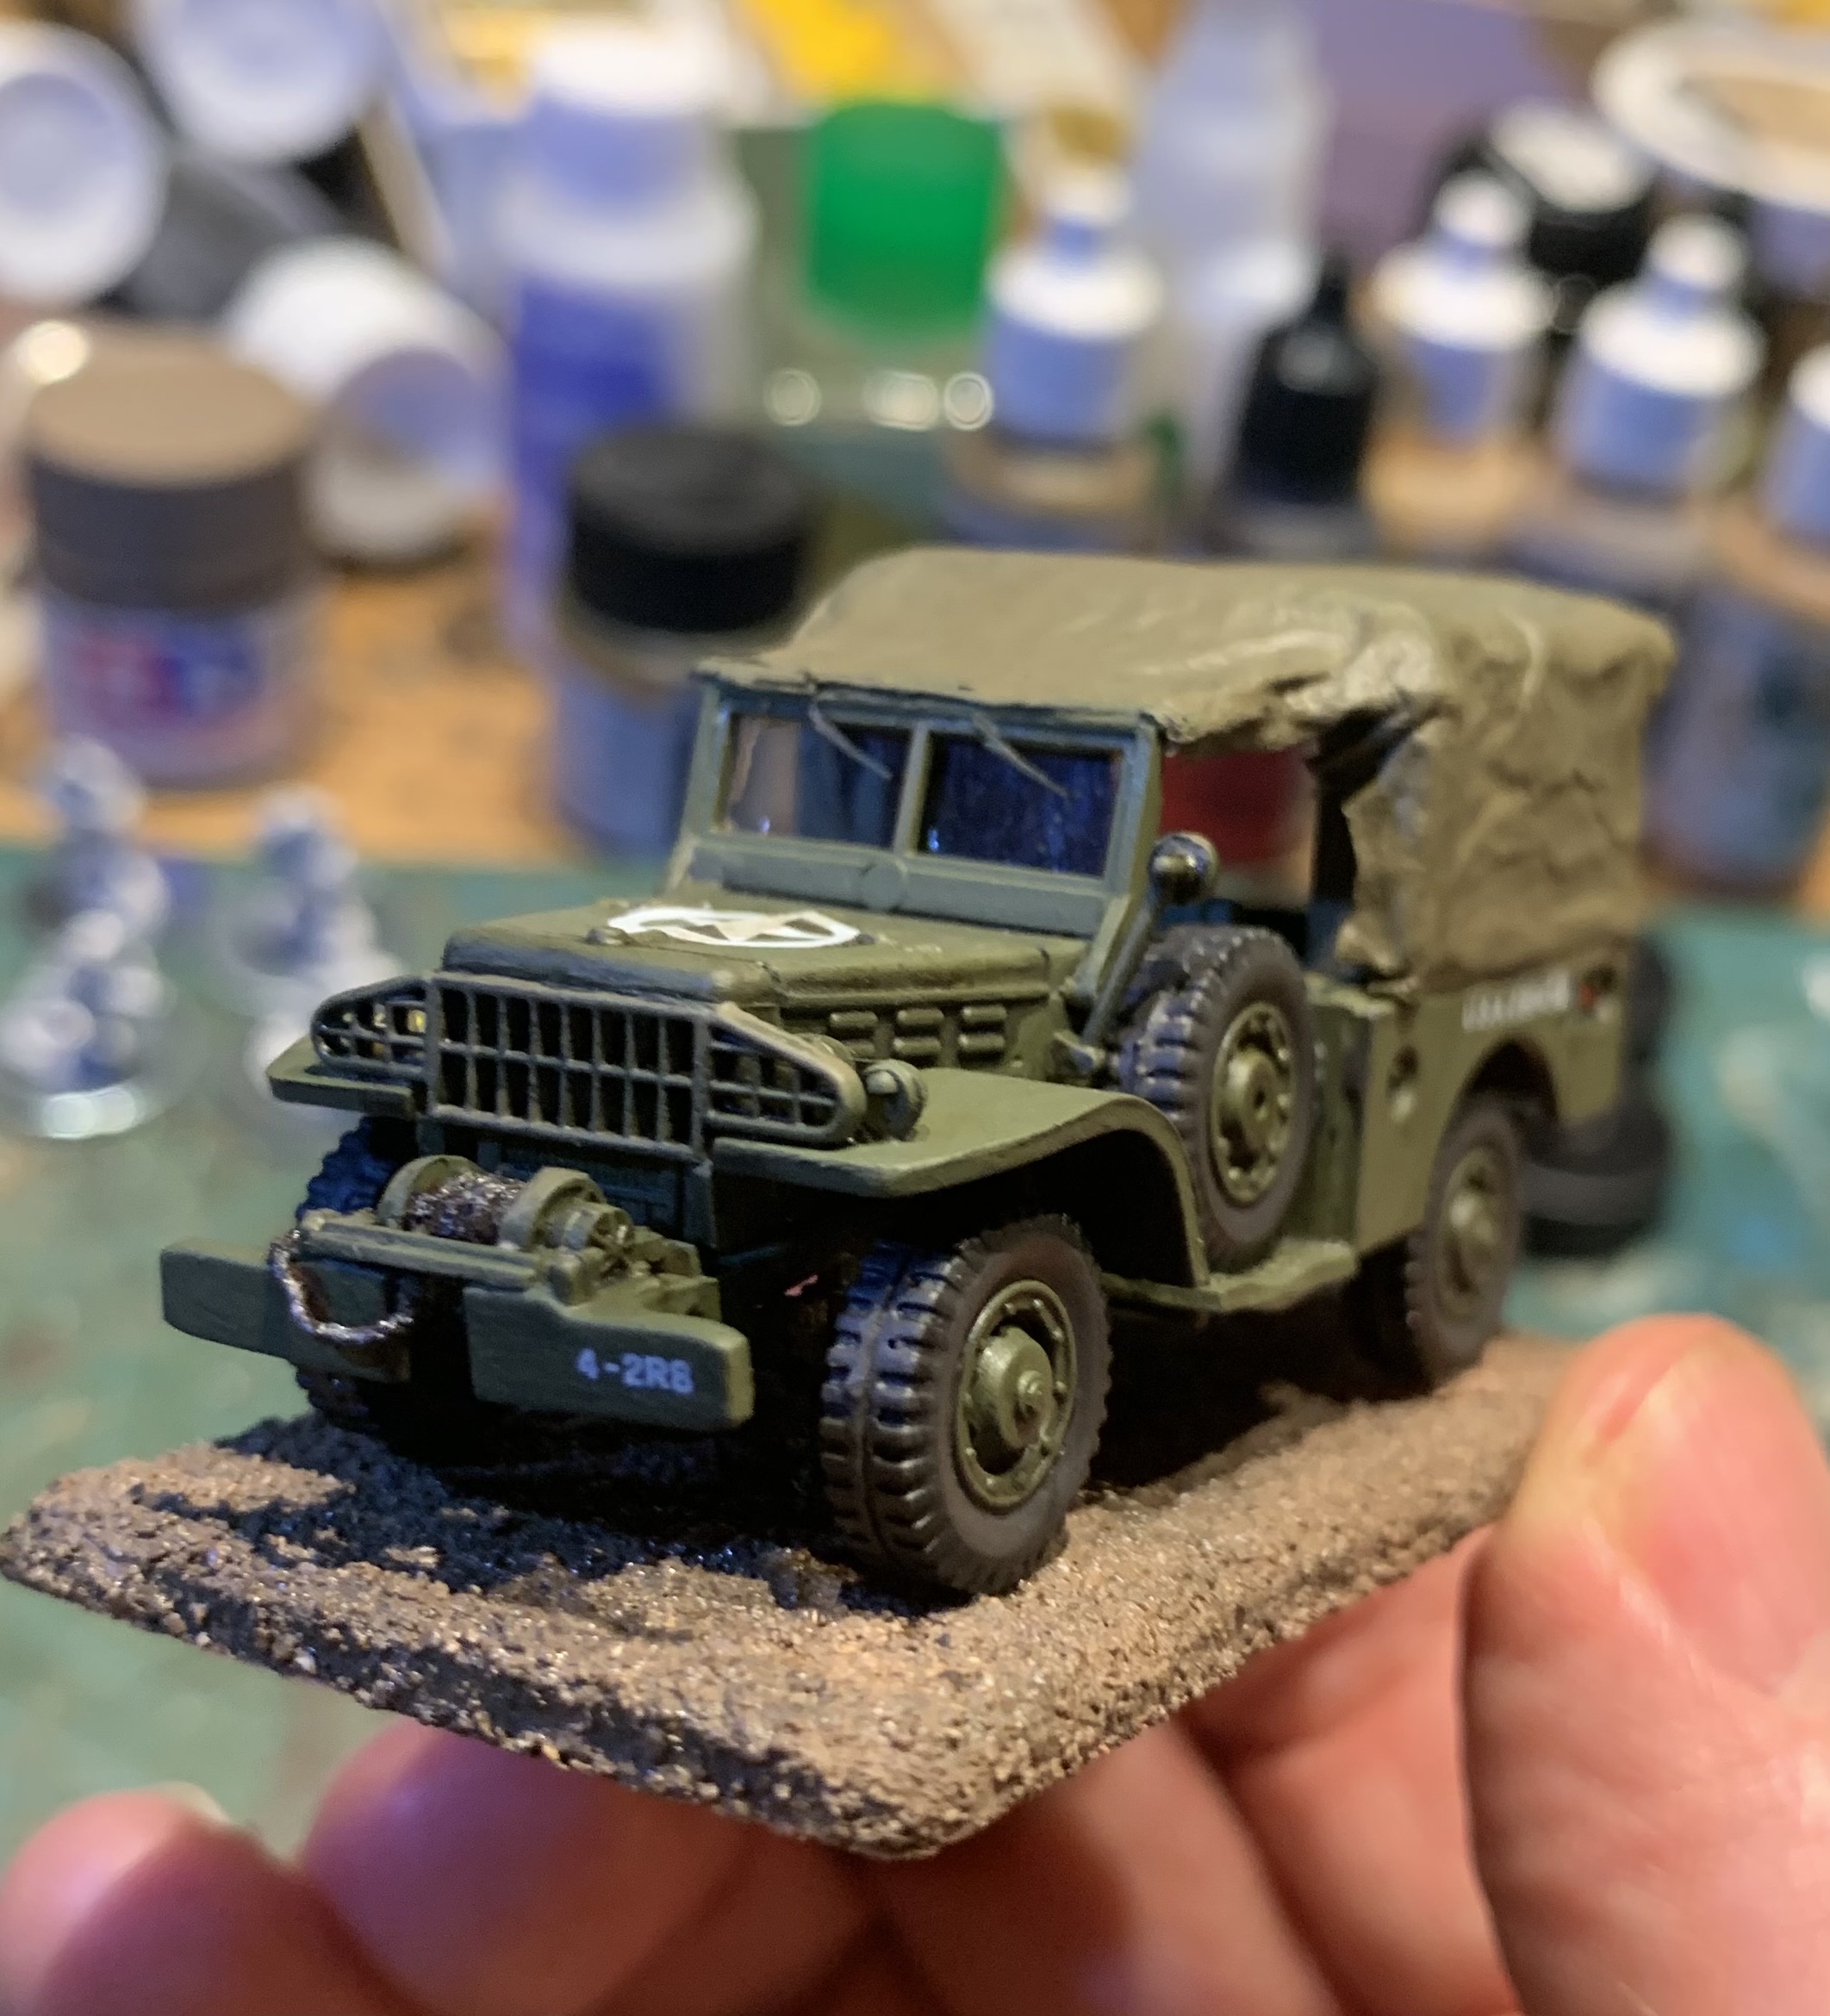
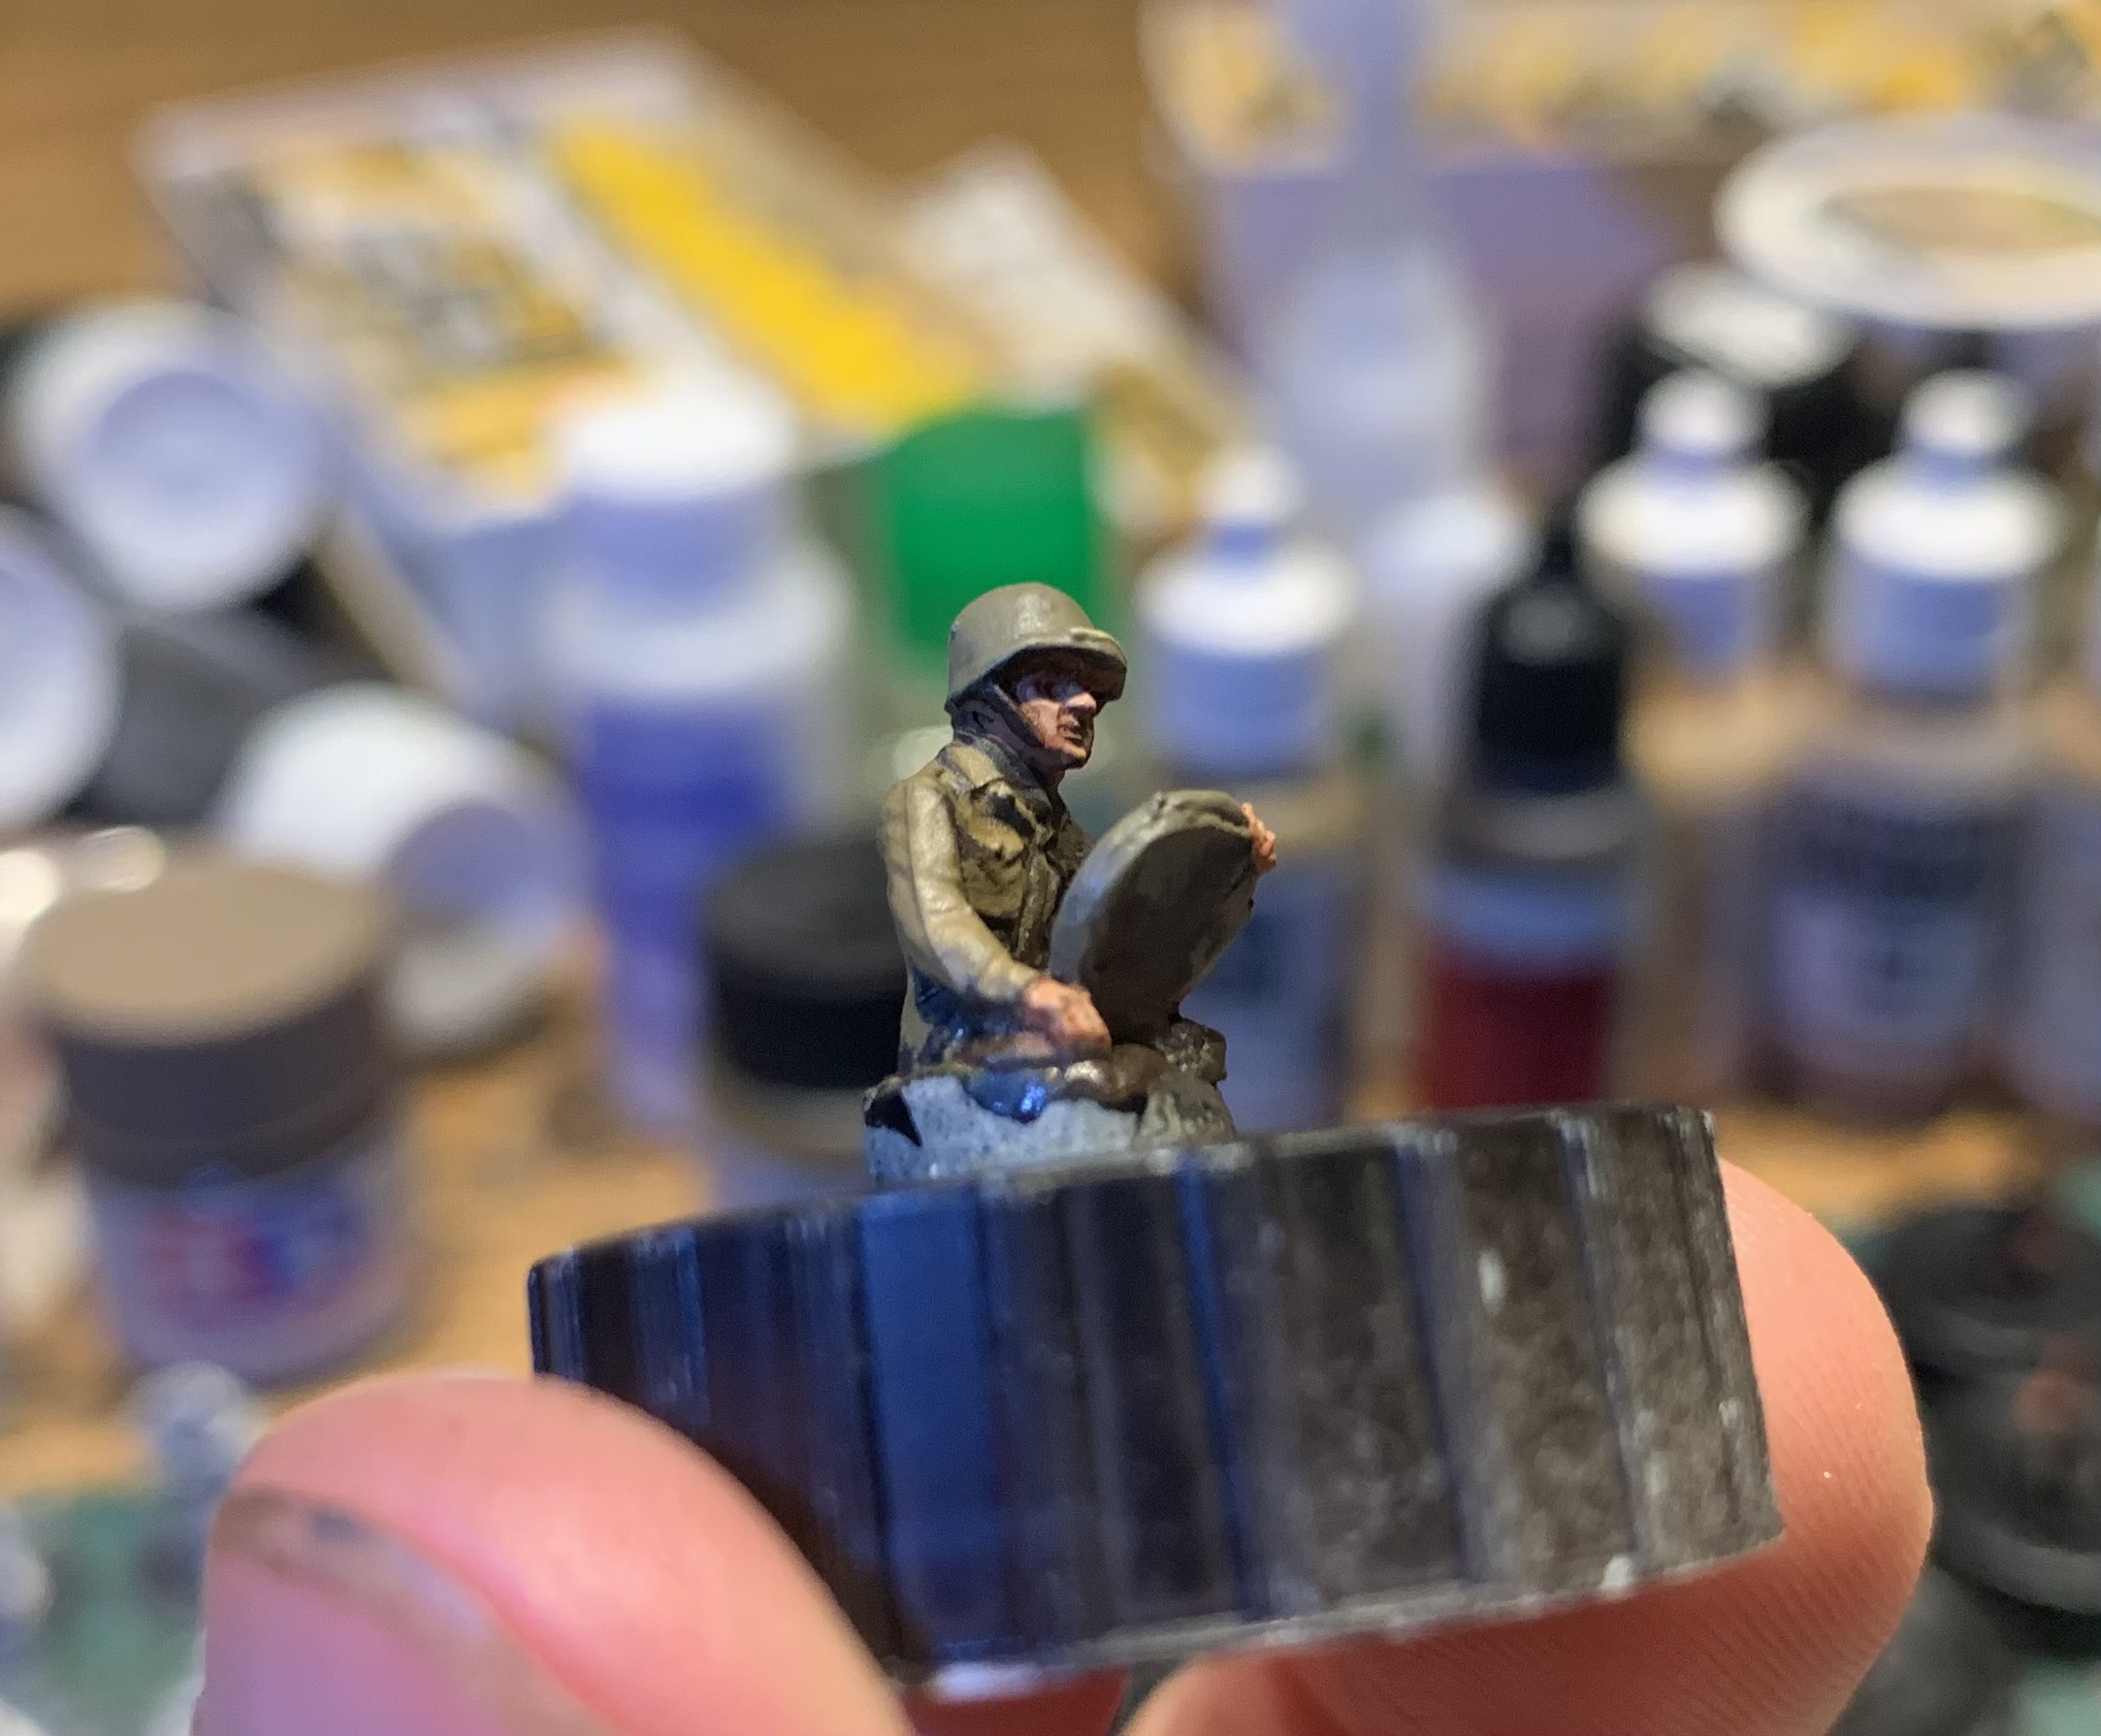
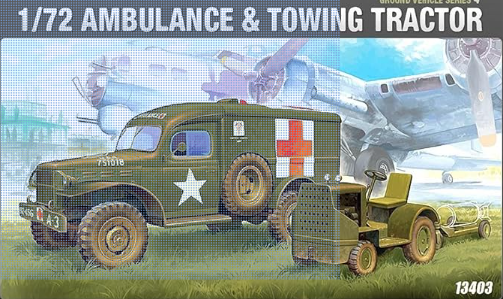
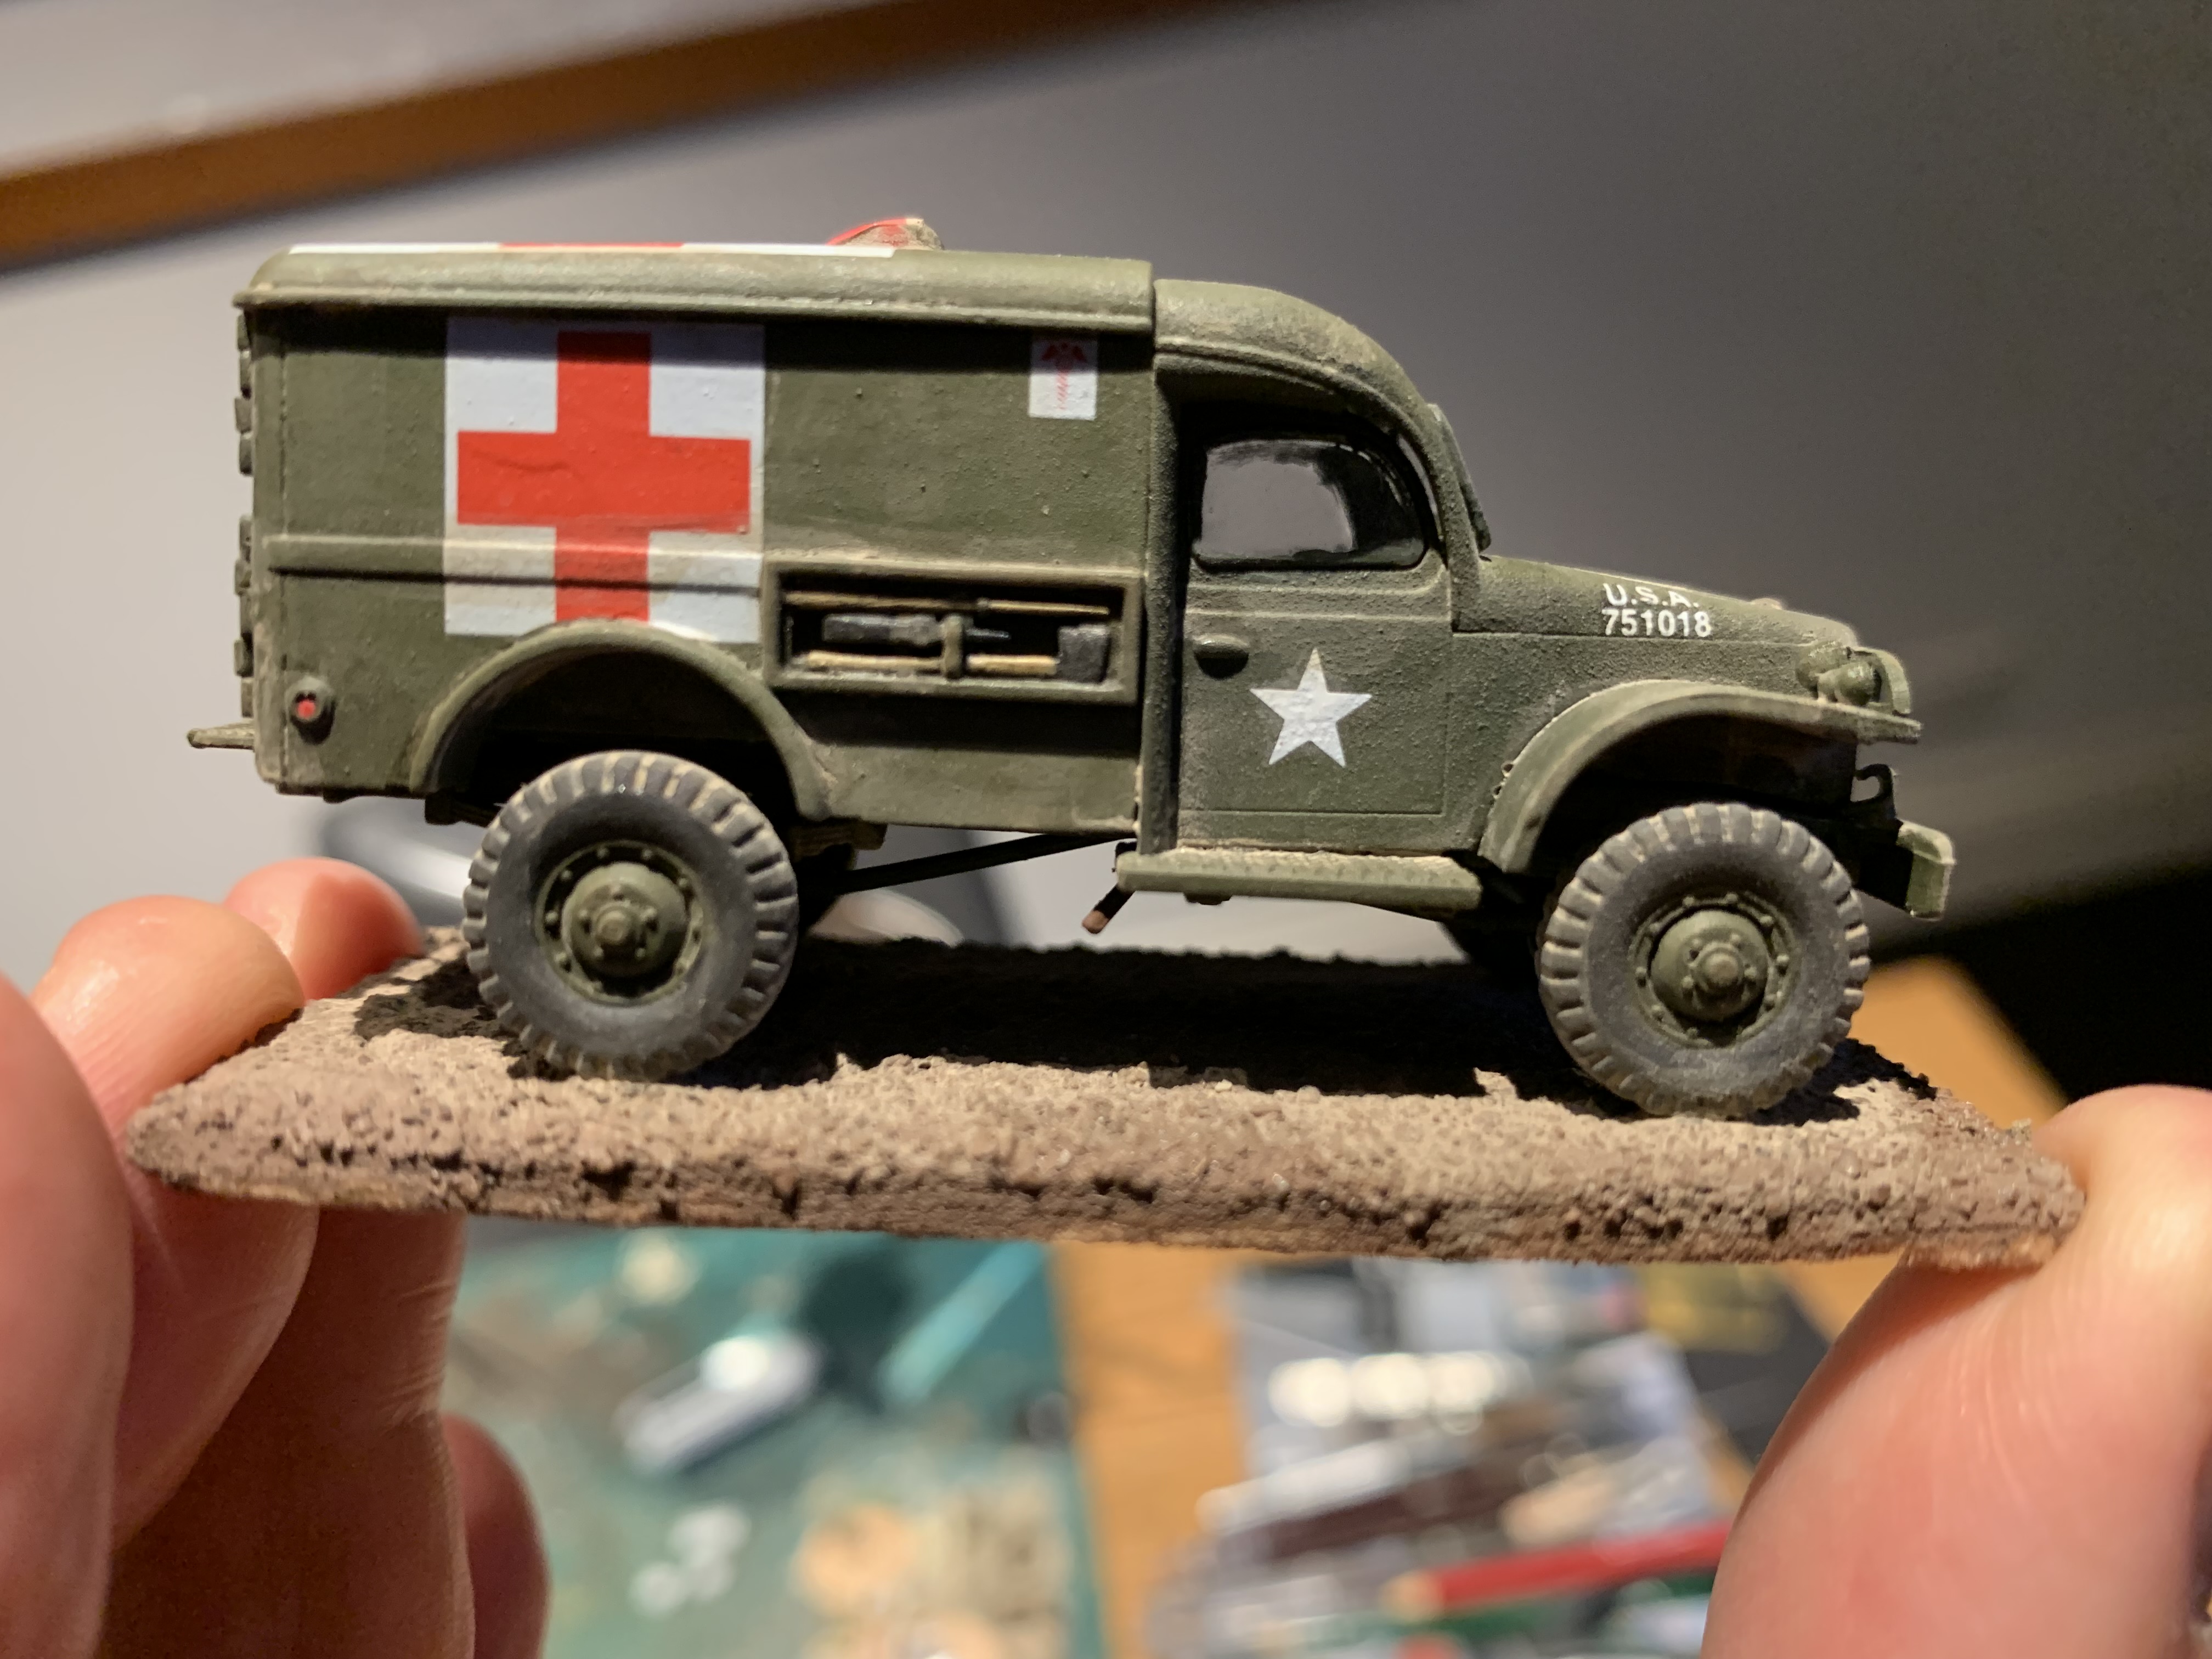
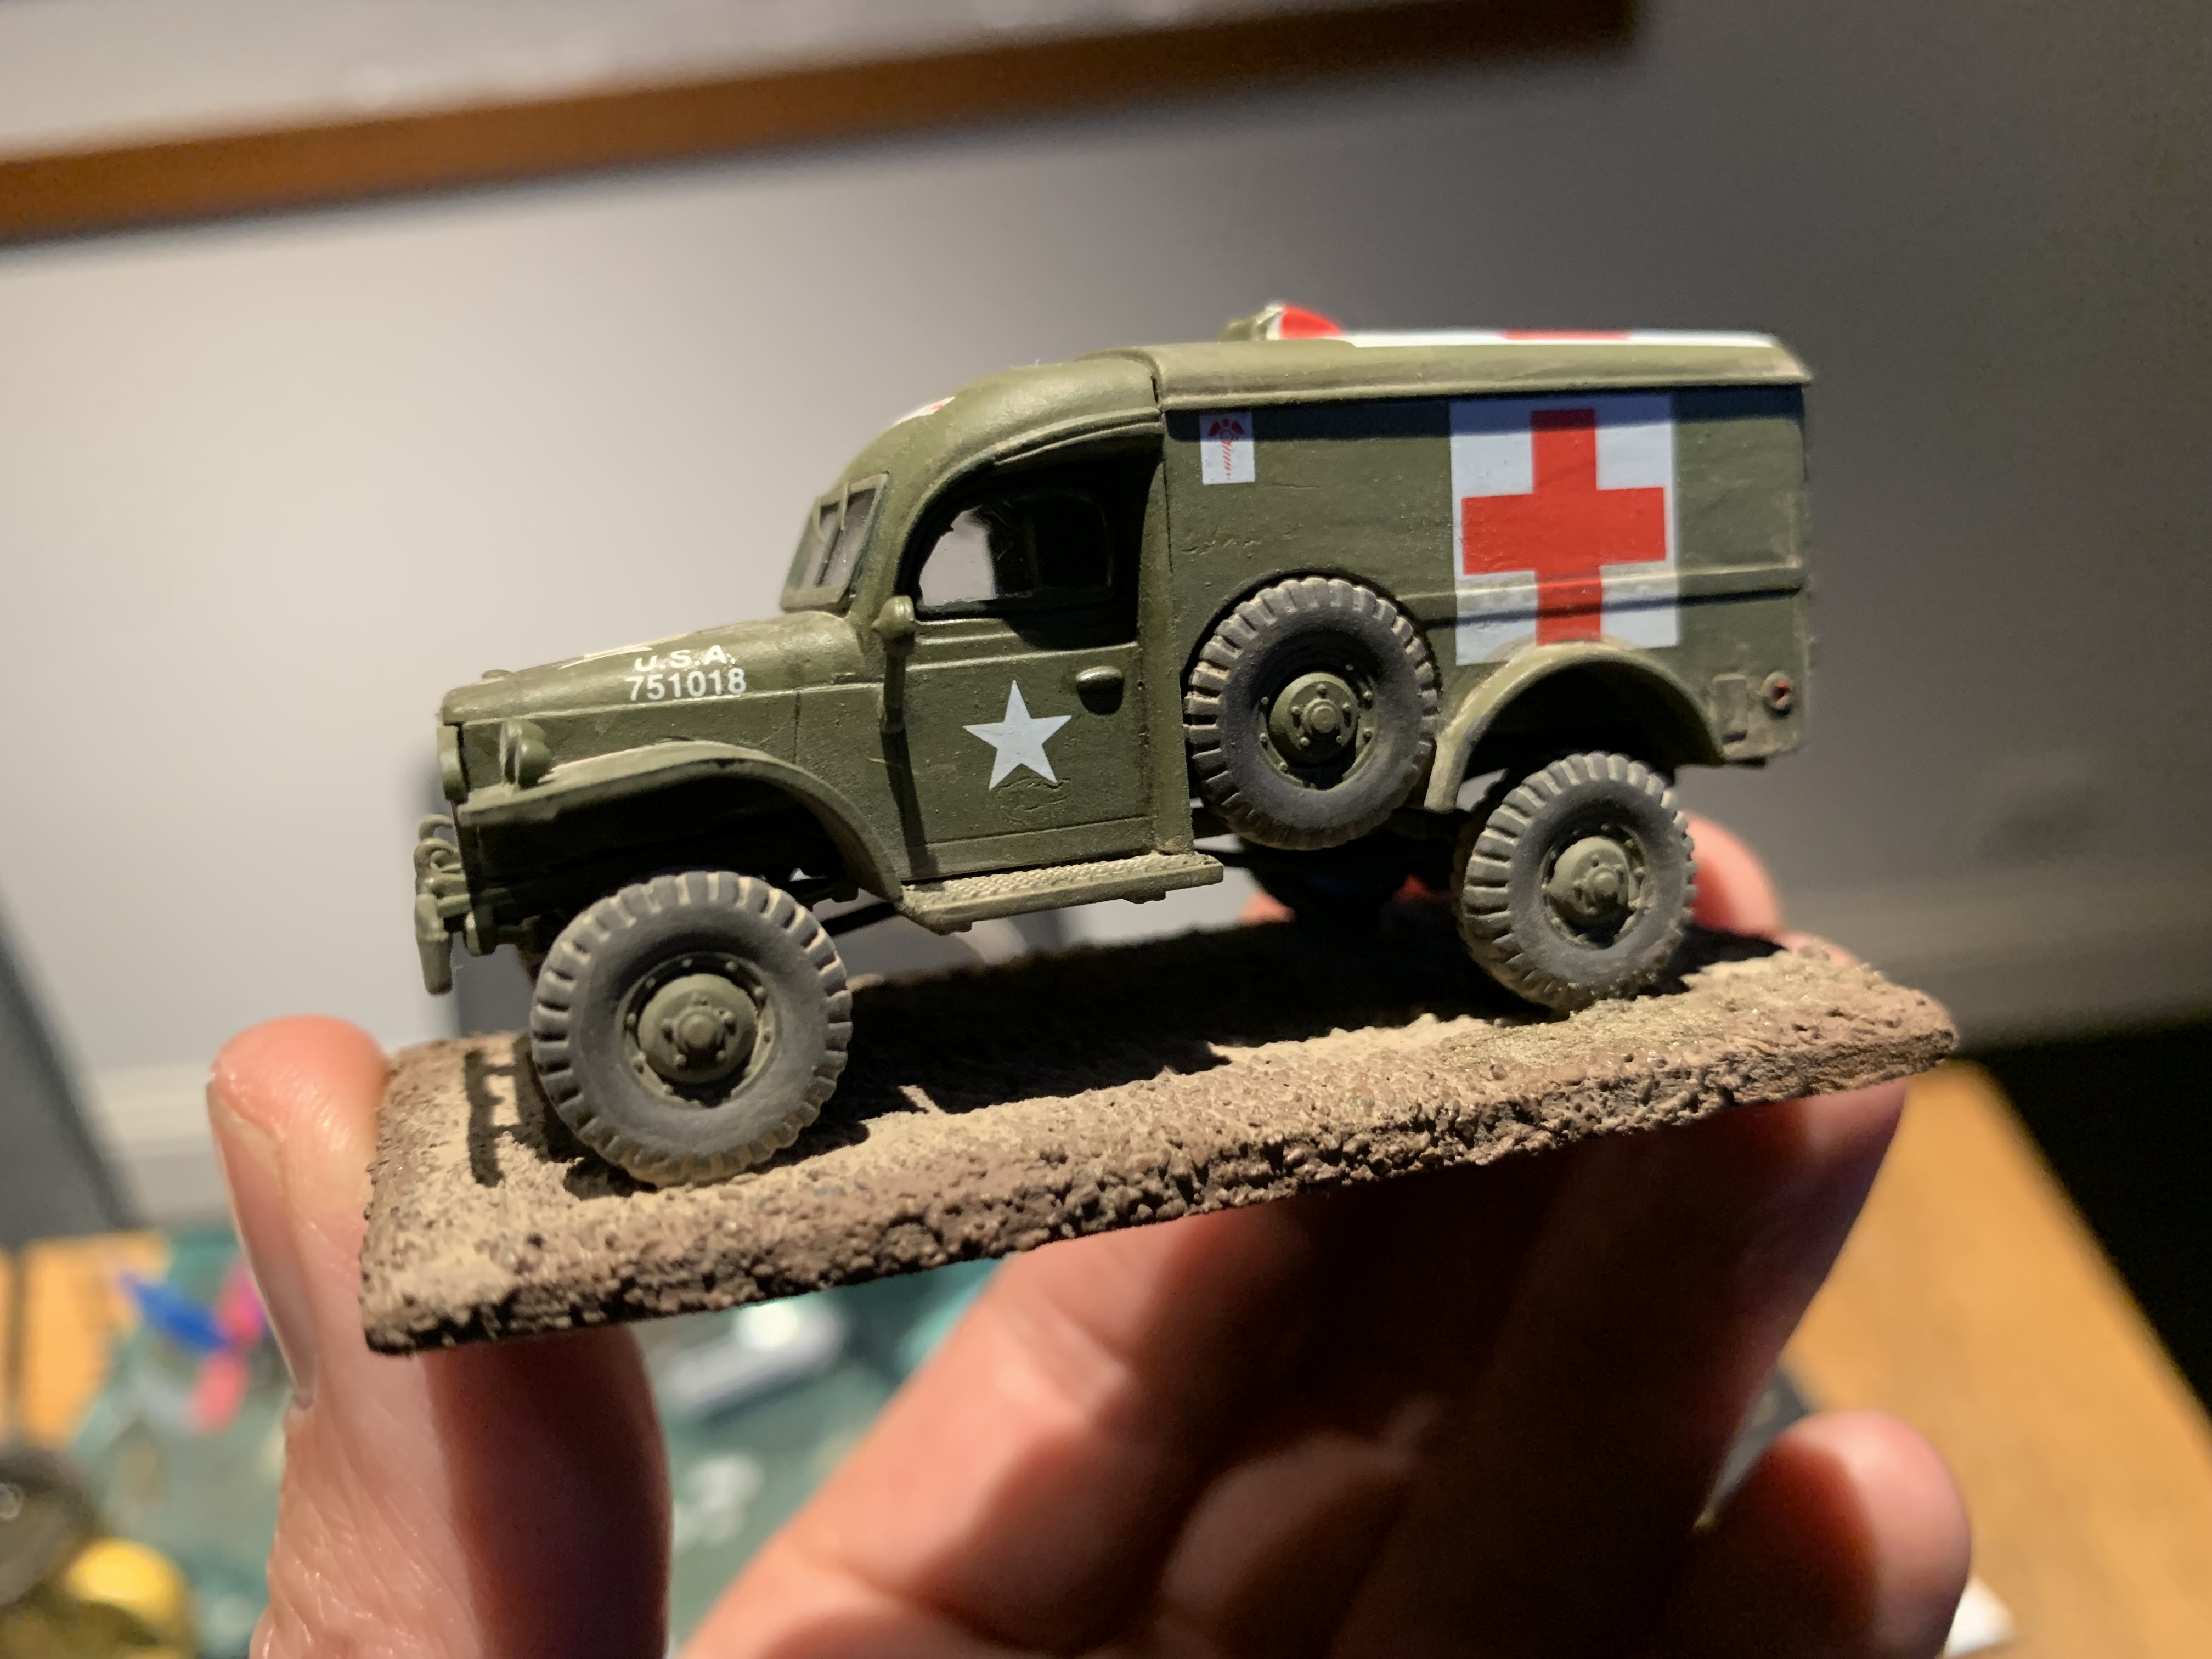
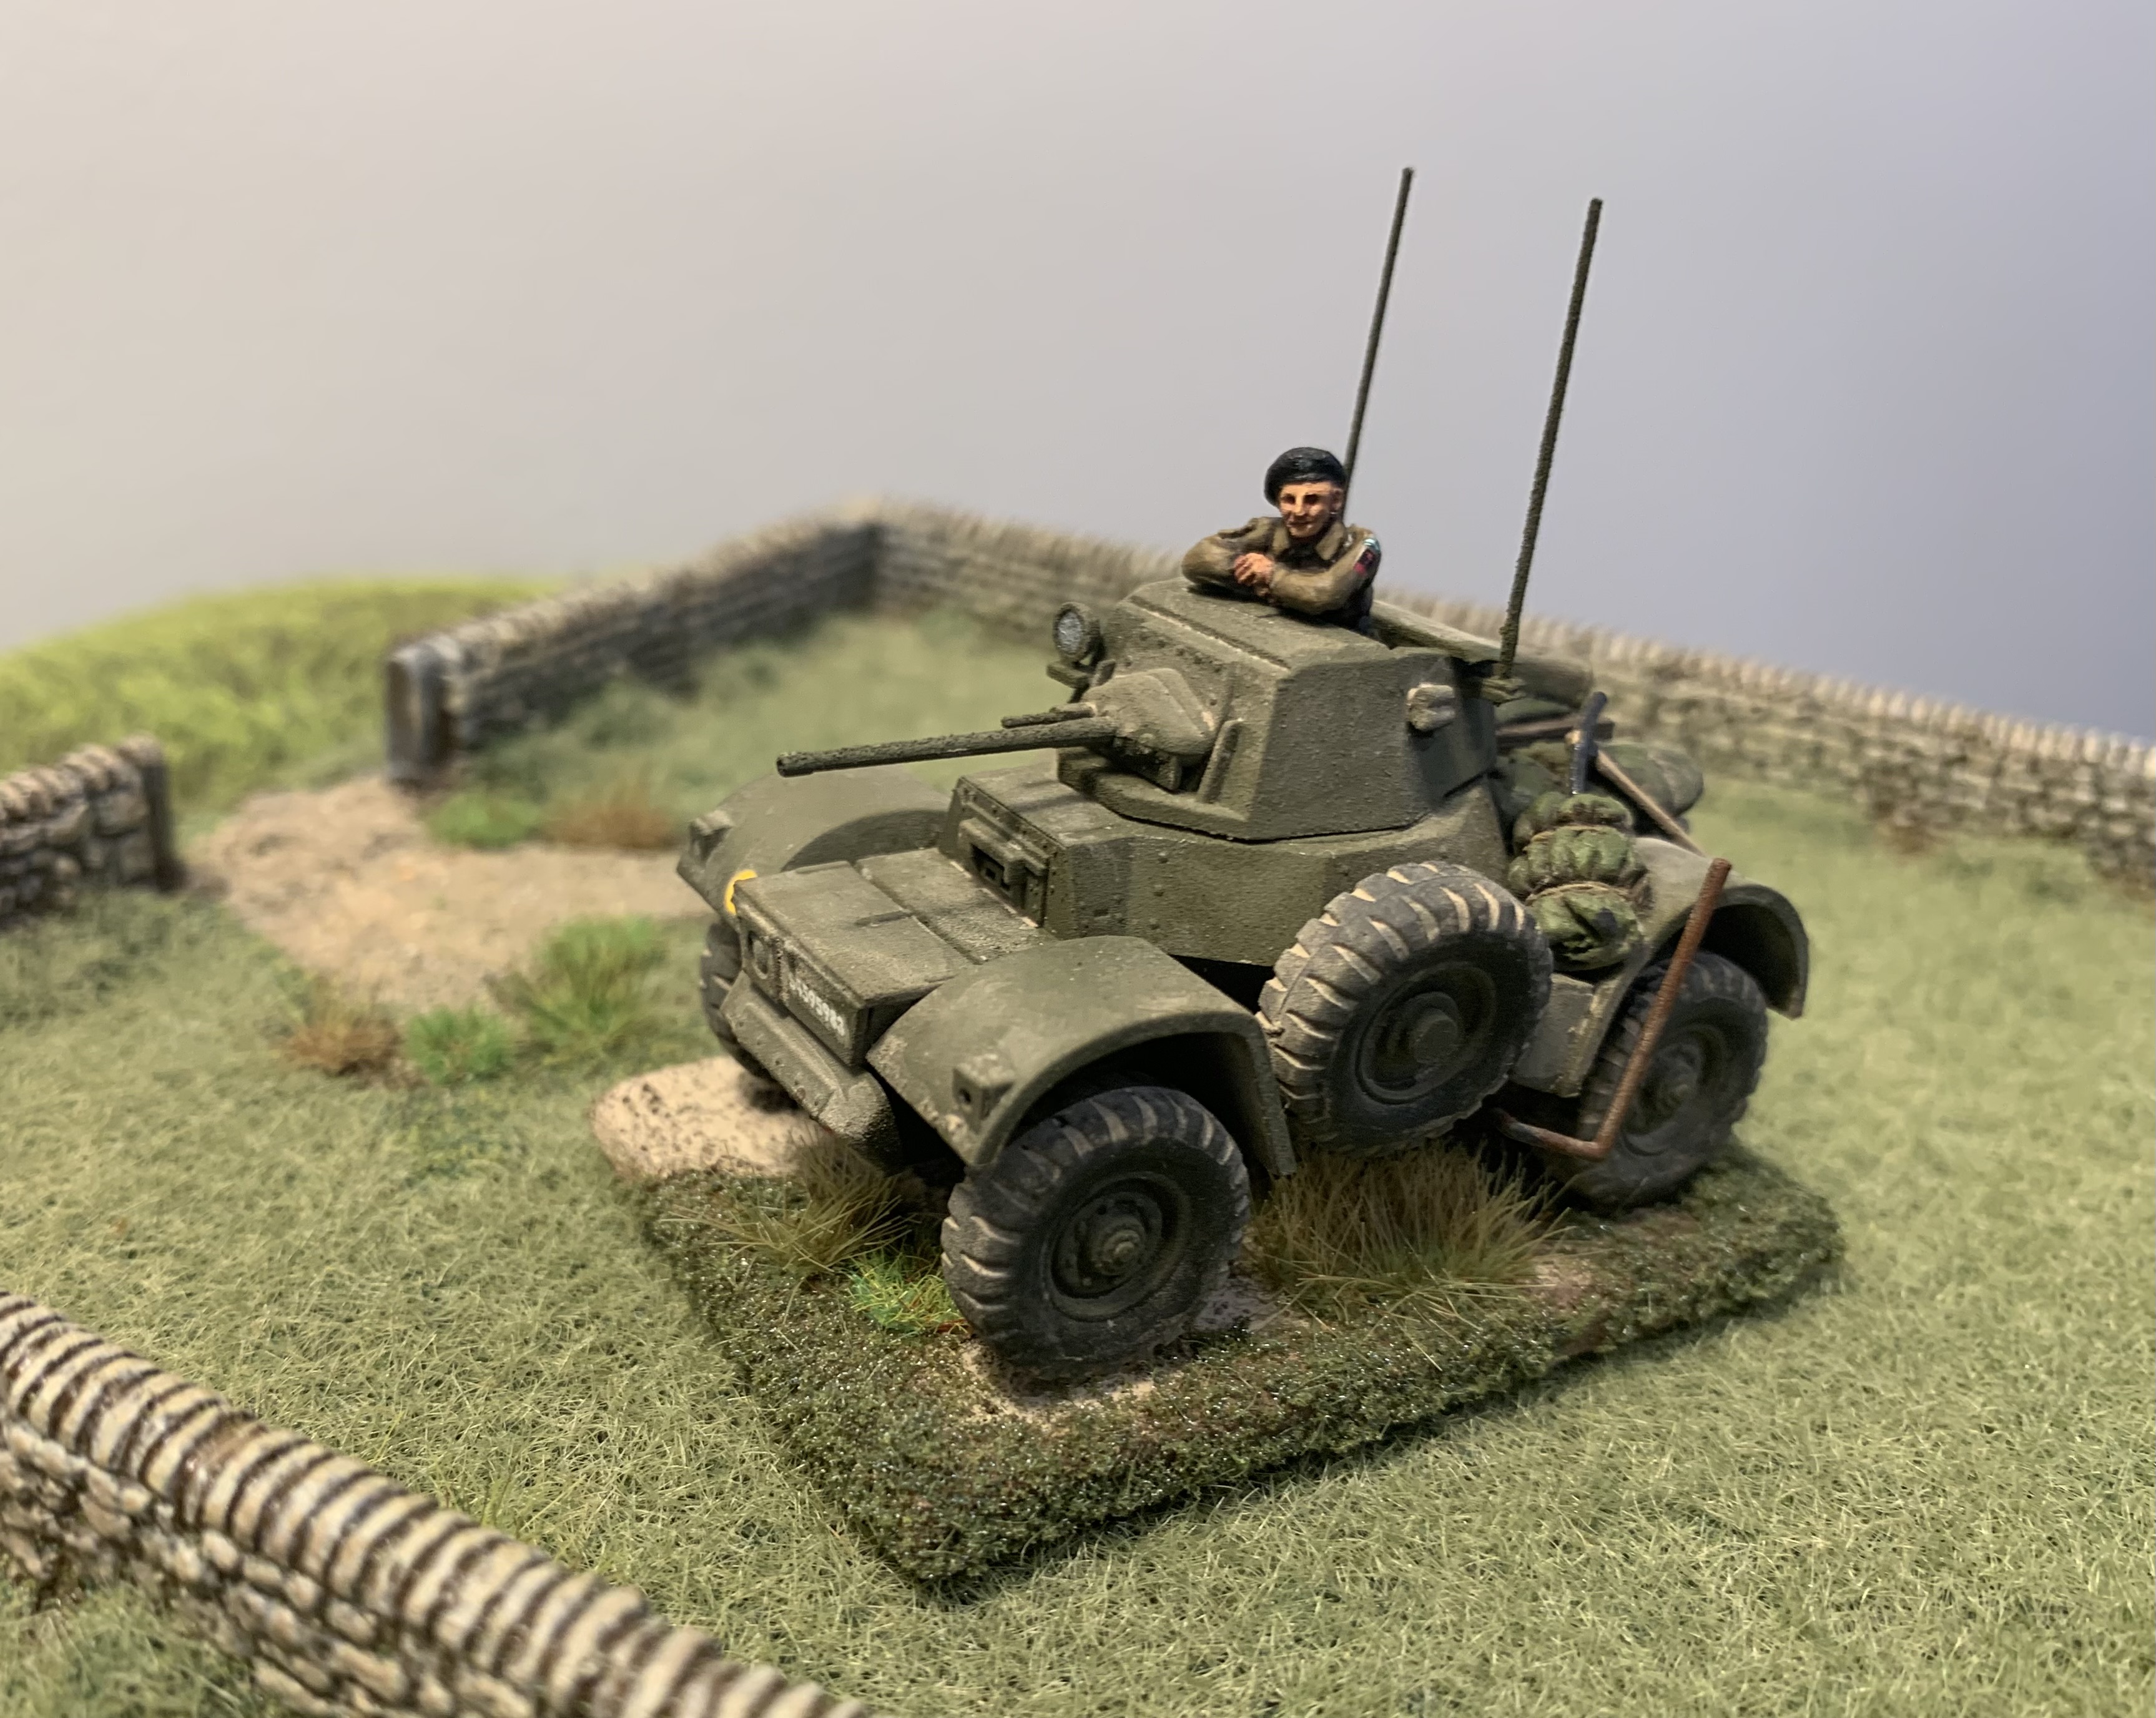
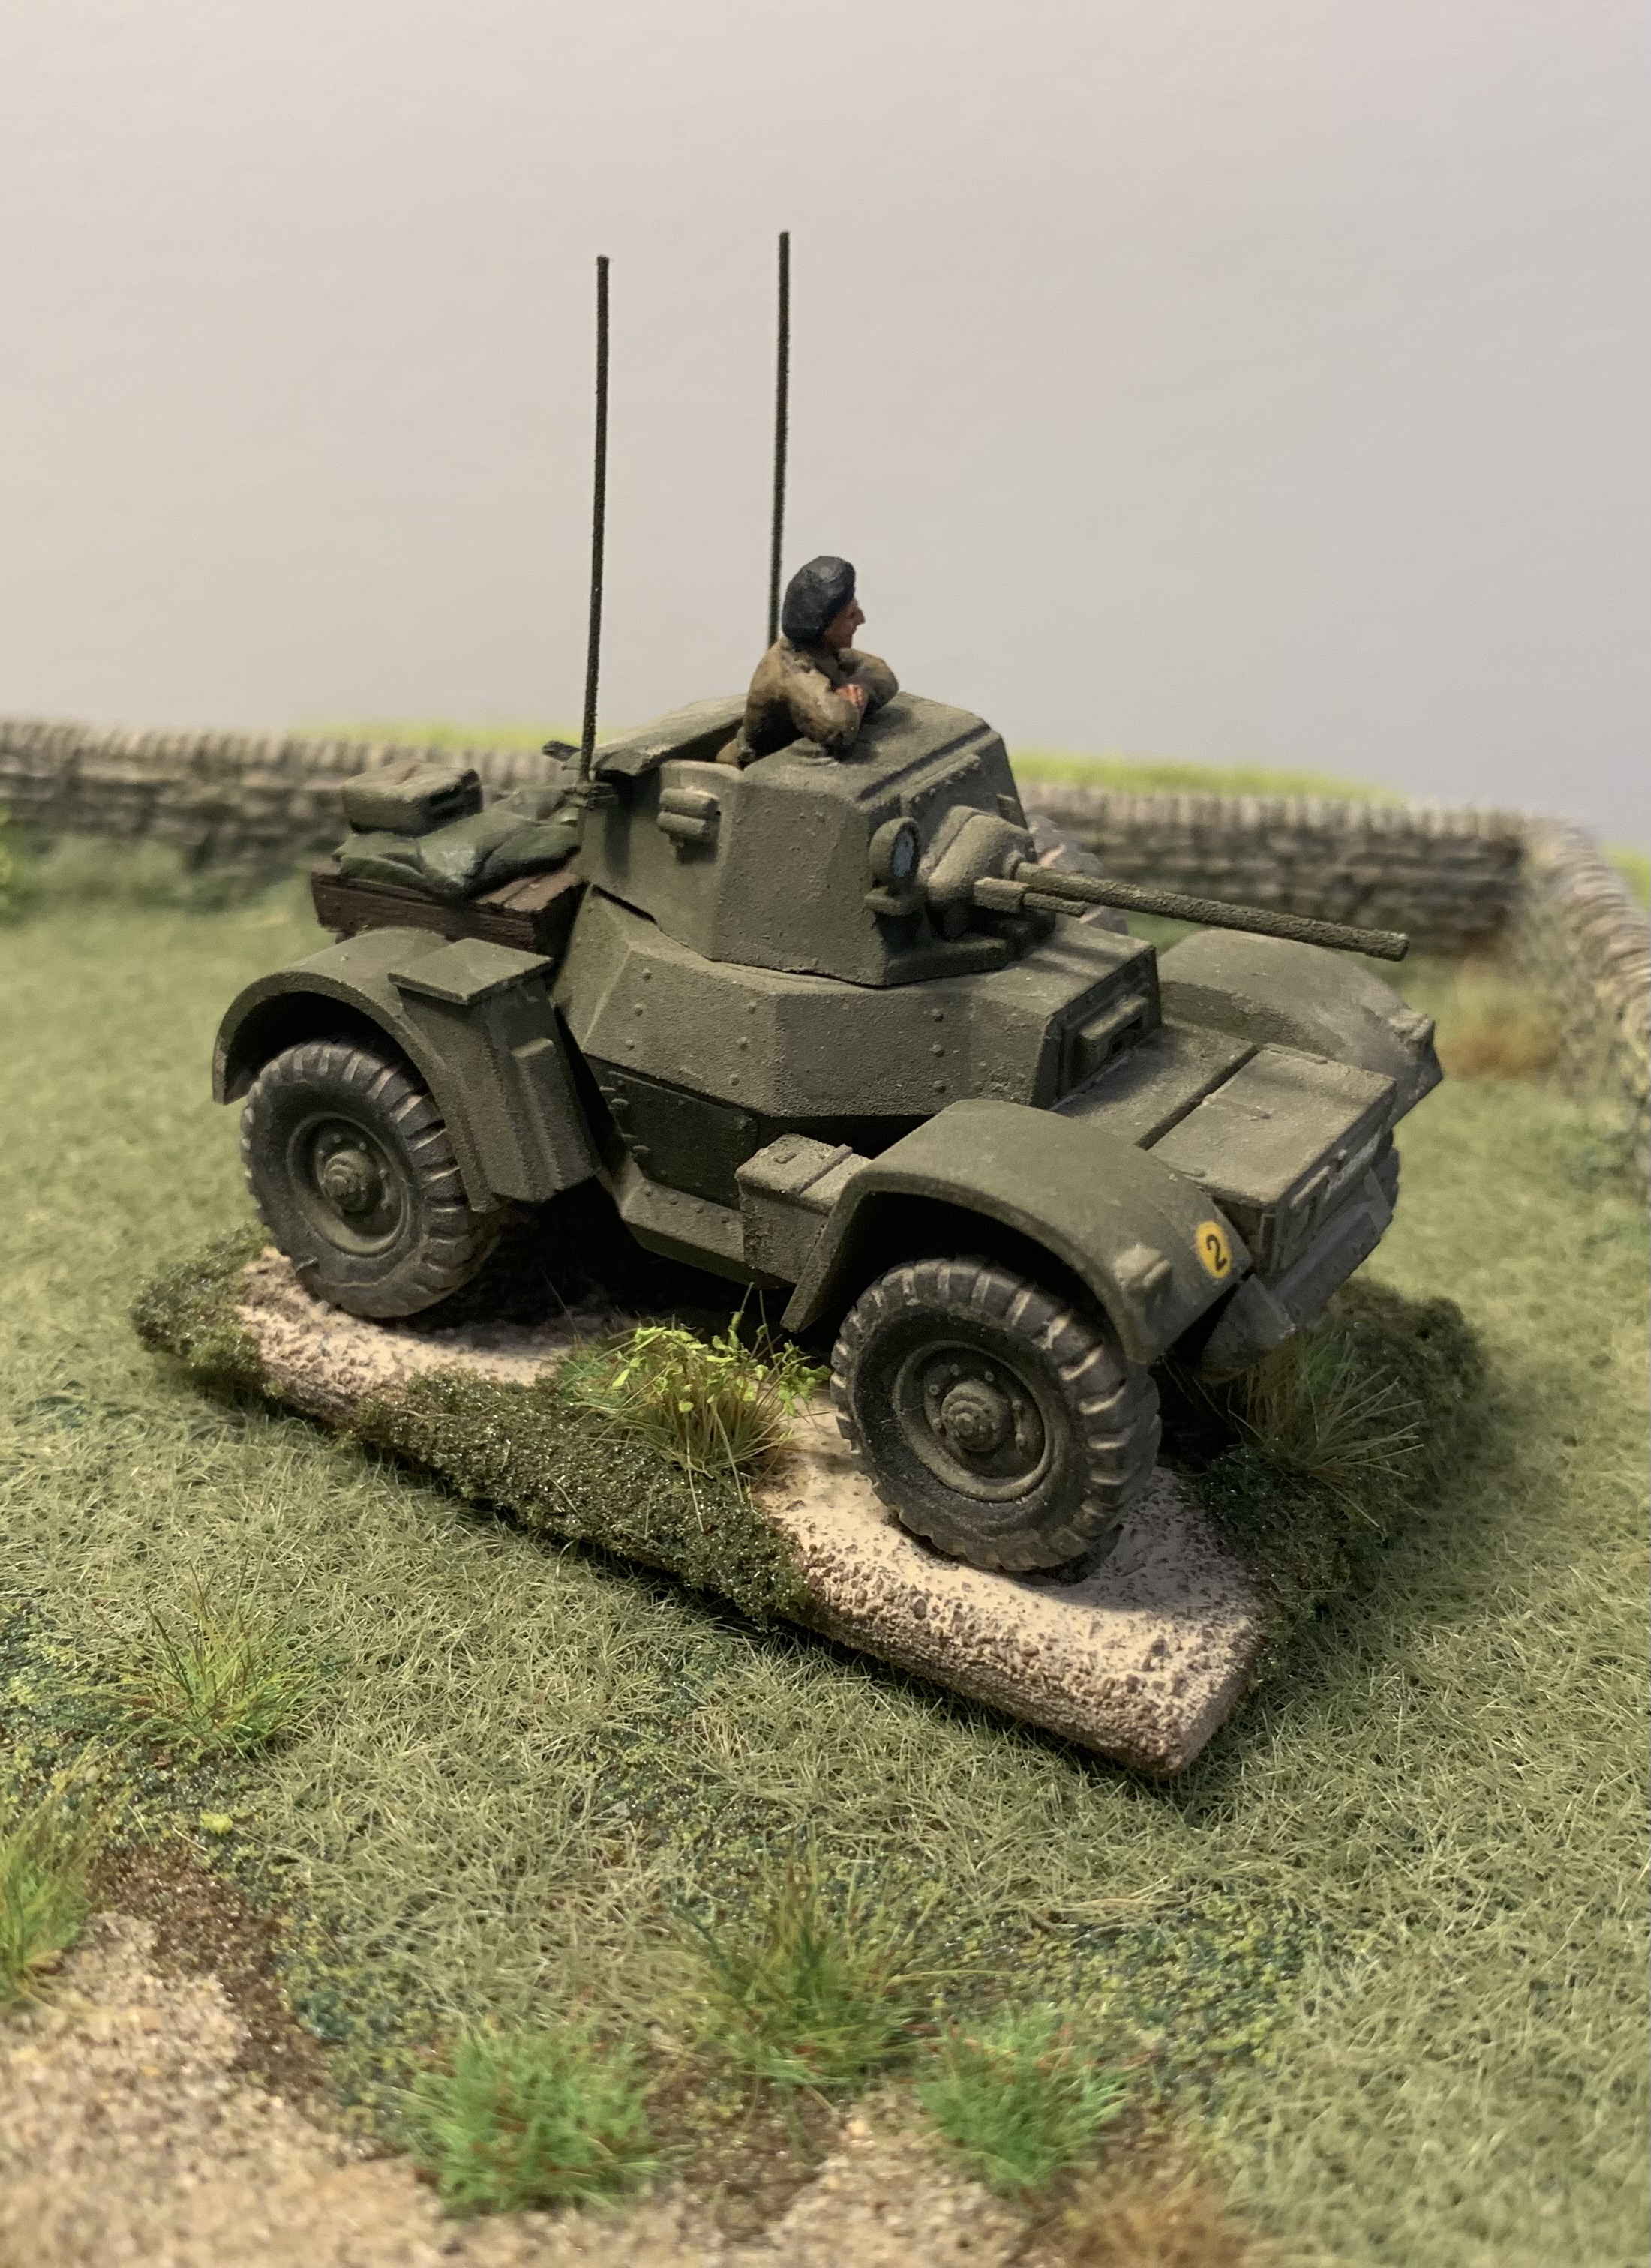
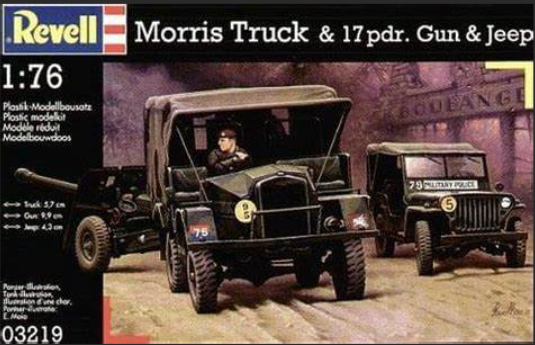
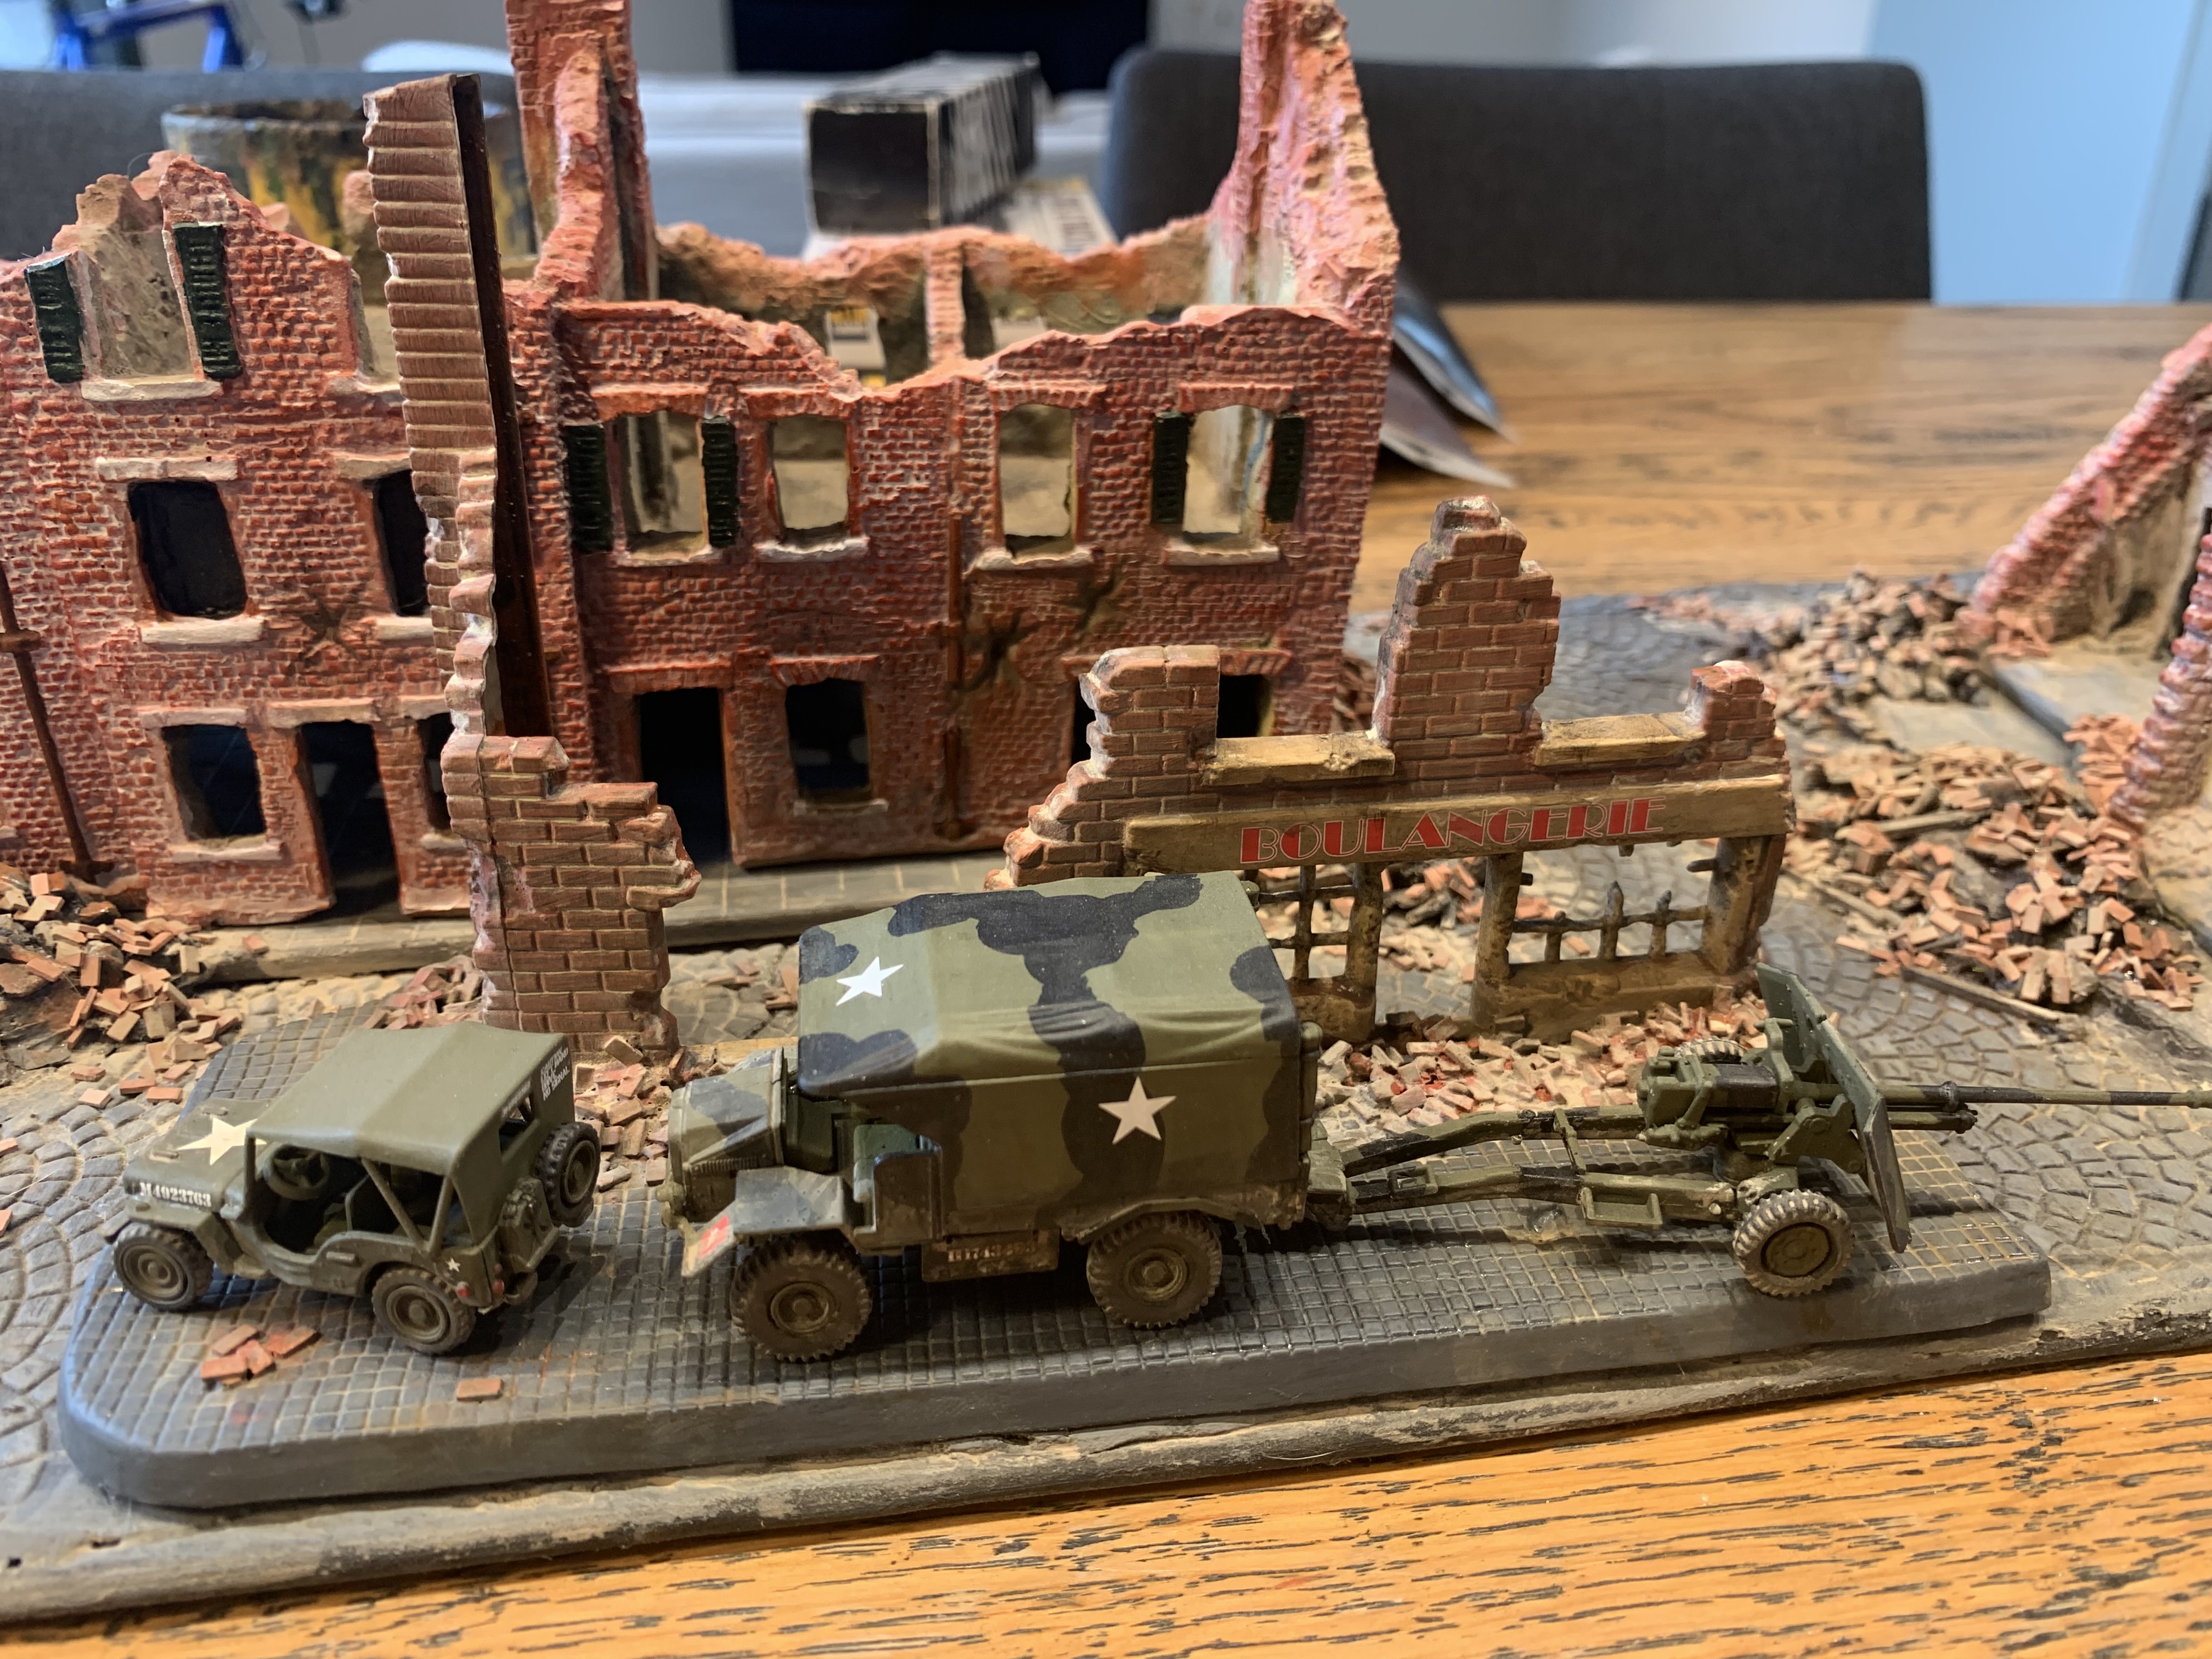
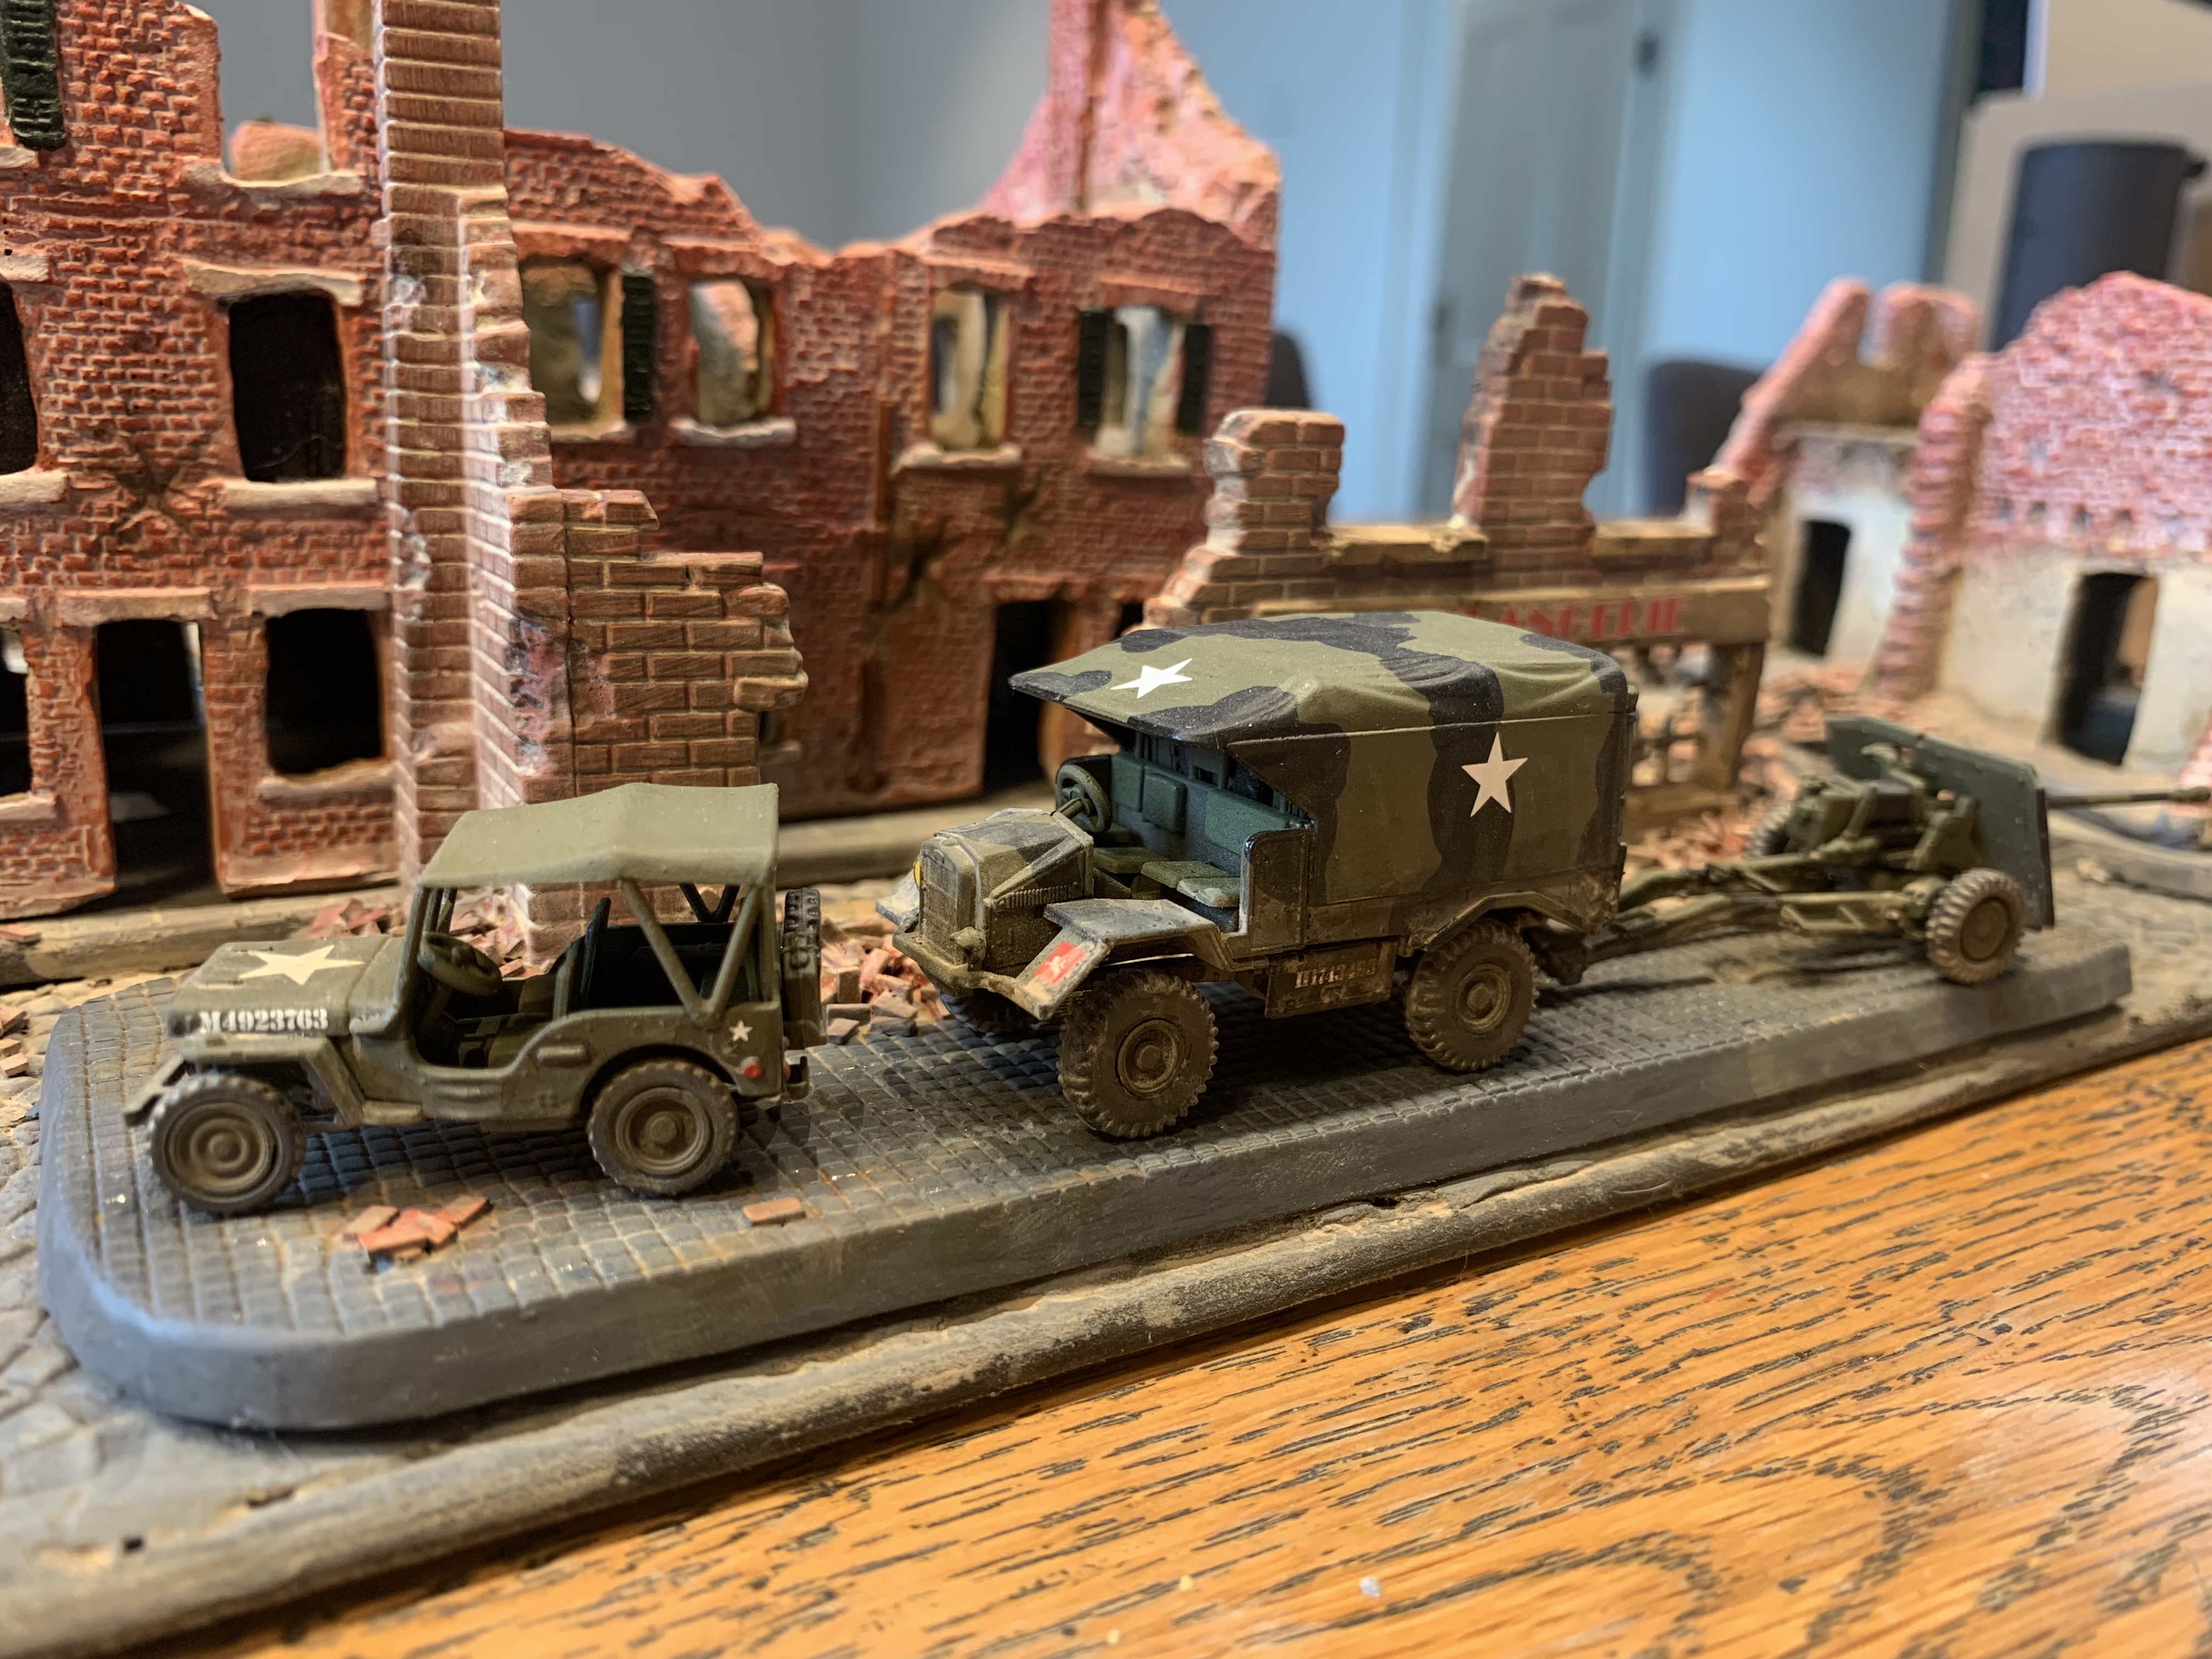
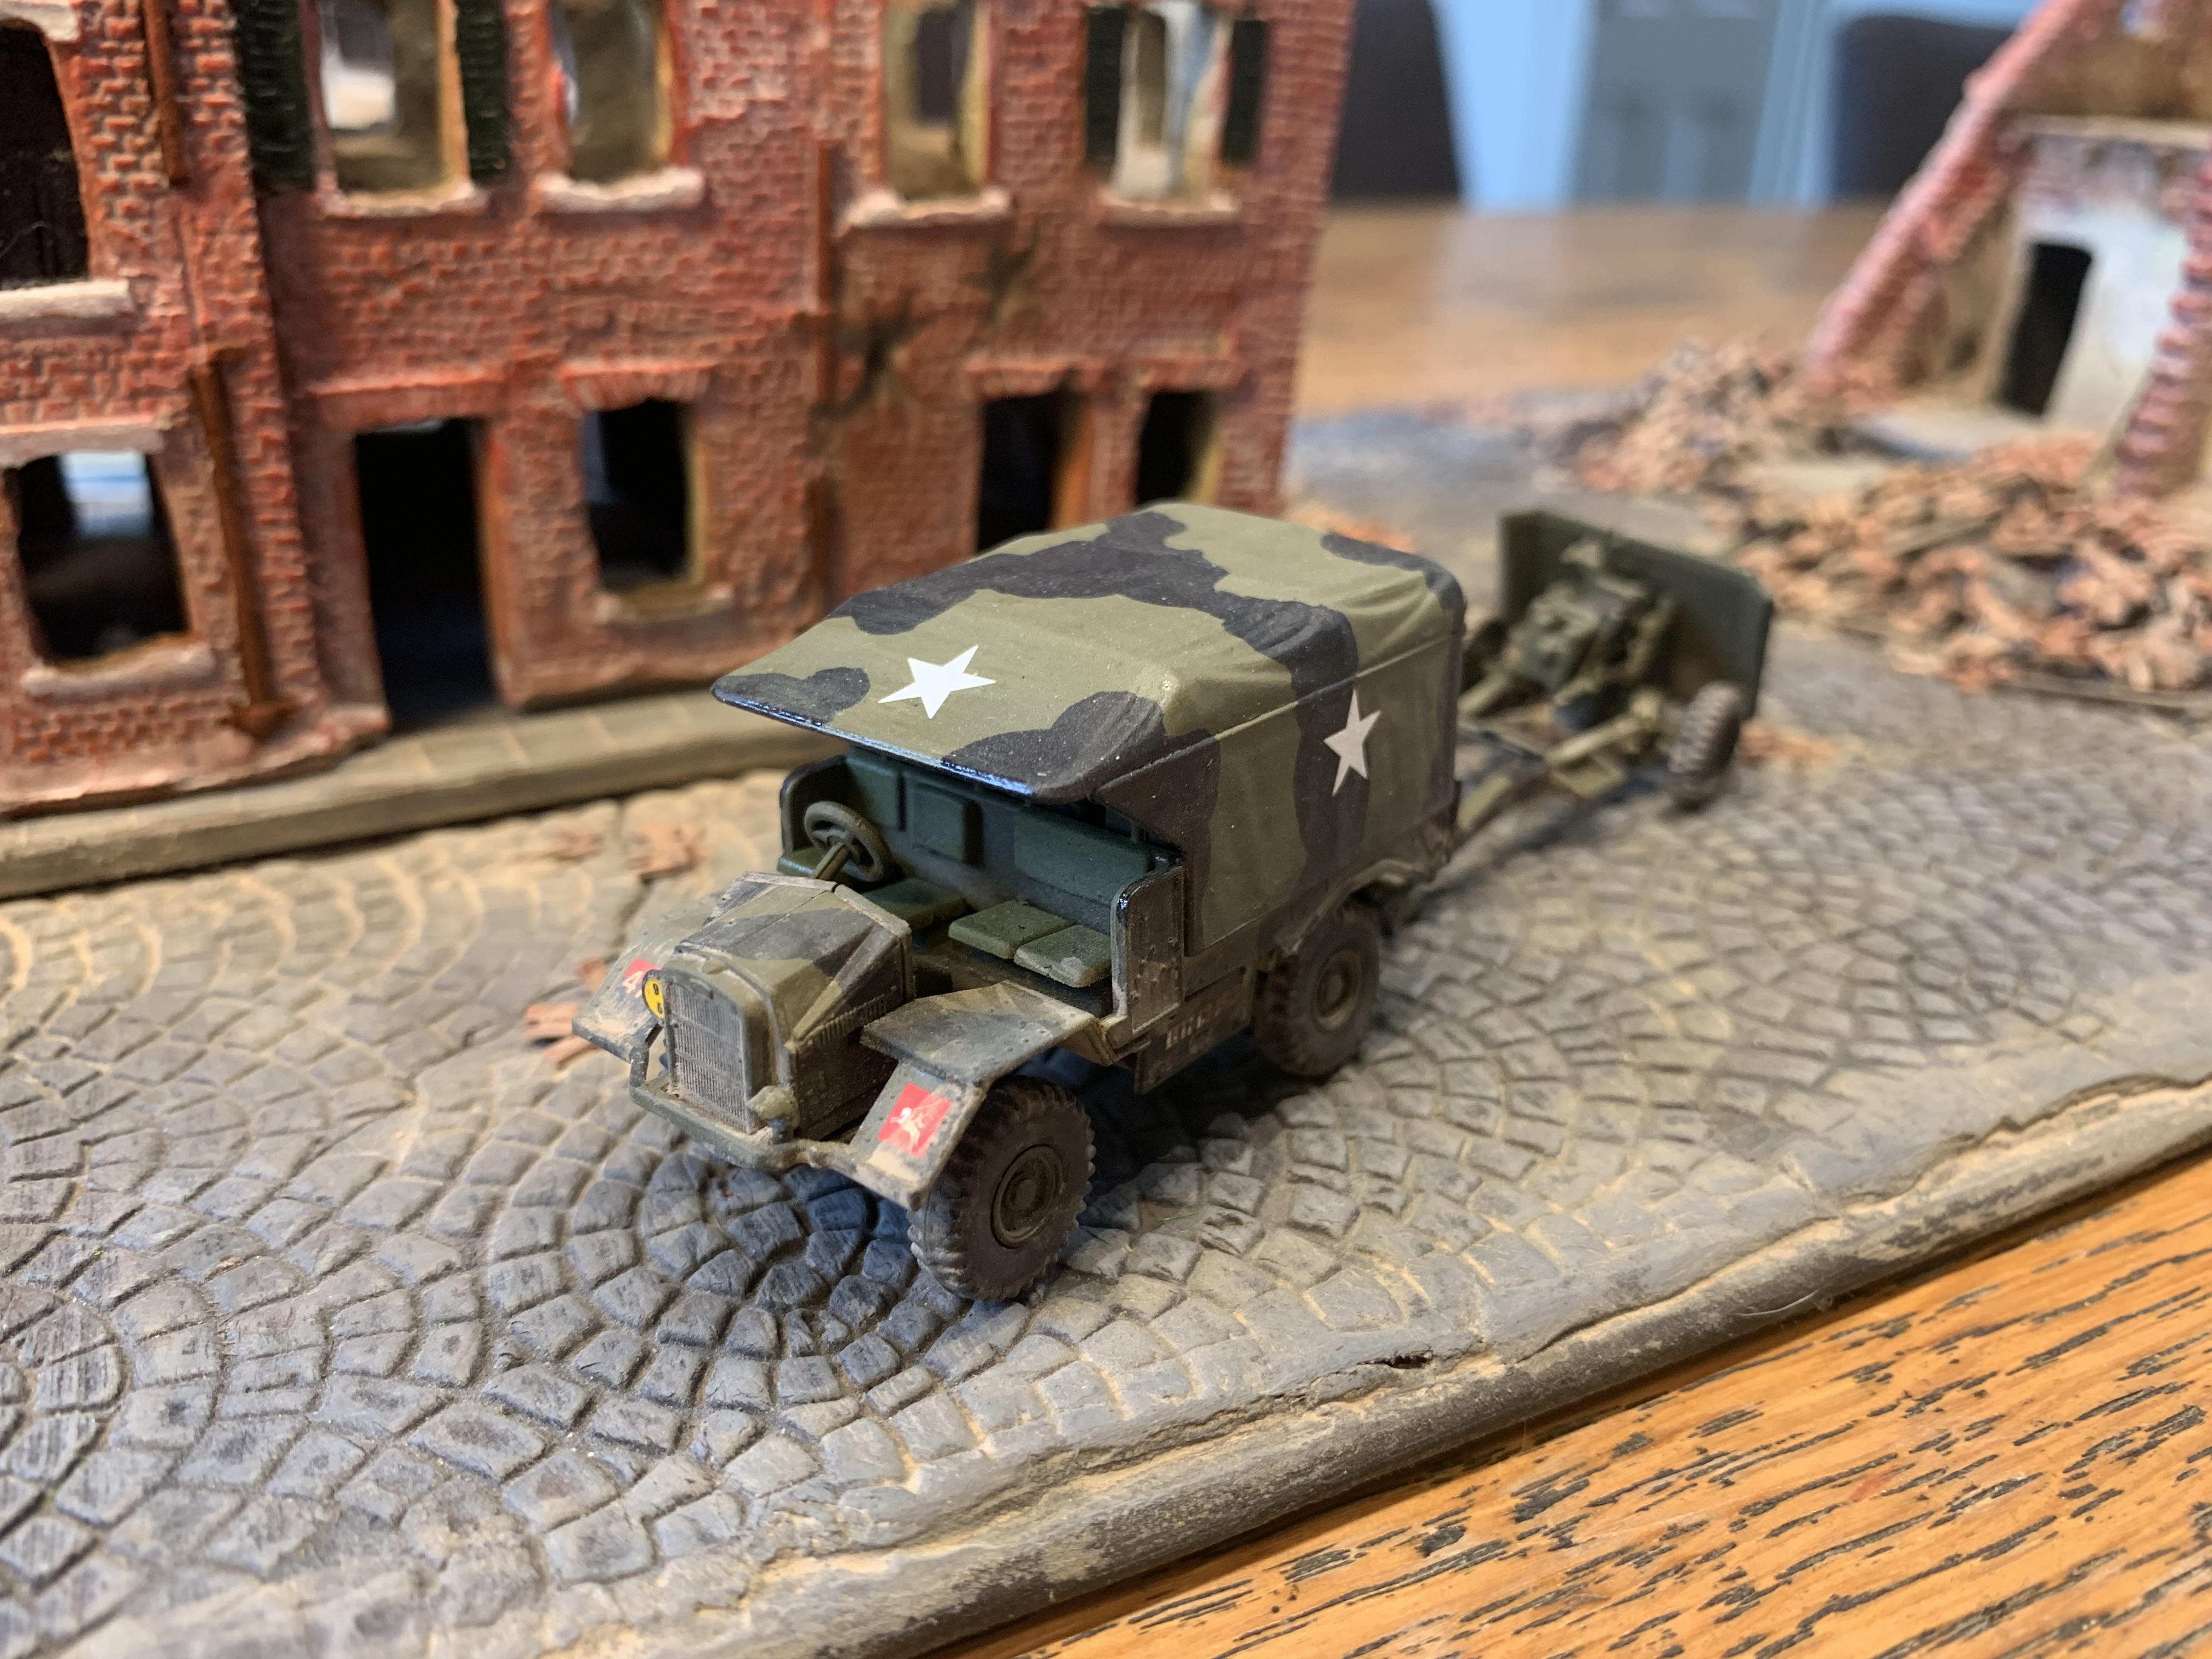
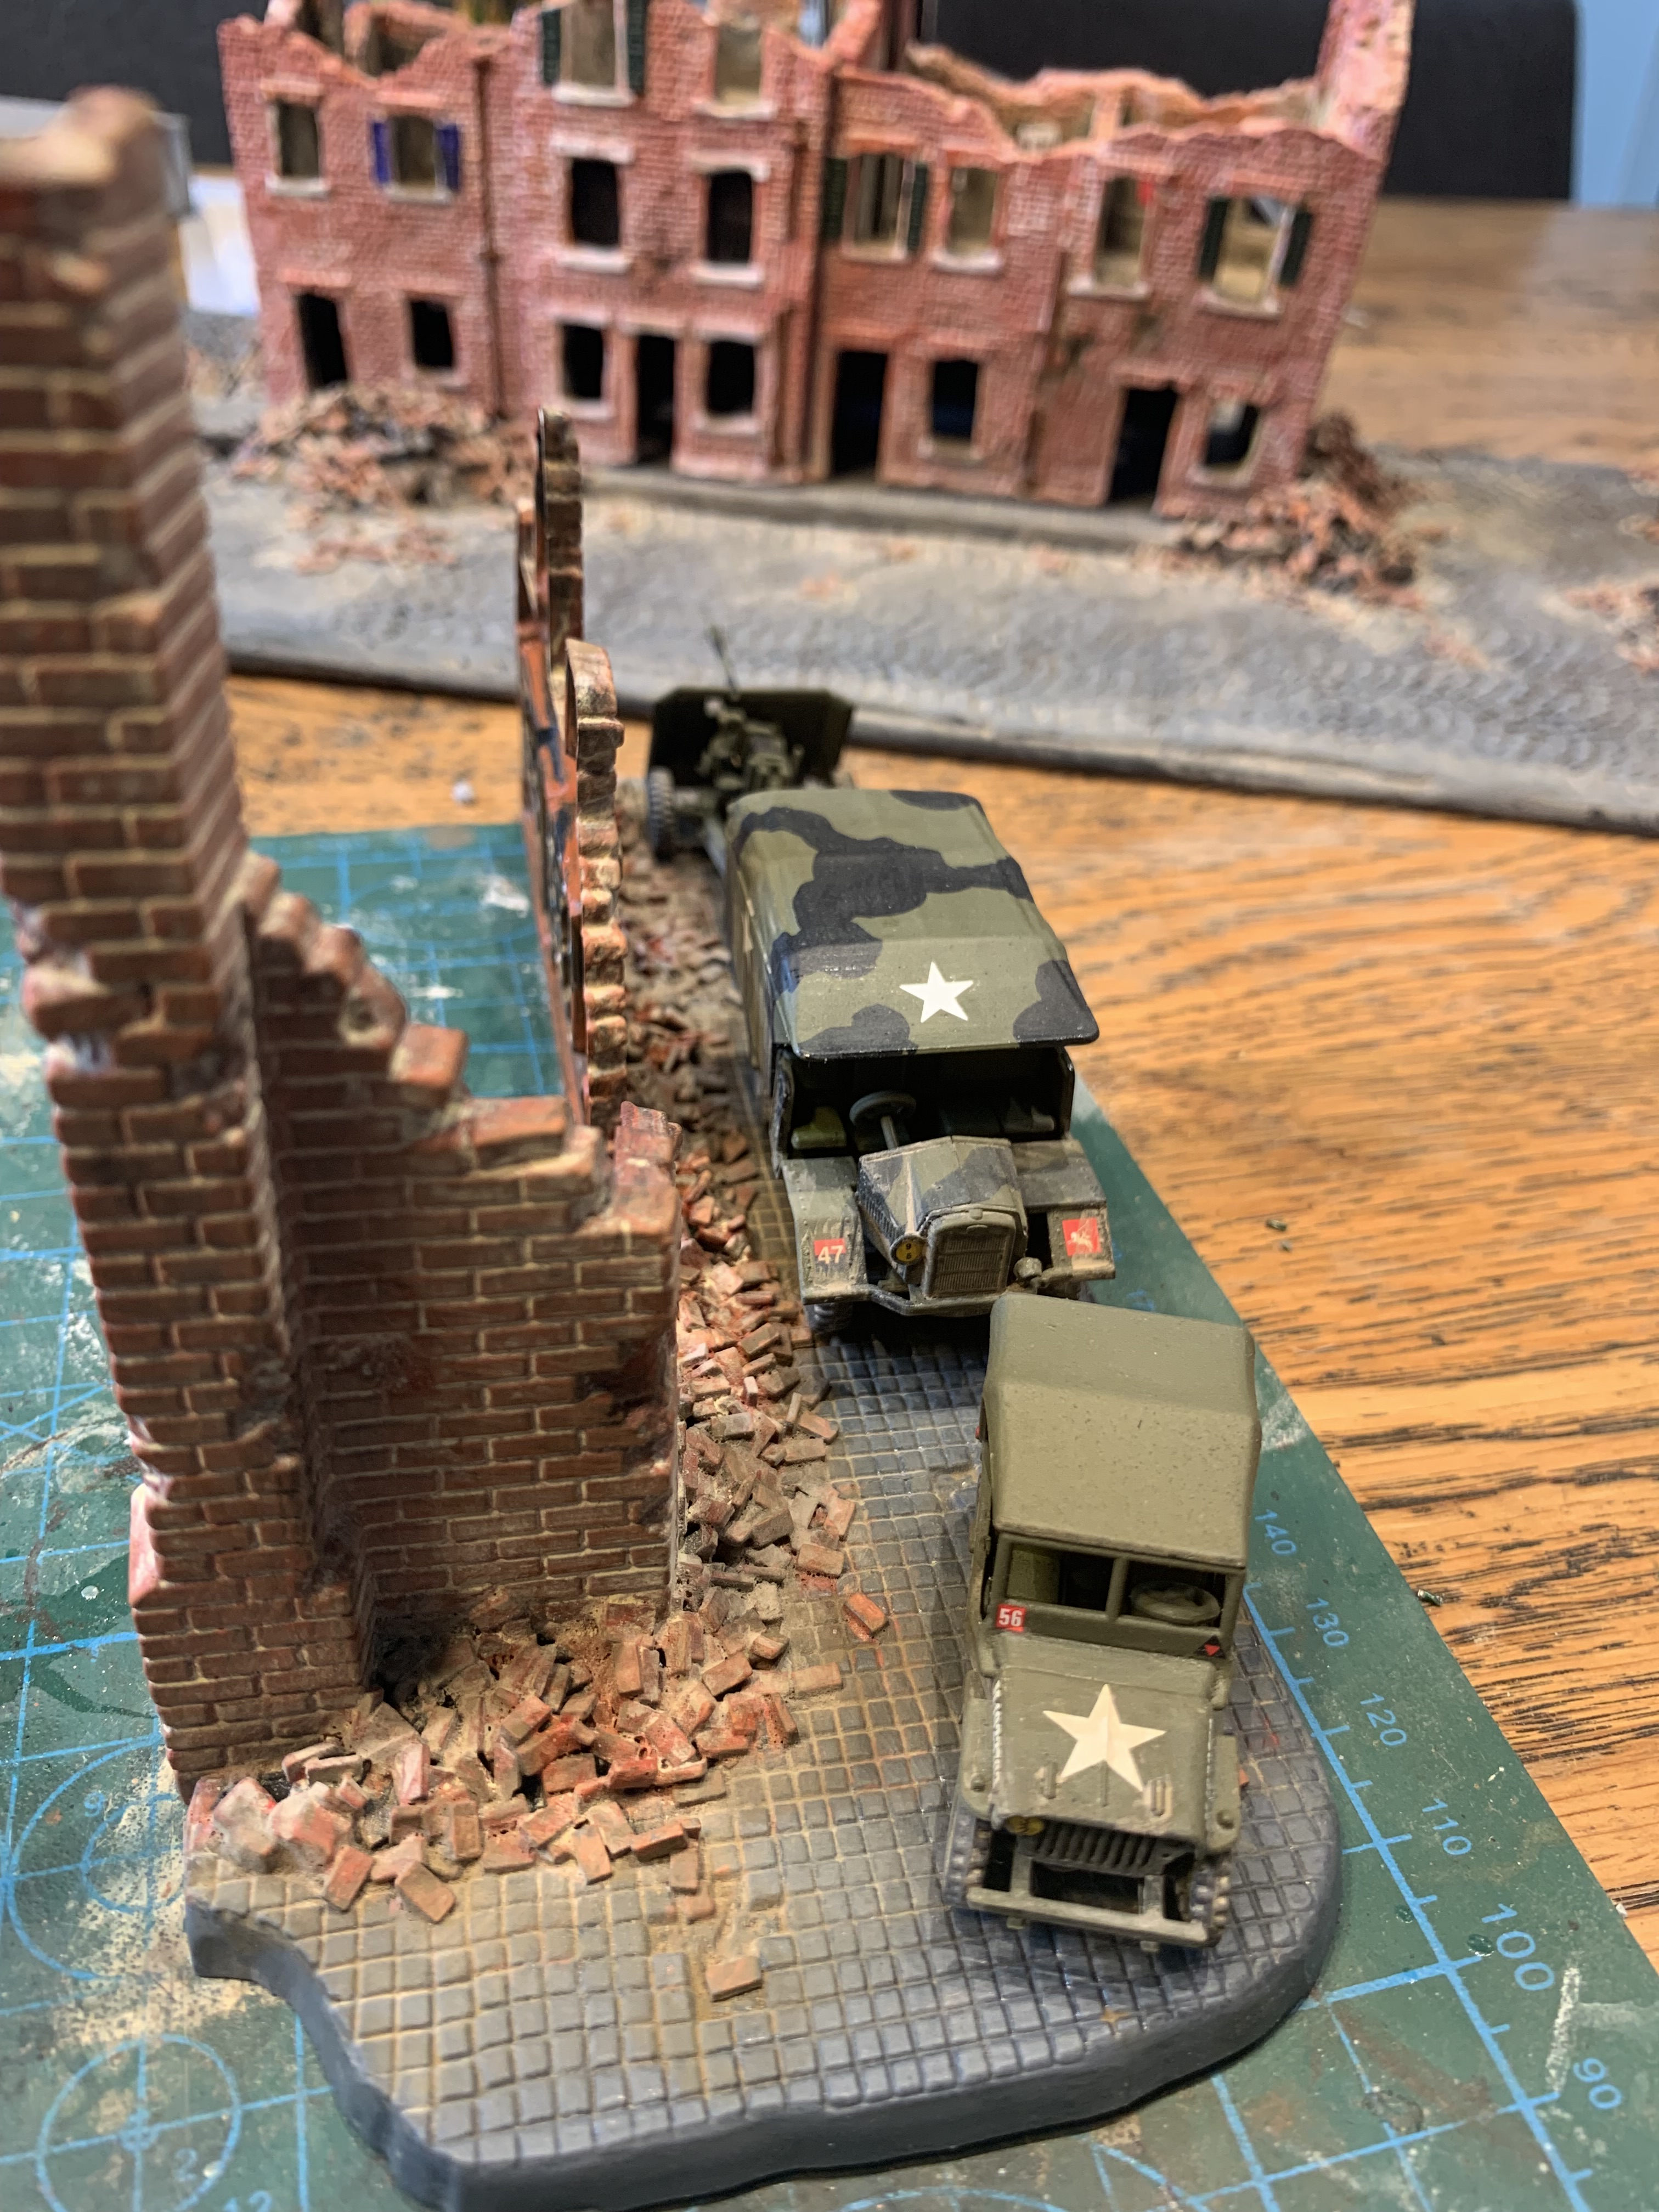
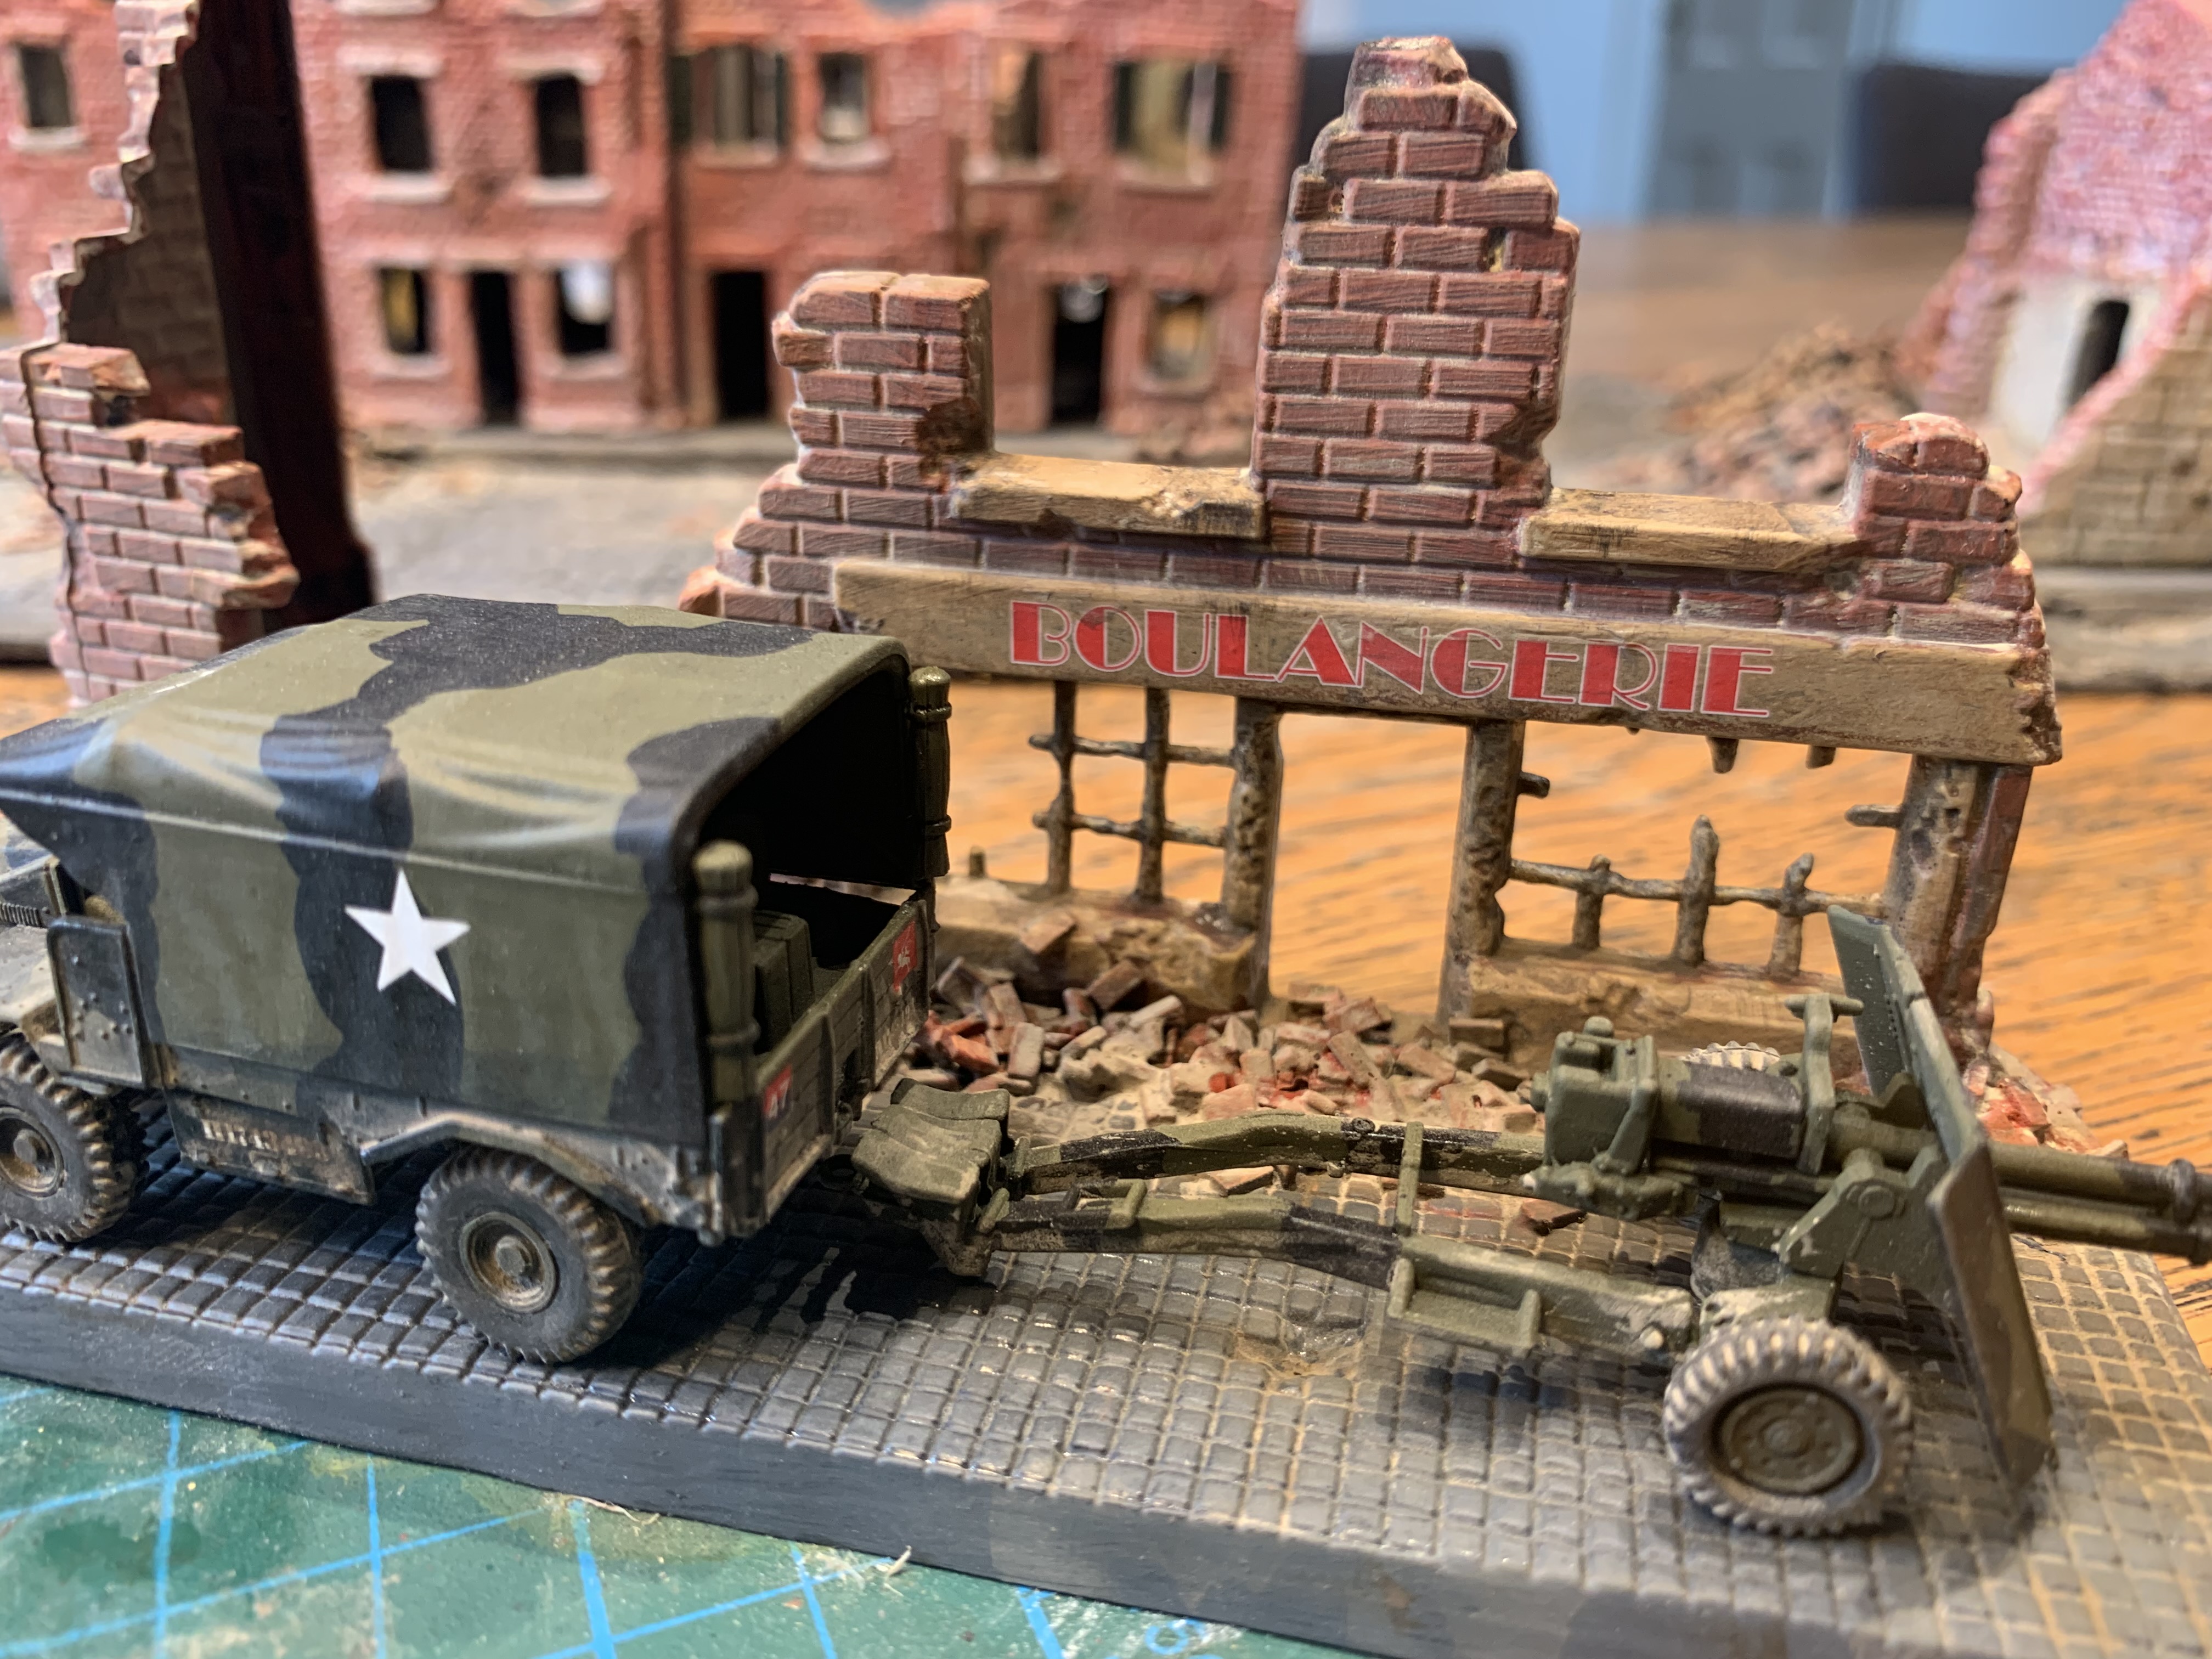
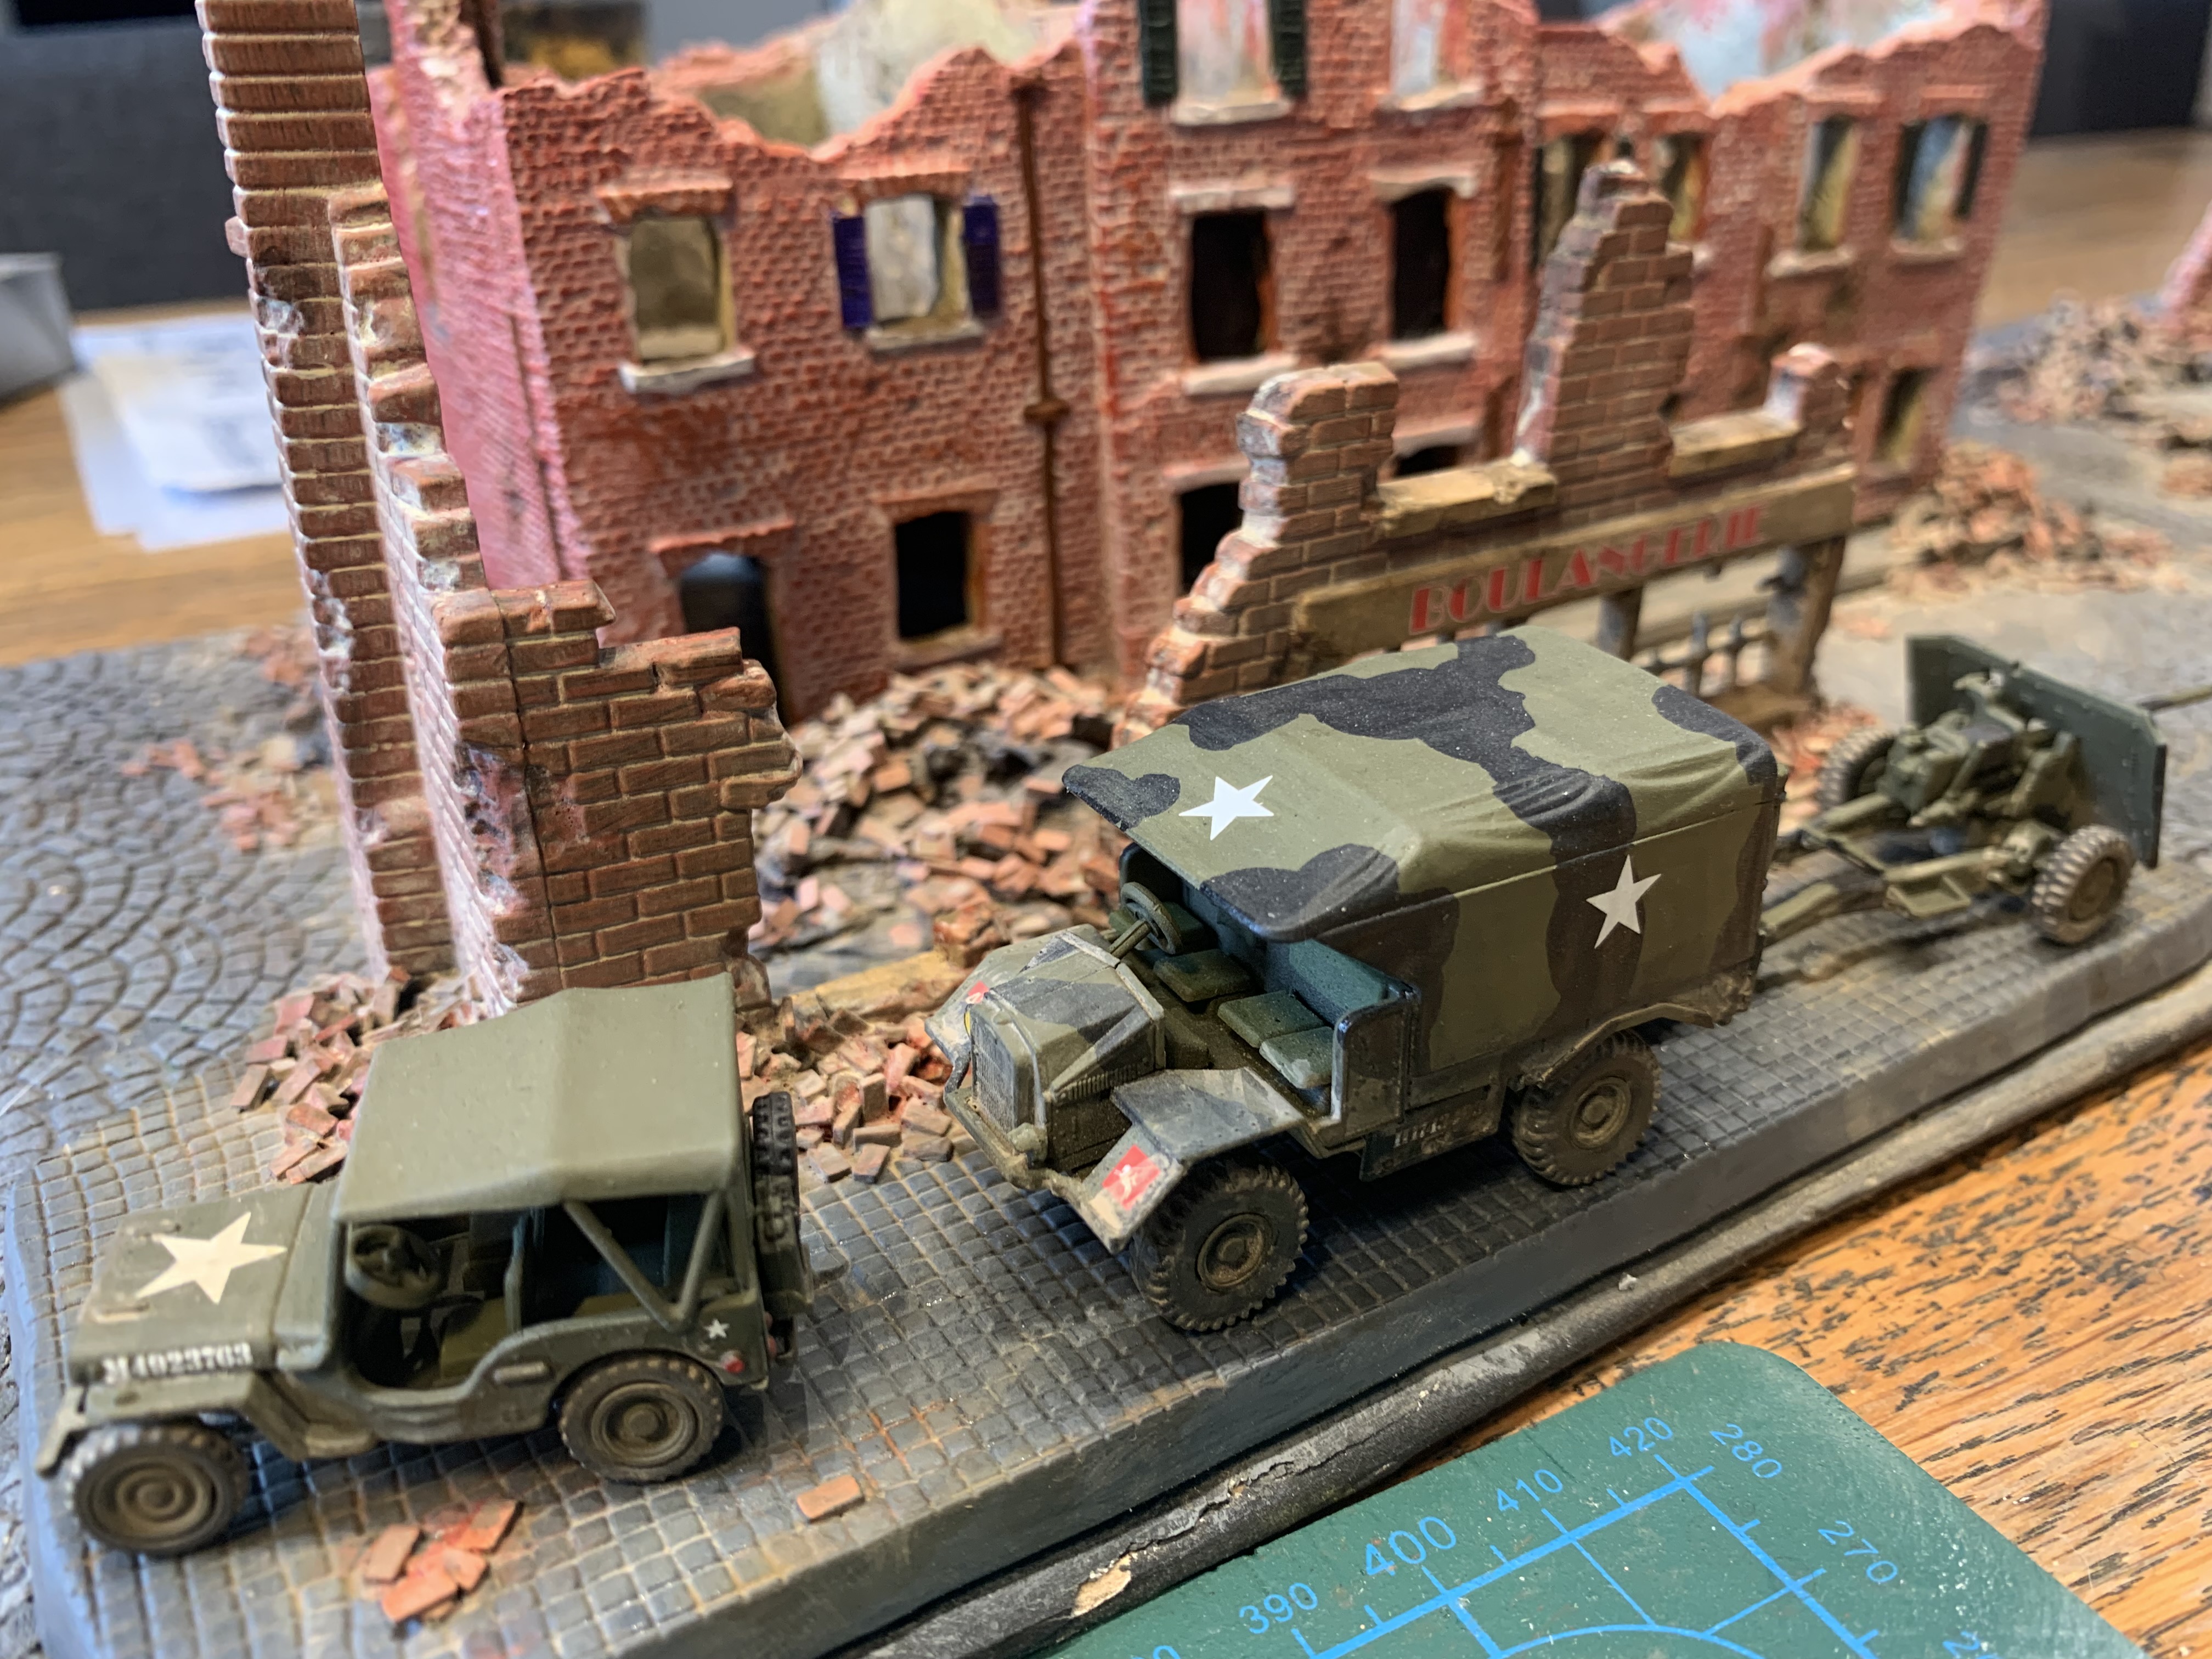
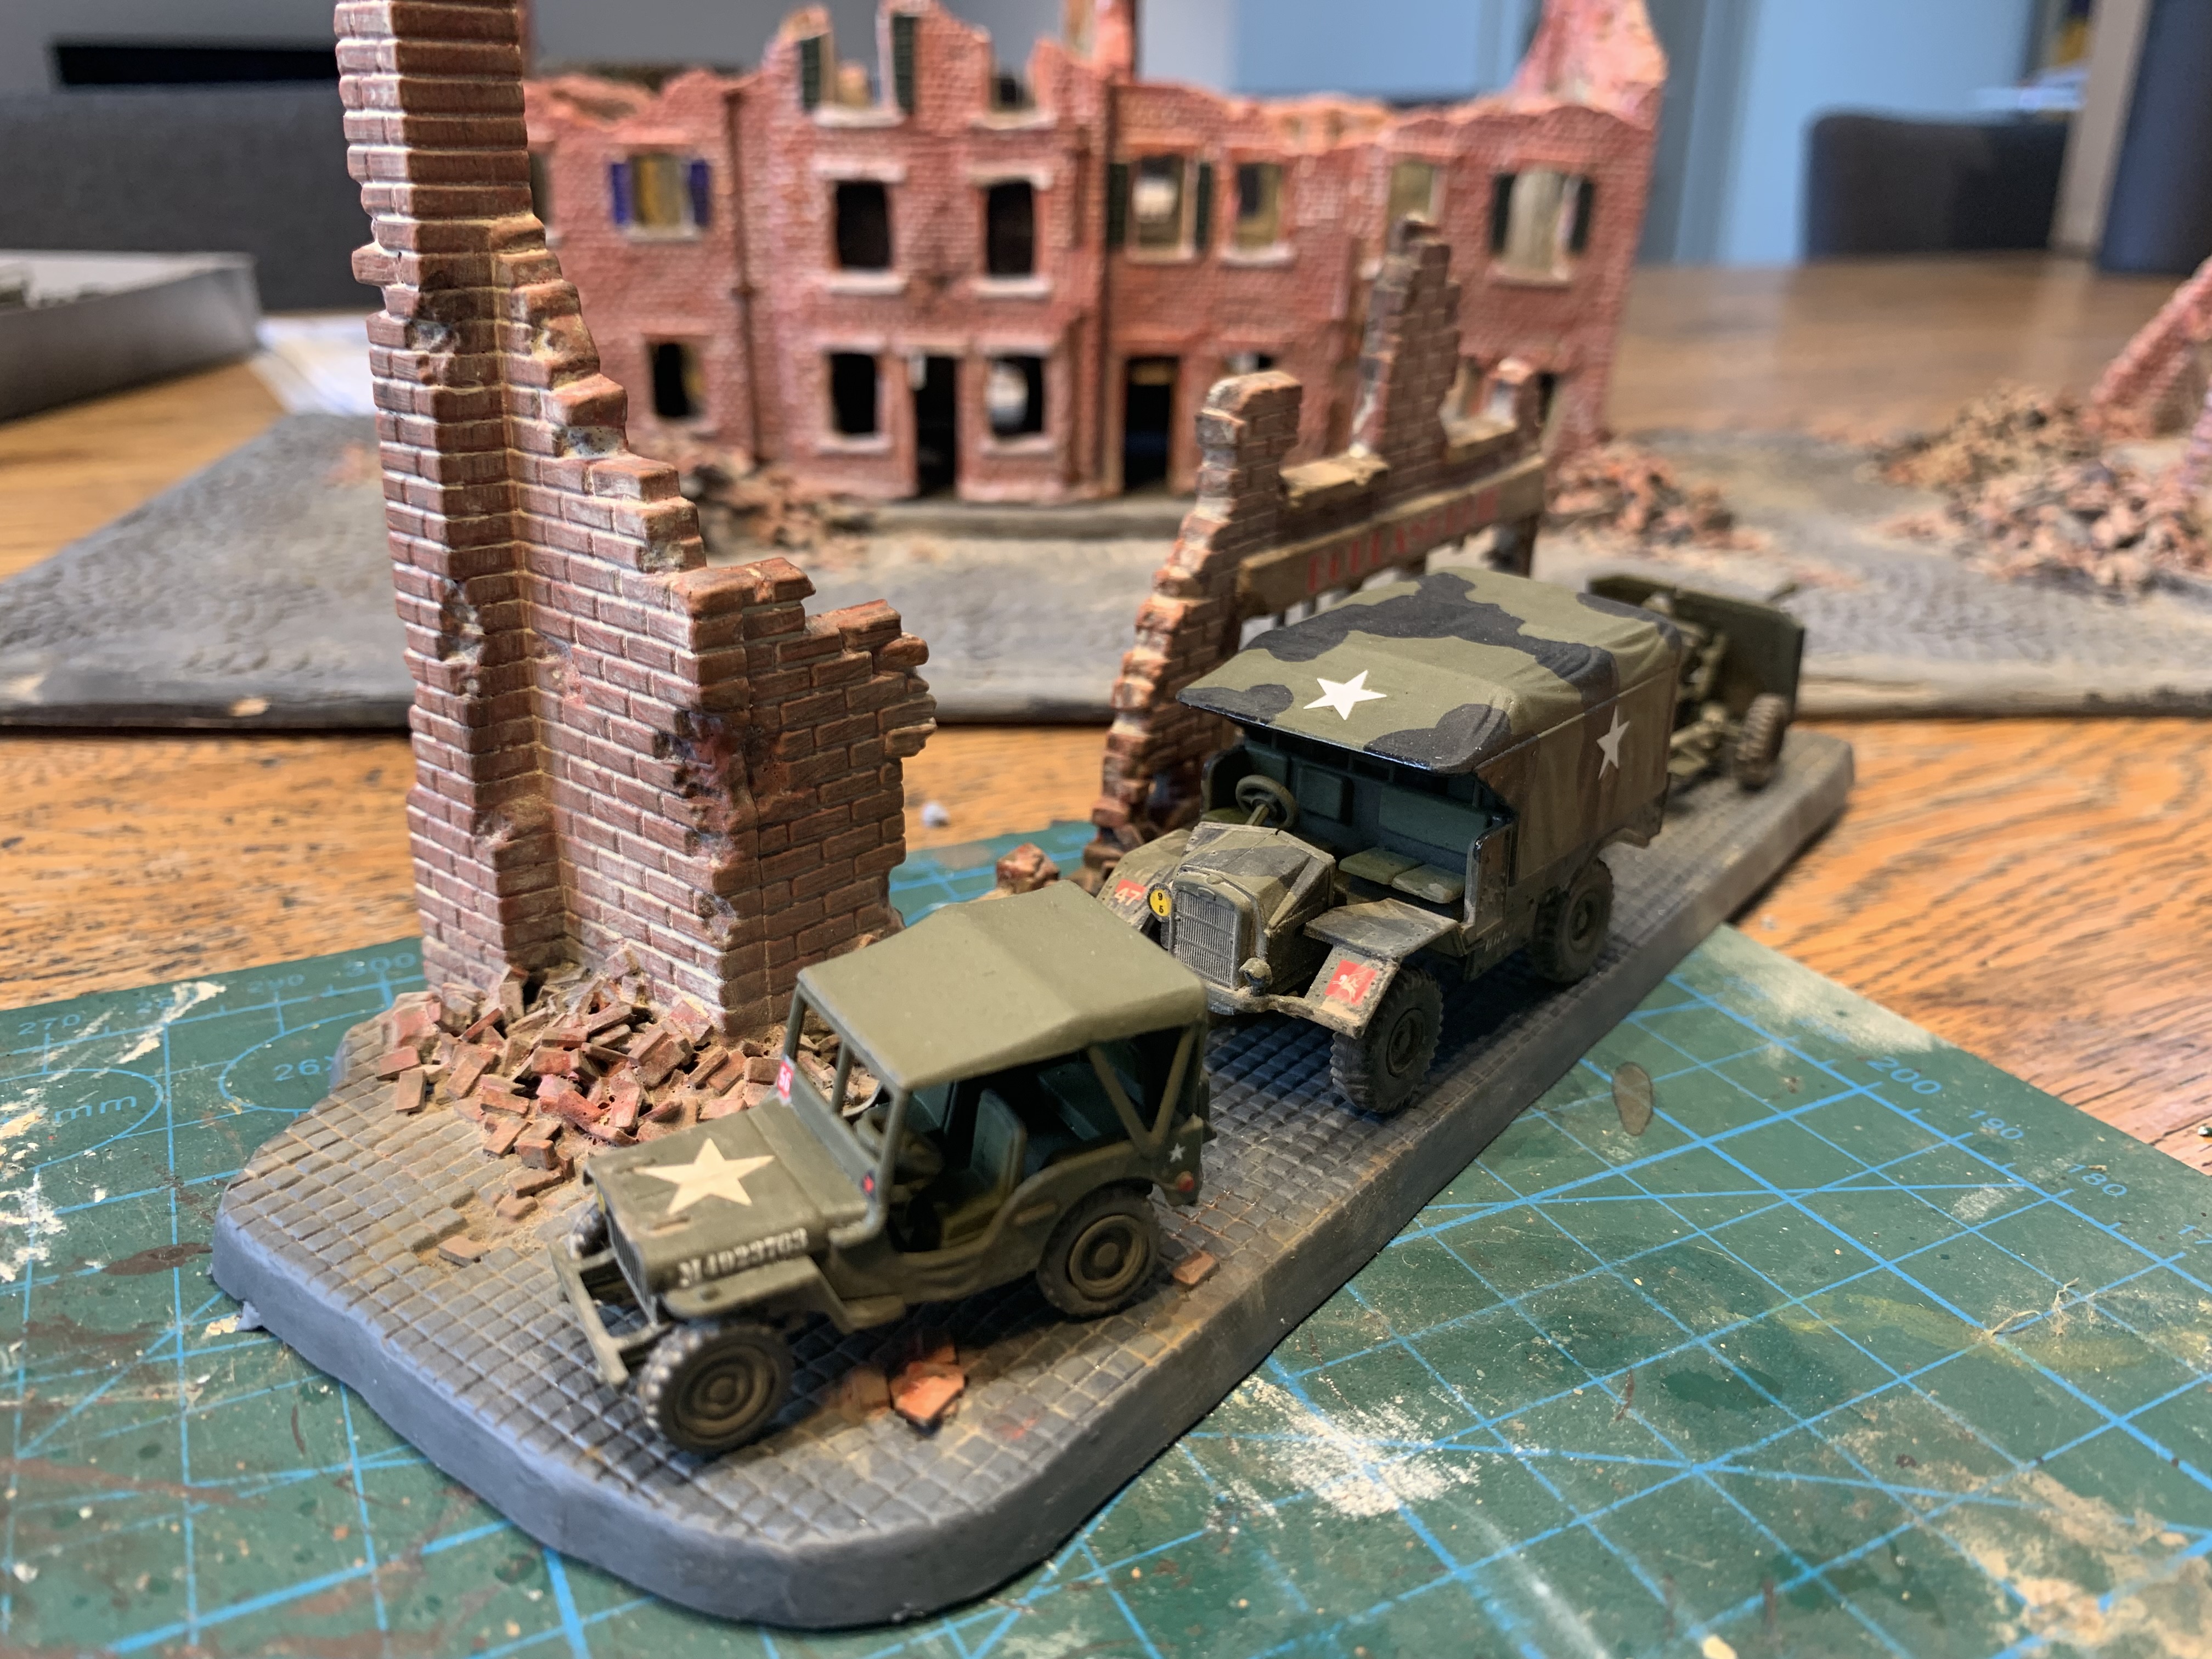
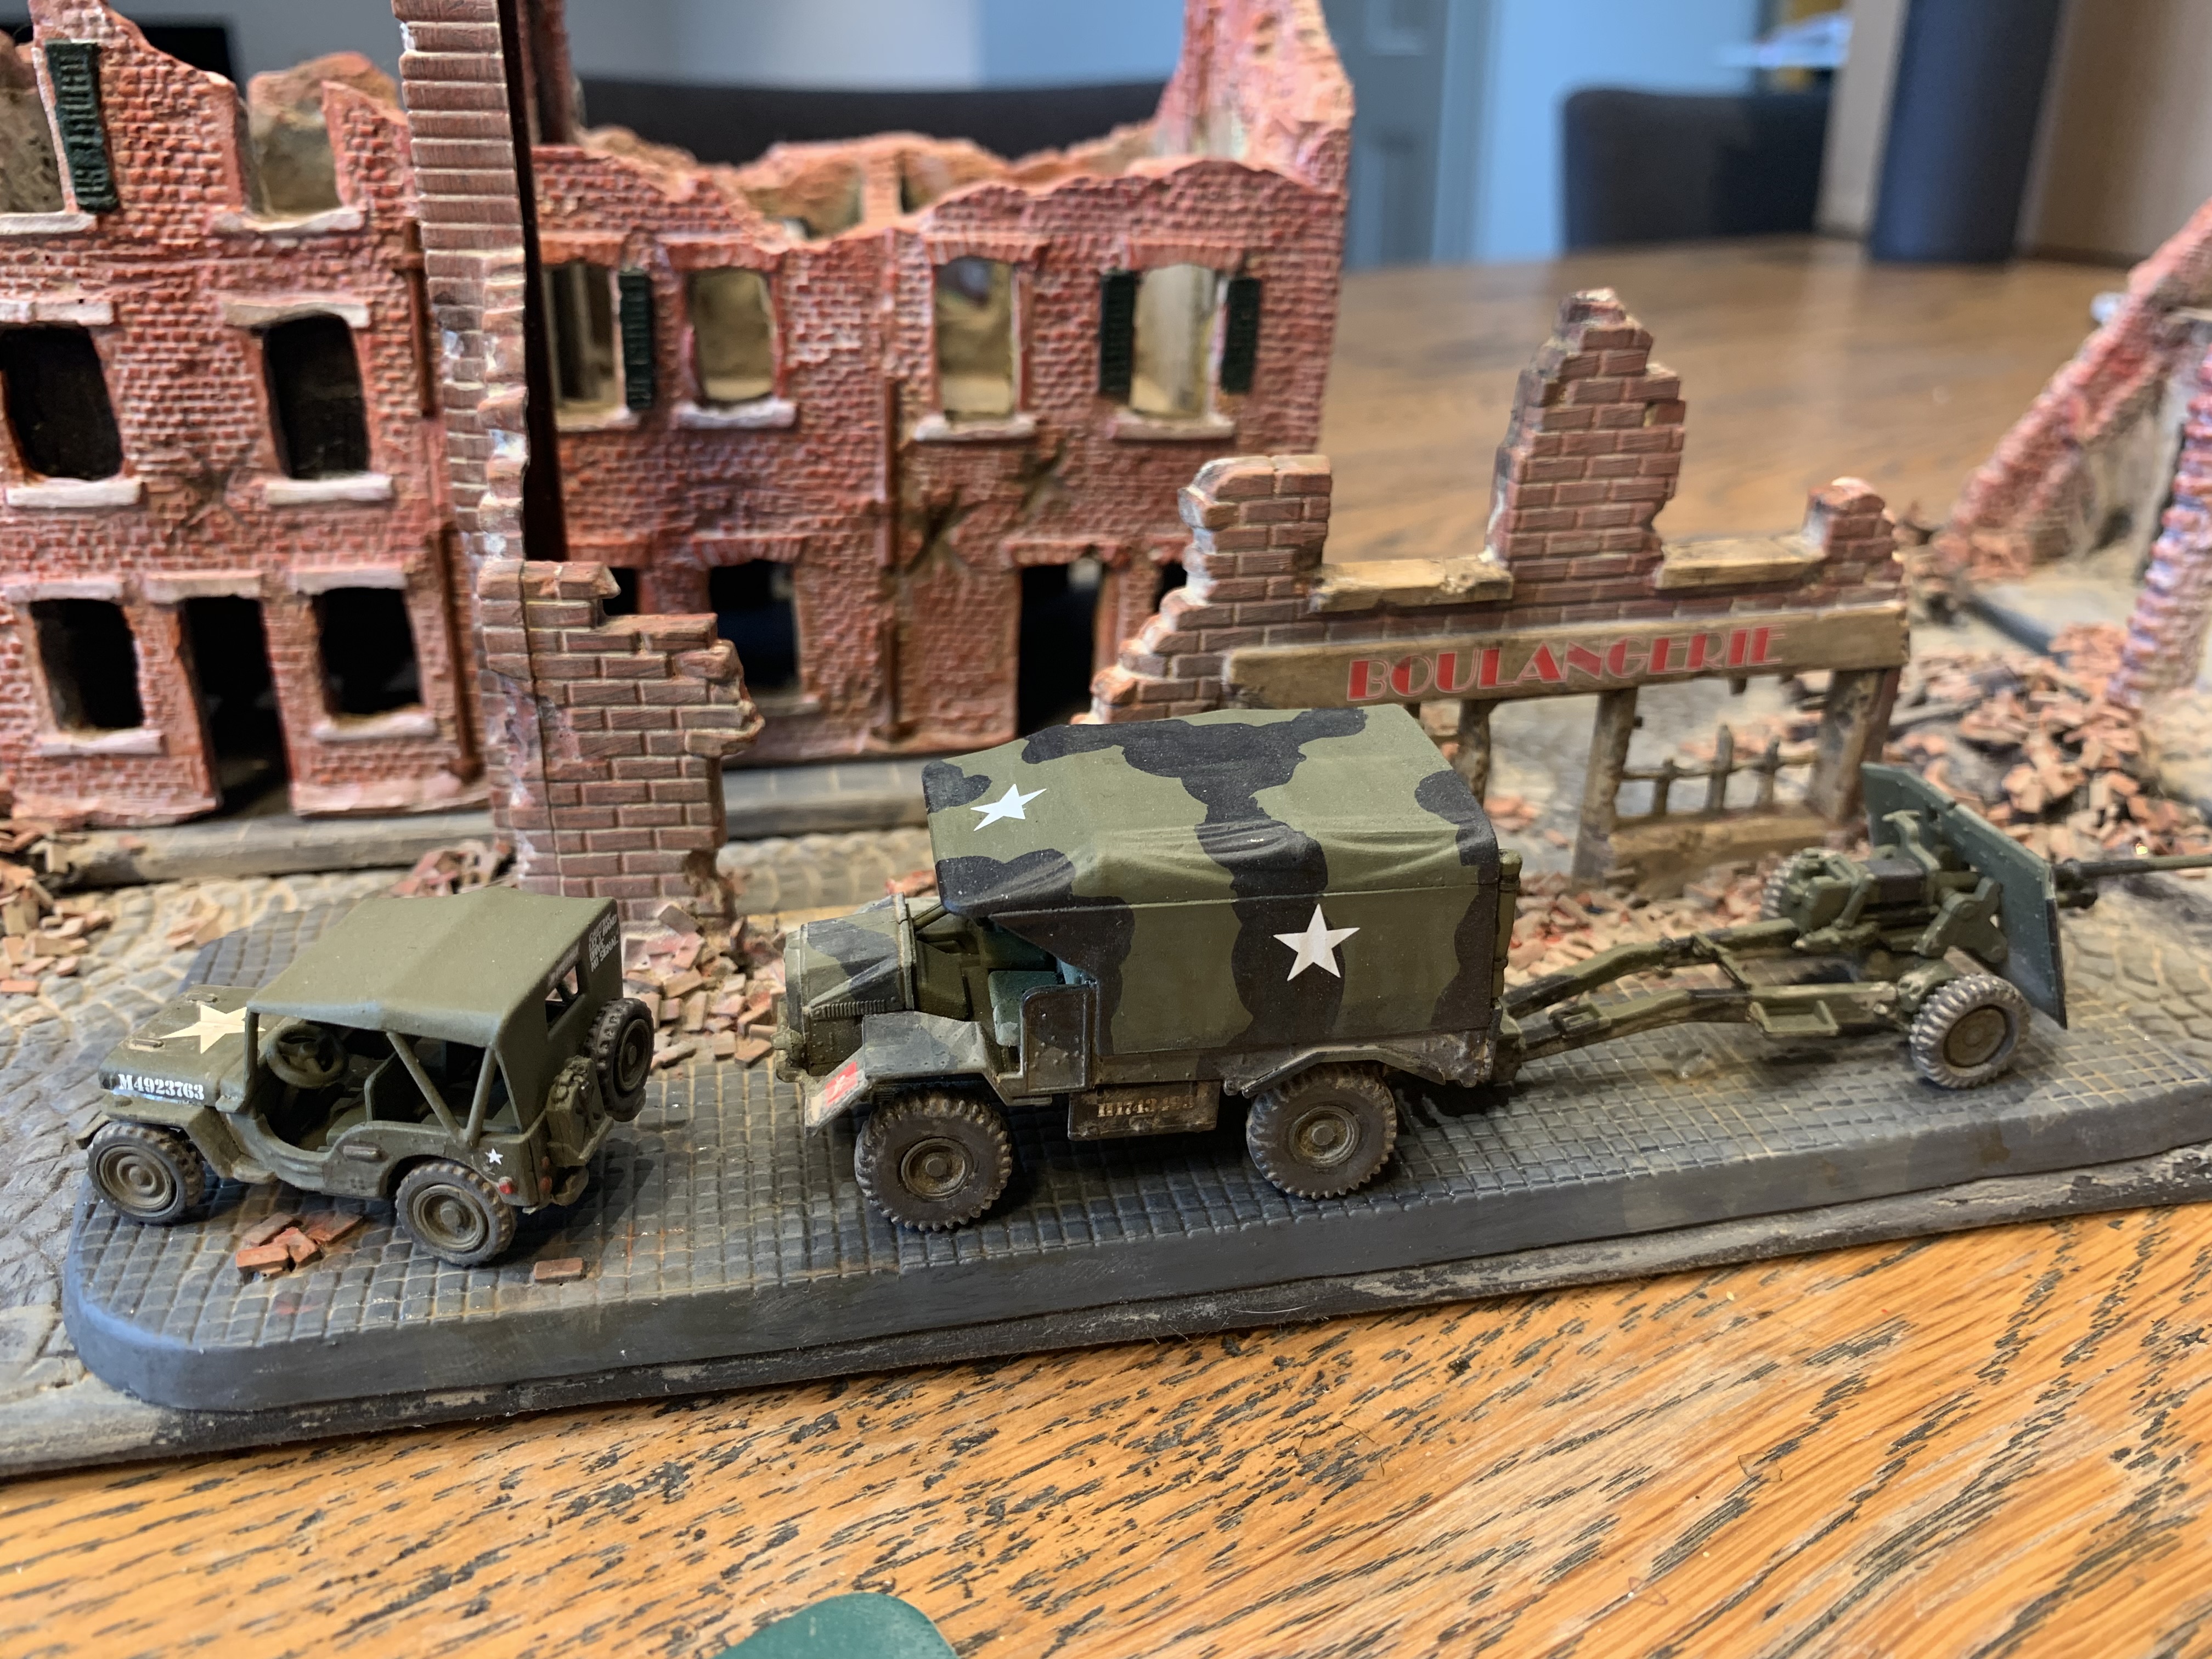
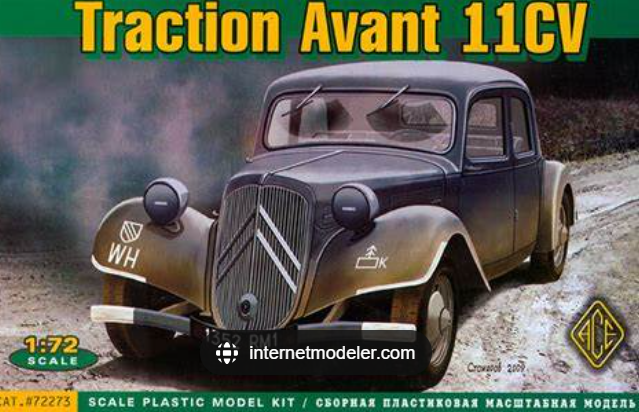
Plastic Soldier Company Horch Heavy Car in 1/72 scale

Another truck. This time a German heavy car that I picked up from The Plastic Soldier Company in the UK. They sell their kits in singles as well as in boxes of 3-5, so very handy to pick up smaller items. I think they had a sale which sucked me in to buying a heap more of their kits. I always really enjoy making their models. Limited number of parts, go together really nicely, plastic that is easy to cut, sand and glue, and overall detail good enough for the wargames table. I can get through a model in an evening no problem and get it all painted up by Sunday tea time.

This one is a cool truck, comes with a few options which is always nice. I went with the windows and full roof. In hindsight I may have used my tissue paper canvas roofing for this, although the detail on the tilt is much better than the last PST shenanigans. I did add some thin plastic for the windows and windshield. I struggle with vehicles with no glass in the windscreen. Imagine the dirt, dust and bugs in your face. Dark yellow finish with some chipping was the uniform for this guy. You get plenty of passengers to put in the back, but don’t waste too much time on them as you really cannot see anything but shadows back there. Different story if you leave the roof off. I used decals from my supplies as you do not get any with the model. Based on 3mm MDF as usual with some powders and tufties. I have him here towing his Pak40 (Airfix) and also with his Pak40 deployed with AB Crew.

PST Studebaker Truck in 1/72 Scale

I love building trucks. I will rephrase that. Usually, I love building trucks. I have never built a PST kit before. Except for the fact I have more PST kits in my stash, not sure I would be buying another PST kit to build anytime soon. This was a painful process from start to finish. Horrible vague instructions on like a photocopied sheet. No guide marks or holes for any of the bits. Plastic that doesn’t like my usual plastic cement. Even the sprue attachments are thick and positioned badly in some cases. So building this truck was down to a lot of trial and error. Mostly error. I still ended up with the whole back section too far forward resulting in no room to add the front mudguards. The cab was positioned too far back resulting in the front wheels being too far forward. This was very frustrating to be taking two steps forward before realising things are in the wrong place and having to take three steps back. The axles and undercarriage were very fiddly. It suggests some metal wire as axles in the instructions and I was not sure if they were meant to be supplied or not. Either way I had to use my own. The kit comes with no glass for the windows so by the time I got to this bit I could not face bothering with making my own….. The canvas tilt was super flat and looked like plastic so i did some tissue paper and white glue to cover it up and hopefully look more like canvas.

But it is a great looking truck. I really like the wing mirrors and the front winch. So after all that I was happy I did not just lose my shit and throw the thing on the floor. I used my own decals from somewhere else, but the decals with the kit do look OK. For comparison here he is positioned next to a Hasagewa truck (a much nicer kit to build).

Zvezda Pak 40 AT Gun with AB Figures Crew

Been a busy month doing lots of other things except finishing off what is sitting on my painting (dining) table. Still working on my Normandy village board which is time consuming to say the least. But looking good so far. This is a very nice little Pak-40 model from Zvezda, good value, speedy build and nice detail. Takes a few minutes to put together and that is it. Easy. My crew are more excellent productions from AB Figures plus i added a fifth man from the Zvezda kit as I liked the pose he has taken sitting on the gun arm (leg?). The gun received a dark yellow spray and just a dirty brown wash. I glued two crewmen onto the base first, the ones with bases so i could blend them in to the base with clay, and then paint the base easily before attaching the gun. The crew all had an oak leaf type camo uniform except one who just got the camo helmet. I painted the officer with binoculars with a camo jacket even though he has the Y shaped webbing, and I don’t think his jacket is meant to be camo. So not sure that is correct, but my care factor is low on accuracy. Base was textured with fine sand and other powders. I added an old rusty barrel, hope its empty, and some tufty bits. You also get some boxes and ammo with the crew, so they were added for extra clutter. Kapow watch out Mr Cromwell behind that hedge.

Plastic Soldier Company Chevrolet Truck in 1/72 scale

Another cool truck this time from The Plastic Soldier Company. I bought just one sprue of this little truck as they had some sale on over there in the UK. Very simple one sprue of soft grey plastic. Nice chunky detail as always from these guys. It is a super quick build, although I did pre paint the two crew that come supplied before constructing the cabin. A few additions also add value to the vehicle. I found a pair of spare wing mirrors in my bits box that were added, you have to have wing mirrors for effective combat driving don’t you? I also added clear plastic windows as things do not quite look right without a working windscreen. You do not get decals with any of these PSC kits so I raided my well stocked decals folder for some random bits and pieces. Oh yes and I really did not like the handling of the canvas rear cover, it looked way too unnatural at the back. So I chopped out the back section and replaced it with a rolled up bit of foil and string to represent a canvas roll down door thing. Much better.

Paint scheme i did an overall olive drab for the cab and chassis, and a khaki for the canvas back. Then did a mickey mouse black camo scheme over the top. He is a groovy little truck. Lined up next to him are the Airfix bedford and Tilly from one of their diorama boxes.

Vespid Models Jagdpanther in 1/72 Scale

My second build from Vespid, the first one being the most excellent A34 Comet, and another cracking little kit. Not the cheapest (i think $25 ish), but well worth the dollars. Lots of cool detail, PE parts, options for different versions, nice decals, nothing to really fault it. These newer kits just go together easily. I left the hatches open (on the Trumpeter and Zvezda kits you cannot), and added two excellent AB tank commanders. Also added my own plastic aerial.

Painting I sort of copied the box art with a brown and dark green splotchy camo over usual dark yellow. Some brown washes and plenty of european earth powder. I also added some muddy texture under the hull above the tracks. Tracks were done quite rusty with highlights using a pencil for the metallic effect.
Overall lots of fun and well recommended. Now I have four finished Jagdpanthers that is more than enough …… he said never………

Trumpeter Jagdpanther in 1/72 plus SHQ Tank Riders

I have built one of these Jagdpanthers from Trumpeter before, but somehow discovered another kit in my ginormous stash. Funny that. Who knows what lurks at the bottom of all my plastic containers filled with kits. It was a nice easy build for the second time as these Trumpeter kits are pretty quick to put together. One piece rubber tracks superglue well and on this model I added the side skirts for something different. I think all the hatches are moulded shut so unless you want to do surgery no commanders will be popping their scones out of the hull. I added an aerial as usual for essential communications with troop leader. Not that Jadgpanthers were very common in Normandy it’s a pretty cool tank to add to my forces. I have another one to go (a Vespid kit) but that will be more than enough. To make this one a bit different I added a squad of SHQ tank riders to the back hitching a ride. Great group of figures in nice poses. I painted them with a German Field Grey from a new paint set I bought. Good thing about Field Grey uniforms as they cover a heap of different shades, and you cannot really get it wrong. Also popped a panzerfaust onto the back just in case of emergencies. Felt like some extra camo foliage on the 88mm gun which was just bits of lichen and bandage sprinkled with flock and leaves. He will be able to sneak around in the bocage now far more stealthily.

IBG Models Bren Carrier in 1/72 Scale

I finally finished up the second IBG bren carrier i had lying around in the never decreasing pile of kits. I was building up the courage to attempt the smallest link and length tracks in the universe, for the second time. I really like IBG kits, they are always really nice to build. Clear instructions, pieces fit easily together and lots of detail. They give you loads of decal options too which is great for building up a collection of spares. My only gripes are the super delicate bren guns supplied – I managed to destroy two of them by breathing on them. They were replaced with two metal ones I had which are much sturdier. The front bren I cut in half and added last after I had added the crew as it had to fit through the firing window. The individual tracks are always going to be tricky and not for anyone with especially big hands or bad eyes. I tried a technique of using tape to keep the little links together so i could glue them and then bend them into the right shape to fit around the sprocket wheels. This sort of worked. IBG do provide a template to build the tracks around but I could not make that work very well either. So there is no way round it, it is a fiddly exercise. My conclusion was to be patient and glue two little links together at a time.

I added some excellent AB figures crew who fitted very nicely, except for the driver who needed some help ie surgery on his lower extremities so he would fit nicely. Also two aerials were added from washing up brush bristles. I had some stowage from Value Gear and also a rusty bucket from somewhere. It was nice to get my tiny British insignia decals out for the crew if you look closely at their left shoulders. I would still recommend the Plastic Soldier Company carriers as an alternative, especially if you would like to avoid the immensely fiddly tracks………

ICM Sd.Kfz. 222 IN 1/72 Scale

I picked up a couple of these excellent ICM armoured car kits. It ended up being an accidental double up with my over zealous shopping forgetting what I had in various shopping carts. But this was a Bob Ross happy little accident type thing. The first ever kit I have built from ICM and what a nice one it was. Armoured cars are my favourite and this was a fun build. It was a nice easy kit with plenty of detail. I particularly like the PE roof hatch, which although tricky to fold comes out very nicely and so much more realistic than a solid plastic version. I added a wire aerial for strength and drilled a hole for that. Also some extra stowage including bed rolls and a bucket. My paint job was just a brown camo scheme on dark yellow with a brown wash. Plenty of dirt and dust as usual and an MDF base to finish him off. I have been slightly distracted lately with a side project which will post some photos next time!

German Mortar Teams Pegasus and Zvezda in 1/72

I had a box of Pegasus German Mortars and another of Zvezda German 81mm mortar teams. You get a whole heap of figures and mortars in the Pegasus box and two identical mortar teams in the Zvezda box. I decided to mix it all up and make five mortar teams, trying to make unique looking bases.

The Pegasus box has lots of different poses from people loading rounds, dragging boxes and putting their hands over their ears. Great stuff. Also some radio operators, who ended up missing out. The Zvezda men are either dropping a round or holding a new one. I used three figures on each base. I also had a heap of shell boxes from my AB figures mortar teams which I added to some of the bases for interest. All of them were painted german field grey with grey helmets. I am trying to paint epaulettes and collars with some detail but find it quite tricky.

For these i used 25mm plywood bases which are nice and thin. Plenty of flock and tufts to finish them up! I will not need any more mortars for any German forces now, this will do it.

Academy German Fuel Truck in 1/72 Scale

This Academy fuel truck comes with a schwimmwagen too which I have not finished yet but will feature at at a later date. So today is just the fuel truck, something I thought was important to include in games to keep the thirsty big German tanks happy. I have a couple of Academy kits in my heap, I think a couple of US Halftracks and a Jeep/Kubelwagen kit too, but this is my first attempt at building one. This was a great kit to build. Everything was easy to put together, clear instructions, well fitting parts and good detail. All those things you like in a small scale kit. You have some options like leaving back doors open and exposing what I think is a fuel pump. Also the side doors can be left open to show some storage compartments. The windows and windshield are supplied in clear plastic so care needs to be taken when painting. I painted the interior (only the seats and steering wheel really) and the cab before gluing in the windows. One window fell out so it looks like they left the window open, which is fine with me. Paint job was the usual dunkelb dark yellow over a black basecoat. I did a really dirty wash and also added some streaking grime around the top of the fuel tank thinking that would get pretty messy. Also did quite a bit of black chipping and scratching with a sponge. I wanted to get a really beaten up look for this truck thinking of how much work it would have to do.

I also wanted to add a small base with some dudes filling petrol cans and drums which will act as a marker to show that the truck is in the process of refuelling. So I painted up a couple of AB figures with pea dot camo and added them to a base with drums and cans. I also made a fuel pipe from some wire and improvised a fuel pump handle to finish it off. Happy with the result looks like they are working hard!